Monday 30 September 2019

Colourful Leaves Thanksgiving Pop Up Card

Hello my crafty friends

Last Fall I purchased 3 sheets of 12 x 12"  patterned paper from the Dreams of Autumn collection by Bo Bunny. One of the sheets was filled with images, which I fussy cut to use as card elements. When I opened my box of fall papers this month, I saw the two sheets on top of the pile, along with the clear bag of elements and decided that I was going to work with those papers until they were gone. The idea wasn't to get as many cards as possible from the papers but more to just use them up. This is the first card (of 6) that I made with the papers & elements and I will be sharing the other cards in the coming weeks.

For my first card, I added a strip of the patterned paper, a fussy cut leaf and acorn, a couple of sprigs and a die cut Happy Thanksgiving.


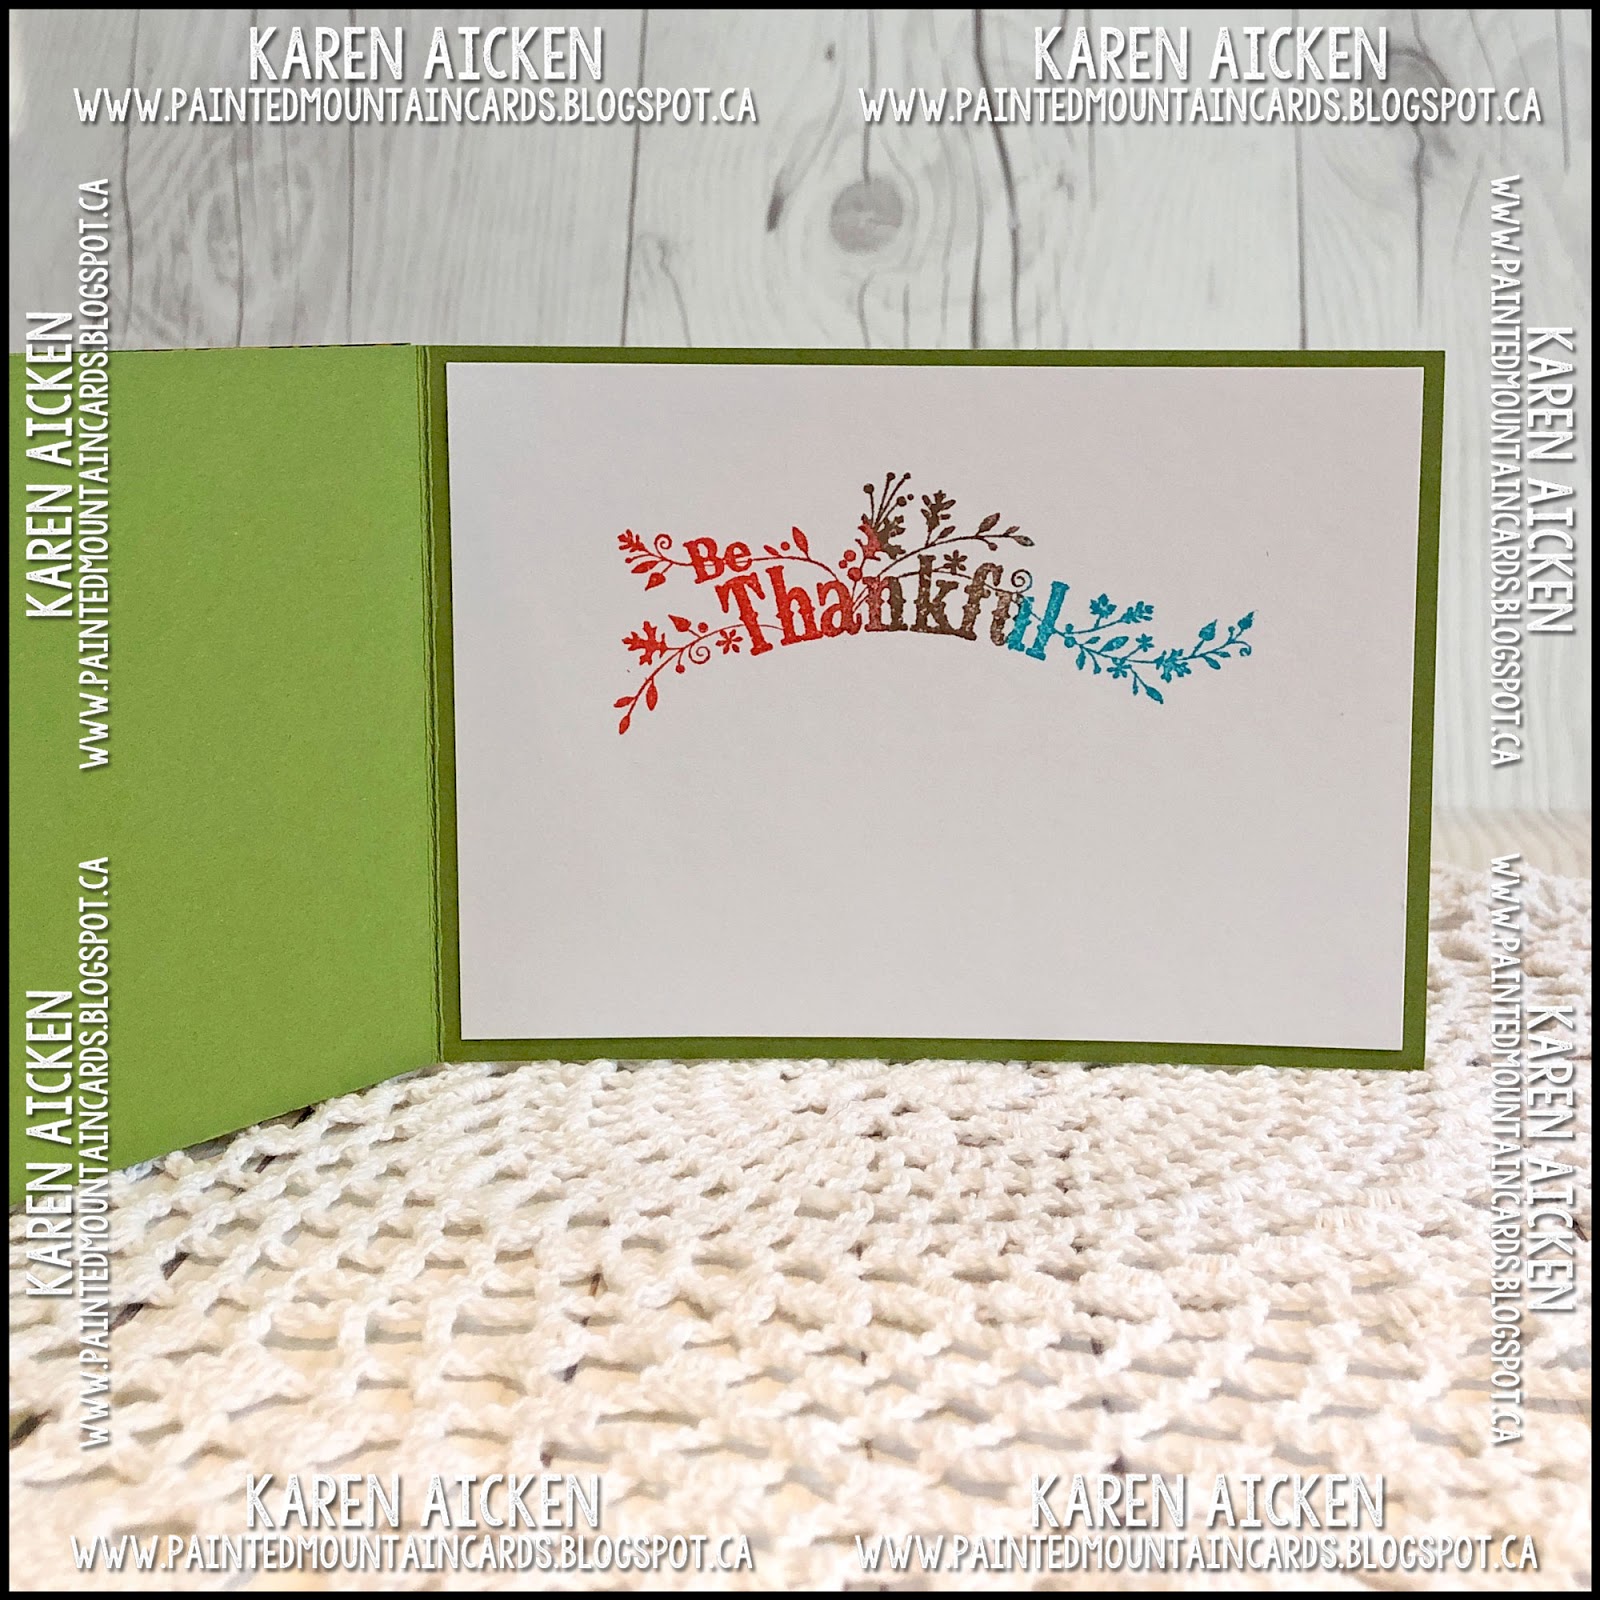
Inside there is more paper and more elements that had been fussy cut.


Recently the Stamps of Life released a new generic pop up and it got me thinking that I had something similar in my stash. Yup - the base of the Happy Birthday 3D Drop Ins, also by the Stamps of Life was what I was thinking of and I pulled it out for three of the Thanksgiving cards!


Supplies:
Burgundy and off white card stocks
Happy Birthday 3D Drop In's (square pop up base) - the Stamps of Life 
Patterned paper and fussy cut elements - Dreams of Autumn, Bo Bunny
Happy Thanksgiving die set - the Stamps of Life
Scalloped rectangle - Honey Bee stamps
1059 Autumn Elements (sprig) - Karen Burniston
Word stamp inside - Give Thanks, Reverse Confetti
Nuvo Drops

Thanks for stopping by today

Sunday 29 September 2019

Scalloped Birthday Cake Card

Hello my crafty friends

I picked up this pretty foiled patterned paper package and the coordinating embellishment package from the Stampin' Up Clearance Rack earlier this year, thinking they would make lovely birthday cards to donate to my Mom's nursing home. For this card I used a die set by Stephanie Barnard for the scalloped card base and Happy Birthday.


There are two 12 x 12" sheets of patterned paper with these birthday cake images, so I fussy cut a few of them to use on cards. I also fussy cut some of the floral sprays from the scraps. For this card I added the cake along with the scalloped velvet ribbon and vellum embellishments to the scalloped oval.


Here is a peek at the inside:


The paper is SO pretty with all the shine from the silver foiling but photos don't do it justice.

Supplies:
White, peach card stocks
Patterned paper - Stampin' Up
Card, Scallop Drop-Ins - Stephanie Barnardthe Stamps  of Life
Dashing rectangle dies - Elizabeth Craft Designs
Ribbon, embellishments and washi tape - Stampin' Up
Stitched mini scallop rectangle dies - MFT Stamps
Stickles
Words - CC Designs

Thanks for stopping by today

Saturday 28 September 2019

More Thanksgiving Cards with Journal Cards

Hello my crafty friends

I've got lots of photos to share today! Last year I had picked up a 12 x 12" sheet of adorable journal cards (or cut aparts) from Doodlebug Design thinking I could use them for the Grandkids Thanksgiving cards in 2019.

Doodlbug Journal Cards are SO cute and you can do a lot with them. Think Shaker cards, fussy cutting the elements away from their background and popping them up with other embellishments etc etc. This year though, I wanted to use them as is.

These three cards are all from that same sheet, but are different enough that the grands won't think they are getting copy cat cards.


The first card is for Olivia. I added some enamel dots including the pretty teal heart which is also a Doodlebug product.  The Hi Foxy was trimmed from a different Journal Card on the sheet. I went over all the eyes and noses on the critters with a black glaze pen for some shine.


This is the inside of Olivia's card ...


Next up is Ethan's. I loved this one as is, so simply added black glaze pen/white gel pen detailing to the truck wheels and added a die cut pumpkin to the back of the truck. The 'You Are My World' was trimmed from the same journal card as Olivia's.


Below is the inside of Ethan's card:


Zachary's card had that adorable hedgehog and I added it to the card with a mini Action Wobble. I can't remember what was printed on this polka dot journal card but it didn't work with what I wanted so I adhered the 'Thankful For You' strip overtop.


Here is the inside of Zachary's card:


Supplies:
Cut apart, stickers - Doodlebug
Sakura black glaze pen and white gel pen
Wink of Stella
W-1 Copic Marker
Green, teal, kraft and white card stocks
Fun foam
Black pen
Enamel Dots - Stampin' Up and Recollections
Action Wobble
Heart Enamel Dot - Doodlebug
White card stock
Give Thanks stamp - The Alleyway Stamps (Old, retired)
Turkey Day stamp - Pink and Main
Tree & swirl stamp - unknown (old)
Catherine Pooler Inks

Card sizes:  A2, 4 x 5.5" and 4.25" square.   All three will fit into an A2 Envelope.

Thanks for stopping by today

Friday 27 September 2019

Farm Themed Photo Collage Pop Up Birthday Card

Hello my crafty friends

Today for Fun Fold Friday on my blog I'm sharing the card I made for our eldest daughters birthday. I used an older stamp and die set along with Karen Burniston's Photo Collage die set. The Photo Collage is very popular and it's so much fun to see what everyone is doing with with it!

I kept the front nice and simple, with just a hint of what the card theme is.


I have had the hay patterned paper for years and it was fun to get it out again for this card. It has sparkly embossed bits that catch the light. I added acetate behind the picture frame, which is from the new Memory Charms die set, and attached it to the lightly stencilled white panel with a brad. The acetate also catches the light, as you can see in the photo below.


When you open the card - poof! There is an explosion of polaroid frames that I filled with farm themed stamped images and dies.  I have included a short YouTube video at the end of the post since the action is next to impossible to see in photographs. I used an older stamp & die set that I have used before on cards for her - it's fun coming up with different ways to use them.


The barn doors have the ability to slide open and closed, but for this card I adhered them in the closed position. I also gave the animals a little sparkle with a Wink of Stella pen ... it is a birthday card after all!

The Photo Collage was a little tricker on this card because it was only 5" high! The die is intended to work with a standard A2 card, but that would give you a 5.5 inch height. As usual with the Photo Collage though, I just took my time and checked for catch points with each addition.


There is a signing block on the right that I lightly stencilled. I also added words from the same stamp set on fishtail banners and placed them where they wouldn't be catch points. The polaroid frames got a little antiquing with a makeup brush and ink.


 Finally, here is a short YouTube video that shows how much dimension you get with the Photo Collage Pop Up.


As shown, the Photo Collage folds amazingly flat for mailing!

Supplies:
Patterned papers - Photo Seasons Stack (DCWV) old
Kraft, white, black and cream card stocks
1098 Photo Collage die set - Karen Burniston
Farm themed stamps and dies - On the Farm, Papertrey Ink
Wink of Stella
Unicorn ink (white) - Hero Arts
1096 Barn Pop Stand - Karen Burniston
Woodgrain Stencil - Tim Holtz
Dot stencil - Tim Holtz
Makeup Brushes
Fishtail Banner - MFT Stamps
1056 Squares Crosshatch - Karen Burniston
1108 Memory Charms - Karen Burniston
Scrap of acetate
Brad
Twine - Stampin' Up
W1 Copic marker

Card size - 5 x 5.5"

Thanks for stopping by today

Thursday 26 September 2019

'Eat Cake' Birthday Card

Hello my crafty friends

Today I'm playing along with Your Next Stamps Fun Friday Challenge #123, with the theme "Just for Fun - what do you find fun?" You can find all the details for the challenge HERE.

I'm generally a happy person and find a LOT of things fun. So narrowing it down to my papercrafting, I have fun making Birthday Cards and donating them to my Mom's old nursing home. Your Next Stamp is celebrating a 10 year anniversary and their new release is chock full of FUN images for birthdays.  I've used a couple of them on my card today. How cute is that dog, wearing a party hat and carrying a sweet layered cake?


I can think of some FUN ways to use the new Circle Burst die!. I die cut it from the stitched panel, then backed each of the rows with narrow scraps of bright card stock.  When I placed the word bubble and dog image where I wanted them, I realized I liked the card how it was, and chose to leave it as a CAS (Clean and Simple) card which is rare for me.

The dogs eyes and nose are glossy and shiny.  The cake icing is done with Nuvo drops so it's raised and sparkly and I added a sparkle gel pen to the candle flames.


Here is a peek at the inside, where I used two of the three different sizes of Circle Burst images (also in the new release). Yup - I definitely had FUN making this card!


Supplies:
Stitched Rectangle die set - Your Next Stamp
Black Olive ink - Your Next Stamp
Silly Fun Birthday (stamps and coordinating dies) - Your Next Stamp
Circle Burst (stamps and coordinating die) - Your Next Stamp
Kraft, orange, green, teal and yellow card stocks
Bristol Smooth card stock
Zig clean color markers
Water brush
Sakura black glaze, white gel and sparkle pens
Prismacolor pencil crayons
Nuvo glitter drops

Card size - standard A2 (4.25 x 5.5")

Thanks for stopping by today

Wednesday 25 September 2019

Mootiful Birthday Card

Hello my crafty friends

Boy, do I love to use things up. I went poking around in my 'In Progress' big and found a clear envelope with some digital printed elements as well as this coloured up birthday cow. I must have printed them off years ago and got interrupted before I got the card done.


I must have had a specific idea as well, since everything was sized before it was printed. I trimmed & layered the patterned papers and tag, then fussy cut out the label and added grass and clouds with makeup brushes and hand made stencils. The cow had already been stamped, die cut, coloured and glittered so I just added some foam tape and popped it up on the label piece.


For the inside, I die cut a scalloped rectangle and wrapped it with bakers twine after stamping the greeting.


Note:  My apologies to the digital artist who created these papers, as I didn't make a note of your name or where the designs came from. If you stumble across this post and would like to leave me a comment I will update this post with your information.

Supplies:
Cow - Birthday Farm Animals, Simon Says Stamp
Copics
Stickles
1006 Nature Edges/mask - Karen Burniston
Stitched rectangle - Your Next Stamp
White, peach card stocks
Bakers Twine
Stitched Scalloped rectangle - Your Next Stamp
Words inside - Handwritten Happiness, MFT Stamps
Nuvo Glitter Drops

Thanks for stopping by today

Tuesday 24 September 2019

Two Thanksgiving Cards from Journal Cards

Hello my crafty friends

Today I'm sharing the Thanksgiving cards I made for two of our grandkids. Last year I picked up this cute 12 x 12" sheet of Journal Cards/Cut Apart from Doodlebug Designs and that is what I chose to use for all of the kids cards this year. While you can really get creative with these panels, I kept things nice and simple.


I think Ilai is going to really like this tree - I added it to a teal A2 card with a scrap of leaf printed paper and one of the printed sentiments that was also on the sheet.


A few blue Enamel Dots in blue and I went over the black eyes & mouth with a glaze pen.


Here is a look at the inside, using an older stamp from my collection.


Alma's card is a 4-1/4" square and uses some extra stickers I had in my stash as well.


I added Wink of Stella to the turkey tail feathers and some nice red enamel dots too.


Here is the inside of Alma's card ...


Supplies:
Cut apart, stickers - Doodlebug
Sakura black glaze pen
Wink of Stella
W-1 Copic Marker
Teal, kraft and white card stocks
Fun foam
Black pen
Enamel Dots - Stampin' Up and Recollections
Heart Enamel Dot (red) - Doodlebug
White card stock
Give Thanks stamp - The Alleyway Stamps (Old, retired)
Lets Talk Turkey etc - turkey2stamp, the Stamps of Life
Tree & swirl - unknown (old)
Catherine Pooler Inks

Card sizes A2 (4.25 x 5.5")  and 4.25" square

Thanks for stopping by today

Monday 23 September 2019

Cutaway Corner Penguin Card

Hello my crafty friends

It's Masculine Card Monday here on my blog and today I'm sharing another card duo made with the Playful Penguin stamp set. It doesn't take twice as long to make a second card when everything is out anyhow, so I find it's just as easy to make two when I'm going to donate the cards to my Mom's nursing home.


I also pulled out the Mixed Media dies which I have been wanting to make sure to use more often. I haven't used them like this before, cutting the design from the front edge of an unlined card but I like it very much!


Here is a peek at the inside ...


Such an easy layout to change up for pretty much any occasion! There are lots of men in the nursing home, so I like to include a few masculine cards as well as generic and feminine ones each month. 

Supplies:
Red, white card stocks
Mixed Media die - Tim Holtz
Patterned paper - Brioche, Memory Box (old)
Stitched rectangle - Your Next Stamp
Water Brush
Happy Birthday - Birthday Basics, Papertrey Ink (old)
Words Inside - Stampdneous (old)
Black Pen

Thanks for stopping by today

Sunday 22 September 2019

Bold Birthday Cards

Hello my crafty friends

I enjoy using journal cards and cut-parts in my paper crafting. These are generally 3 x 4" cards meant for pocket scrapbooking and often come included in a 12 x 12" paper stack. But you can also purchase them, which is what I did here. I pulled 16 out of the Project Life pack, grabbed an older patterned paper stack and made SIXTEEN birthday cards to donate to my Mom's nursing home.


I was able to use up lots of scraps and bits & pieces on the background panels of these cards, and Karen Burniston's bold Happy Birthday die was perfect.


Some of the journal cards are a little more feminine, so those ones got some glitter added, and there is also some sparkly embossed bits in the patterned paper.


Initially I was going to use black fun foam to die cut the greeting from, but it turned out to be a little fiddly to adhere because of stretching. So I only did one out of the fun foam and the rest from black card stock.


The cards are all the same inside. I used the MISTI for perfect alignment and stamping, and just changed out the ink colours to match the cards.


I added these Rounded Corner Rectangle nesting dies from Hero Arts to my die collection in January and I really like them. I'm very happy with my investment!


This journal card had lines on it for the pocket scrapbooking details but it still worked well for a card embellishment. I added a punched balloon as well on a few of the cards that needed a little somethin' somethin'.


There are still LOTS of journal cards left in the package, but after making these ones I was a little tired of them so put them away for a bit. But you will be seeing more of them on future cards!

Supplies:
Journal cards - Becky Higgins, Project Life
1030 Happy Birthday - Karen Burniston
Black, red, aqua, and white card stocks
Corner rounder - Creative Memories
Patterned paper - DCWV, Studio Calico and American Craftas
Rounded rectangle infinity dies - Hero Arts
Fun foam
Stitched fishtail banners - MFT Stamps
Balloon Punch - Stampin' Up
Stickles
MISTI - My Sweet Petunia
Stamps - Ranger

Thanks for stopping by today

Saturday 21 September 2019

Wedding Box Card

Hello my crafty friends

A friend's daughter is getting married this month, and I offered to make them a wedding card to give the happy couple. I had trouble figuring out what I wanted to do - I knew it would be an interactive card, but which one? Finally I decided on a box card, since the card will likely be displayed for a little while.

I find it hard making a card for a big occasion when I don't know the people but my friend suggested maybe shades of purple with some silver. That was my jumping off point. While this is not a Karen Burniston Pop Up, I  ended up using FIVE KB dies on it. I guess that shows how truly versatile her dies can be!


Below is a video showing how the card unfolds from the envelope, and there are still shots and a full supply list following the YouTube video.


The Happily Ever After die is SO perfect for a wedding card. It cuts as a single piece which makes it nice and easy to adhere.  I cut the Lawn Fawn Box card base from a heavy pearlized white card stock, which doesn't show up in the photos but is really pretty in real life.


Both the little scalloped border on the inside supports and the bride and groom dies are from the Cake Pop Up. Which was another die set I had considered for the occasion. The 'lacy' heart is one of my favourites - an older die from Stampin' Up. I still remember how happy I was when I was able to purchase that set.


I used the stitched label from the Gift Card Label set as a place for my friends to sign their names. The press dot hearts are from the Circle Charm Pop Up.


Of course it folds completely flat for mailing. While the box card on it's own fits easily into an A2 envelope, I added the large heart at the back which makes it far too tall for that. I added some coordinating paper to line the inside & flap of a 6" square envelope instead. To me, large square envelopes just seem perfect for a wedding.


I hope you enjoyed my box card today!

Supplies:
Box card die set - Lawn Fawn
White peal card stock - Gina K (old, from my stash)
Patterned card stock - The Luxury Stack, DCWV (old, from my stash)
1032 Happily Ever After - Karen Burniston
1028 Cake Pop Up (Bride & Groom, scalloped border) - Karen Burniston
Black and white card stocks
Sakura white gel pen
Silver foil card stock - Stampin' Up
Scribble heart and Love dies - Stampin' Up
Stitched heart dies - Elizabeth Craft Designs
1019 Gift Card Label (small layered hearts) - Karen Burniston
1077 Word Set 8 Celebrate - Karen Burniston
1046 Circle Charm Pop Up (heart with press-dots) - Karen Burniston

Thanks for stopping by today