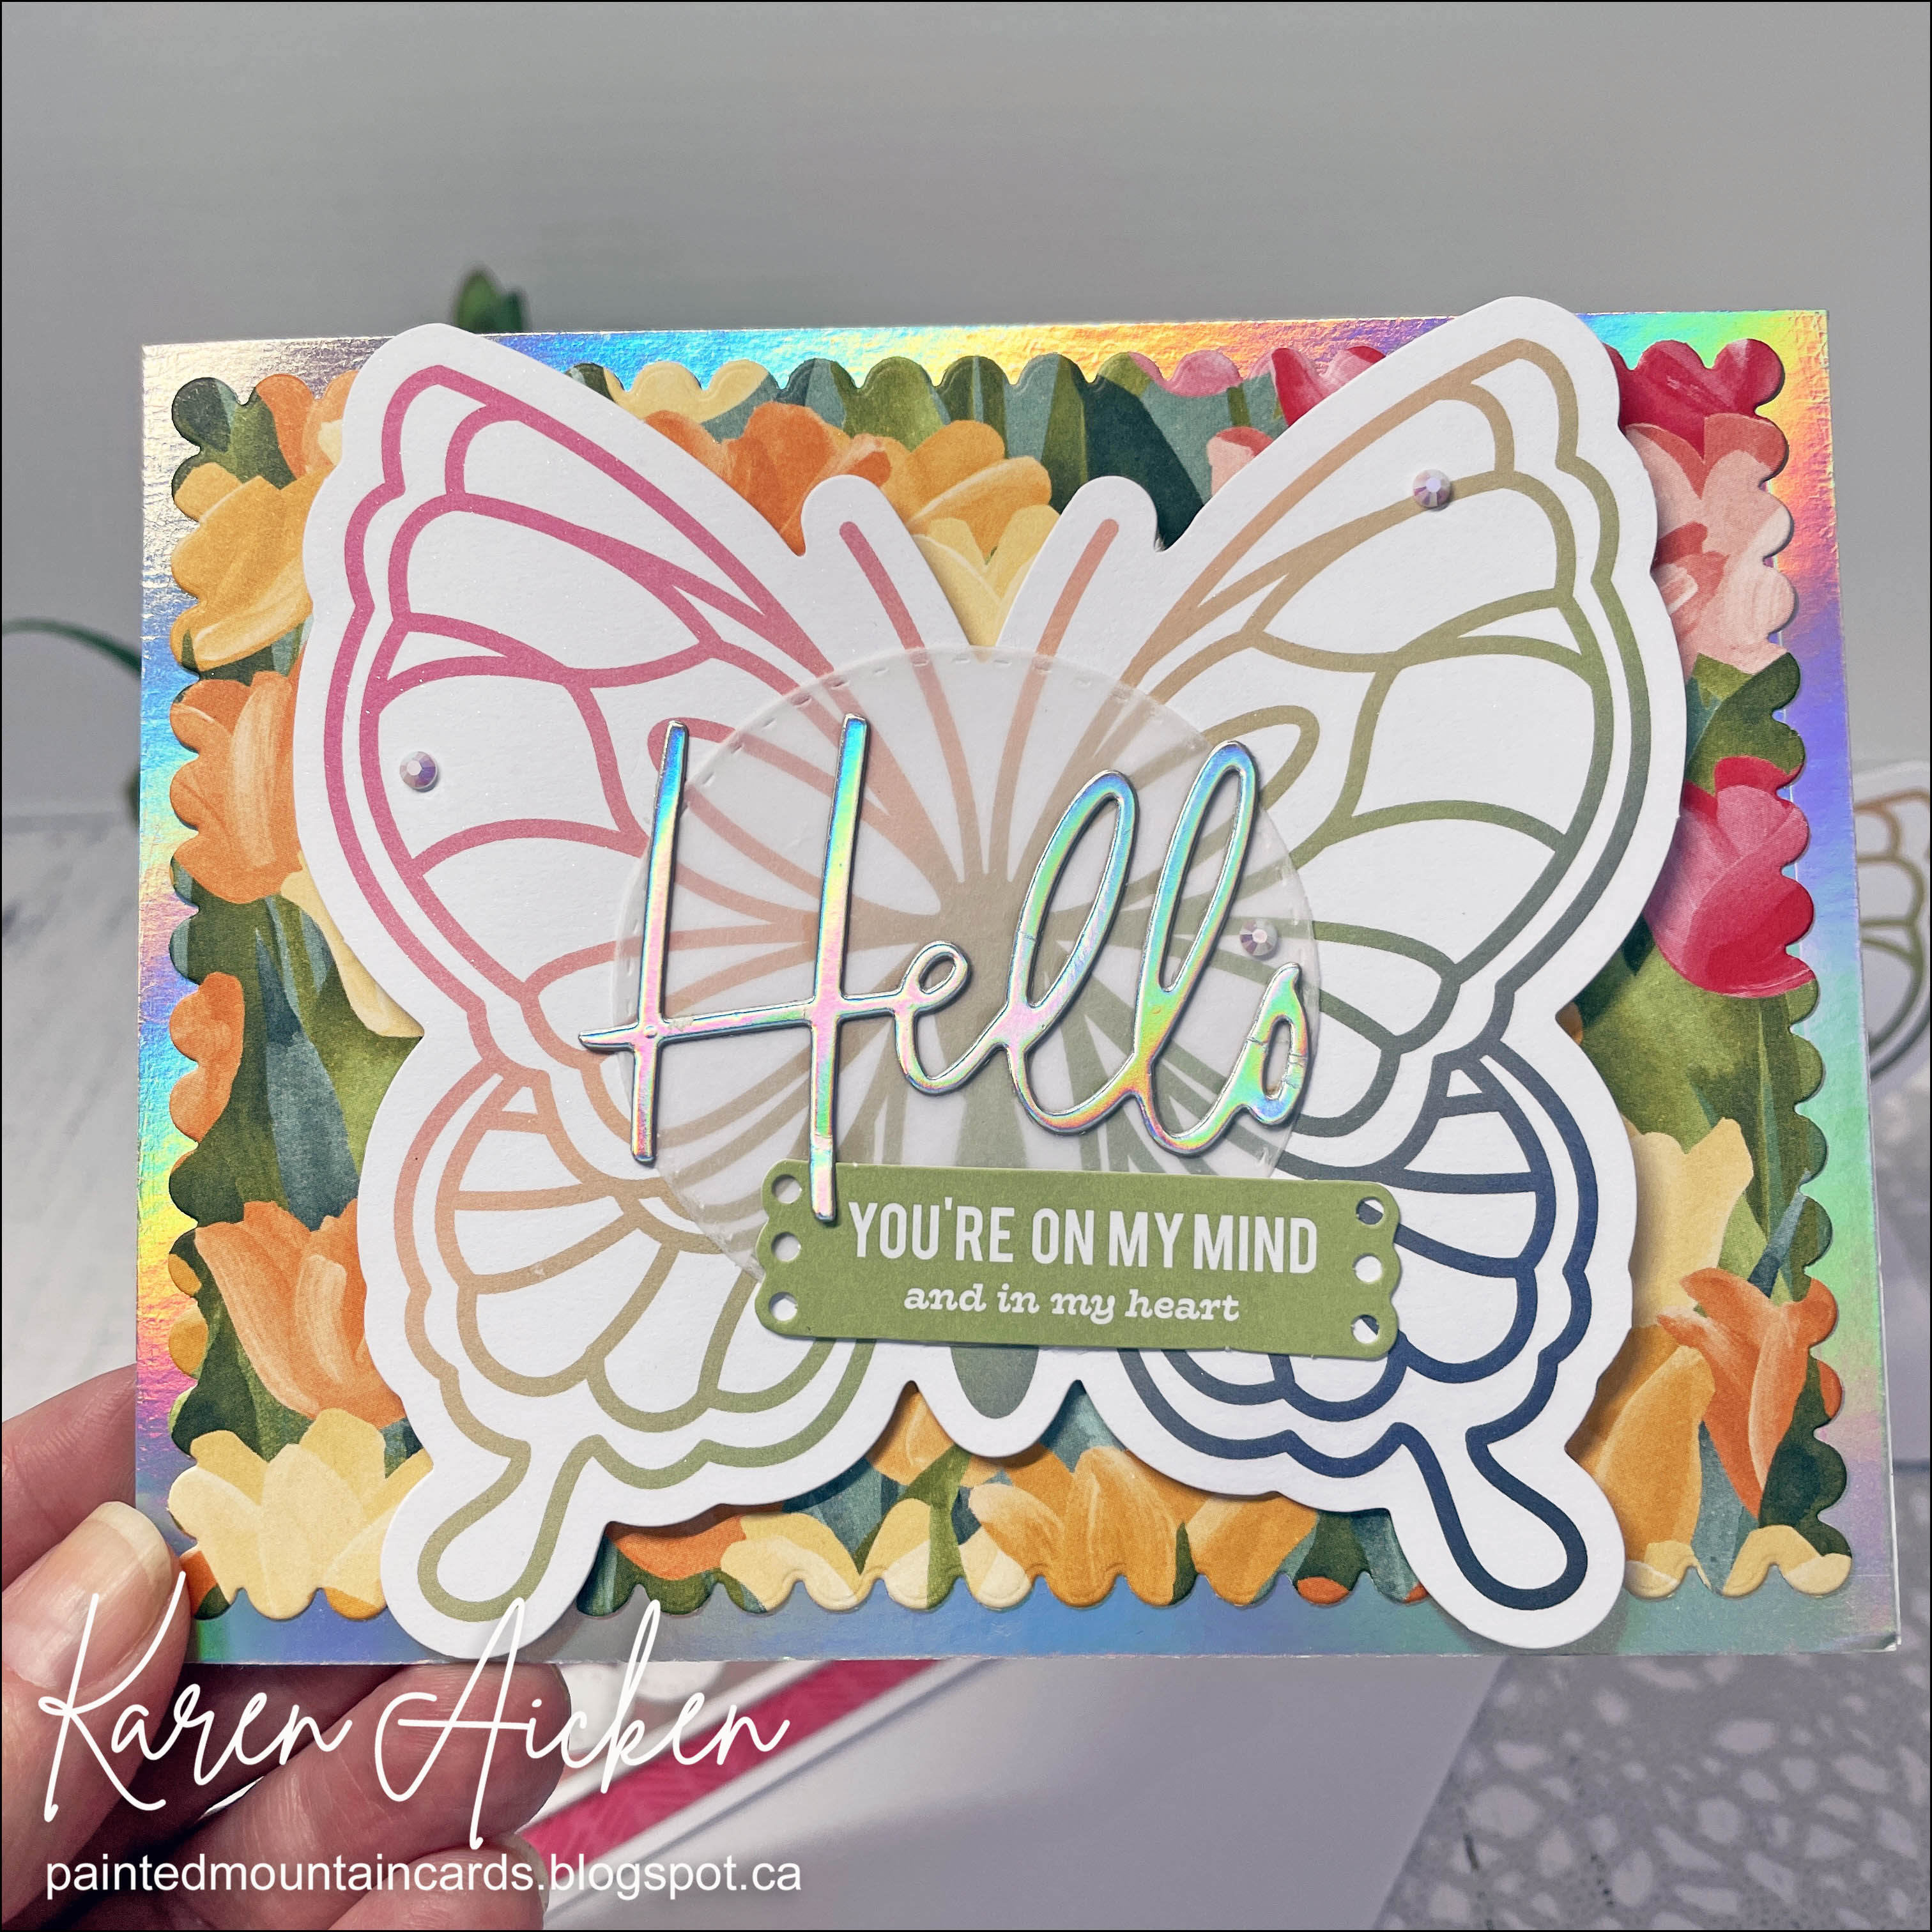
It's Fun Fold Friday here on my blog! Last week I shared a Family Room Pop Up birthday card, and since I had the dies out anyhow I decided to make another one. This time I made an Anniversary Card for my hubby. 😊 Once again, those stamps (linked below) are just perfect to use with this die set! I added a TV from the Memory Charms onto the card front with a rainbow holographic tv screen. That black heart was sitting on my stamping table, a fallaway piece from a dog card I'd made earlier so I added that as well as the Happy Anniversary.

Here is a peek at the inside ...


Even though there is a lot of dimension with this die set, it folds down completely flat for mailing! Not that I was mailing it to my hubby, ha ha.

Having been asked how many cards I make I thought it would be fun to keep track this year. Many of my posts include more than a single card or project and below is my tally.
Card Tally for 2023
January - 53 cards
February - 56 cards
January - 53 cards
February - 56 cards
March - 55 Cards
April so far - 32 Cards
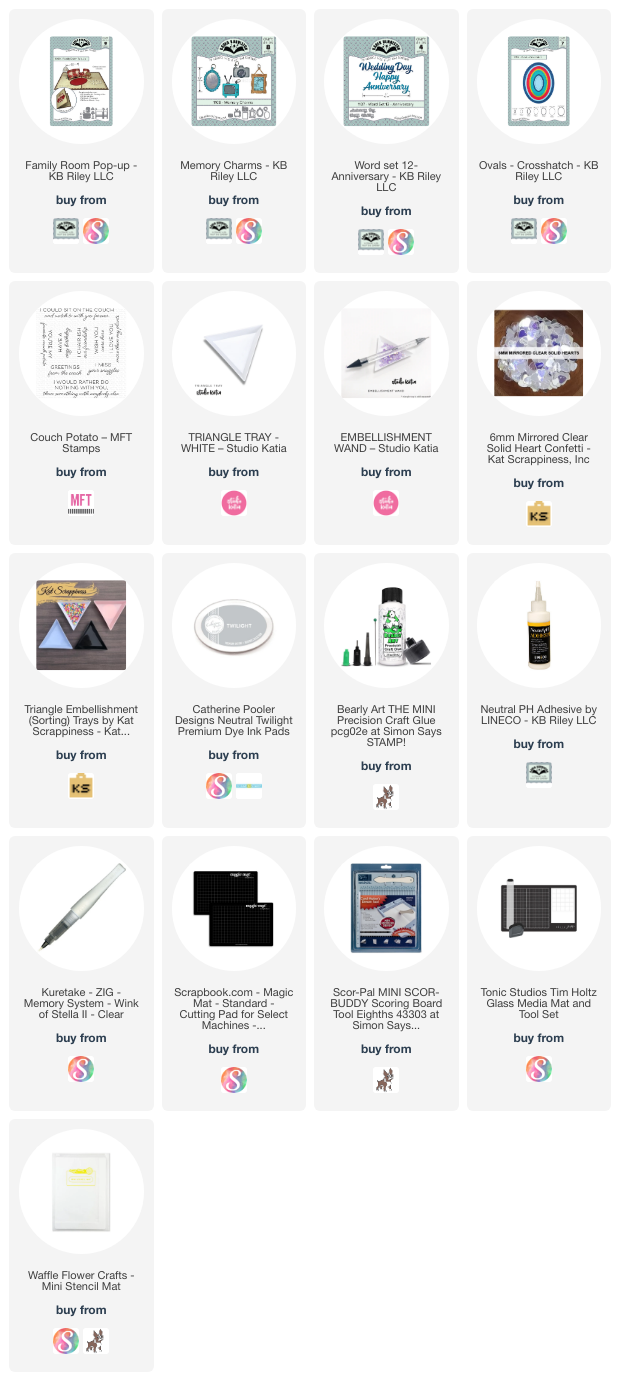
Additional Supplies:
Patterned paper - Ambrosia, Basic Grey (stash)
Rainbow Holographic cardstock - Recollections
Blue cardstock
White cardstock
This blog uses affiliate links whenever possible. This means, if you make a purchase through one of my affiliate links that you pay the same amount but I may receive a small commission from your purchase. I only link products that I own, love and use for my card making and not every link below is an affiliate one! 😊