Welcome to Karen Burniston's April Designer Challenge, where the them is 'Bunnies!'. After the Accordion folded card/Slider Box I created for last months Designer Challenge, I knew I wanted to use the Slider Box again. One of the ideas I had as soon as I saw this die set, was to create a shadow box. This was the perfect opportunity!
I used brightly coloured patterned paper and holographic card stock, them pulled out the Easter Charms, Spring Animals, both sets of Nature Edges and the Landscape Scene die sets.
When you pull the ribbon loop, the drawer slides open to reveal a dimensional Spring scene!
I was so happy with how it turned out!
Since I don't plan these things out, but instead create with a 'lets try ...' or 'what if ...' style. So I don't have a tutorial on this shadowbox. If I make another one I will at least photograph my steps, but I couldn't do that for this card as I wasn't sure if what I was doing was even going to work! If you are familiar with shadow boxes though, it should be easy to figure out how to create different layers & depths on the side tabs.
Since this is intended to be an Easter CARD, I added a space on the bottom of the drawer for our personal greeting. Everything was glued flat so as not to create any catch points as it slides in and out of the outer sleeve.
The rest of the Design Team is linked on the right side of my blog and I hope you will check out what they came up with for the challenge. Karen Burniston will have her post tomorrow (Wednesday) on her BLOG.
Having been asked how many cards I make I thought it would be fun to keep track this year. Many of my posts include more than a single card or project and below is my tally.
Card Tally for 2023 January - 53 cards February - 56 cards
March - 55 Cards
April so far - 8 Cards
Additional Supplies:
Patterned paper - Watercolours 6 x 12" pad, Sizzix (Discontinued)
White cardstock
Seam binding - Stampin' Up
Rainbow Holographic cardstock - Recollections
Black fine point marker
This blog uses affiliate links whenever possible. This means, if you make a purchase through one of my affiliate links that you pay the same amount but I may receive a small commission from your purchase. I only link products that I own, love and use for my card making and not every link below is an affiliate one! 😊
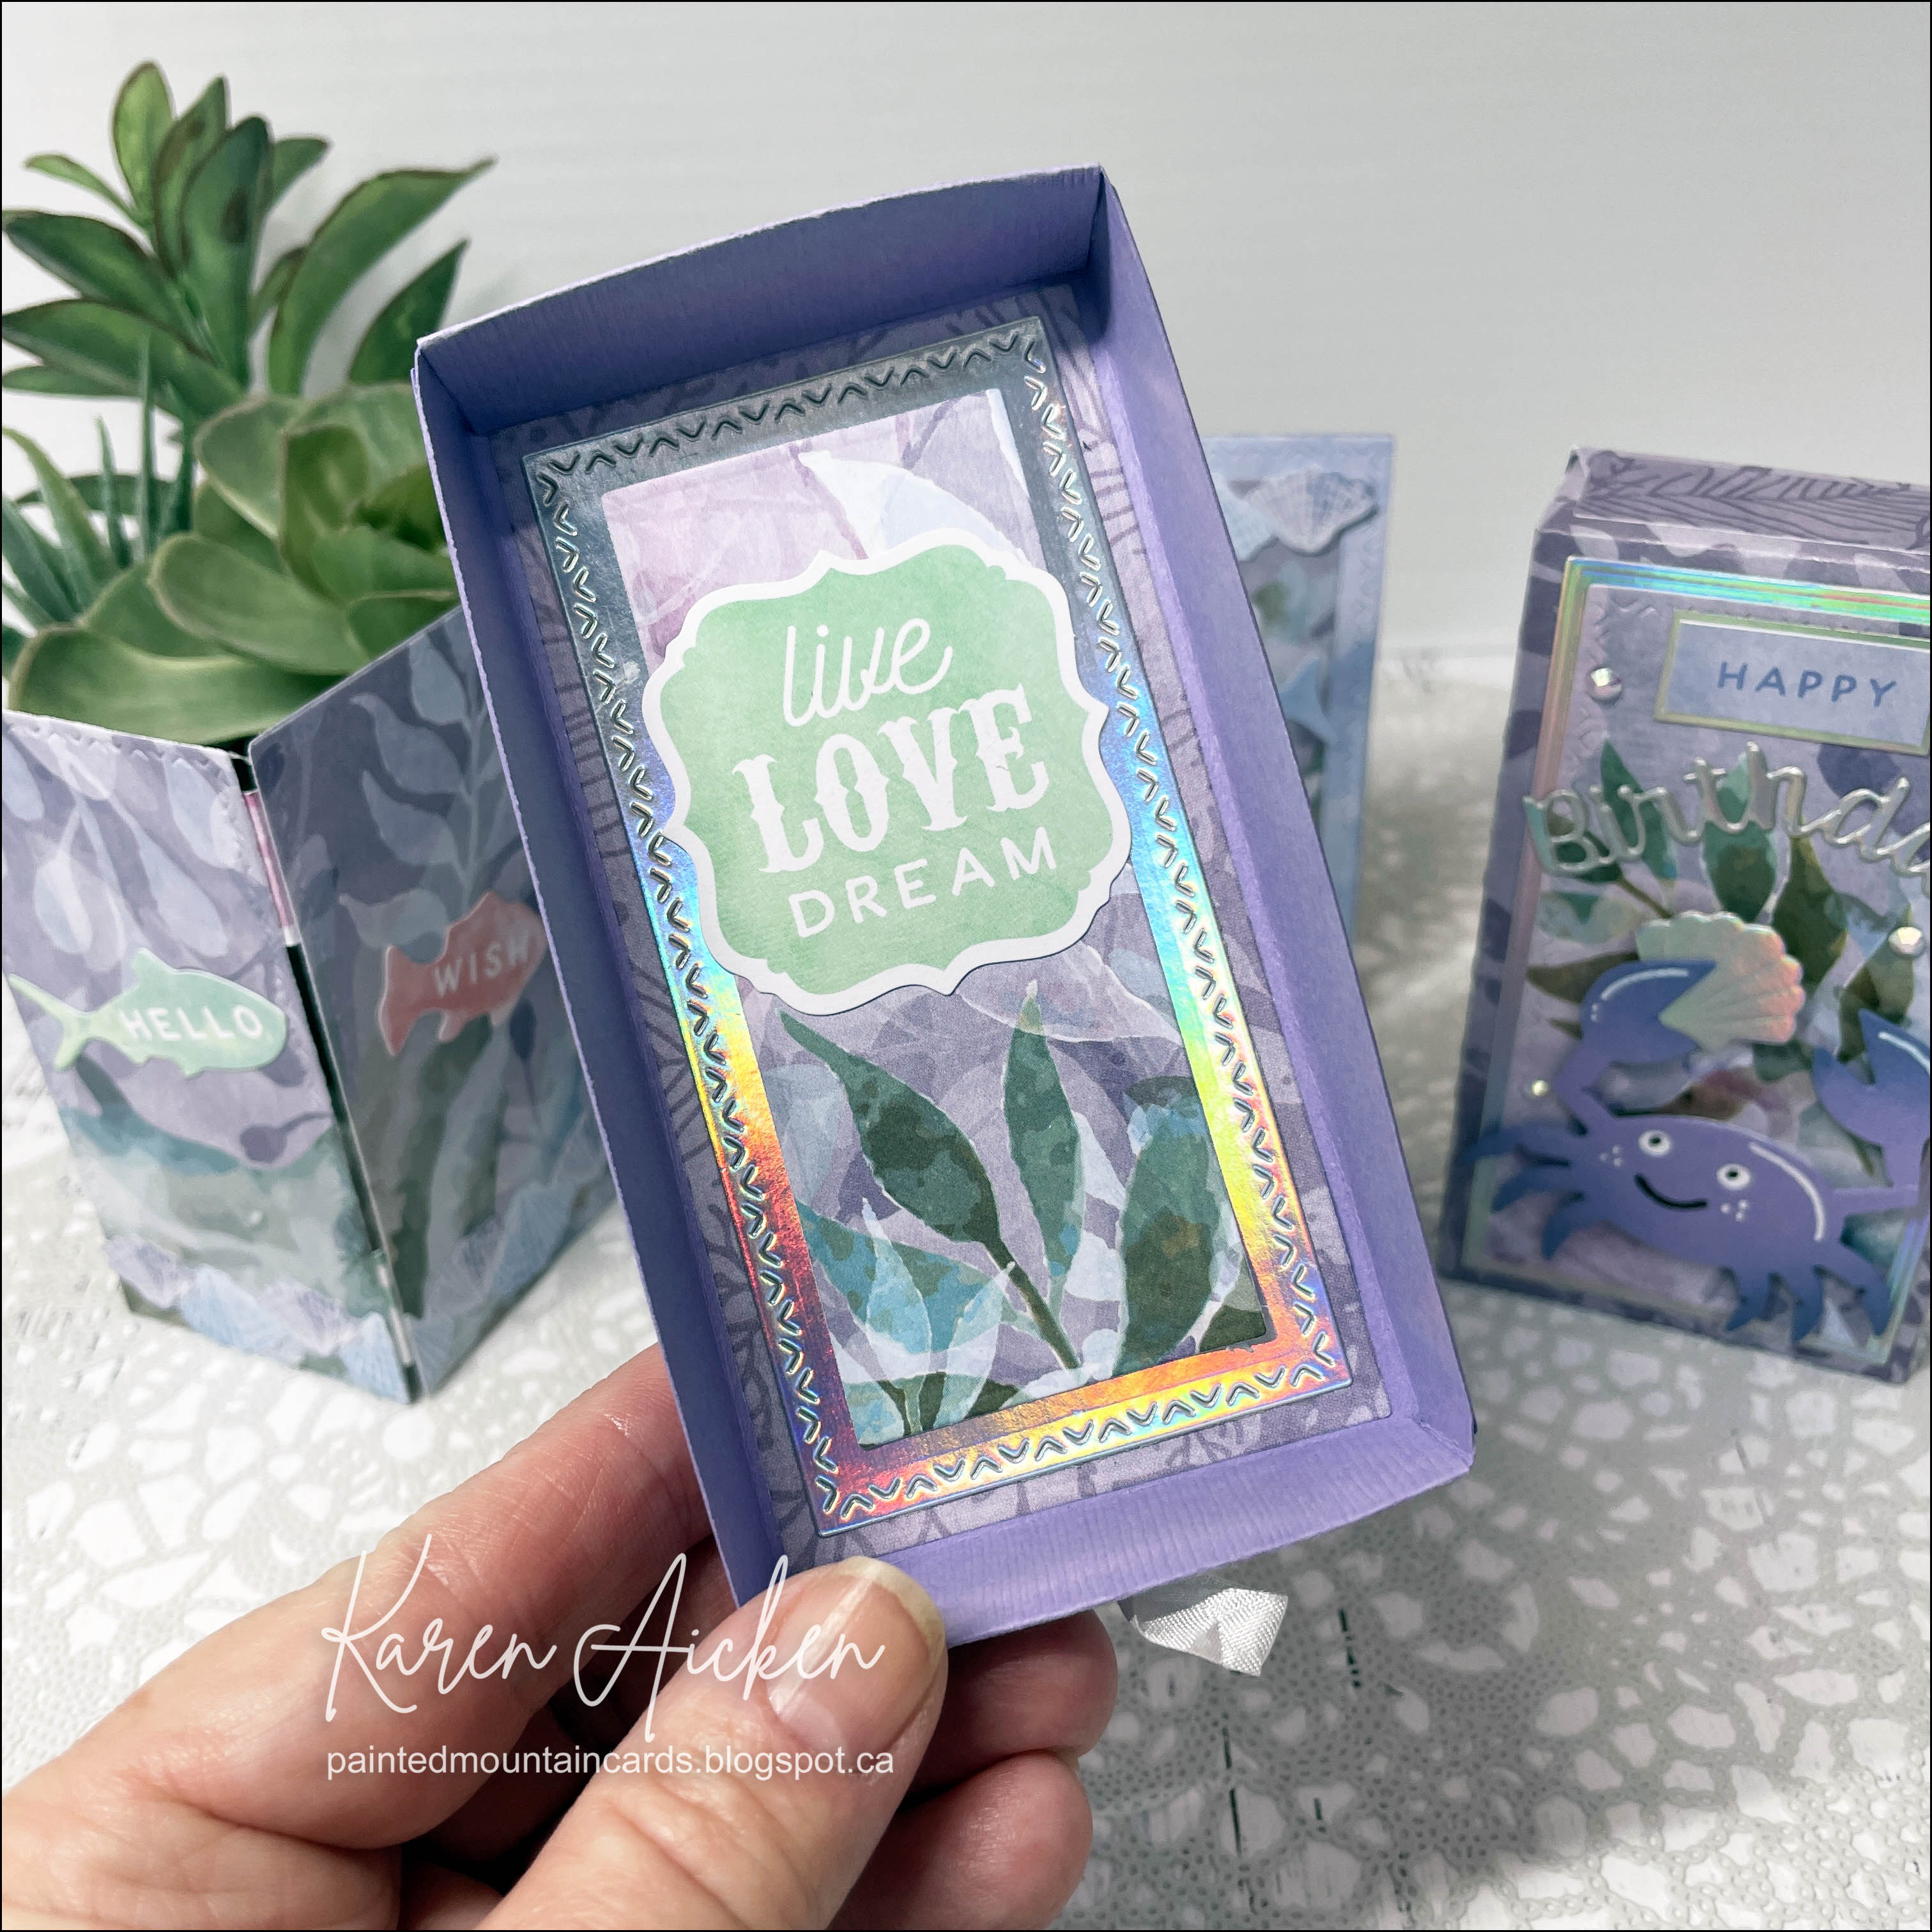
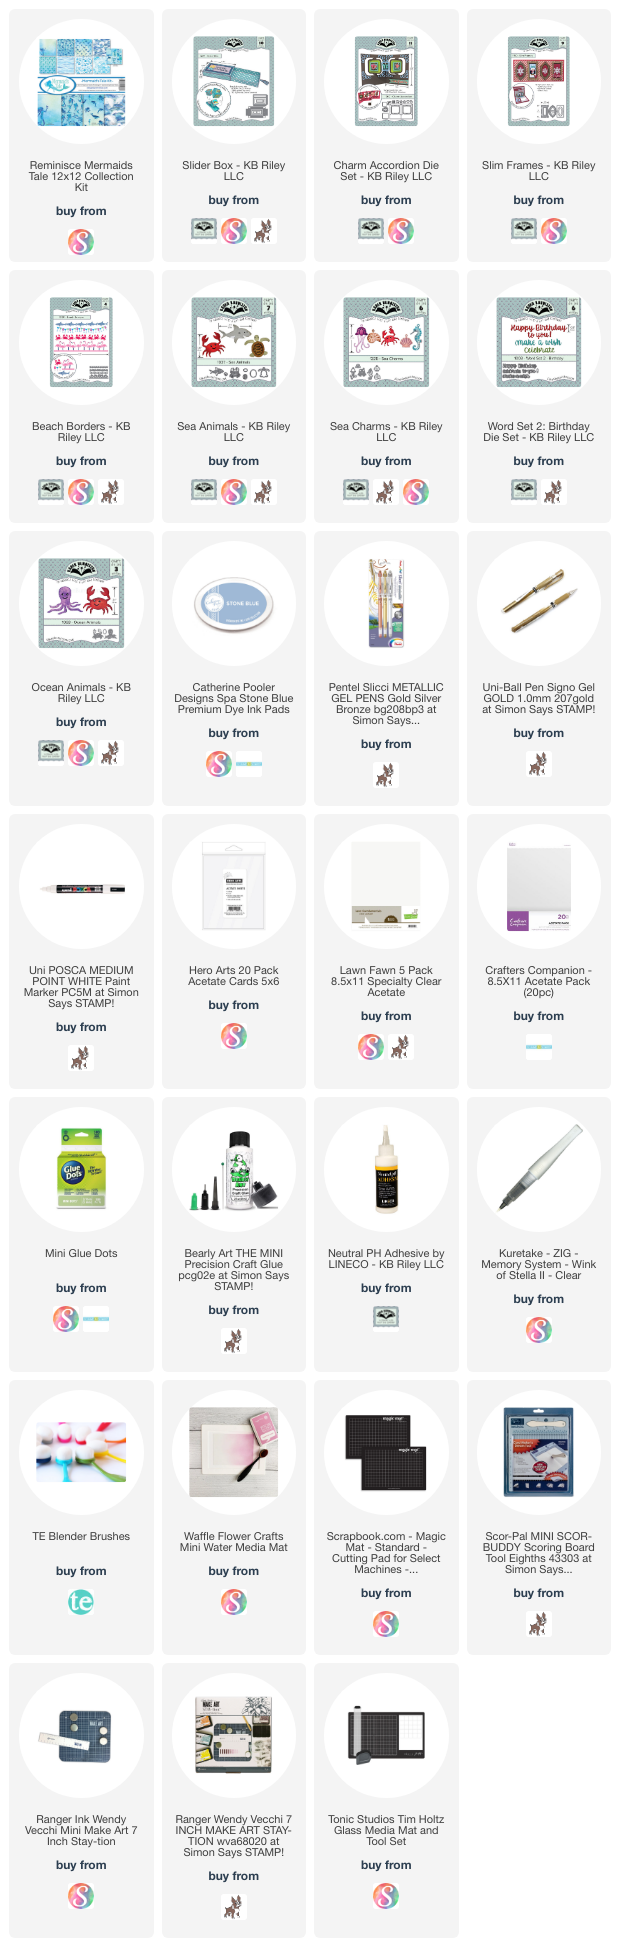
It's time for Karen Burniston's Designer Challenge for March, with the theme: "VACATION!" - where do you want to go? Beach? Mountain Cabin? Farm Livin'?" While I am not a beach girl - I chose to make an ocean themed project today. I started with the Slider Box and some pretty patterned paper from my stash. Then I chose a bunch of dies by Karen Burniston for my project, and they are all linked below.
The Rainbow Holographic cardstock adds a lot of shimmer and shine. I love a bright red crab, but went with soft purple for this one. Those little crabs from the Beach Borders are SO darn cute.
Using the decorator rectangles from the Slider Box with hinges from the Charm Accordion I created an accordion card that folds up inside the box. It's a fun surprise when you slide the box open.
Using one of the frames from the Slim Frames I created a little shaker on the accordion card front, but I snipped two crabs from the border and adhered them down inside the shaker with the dream word sticker. So they don't move around when you shake the frame.
This is the bottom of the box, which is revealed when you remove the accordion card.
The back side of the card has some stickers from the same package as the patterned paper, but I had to use adhesive as they didn't stick well on their own.
I know just who this is going to for her birthday!
The rest of the Design Team is linked on the right side of my blog and I hope you will check out what they came up with for the challenge. Karen Burniston will have her post tomorrow (Wednesday) on her BLOG.
Late last year I was asked how many cards I make but I didn't have a clear number. Since many of my posts include more than a single card or project, I thought it would be fun to keep track this year.
Card Tally for 2023 January - 53 cards February - 56 cards
March so far - 15 Cards
Additional Supplies:
Purple textured cardstock - Bazzill
Crinkle seam binding - Stampin' Up
Rainbowow Hollographic cardstock - Recollections
White cardstock
Blending Brushes
Gems - Stampin' Up
Staedtler fine liner markers
Black sharpie
Alcohol markers
This blog uses affiliate links whenever possible. This means, if you make a purchase through one of my affiliate links that you pay the same amount but I may receive a small commission from your purchase. I only link products that I own, love and use for my card making and not every link below is an affiliate one! 😊
It's Fun Fold Friday here on my blog, and today I'm sharing another Slider Box. This one has a sentiment that pops up when you slide the drawer out of the sleeve - so fun! You can see this action in my YouTube video:
Using patterned paper and cut aparts, I decorated the outside ...
Below is what is inside the box. The You're Sweet panel pops up as the drawer/tray slides open & the Surprise Cube pops out as do the hearts.
One of the included rectangle dies has a nice edge decoration, so I cut it from acetate so I could add the speech bubble to it. That was then attached to a Bam Box that was also adhered inside the decorated drawer/tray.
A few of the single hearts are from Karen Burniston's Hearts Crosshatch, and the others are the fallaway pieces from Whimsy's Slimline Heart Background. I shared that card last week.
I have been asked how many cards I make but I didn't have a clear number. Since many of my posts include more than a single card or project, I thought it would be fun to keep track this year.
Card Tally for 2023 January - 53 cards February so far - 21 cards
Additional Supplies:
White cardstock
Pink cardstock - Stampin' up
Pink ribbon - Stampin' Up
This blog uses affiliate links whenever possible. This means, if you make a purchase through one of my affiliate links that you pay the same amount but I may receive a small commission from your purchase. I only link products that I own, love and use for my card making and not every link below is an affiliate one! 😊
Hello my crafty friends! Today I'm sharing my Snowman Slider Box - I had SO much fun making it. And so much fun playing with it afterwards too. 😂 I have a walkthrough of this project, with all the details on YouTube
I added some die cut snowflakes with gems, and two decorated Surprise Cubes and when you slide open the drawer everything springs out. So much fun! The Snowman was adhered to a Bam Box - all the dies are by Karen Burniston and linked below.
As I said in the video, the card was inspired by the patterned paper and the cute Snowman die. I die cut a window into the box sleeve and backed it with acetate. I had been having trouble finding my Snowman die, and wanted to finish the project. So I ended up adding the circular embellishment to the center of the acetate and then, just before I started filming the video I got the Snowman Die! I had wanted him peeking out the window so I will do that another time.
Additional Supplies: White cardstock Black cardstock Black marker Seam Binding
This blog uses affiliate links whenever possible. This means, if you make a purchase through one of my affiliate links that you pay the same amount but I may receive a small commission from your purchase. I only link products that I own, love and use for my card making and not every link below is an affiliate one! 😊
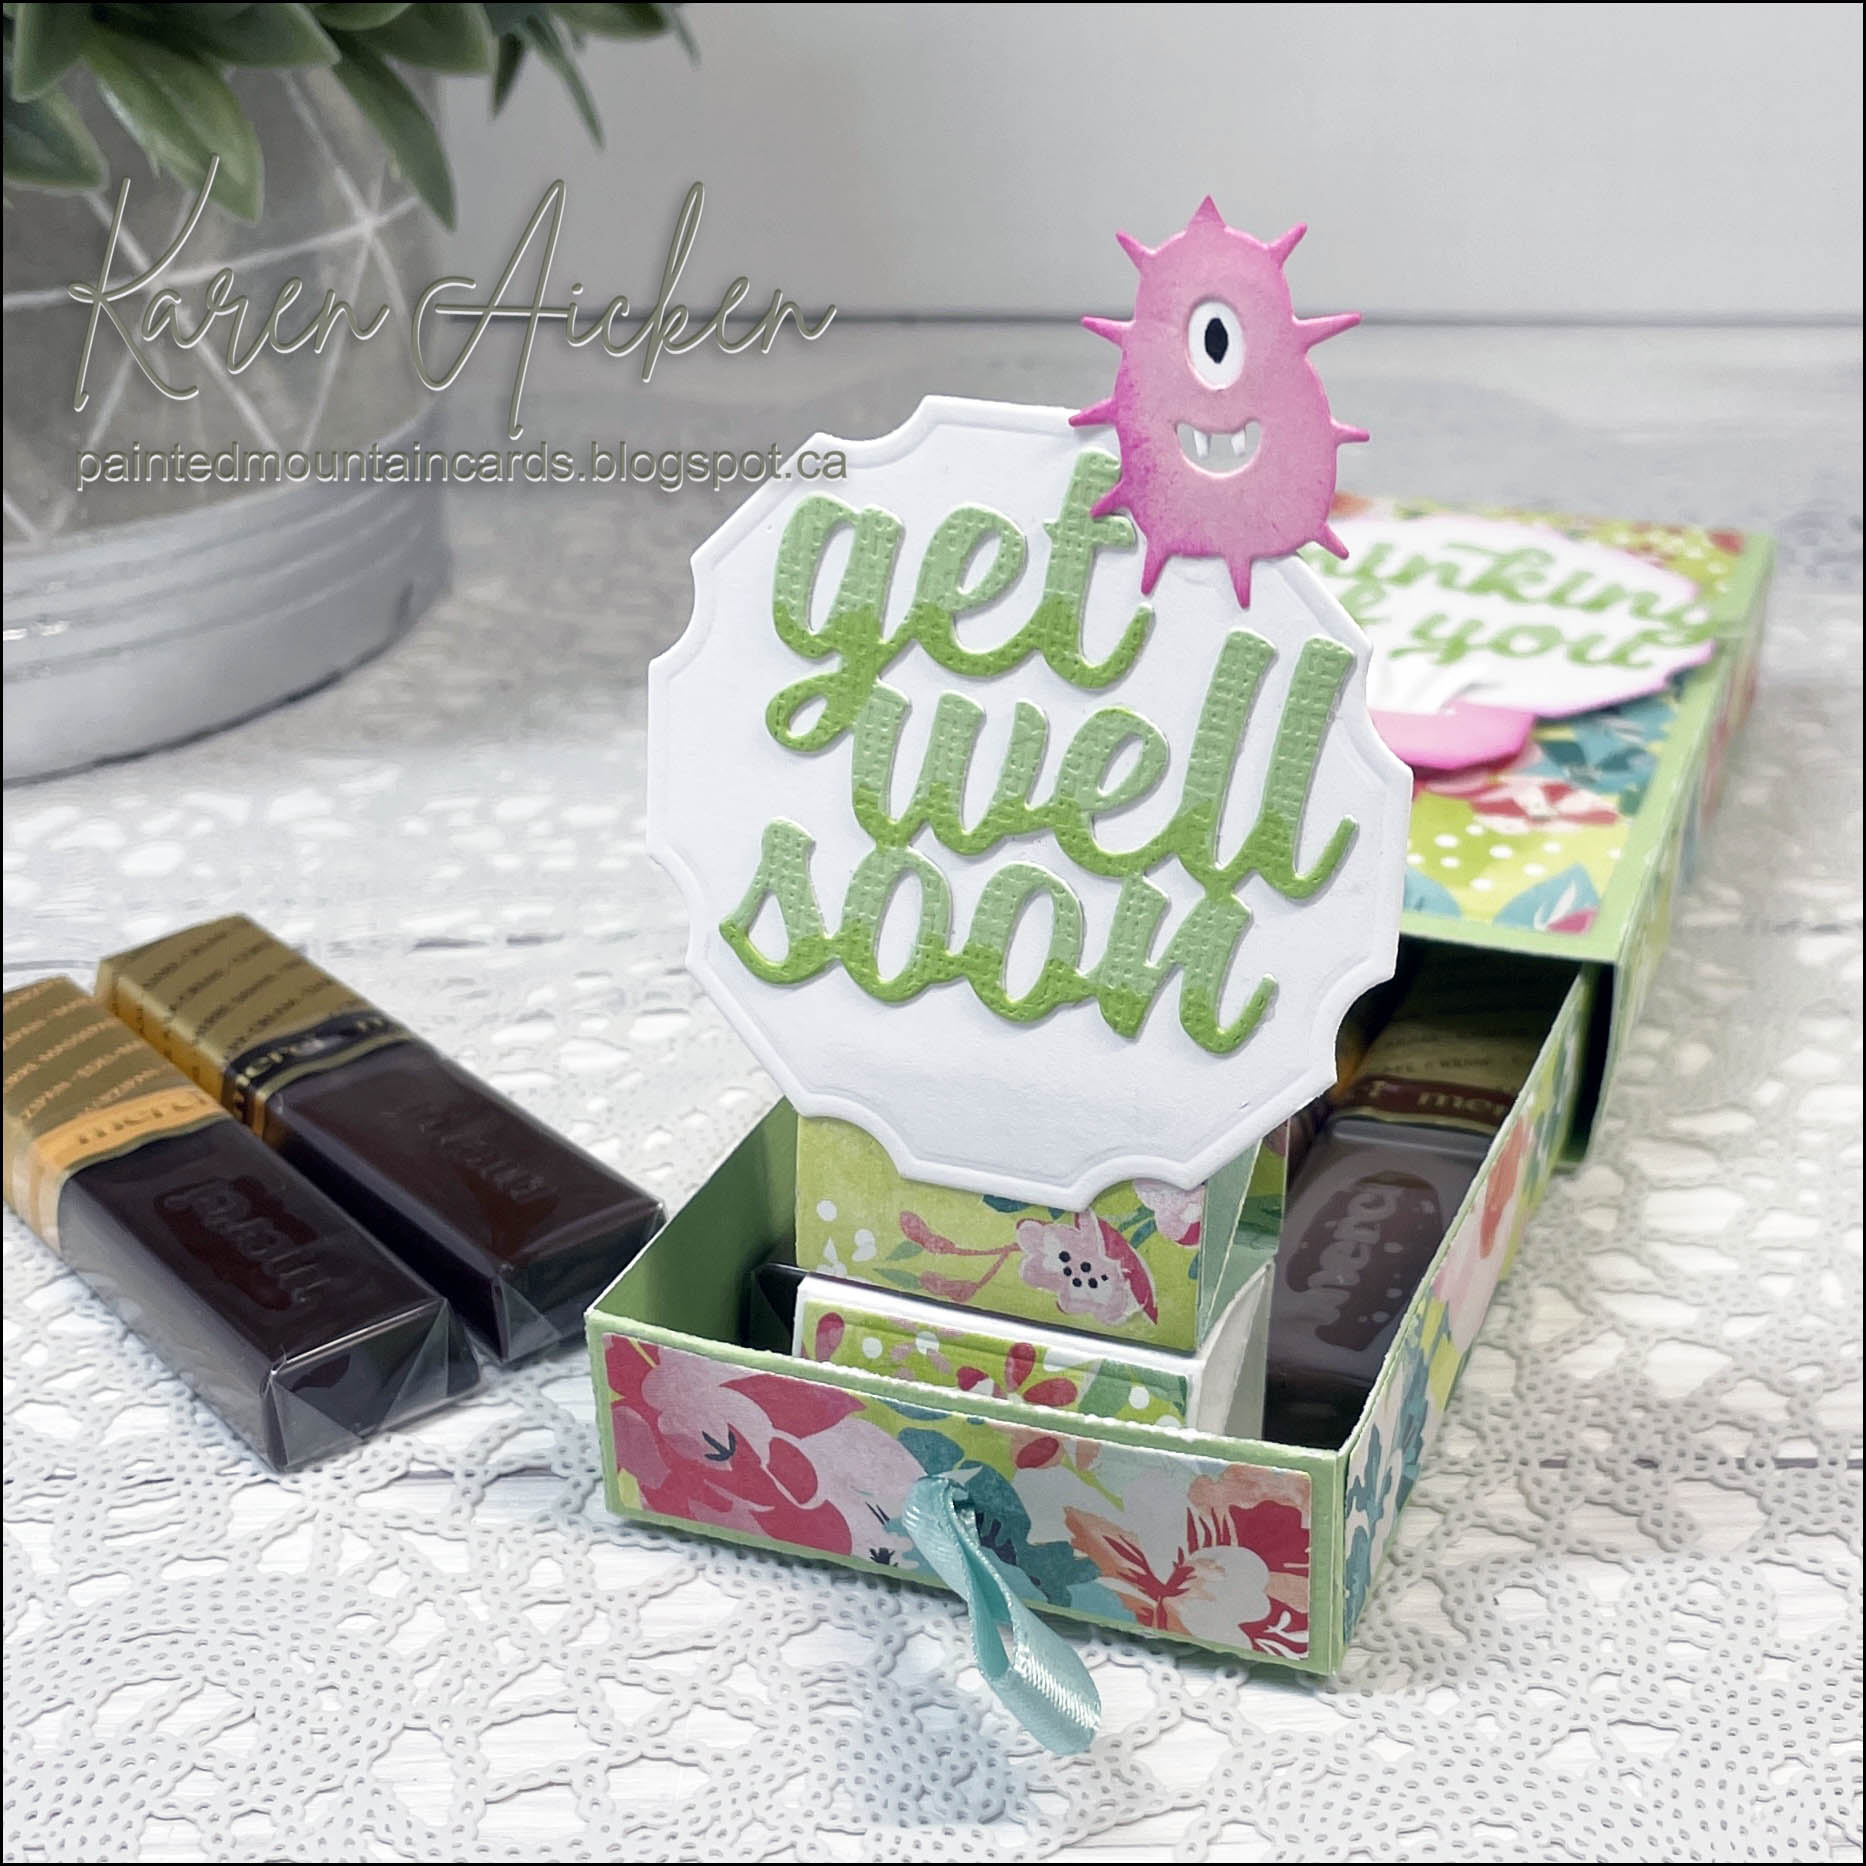
Hello my crafty friends and welcome to Fun Fold Friday here on my blog. Today's project is another Sneak Peek of Karen Burniston's upcoming new release; using the Slider Box and Bam Box. I also added the Get Well Charms and I talk about lots of ideas for this fun box in my YouTube video:
As I said in the video, I made this pretty much as soon as the Design Team received their sample dies -- back in early October! I wanted to send something to my Mother In Law, who wasn't feeling well and my husband was flying to Ontario to visit her. I thought this would bring a smile to her face. (She is much better now!)
Not only is there the fun pop up surprise (thanks to the Bam Boxes) but chocolates too! I stacked two Bam Boxes but you could also use a strip of acetate that is adhered to the bottom of the box instead. I just HAD to try the Bam Box and have been using it a lot since It is SO versatile and I hope you have been enjoying all the sneak peeks that the Design Team has been sharing this week.
... one more look ...
Below you can see all the items that are in this new release, which will be shipping on Monday. We will also be celebrating with a Blog Hop on Monday.
One of the ideas I suggested in the video, was to create a sleeve for tissue packages - perfect for cutting into a gift package! I used the rest of the patterned paper from the box above, and a felt sticker that had been sitting on my stamping table. It was leftover from another project and I figured it was a great way to use it!
Additional Supplies: Patterned paper - Basic Grey, Fresh Cut Peony #8 elastics/rubber bands White cardstock Black marker Felt flower - leftover sticker from my stash
This blog uses affiliate links whenever possible. This means, if you make a purchase through one of my affiliate links that you pay the same amount but I may receive a small commission from your purchase. I only link products that I own, love and use for my card making and not every link below is an affiliate one! 😊