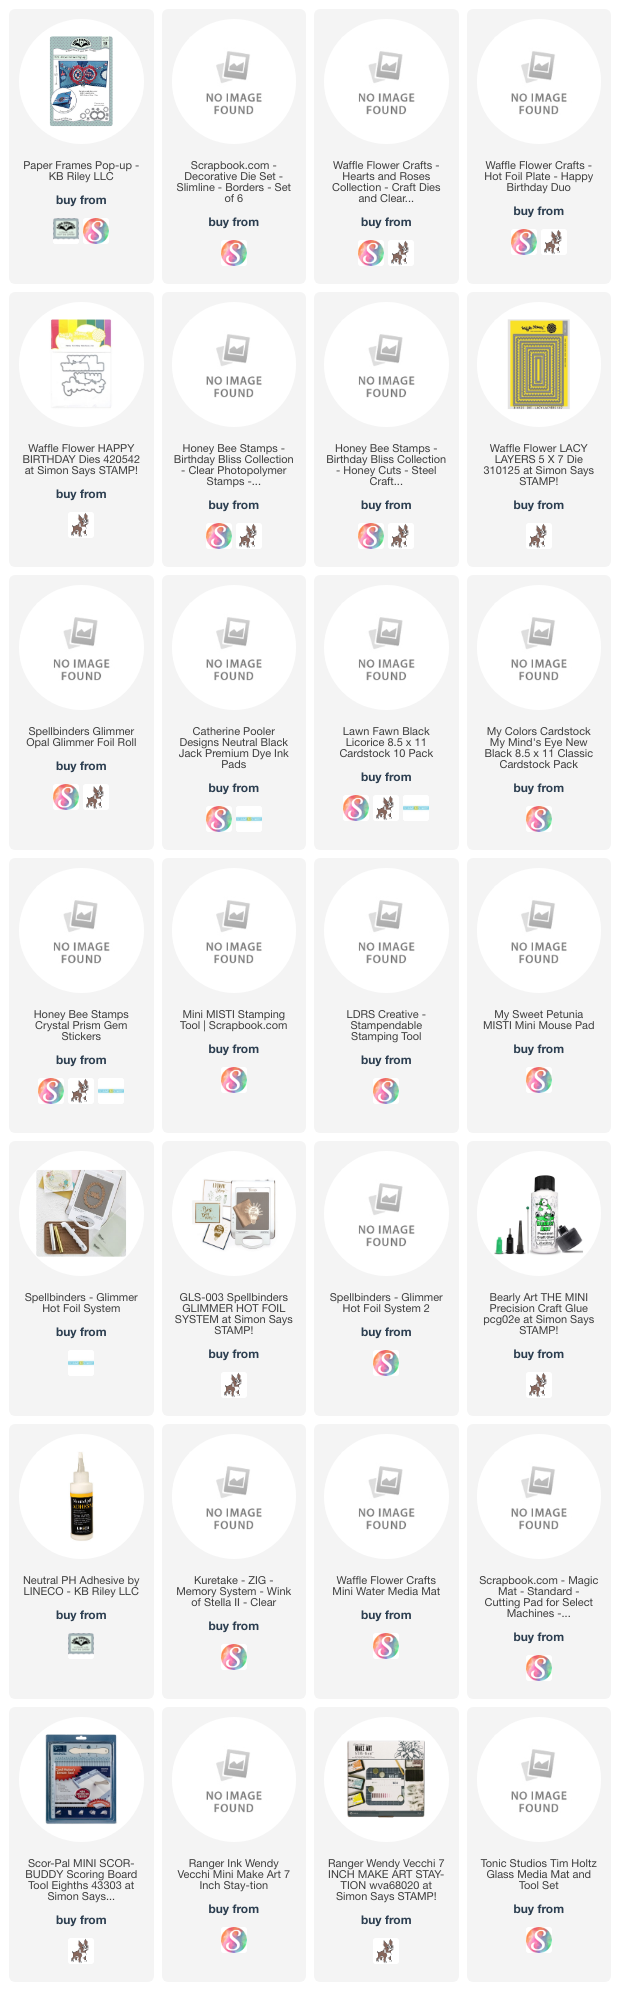
Since I have them, I got them out for this 5 x 7" card which was hand delivered when we had dinner together. My first play with Opal Glimmer Foil and I loved how it looked on black cardstock.

Inside, I used Karen Burniston's Paper Frames Pop Up cut from more of the patterned paper and added some sweet stamps from Honey Bee. The border dies are from Scrapbook.com and I linked as much as I could for you.

Below is what the card looks like when viewing from the top.

Late last year I was asked how many cards I make but I didn't have a clear number. Since many of my posts include more than a single card or project, I thought it would be fun to keep track this year.
Card Tally for 2023
January - 53 cards
February so far - 56 Cards
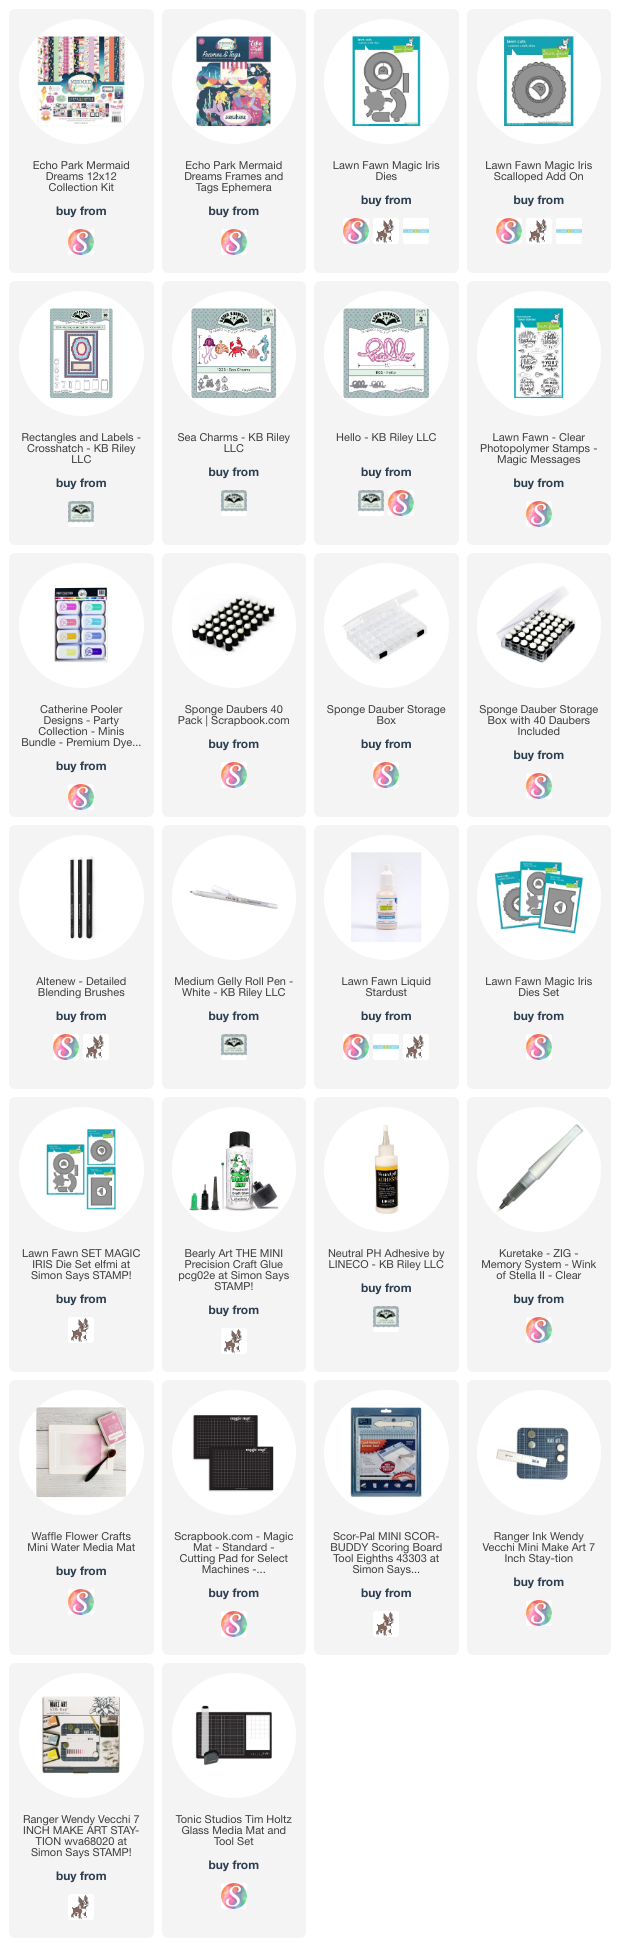
Additional Supplies:
5 x 7 card blank and envelope
Patterned paper & chipboard elements - Circle of Love, Stamperia
Stickers on envelope - stash
This blog uses affiliate links whenever possible. This means, if you make a purchase through one of my affiliate links that you pay the same amount but I may receive a small commission from your purchase. I only link products that I own, love and use for my card making and not every link below is an affiliate one! 😊