Showing posts with label Halloween Cards. Show all posts

Wednesday, 30 October 2024

Halloween Sheetload Cards


Since I like to work ahead on holiday cards and I had the bin of Halloween elements out anyhow - I decided to pull out a favourite Sheetload and make a batch of cards to have on hand for next year. The August 2021 Sheetload yields eight cards and I will need five of them for the grandkids. That leaves me three cards ahead to send to friends for Halloween 2025 😊

I pulled out some older Doodlebug patterned paper and got the card fronts all cut and assembled. Then I went through the elements and added the ones I thought worked with each card. Some got a punched white layer behind them so they would stand out more and most got a stamped sentiment.


Here is a peek the inside - I trimmed a strip of the patterned paper to add some colour inside, as well as a stamped sentiment.


Supplies used:
Patterned paper - Doodlebug Designs
3-D Stickers - old, from my stash
Label punch - Stampin' Up
Mini Strips Halloween, stamp and die - Taylored Expressions
Double Stitched Circle dies - Divinity Desigs
Resin stickers - Monster Bash - Stampin' Up
Sassy Pants Spooktacular - MFT Stamps

Thursday, 24 October 2024

Halloween Mini Slimline


When I was looking through my Halloween elements, I noticed that one package was almost gone - but these 3-D sparkly skull pieces were in it. I pulled all three out to make this card.

I cut the purple background using a die by Taylored Espressions then gave it a good spritz with shimmer spray. I added the 3-D skulls into the window openings and added a stamped sentiment. Then I pulled out an older package of resin stickers and added a crow above the sentiment.


Here is a peek at the inside where I wrapped holographic washi tape around the bottom edge and stamped the sentiment (in two parts). The resin sticker package also has the skull & crossbones in it so I added one inside. 


Supplies used:
Mini Slim Square Window Cutting Plate - Taylored Expressions
3-d Elements - old, from my stash
Resin crow & Skull/Crossbones - Stampin' Up (old)
Sassy Pants Spooktcular - MFT Stamps
Washi tape - old, from my stash
Shimmer Spray

Wednesday, 23 October 2024

Halloween Slimline Duo


I love making Halloween cards - and when I went through my bin to get this years ready to mail, I didn't have enough! Which surprised me as I usually have lots leftover at the end of October each year. I pulled out this Slimline paper pad,  found two panels that would work for Halloween and these are the cards I came up with.

I have had these 3-d elements in my stash for YEARS. I probably hoarded them for the first couple of years but I'm over that and have been making an effort to USE my supplies and not trying to make them last for the rest of my life. Ha.


Aren't these ones cute? The frogs came with the googly eyes - so fun. I added a stamped sentiment with thin foam tape to finish off the card front.


I stamped the sentiment on a white panel that had holographic washi tape wrapped around the bottom edge (another item from my stash) and added another pumpkin element. The panel was matted with black and added inside the card.


I chose a different package of elements for the second card, and added the die cut BOO instead of a stamped sentiment.


It's hard to see in the photo, but the purple BOO layer was sprayed with Shimmer Spray.


The inside was done the same as the first card ...


Supplies used:
Patterned paper panel - Slimline Paper Pack 'Enchanted Forest", Whimsy Stamps
3-d Elements - old, from my stash
BOO die - Photoplay
Shimmer Spray
Inside greetings - Papertrey Ink
Catherine Pooler coloured inks
Sponge dauber - Ranger
Washi tape - old, from my stash
Happy Boo day - Sassy Pants Spooktacular, MFT Stamps


Saturday, 28 October 2023

Halloween Infinity Shaker (with Pop Up)


I was putting away this patterned paper and spied a partial sheet with those crazy eyed pumpkins in the package. That was all it took to put the package back on my stamping table and make one more Halloween card. 😂


There was a 4 x 6" cut apart in the package as well, so I created an Infinity Shaker (also called Faux Shakers or Edge To Edge Shakers) using a transparency. The confetti inside the shaker is MANY years old and I added a cute Doodlebug enamel spider on top of the transparency for a fun touch.


Inside, I used one of the dies from Karen Burniston's Mini Pops and added a pumpkin to it. The pumpkin pops up as the card opens and just adds a little something extra to the card.


Having been asked how many cards I make I thought it would be fun to keep track this year. Many of my posts include more than a single card or project and below is my tally. 

Card Tally for 2023
January - 53 cards
February - 56 cards
March - 55 cards
April - 32 cards
May - 43 cards
June - 34 cards
July - 56 cards
August - 106 cards
September - 61 cards
October so far - 50 cards & 5 Tags

I decided to cancel the subscription that provided linked thumbnails to what products I used on my cards. It was costing me out of pocket each month, so I’m back to listing what I used.

Supplies:
Patterned paper & cut apart - Doodlebug Designs
Mini Pops Pop Up - Karen Burniston
Transparency
Black Pen
Confetti - stash
5 x 6.5" Card blank and envelope - Michaels
Spider - Spider Celebration Shape Sprinkles, Doodlebug Designs
Pumpkin inside - Ghost Town Odds & Ends, Doodlebug Designs
Greeting - Inside Greetings, Halloween (Papertrey Ink)
Wink of Stella


Thursday, 26 October 2023

Halloween Sheetload of Cards


Since I wanted Halloween cards for the five grandkids, I decided to give the October Sheetload another go - and this time pay attention 😂.  The first time I made the sketch I was listening to a good audio book and cut some of the papers incorrect AND messed up on the matting positions. Also  last week I shared a shaker card with a jewelled spider sticker but there were three stickers in the package. I was able to use up the final two spiders with this set of cards, and most of the 3-D stickers got used up too!


Those stickers have been in my stash for a long time, in a baggie with no packaging. So I have no idea where I got them. There are only a few left and I'll be able to use them up next year. 


Below is the inside - using a stamp set from Your Next Stamp. Since my Halloween cards have all been mailed this year, I will save the remaining three from these ones for next Halloween.


Having been asked how many cards I make I thought it would be fun to keep track this year. Many of my posts include more than a single card or project and below is my tally. 

Card Tally for 2023
January - 53 cards
February - 56 cards
March - 55 cards
April - 32 cards
May - 43 cards
June - 34 cards
July - 56 cards
August - 106 cards
September - 61 cards
October so far - 49 cards & 5 tags

I decided to cancel the subscription that provided linked thumbnails to what products I used on my cards. It was costing me out of pocket each month, so I’m back to listing what I used .

Supplies:
Jewelled spider - Recollections (old)
3D Ephemra stickers - Unknown, (old)
Spooky Fun - Your Next Stamp
Catherine Pooler Inks

Friday, 20 October 2023

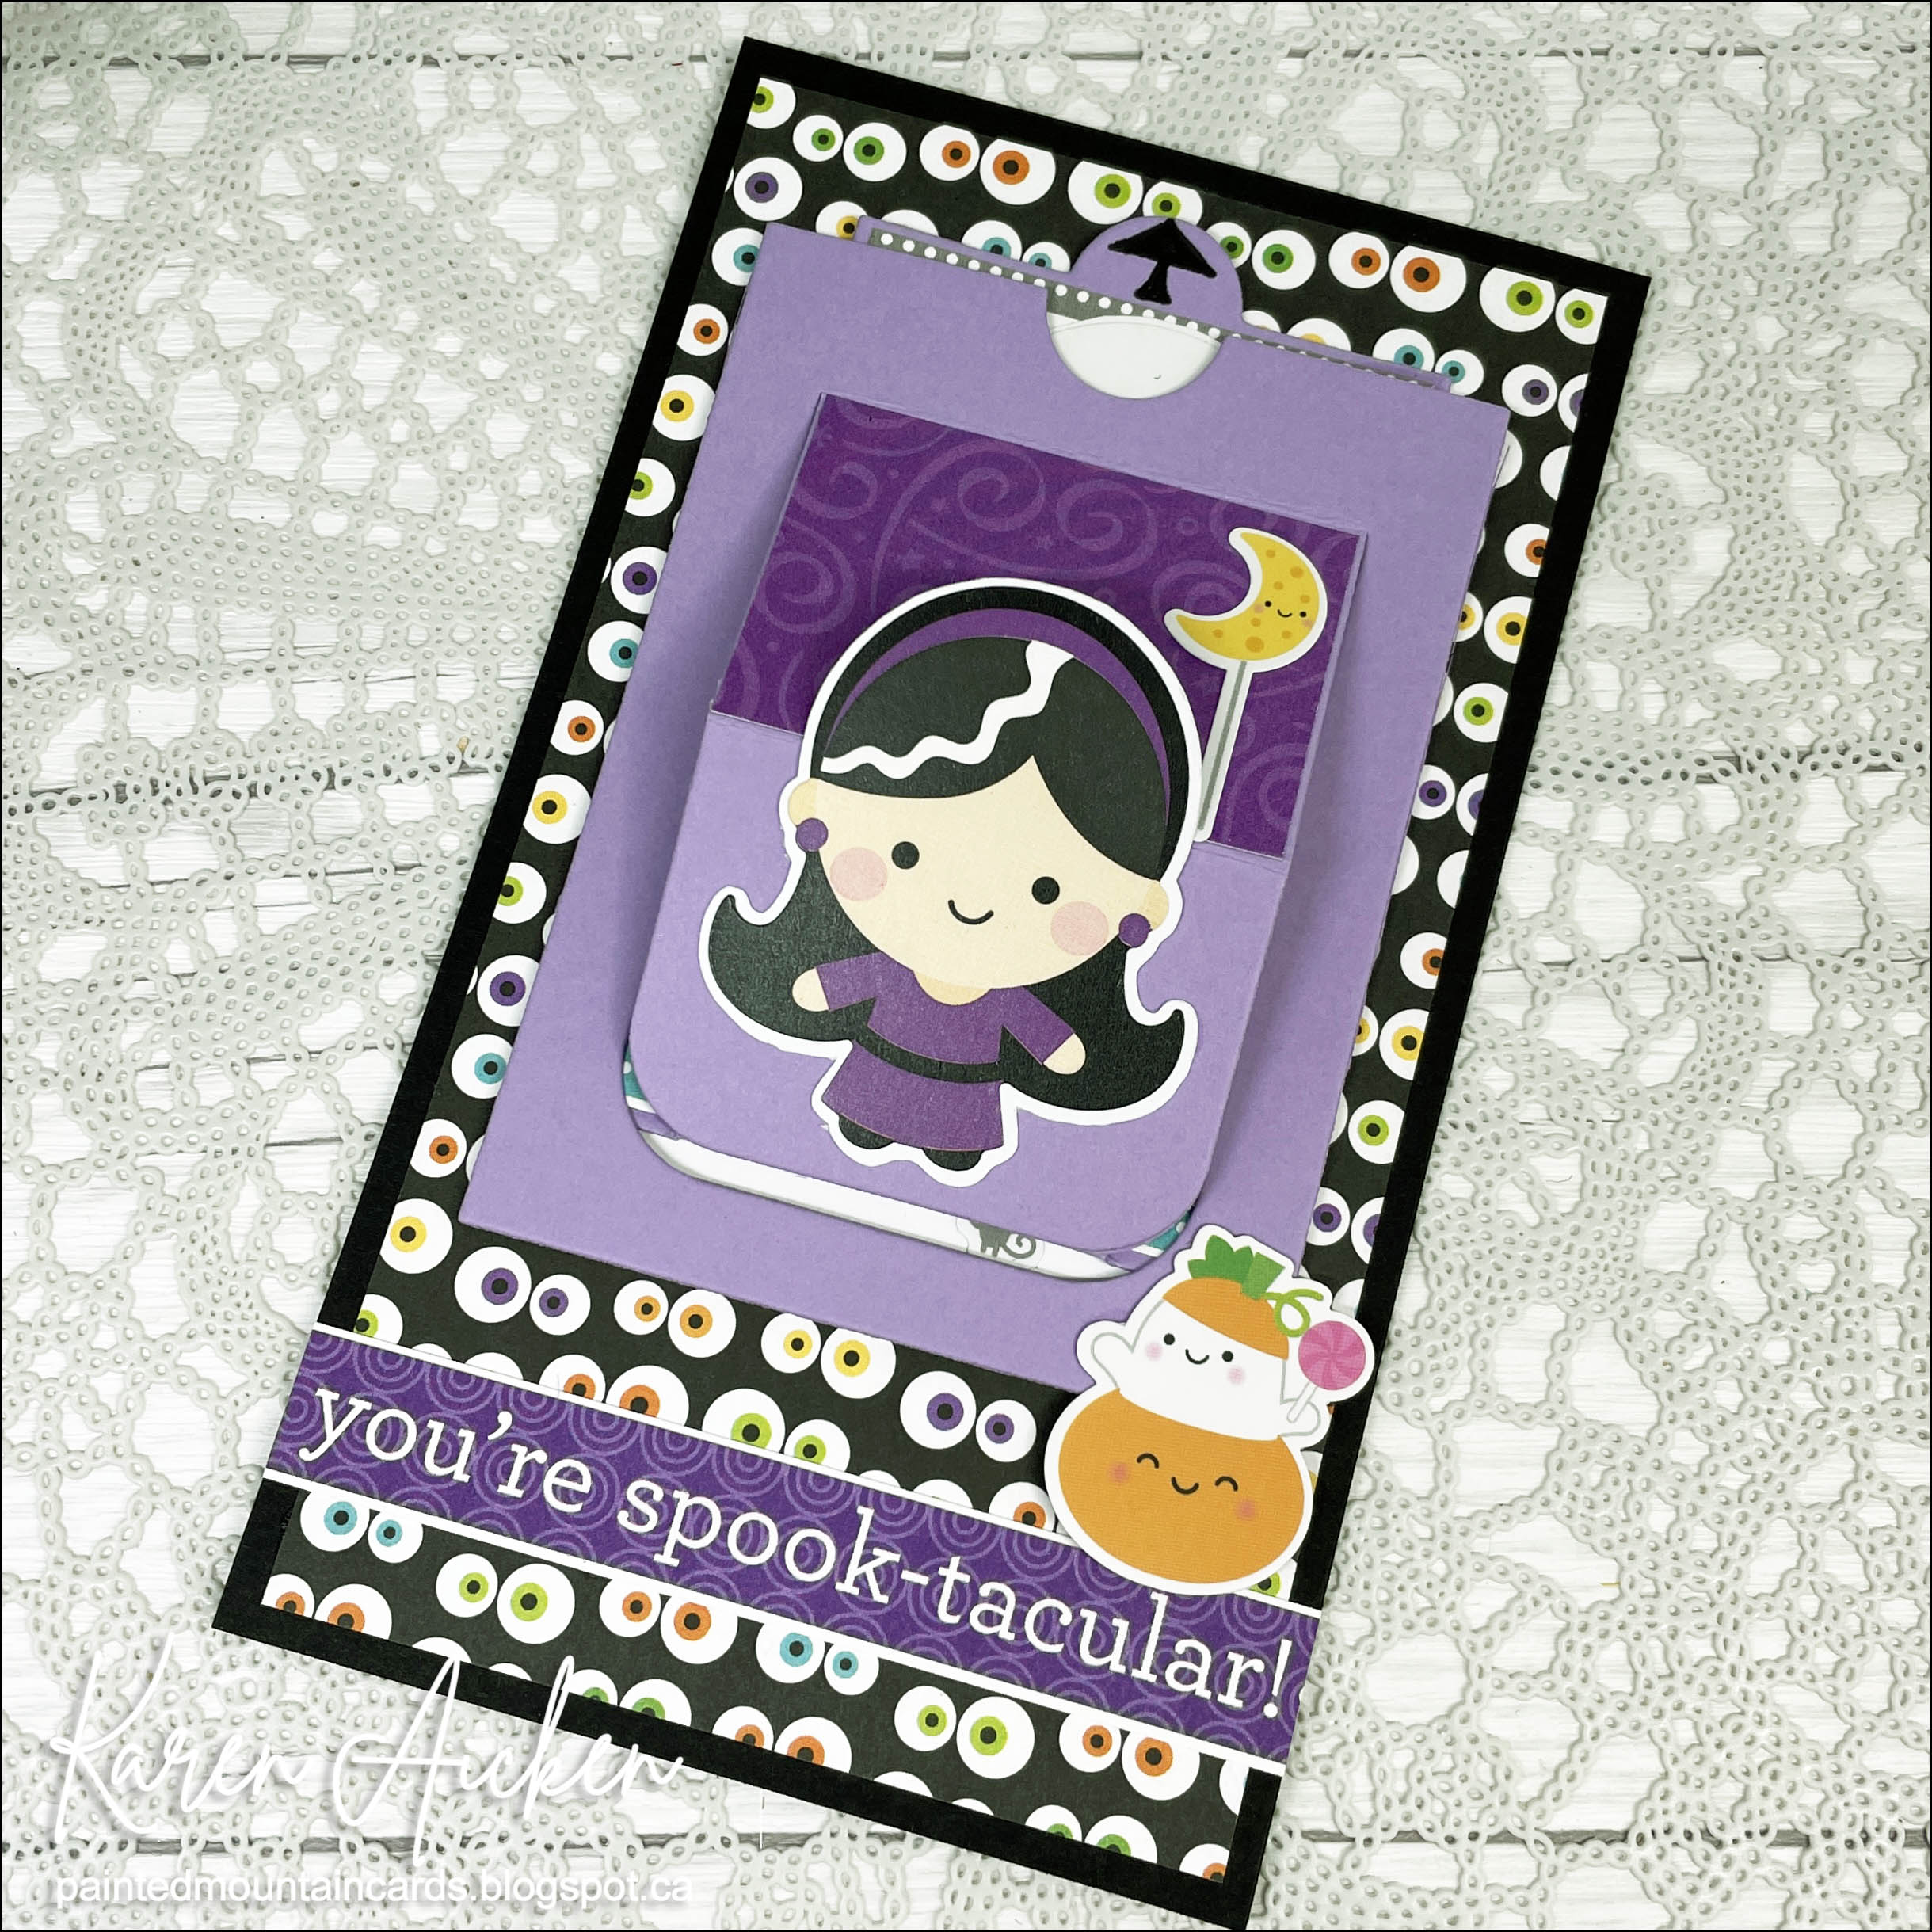
Mini Slimline Pull Tab Card for Halloween


Welcome to Fun Fold Friday on my blog! Today I'm sharing a Mini Slimline card made as the October edition to my monthly series 'Throwback Fun Fold Dies'. I pulled out these VERY OLD pull tab dies from Papertrey Ink. At the time there were very few fun fold dies out there, and I thought these were so fun! 


When you pull the tab, the center section lifts up to reveal the stamped sentiment. Aren't those tiny mouse stickers adorable? I added one in the greeting  area and one on the back as well. All of the papers, stickers and ephemera are from Doodlebug Designs. ❤️


When I make a card like this, I tend to make them post card style rather than an opening card. Below is the back of the card, which is where I will add our personal message & signature. The stamp set by Karen Burniston & is retired. It continues to be a set I pull out and use every year!


Having been asked how many cards I make I thought it would be fun to keep track this year. Many of my posts include more than a single card or project and below is my tally. 

Card Tally for 2023
January - 53 cards
February - 56 cards
March - 55 cards
April - 32 cards
May - 43 cards
June - 34 cards
July - 56 cards
August - 106 cards
September - 61 cards
October so far - 35 cards

I decided to cancel the subscription that provided linked thumbnails to what products I used on my cards. It was costing me out of pocket each month, so I’m back to listing what I used.

Supplies:
Pull Tab die - Papertrey Ink (old)
Patterned paper - Doodlebug, Boos & Brews
Stickers - Doodlebug, Ghost Town
Catherine Pooler Inks
Halloween stamps - Karen Burniston/ECD (retired)

Wednesday, 18 October 2023

Spider Web Shaker Card


When I was looking through my Halloween stamps/dies I came across this spider web die from Queen & Company. Since I had the jewelled spider stickers on my stamping table from an earlier search through the embellishment bin I had an AH-HAH moment. Ha.

But when I pulled out the spider web die, I realized it had actually been a card kit from Q&Co and there was the foam frame and transparency in there - enough for two cards! The kit had originally included enough for three cards and obviously I had made one up the year I bought it. Now I have one left that I can make next year. 😊


The spider shows up in real life because of the sparkle, but I still like how subtle it is in the photos ... extra creepy (NOT a spider fan). After cutting the web from black cardstock, I added some shimmer with Wink of Stella. 


Inside I added an ink blended panel under a white one, which was decorated with a couple of punch outs from an older Doodlebug patterned paper package. I hand wrote the 'happy' with a black pen and my card was done.


NOTE:  While the card easily fits into the envelope and isn't all that heavy - it IS bulky from the foam tape and gems. I was hand delivering it though, so all good.


Having been asked how many cards I make I thought it would be fun to keep track this year. Many of my posts include more than a single card or project and below is my tally. 

Card Tally for 2023
January - 53 cards
February - 56 cards
March - 55 cards
April - 32 cards
May - 43 cards
June - 34 cards
July - 56 cards
August - 106 cards
September - 61 cards
October so far - 33 cards

I decided to cancel the subscription that provided linked thumbnails to what products I used on my cards. It was costing me out of pocket each month, so I’m back to listing what I used.

Supplies:
Black 5 x 6.5" card base & envelope (stash)
Spider Web die etc - kit from Q & CO (old)
Jewelled spider - Recollections (old)
Black Sharpie
Various sequins & confetti - stash
Wink of Stella
Patterned paper - Doodlebug
Ephemera punch outs - Doodlebug
Catherine Pooler Inks
Blending Brushes - Taylored Expressions
Glitter Dots - Ecstasy Crafts
Mini Strips Halloween (stamp and die) - Taylored Expressions

Friday, 13 October 2023

Halloween Book Easel Card


It's Fun Fold Friday here on my blog and todays card is for the October edition of my Monthly Series "New Fun Folds". I admit to purchasing this die set on a whim - I had some staples in my online shopping basket at R&R Scrapbooking and was randomly scrolling through pages. I have probably looked at this die set many times but on that day it really appealed to me. 

Add To Cart 😂


I have lots of ideas for it and had fun making this one up for Halloween. Initially I wanted to make a 'Book of Spells" ... but it morphed into a cute Halloween Easel Card instead. The Book of Spells is still on my list of ideas though!


The papers and ephemera are all by Doodlebug and have been in my stash for a long time. I  added a sparkly spider sticker as well. The wings on the bat element got some sparkle using a Wink of Stella pen and the black ribbon is also sparkly. 

While I did add foam tape to each of the page layers, I used thin foam tape so the card would be mailable. The lift to the pages shows better in real life. If I were hand delivering the card, I would use thicker foam tape. One of my ideas is to make a music book for our granddaughters piano teacher at the end of the year and for that one I will be using lots of foam tape!


Below is a peek at the inside, and where I will write my personal message when I send this card off to a paper crafting friend. The 'Boo To You' is one of the punch out elements that were included on a 12 x 12" sheet in the sample Doodlebug package and was popped up with foam tape to act as the bumper for the Easel part.

The card base itself was easy peasy - black cardstock cut 10 x 7" and scored at 5" to create a 7 x 5" card. The front was scored at 2.5" across the 7" side and the assembled book was adhered to the bottom flap - not crossing that 2.5" score line. That way it stands up nicely for display!


The card folds flat for mailing and fits in a standard 5 x 7" envelope.


Having been asked how many cards I make I thought it would be fun to keep track this year. Many of my posts include more than a single card or project and below is my tally. 

Card Tally for 2023
January - 53 cards
February - 56 cards
March - 55 cards
April - 32 cards
May - 43 cards
June - 34 cards
July - 56 cards
August - 106 cards
September - 61 cards
October so far - 20 cards

I decided to cancel the subscription that provided linked thumbnails to what products I used on my cards. It was costing me out of pocket each month, so I’m back to listing what I used.

Supplies:
Beautiful Book Pages - Moonstone (Hunkydory)
Patterned paper & punch outs - Doodlebug Designs (old variety pack)
Black Sparkle Ribbon - Stampin' Up
Stickers - Dollar Store
Nuvo Glaze
Wink of Stella

Tuesday, 10 October 2023

Halloween Platform Pop Up Card


Here is the October edition to my monthly series "Platform Pop Up Cards". I created the Platform Pop Up base using the fun patterned paper (Doodlebug Designs) then adhered the Add On cut from black card stock. I used the included layering dies and a different patterned paper to decorate the Add On backing piece as well as a few black punched clouds. 


The pumpkin is also from Lawn Fawn - I have had it for a couple of years and I like that the face is separate so it doesn't have to be a Jack O Lantern if I want just a pumpkin. 😊  The stickers on the center front, as well as the ephemera are also from Doodlebug.


I added a small signing block to the back as well as one of the 2" square cut-aparts that were on one of the sheets in the Doodlebug package.


Below you can see how flat the card folds down for mailing!


Having been asked how many cards I make I thought it would be fun to keep track this year. Many of my posts include more than a single card or project and below is my tally. 

Card Tally for 2023
January - 53 cards
February - 56 cards
March - 55 cards
April - 32 cards
May - 43 cards
June - 34 cards
July - 56 cards
August - 106 cards
September - 61 cards
October so far - 17 cards

I decided to cancel the subscription that provided linked thumbnails to what products I used on my cards. It was costing me out of pocket each month, so I’m back to listing what I used.

Supplies:
Stitched Pumpkin Frame - Lawn Fawn
Outside In Stitched Pumpkin - Lawn Fawn
Platform Pop Up - Lawn Fawn
Platform Pop Up Add On - Lawn Fawn
Patterned paper - Ghost Town, Doodlebug
Polka dot patterned paper - Sweet Celebration (6x6"), MFT Stamps
Blending brushes - Taylored Expressions
Catherine Pooler inks
Cloud punch - Stampin' Up
Cut apart & border sticker - Ghost Town, Doodlebug Designs 
Wink of Stella
White gem stickers - Honey Bee Stamps

Monday, 9 October 2023

Halloween Accordion Card


As soon as I saw Karen Burniston's Fence Add-On for the Landscape Accordion, I knew exactly how I wanted to use it first. I haven't made a Landscape Accordion in awhile and when I was die cutting this one I remembered how much I like it. The two add-ons are brilliant - there is this fence (which comes with flower accessory dies) and a cupcake one. I'm itching to play with the Cupcake Add-On next!


Below is how the card looks coming out of the envelope. I love that Happy Halloween oval, which actually has a bat below the words. Since I was using cute elements to decorate the card, I covered up the bat with the spider ephemera piece. I also added punched clouds that have some doodles on them.


Below is the back of the card. I cut the fence four times, twice for each accordion panel. Then I could sandwich the tab in between the fences for a clean look on the back side.


Here is the card fully open, and how it will be displayed. I generally only make 2 page accordions as they can take up a lot of room! This one is about 10" across when open. While the Landscape Accordion card would normally fit in a #8 envelope (Mini Slimline sized) - the clouds stick up too much so I used an envelope sized for a 4x6" photo instead. I decorated the flap with Washi Tape.


Some of the pieces I used were stickers and not ephemera. Those were attached to white card stock then fussy cut which makes them nice and sturdy and you can easily use foam tape behind them for dimension!

Having been asked how many cards I make I thought it would be fun to keep track this year. Many of my posts include more than a single card or project and below is my tally. 

Card Tally for 2023
January - 53 cards
February - 56 cards
March - 55 cards
April - 32 cards
May - 43 cards
June - 34 cards
July - 56 cards
August - 106 cards
September - 61 cards
October so far - 16 cards

I decided to cancel the subscription that provided linked thumbnails to what products I used on my cards. It was costing me out of pocket each month, so I’m back to listing what I used with a few affiliate links included.

Supplies:
Landscape Rectangle Accordion - Karen Burniston
Fence Add Ons - Karen Burniston
Short Rectangles Crosshatch - Karen Burniston
Halloween Charms - Karen Burniston
Ovals Crosshatch - Karen Burniston
Cloud punch - Stampin' Up
Patterned paper  & stickers - Doodlebug Designs
Elements - Doodlebug Designs
Purple fine line marker

Wednesday, 4 October 2023

Halloween Magic Iris Card


Today I'm sharing the October edition to my monthly series "Magic Iris Cards". I had fun making this one, probably because I enjoy Doodlebug Designs so much. When you slide down the lever the shutters open to reveal those scared eyes.


 I added a die cut BOO! & spiders and some ephemera to complete the card front.


Here is a peek at the inside ...


Having been asked how many cards I make I thought it would be fun to keep track this year. Many of my posts include more than a single card or project and below is my tally. 

Card Tally for 2023
January - 53 cards
February - 56 cards
March - 55 cards
April - 32 cards
May - 43 cards
June - 34 cards
July - 56 cards
August - 106 cards
September - 61 cards
October so far - 13 cards

I decided to cancel the subscription that provided linked thumbnails to what products I used on my cards. It was costing me out of pocket each month, so I’m back to listing what I used with a few affiliate links included.

Supplies:
Patterned paper - Boos & Brews, Doodlebug Designs
5 x 7" card blank and envelope
Blending brushes - Taylored Expressions
Ephemera - Boos & Brews, Doodlebug Designs
Nuvo Glaze
Wink of Stella
Washi tape- stash
Sassy Pants Spooktacular stamps - MFT Stamps
Spider dies - Taylored Expressions
Boo! - Halloween Elements, Karen Burniston

Tuesday, 18 October 2022

Mini Slimline Shaker Card Duo for Halloween


Hello my crafty friends.  Today I'm sharing a pair of Mini Slimline Shaker cards I made for Halloween. These shakers are 'edge to edge' or 'full front' shakers. Which means a piece of acetate was cut larger than the cut apart, the mitred corners were wrapped around the cut apart panel adhered to the back on 3 sides. After pouring sequins in that 4th side is adhered down at the back and the shaker part is done!

For this first card, the 'October 31st' panel is the full shaker and I adhered it to some cute Patterned paper by Doodlebug Designs. In fact, pretty much everything I used on these cards is by Doodlebug Designs! Below is the inside of the first card ...


Next up is the Mini Slimline with the 'Trick or Treat' panel being the full front shaker. 


I added one of those enamel dot spiders to the top of the shaker - I get such a kick out of those things.


Finally, here is a peek at the inside of the second card ...


Since not everything I used is available anymore, I will link a few other Doodlebug Designs sets (that I also have!).

This blog uses affiliate links whenever possible. This means, that at no cost to you, if you make a purchase through one of my affiliate links that I may receive a small commission from your purchase. I only link products that I own, love and use for my card making and not every link below is an affiliate one! 😊

Any supplies I'm unable to link are listed at the very bottom of my post.

Additional Supplies:
Journal cards, papers & stickers - various Doodlebug packages, including Boos & Brews.
Acetate - stash
White cardstock
Sequins - Purple Rita, Picket Fence Studios
Element inside, old, random collection of D Bug (or other embellishments, not necessarily inside)???