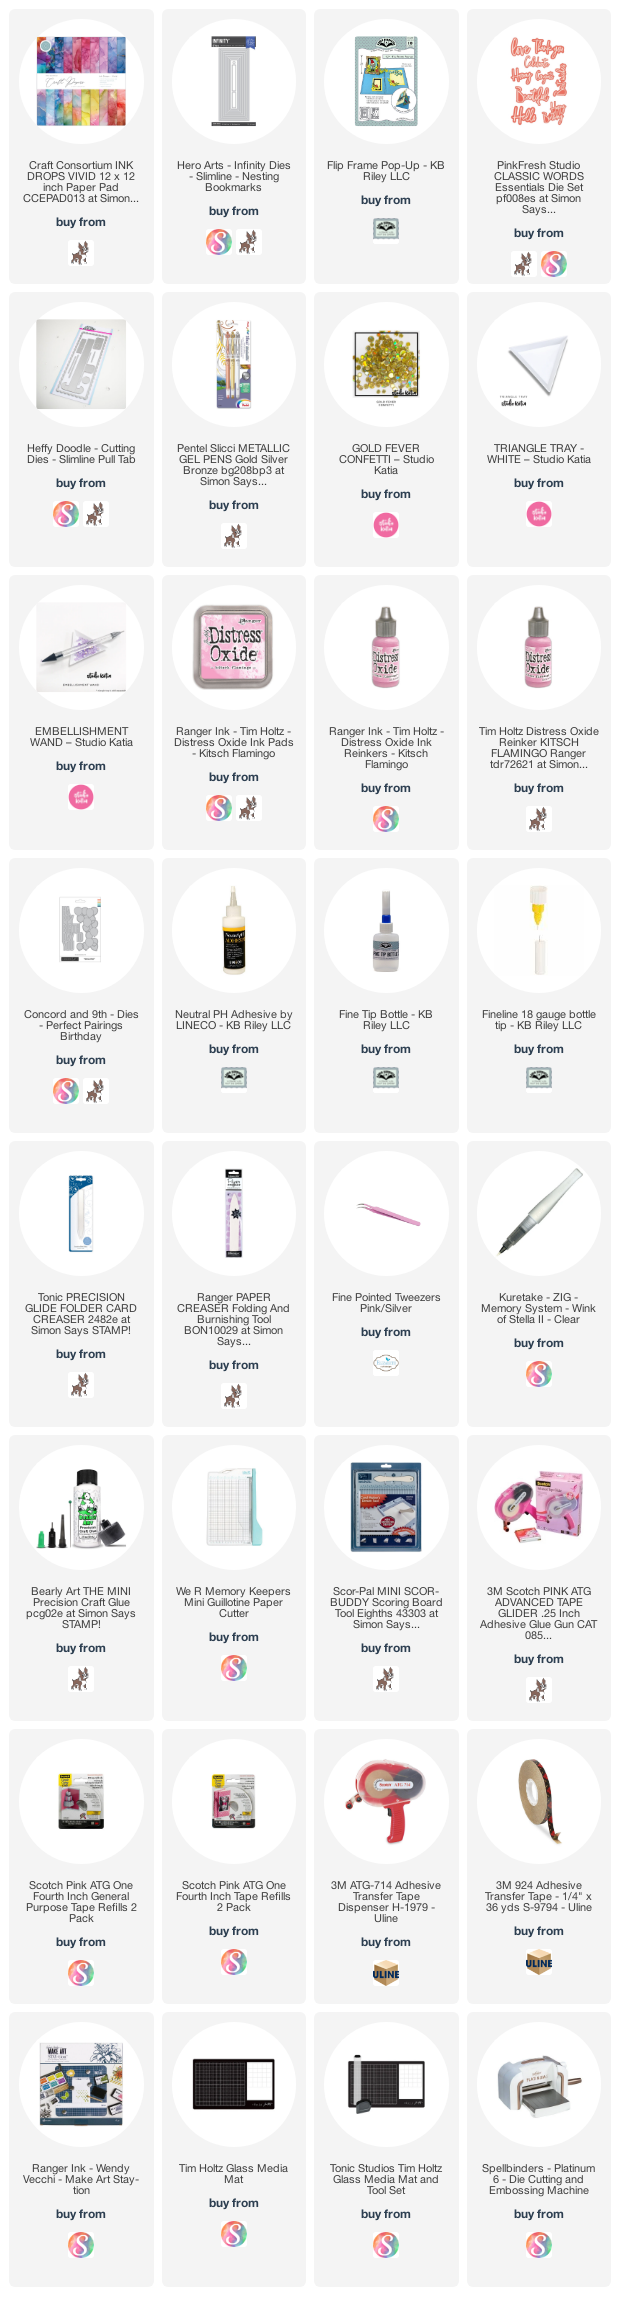
Hello! Simon Says Stamp is celebrating their 12th year of STAMPtember, and today is the day that they collaborate with Riley & Company. Each day of September, SSS collaborates with a different company with a special product that is only available while supplies last. Last year the Riley & Company collaboration set sold out, so if you like this set as much as I do - you will want to head right over to Simon Says Stamp to snag it. I have everything that's available, linked below for you. I also have a walkthrough of my card on YouTube:
Here is the front of my card ...
My card is 4 x 6" and the dies I added are from Karen Burniston. The Crosshatch Ovals and the Flip Frame Pop Up. For the front, I fussy cut the Riley face and popped it up below the fun sentiment.
Inside is the Flip Frame Pop Up. I added some white gel pen Zentangle to the frame. I love how Riley the Moose is pulling Simon the dog in this set.
On the left side of my card, is another one of the sentiments included in the stamp set.
I coloured Riley with dye inks and a water brush. After the first layer of colour dried I added a second layer and let that dry. Finally I added some shading with a pencil and glossy accents to the sunglasses, and Simon's eyes & nose.
Remember these stamps are available at Simon Says Stamp only as long as supplies last!
Additional Supplies: Grey Copic markers Patterned Paper - Over The Rainbow, Recollections
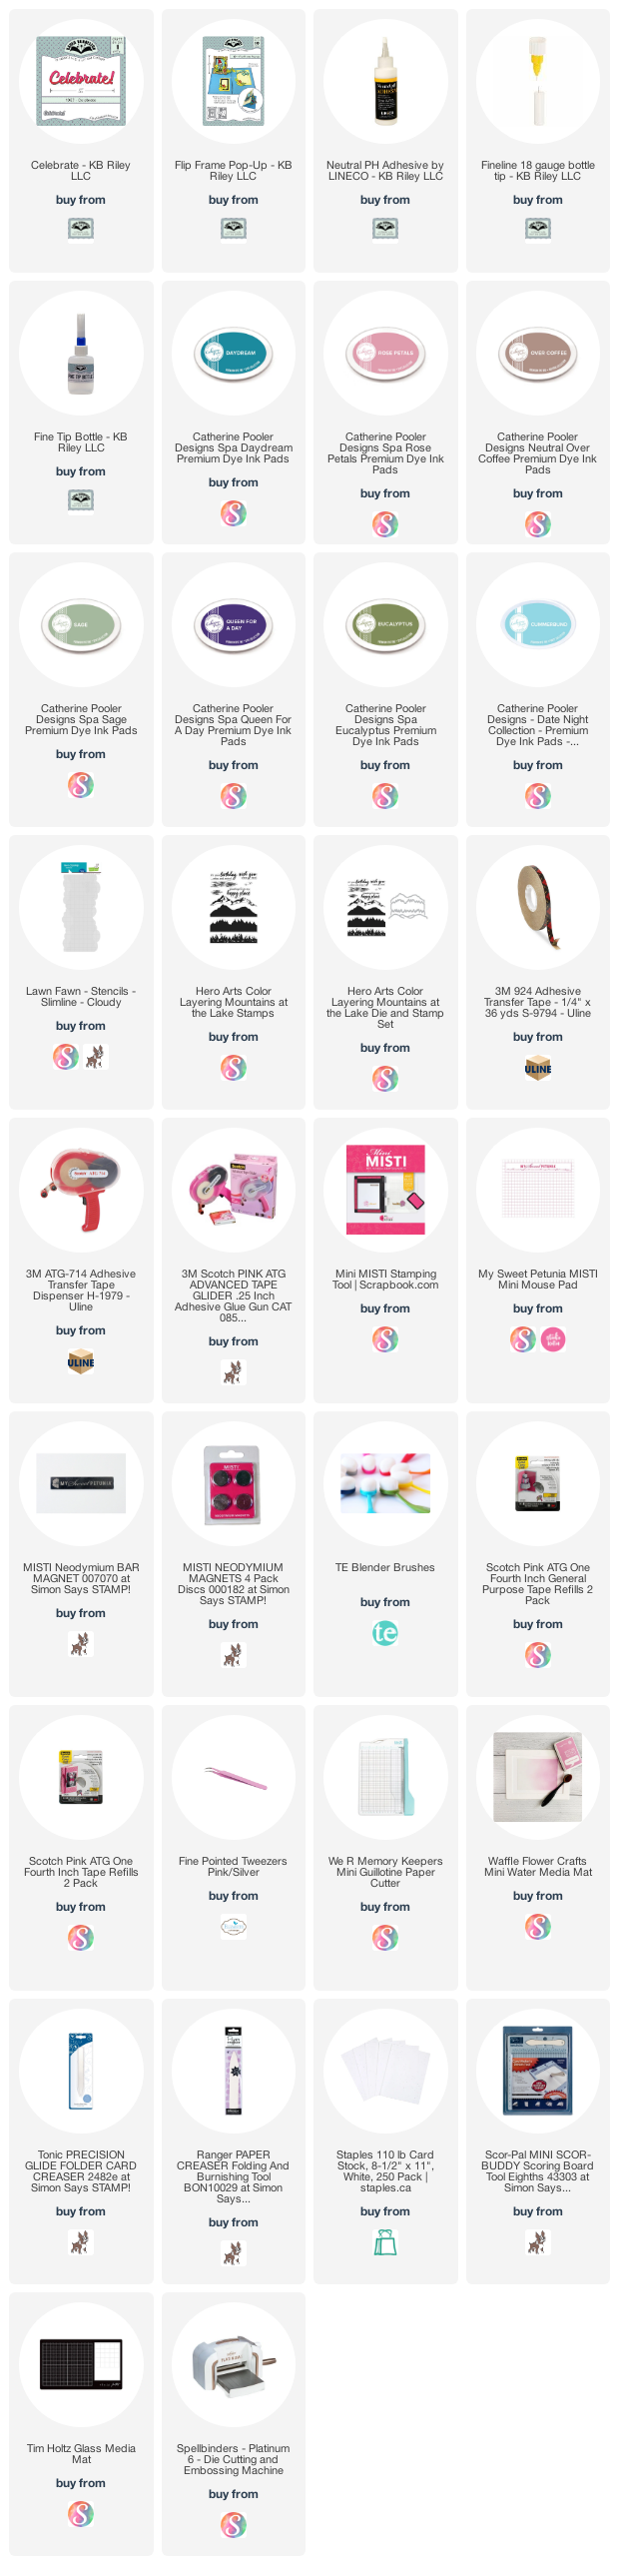
Today I'm sharing the Slimline Birthday Card I sent to a friend. I used more of that alcohol inked patterned paper as well as the last of the sprigs from the June Paper Pumpkin kit. The Celebrate was adhered to a gold foil shadow, and I added some sparkly sequins and gold gel pen highlights as well. Everything that is available is linked below.
Here is a peek at the inside ...
I've been watching for larger, tall sentiments to use for my Slimline cards so picked this set up in late June. This card has been done since then, but I didn't want to post it until my friend received it. The flowers and leaves are from Karen Burniston's Flip Frame Pop Up and I cut them from scraps of the same patterned paper as on the card front and inner panel. I had been adding several floral clusters on a lot of my Guest Designer posts for Divinity Designs, and now I really like the look!
This blog uses affiliate links whenever possible. This means, that at no cost to you, if you make a purchase through one of my affiliate links that I receive a small commission from your purchase. I only link products that I own, love and use for my card making!
Additional Supplies: June Paper Pumpkin Kit, Expressions in Colour - Stampin' Up Purple card stock - stash Gold foil card stock - Stampin' Up
Hello! It's Masculine Card Monday here on my blog and I have a pop up Birthday card to share. I went to send a friend a Birthday Card back in May and discovered I didn't have any pop up masculine cards in my stash! I had been able to find a couple of unused Paper Pumpkin kits online and this "Manly Moments from May 2018" was one of them so I pulled it out.
I made three pop up cards with this kit (in May) and in June I was surprised to see that Stampin' Up has brought this back as one of their current kits. I absolutely love it, so if you are looking for it you can contact your demonstrator. I'm sharing this first card today, and will share the other two soon. I also have a walkthrough of my card on YouTube:
I didn't deviate from the instruction sheet as I REALLY liked the card front exactly as shown. The only thing I did differently, is add the stamped birds from the March Paper Pumpkin Kit. I also popped up the laser cut trees with thin foam tape, but since I didn't look at the directions I don't know if that was suggested or not. I just liked the look.
Inside, I added a stamped panel and Karen Burniston's Flip Frame Pop Up. If you reverse the folds on the arm, you can have the pop up feature on the right side, which is what I did here. The Celebrate on the left side is also from Karen Burniston.
Below is Karen Burniston's assembly video for the Flip Frame Pop Up.
For your convenience I have linked many of the products used below. Some may be affiliate links which means if you use these links to purchase I may earn a small commission at NO extra cost to you.
Additional Supplies: May 2018 Paper Pumpkin Kit - Manly Moments, Stampin' Up Stamps from March 2021 Paper Pumpkin 'Here's To You' Kraft card stock
Hello! Welcome to the Karen Burniston (KB Riley) & Sassy and Crafty Blog & Instagram Hop! Our Design Team members are excited to share their inspiring creations using some of the fabulous products from both these companies.
To celebrate our blog hop we have four great prizes to give away. You will have the chance to win one of two $25 Gift Certificates to use on the Karen Burniston (KB Riley) website or one of two $25 Gift Certificates to use on Sassy and Crafty website. I have all those links below my card photos.
I have created two cards for this collaboration, both are Pop Up Cards using dies by Karen Burniston and stamps/stencil from Sassy & Crafty. All the details are on my YouTube video:
First up is a butterfly Birthday Pop Up card ...
The rainbow pieces were created with Washi Tape that was adhered to white card stock and die cut. To create my A6 card base, I cut my card stock 11 x 4.5", and scored it at 5".
Inside, I used the Cupcake Pop Up, and as I so often do, I disguised the cupcake shape with a different shape. This card uses the Squares Crosshatch, which gave me a perfect place to highlight the rainbow coloured butterfly and add one of the sentiments from the Flutter By set onto the lower step that cuts with the Cupcake Pop Up.
The pretty background was created with blending brushes, dye ink and the Butterfly Wings Stencil.
I took the colours for the butterfly from the rainbow Washi Tape. After adhering two strips of Washi Tape one above the other, I die the one of the Border Blends Argyle and adhered it to the inside bottom of my card. There is a small black gem in the centre of each full diamond for additional sparkle.
I adhered another strip of the Washi Tape to a same sized strip of white card stock then adhered that to the top of my card and added a diamond cut from the Border Blends Argyle in the centre.
The Happy Birthday was die cut from black glittered card stock and adhered to a white crosshatch circle. Finally, I added some black gemstones from my stash.
Now for my second card! This is also a Pop Up card and uses the "Pardon My Frenchie" stamp set.
Both the Hello and the dog bone were cut from black glossy card stock and I added black glaze pen to the eyes and nose of the dog on the front. Oh, and I also paper pieced the little bag that the dog is sitting in.
Inside I used the Flip Frame Pop Up and another one of the cute French Bulldog images from the stamp set.
While I have linked as many of the products used as I can below, this Pardon My Frenchie stamp set now appears to be missing from the Sassy & Crafty online shop so I don't have a link for that one.
Remember Karen Burniston has assembly videos for her pop up dies! Once you know how to assemble your die, the rest is card size, paper and colour choice as well as embellishments! You can change the look of your card every time you use the dies. :-) I always enjoy showing you different ways you can use your dies once you know how to assemble them.
To celebrate our blog hop we have four great prizes to give away. You will have the chance to win one of two $25 Gift Certificates to use on the Karen Burniston (KB Riley) website or one of two $25 Gift Certificates to use on Sassy and Crafty website.
Make sure you join the hop and comment on everyone's blog post for your chance to win one of these prizes. Winners will be randomly chosen from the comments left on ALL THE POSTS received by Saturday 15th May 2021.
Here is all the information for the Instagram Hop:
To celebrate our Instagram hop we have four great prizes to give away. You will have the chance to win one of two $25 Gift Certificates to use on the Karen Burniston (KB Riley) website or one of two $25 Gift Certificates to use on Sassy and Crafty website.
Make sure you join the hop and comment on everyone's Instagram post for your chance to win one of these prizes. Winners will be randomly chosen from the comments left on ALL THE POSTS received by Saturday 15th May 2021.
As per Instagram rules, we must mention this is in no way sponsored, administered or associated with Instagram or Facebook. By entering, entrants confirm they are 18+ years of age, release Instagram or Facebook of responsibility, and agree to their terms of use.
The list below contains some affiliate links. If you use these links to purchase I may earn a small commission at NO extra cost to you.
Additional Supplies: Pardon My Frenchie stamp set - Sassy & Crafty (retired?) Shimmer Spray Ohuhu Markers Square doily - Stampin' Up Black glitter card stock - Stampin' Up Banners Pick A Punch - Stampin' Up Black pen Pigment Sprinkles - Stampin' Up Spray bottle Bling - stash Patterned paper - A Dogs Tail, Echo Park Copic markers Card size - 4.5 x 6", fits in an A6 envelope Card size - 4 x 6", fits in an A6 envelope
Hello! This patterned paper and coordinating sticker package has been in the craft room for a couple of years, so I decided this adorable robot sticker needed to get on a card. I used the Flip Fram Pop Up by Karen Burniston for the Pop Up action on my card and I have a walk-through on YouTube here:
I have someone special in mind for this Birthday Card!.
I like all the height and dimension you get with the Flip Frame Pop Up! Lots of AWE but it's very easy to assemble. Win win!
Supplies: Patterned paper, stickers and cut aparts - Boy Crazy, My Minds Eye Card stocks - stash 1134 - Flip Frame Pop Up- Karen Burniston Subtle Embossing Folder - Stampin' Up Cool Tag Banner Sentiments - Your Next Stamp Sentiment - Happiest of Birthday's, Stampin' Up Stitched Star dies - the Stamps of Life Sunburst punch - unknown Taylored Expressions Blending Brushes Dot stamp - Stamps by Judith Card size - 4-1/2 x 6", fits in an A6 envelope
It's Fun Fold Friday here on my blog and today I'm sharing the Christmas card I made for friends. It's a little hard to see in the photos, but the patterned paper has lovely sparkly bits embedded in it and I added a square vellum doily under the Merry Christmas.
The patterned paper has lovely sparkly bits and I added a square vellum doily under the Merry Christmas, which is a die set by Karen Burniston.
Inside the card is a pair of West Highland Terriers all decked out for the holidays. I used Karen Burniston's Flip Frame Pop Up for the pop up action. Our friends have two Westies (Buster and Griffin) and I know they will love this card.
I used the extras from Karen Burniston's Christmas Animals for the dogs holiday dress up layers.
Everything else was covered in the YouTube video and I have a supply list below.
Supplies:
Elines Puppies die set - Marianne Designs Card stocks - my stash I-crafter Blending Brushes Sakura White Gel Pen Glossy Accents Card and Envelope - Michaels Patterned paper - I Believe, My Minds Eye (old, from my stash) Bakers Twine 1134 Flip Frame Pop Up - Karen Burniston 1061 Christmas Animals- Karen Burniston Foam snowflake stickers - unknown, from my stash Simple Strips Christmas - Taylored Expressions Simple Strips die - Taylored Expressions Paw Prints dies - MFT Stamps Vellum doily - Stampin' Up 1065 Merry Christmas- Karen Burniston Bling (free gift with purchase) - Studio Katia
Hello crafty friends ... Today's card uses the new releases from both Your Next Stamp and Karen Burniston! I have a video for you that goes over some of the details:
I have some sparkly patterned paper on the front, as well as layered Crosshatch Ovals and a stamped Sentiment from YNS's new Quarantini set.
Inside I used more sparkly patterned paper, more images from the Quarantini set and the Pop Up is from the new Flip Frame Pop Up.
How fun is this cute owl & martini glass? I lightly coloured it in by scribbling Crayola markers onto an acrylic stamping block and picking up the colour with a water brush. Then I went over the whole martini glass with Glossy Accents so it's raised and shiny.
As I explained in the video, the circles are inlaid into each other and not layered on top of each other as that would have created a catch point for the frame.
Supplies: Various card stocks - stash Patterned paper - the Sorbet Stack, DCWV MISTI Black Olive Ink - Your Next Stamp Quarantini - Your Next Stamp Quarantini Die - Your Next Stamp Tombow markers Water brush Wink of Stella Glossy Accents 1057 Circles Crosshatch - Karen Burniston 1134 Flip Frame Pop Up - Karen Burniston Stitched Fishtail Banners - Your Next Stamp Holographic Circle Stickers - Dazzles Card size - 4 x 8.5", fits in a #10 Business Envelope
Once I had the idea to create a clear frame with floating googly eyes, I had to get it made. I also used acetate to cut the pop up mechanism/arm and I have some tips for you in the YouTube video.
I'm proud of myself for using one of these skeleton stickers, which I've had in my stash for MANY years.
Since I went into such detail in my video, I won't go into a lot here on my blog. But I do have several photos for you and you can always click on one to open it larger in a new window.
I added Googly eyes to the ghost as well.
I like the BOO! that comes in the Halloween Elements so I cut it out of purple card stock and added highlights with a white gel pen and two more googly eyes.
Into my stash with this one!
Supplies:
Patterned paper - Halloween Night, Stampin' Up
Card Stocks
Acetate
Spider Web embellishment - American Crafts
Various Wiggly Eyes - stash
Printed elements - K & Company (old, from my stash)
Skeleton Sticker - Mrs. Grossmans
1013 Halloween Elements - Karen Burniston
Sakura black glaze and white gel pens
1055 Ovals Crosshatch - Karen Burniston
1134 Flip Frame Pop Up - Karen Burniston
Wink of Stella
Chalks & Q-tip, Stampin' Up
Card size - 4 x 8.5", fits in a #10 Business Envelope
Today's card uses the new Flip Frame Pop Up die set by Karen Burniston and some older patterned paper from my stash. I love this sweet scalloped heart die set from Studio Katia, and it was the perfect decoration for my card front!
Below is the card laying open. I reversed the folds on the arm so the frame would be on the right side, and I added another scalloped heart to the left side. The Happy Anniversary is also one of Karen Burniston's new dies.
Glossy Accents make the champagne nice and shiny!
Supplies: Patterned paper - Life's Journey, K & Company (old, from my stash) 1134 Flip Frame Pop Up - Karen Burniston Various card stocks Wine Glass dies - the Stamps of Life Fancy Scallop Heart Die - Studio Katia 1137 Word Set 12 Anniversary - Karen Burniston 1131 Bitty Ball Pop Up (small heart dies & bow) - Karen Burniston 1133 Pop 'n Swap (love) - Karen Burniston Copic markers Nuvo gold glitter pen Rose Gold Confetti - Studio Katia Glossy Accents Card size - 5 x 6.5", fits in the included envelope