Showing posts with label Paper Frames Pop Up. Show all posts

Thursday, 13 February 2025

Pop Up Anniversary Card


Welcome to Fun Fold Friday here on my blog!  (EDITED - I am so mixed up I thought it was Friday. However, I'm leaving my post up 😂)  Today I'm sharing the pop up Anniversary card I made for our middle daughter and hubby and I made it a pop-up using dies by Karen Burniston. I started with a paper/sticker package I've had for over a year, and added one of the journal cards/cut aparts to the front with foam tape after matting it with white card stock. I used some crinkled, narrow seam binding to create the bow on the front, then sprinkled some holographic hearts. It still needed something else, so I pulled out a glitter glue to add to the flower centres on the background paper.


The tiny hearts come with an included decorator die in the Paper Frames Pop Up and there were some leftover which I'm sure I will add to future projects. They give just the right amount of shine!


Here is a peek at the inside where I used the Paper Frames Pop Up. I have used this die so many times over the years because it gives such dimension! Santa brought me a cute little printer this year, so I used it here with circle labels to print the two sentiments and I added some more stickers from the paper package.


Supplies used:
5x6.5" card & envelope - Michaels (old, from my stash)
Patterned paper, cut aparts & stickers - Flora #3, Carta Bella
Paper Frames Pop Up - Karen Burniston
Nimbot printer
Rainbow Holographic cardstock - Recollections
Narrow crinkles Seam Binding - Stampin' Up


Friday, 17 May 2024

Birthday Wishes Pop Up Card Duo


Welcome to Fun Fold Friday here on my blog!

I wanted to use this paper pad, and since there are two sheets of each design I made two cards. While I didn't plan on making two identical cards, I know they will be going to different people so I just went with it.  This is another one of those paper pads that has some large prints that are hard to make work with A2 sized cards. These two are 5x7" and they turned out really well. I added a die cut Birthday Wishes (and the shadow) with foam tape then a few Glitter Dot stickers for some shine.


Inside I used the Paper Frames Pop Up and decorated with some fussy cut plants from a retired Stampin' Up paper package. 


Since those plants were fussy cut and in my embellishment binder, these cards didn't take very long to create which is always a bonus.


Supplies used:
Patterned paper - Farmhouse, Craftsmart (I think I got it at Michaels a few years ago)
5x7 Nesting dies - Waffle Flower
Birthday Wishes die - Simon Says Stamp
Paper Frames Pop Up - Karen Burniston
Plants - fussy cut from Stampin' Up papers (old)
Sentiment - Little Something Sentiments, Catherine Pooler
Glitter Dot stickers - Ecstasy Crafts
5x7 Card blank and envelopes


Friday, 12 January 2024

'Sending Happy Thoughts' Card


Welcome to Fun Fold Friday here on my blog!

Today I'm sharing the 6th card using Paper Roses' 'Bee Happy' cardmaking kit. This one is a 5 x 7" card and has a fun pop up inside. The gold foiled bee stickers were adhered to white cardstock and fussy cut so I could pop them up with foam tape. I knew I wanted a bold sentiment on the front, so this one by Concord & 9th worked perfectly. The patterned paper is from the kit and were actually leftover strips from previous cards. 


Here is a look at the inside, where I used Karen Burniston's Paper Frames Pop Up. 


I used the included layering dies to die cut portions of the patterned paper for the centre decorations, and added a foiled bee sticker that was attached to white card stock then fussy cut.


Here is a view looking at the card from the top.


Supplies used:
Narrow gold foil tape - Amazon .ca
Stickles glitter glue
Large Hello dies - Everyday Sayings, Concord & 9th
Inside sentiment - Happy Thoughts, Stampin' Up
5 x 7" Card base and envelope

Friday, 1 December 2023

Pop Up Christmas Card Duo


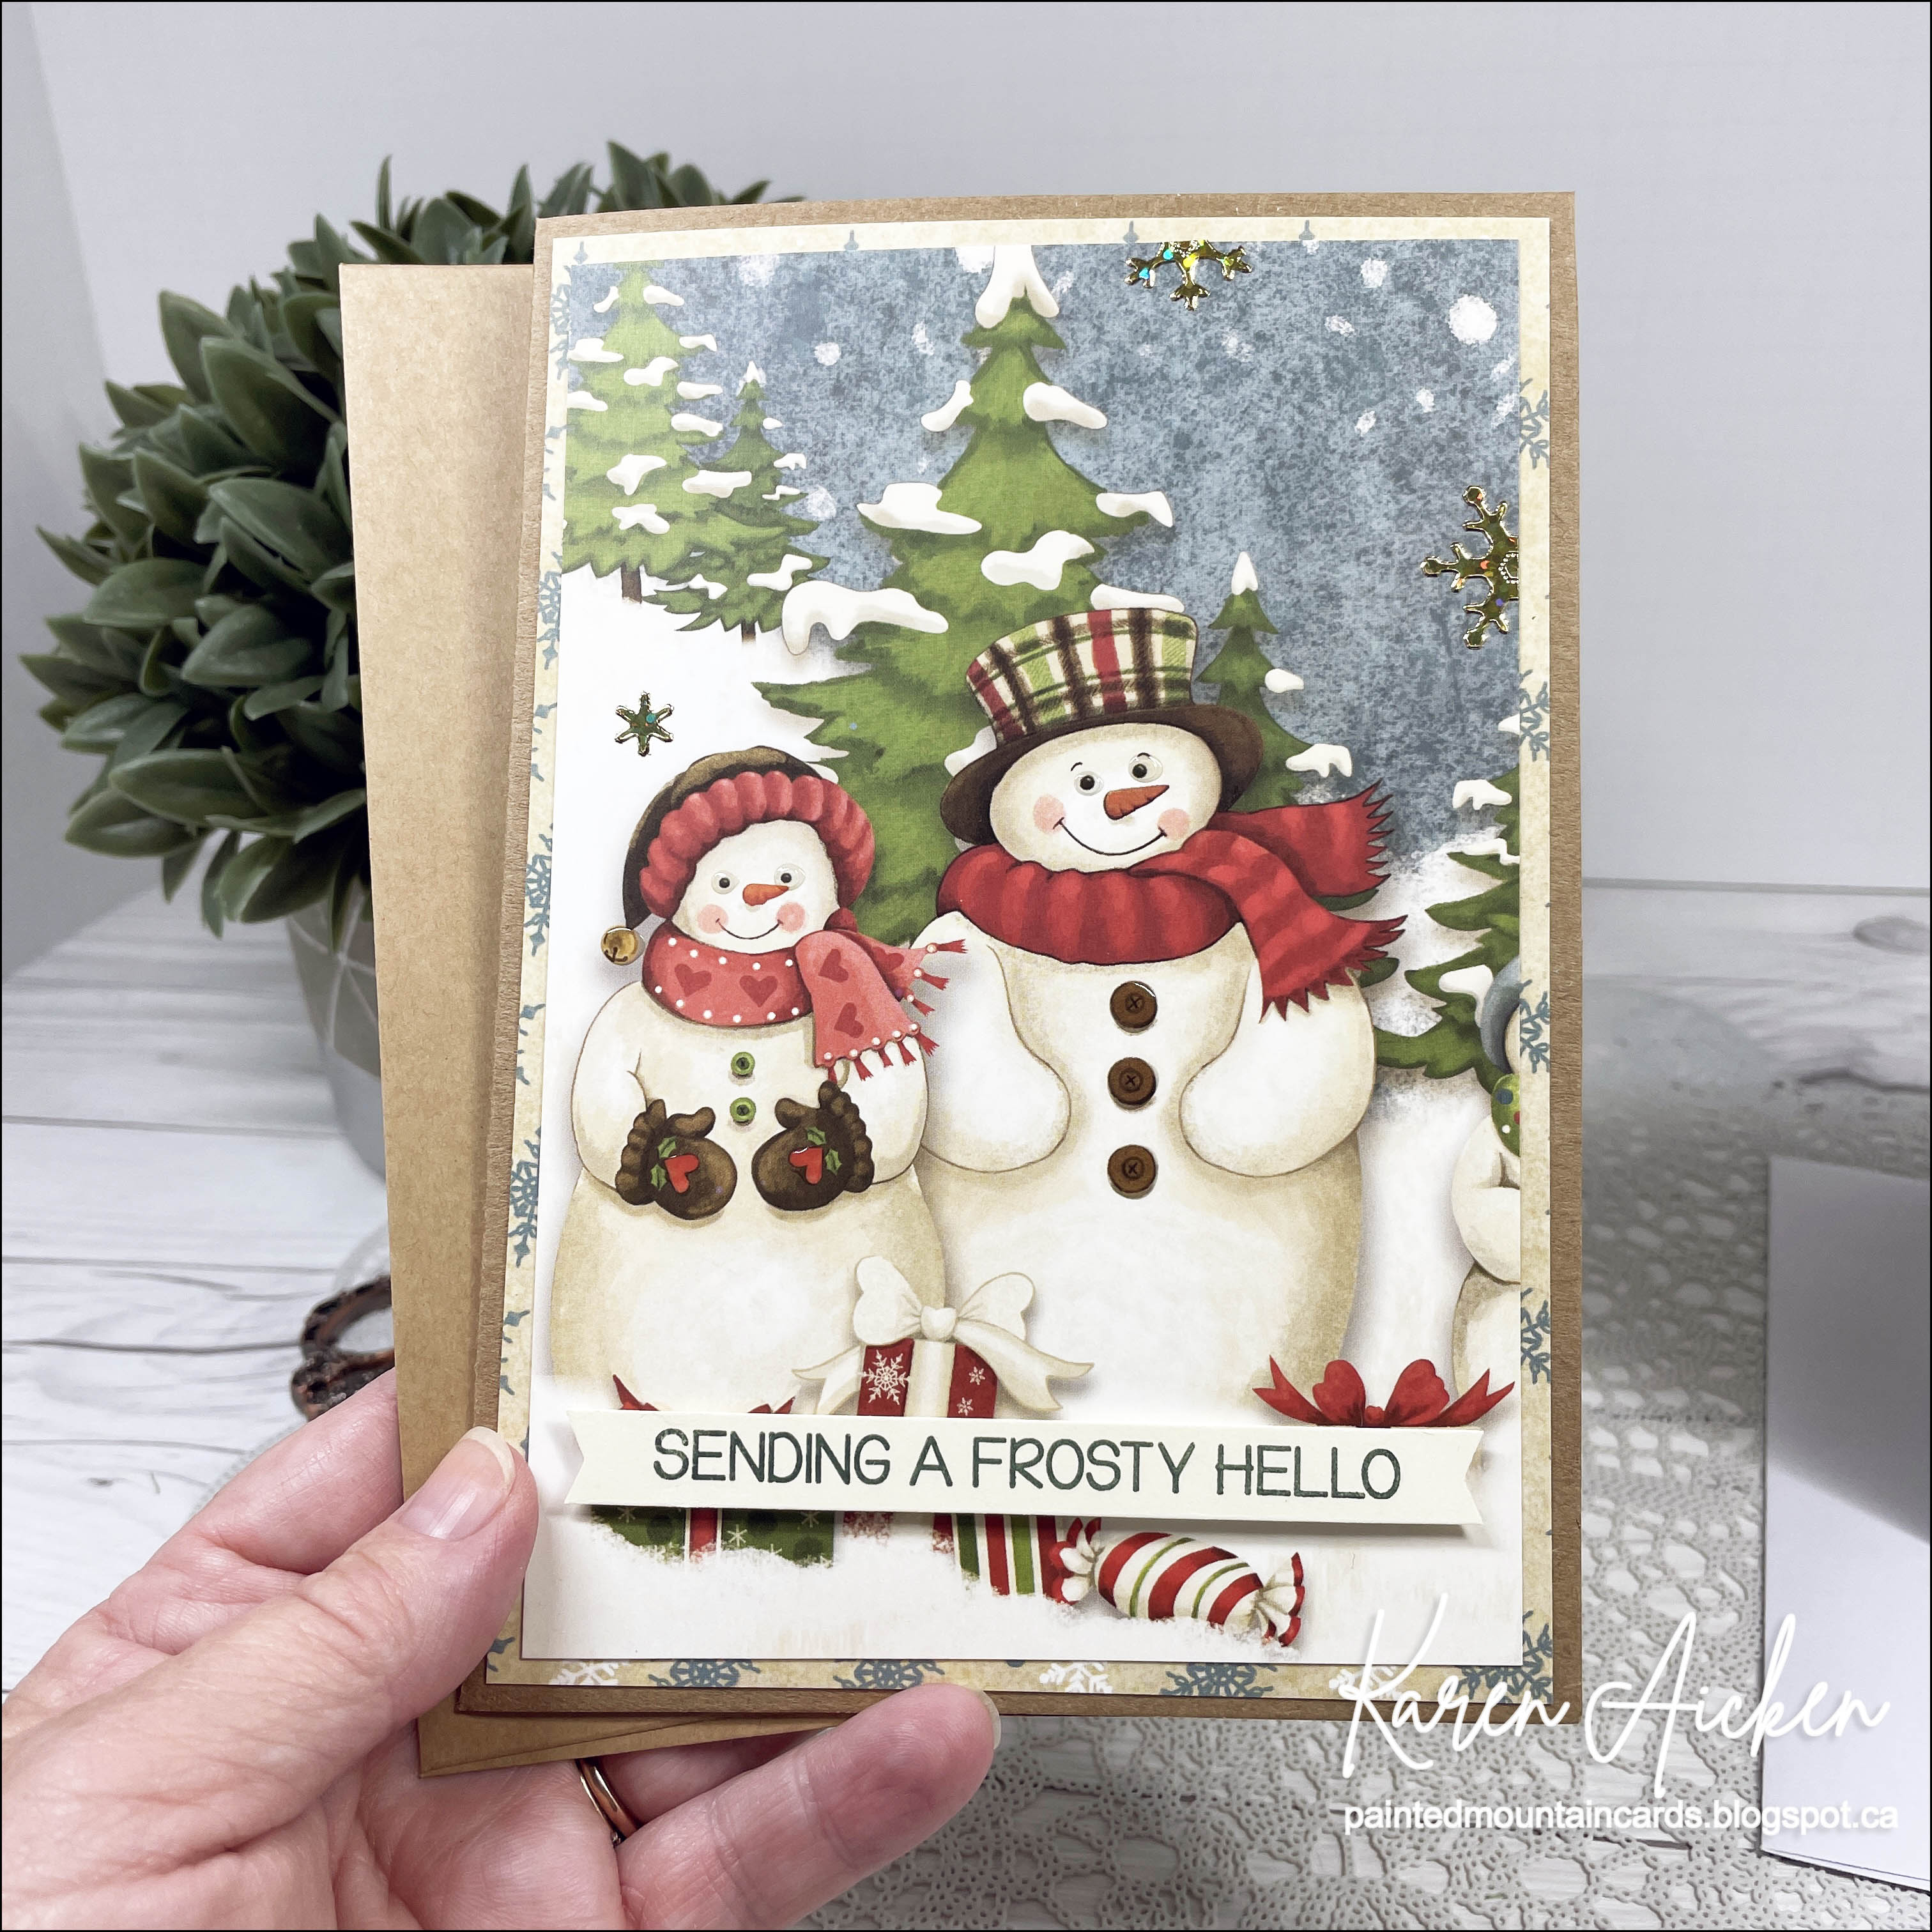
Welcome to Fun Fold Friday here on my blog, and Happy December 1st!  As I have always done in December - I'll be sharing holiday cards right up until Christmas. Still, this is my 12th and final edition to my monthly series "12 Months of Christmas".  Today I'm sharing a pair of 5 x 7" cards - one has a simple box pop up and the other uses the Paper Frames Pop Up die set by Karen Burniston.  In the photo above you can see the fronts of both cards.


In the photo below you see the insides!  (Sorry for the bad lighting - these photos were not allowing me to do much editing.)


Both cards are nice and simple on the fronts, letting that adorable patterned paper do all the work. I matted the panels with coordinating patterned paper from the same package, added some glitter and gold snowflake stickers as well as a stamped sentiment popped up with foam tape.


The first card has a simple box pop up inside. I have several tutorials on YouTube showing how to make these (Click HERE to see one) and I used a cut apart from a sheet in the package as the decorative element inside.


The second card is actually on a Kraft card base instead of a white one - both cards have matching envelopes.


I fussy cut a couple of snow people from a sheet in the package with borders of these snowmen to decorate the inside. I love all the dimension you get with the Paper Frames Pop Up!


Whenever I give someone a card that uses the Paper Frames Pop Up, they turn it over to view it from the top ... so here is a top view photo for you. 😊


Having been asked how many cards I make I thought it would be fun to keep track this year. Many of my posts include more than a single card or project and below is my tally. 

Card Tally for 2023
January - 53 cards
February - 56 cards
March - 55 cards
April - 32 cards
May - 43 cards
June - 34 cards
July - 56 cards
August - 106 cards
September - 61 cards
October - 51 cards & 5 Tags
November - 46 cards
December so far - 2 cards

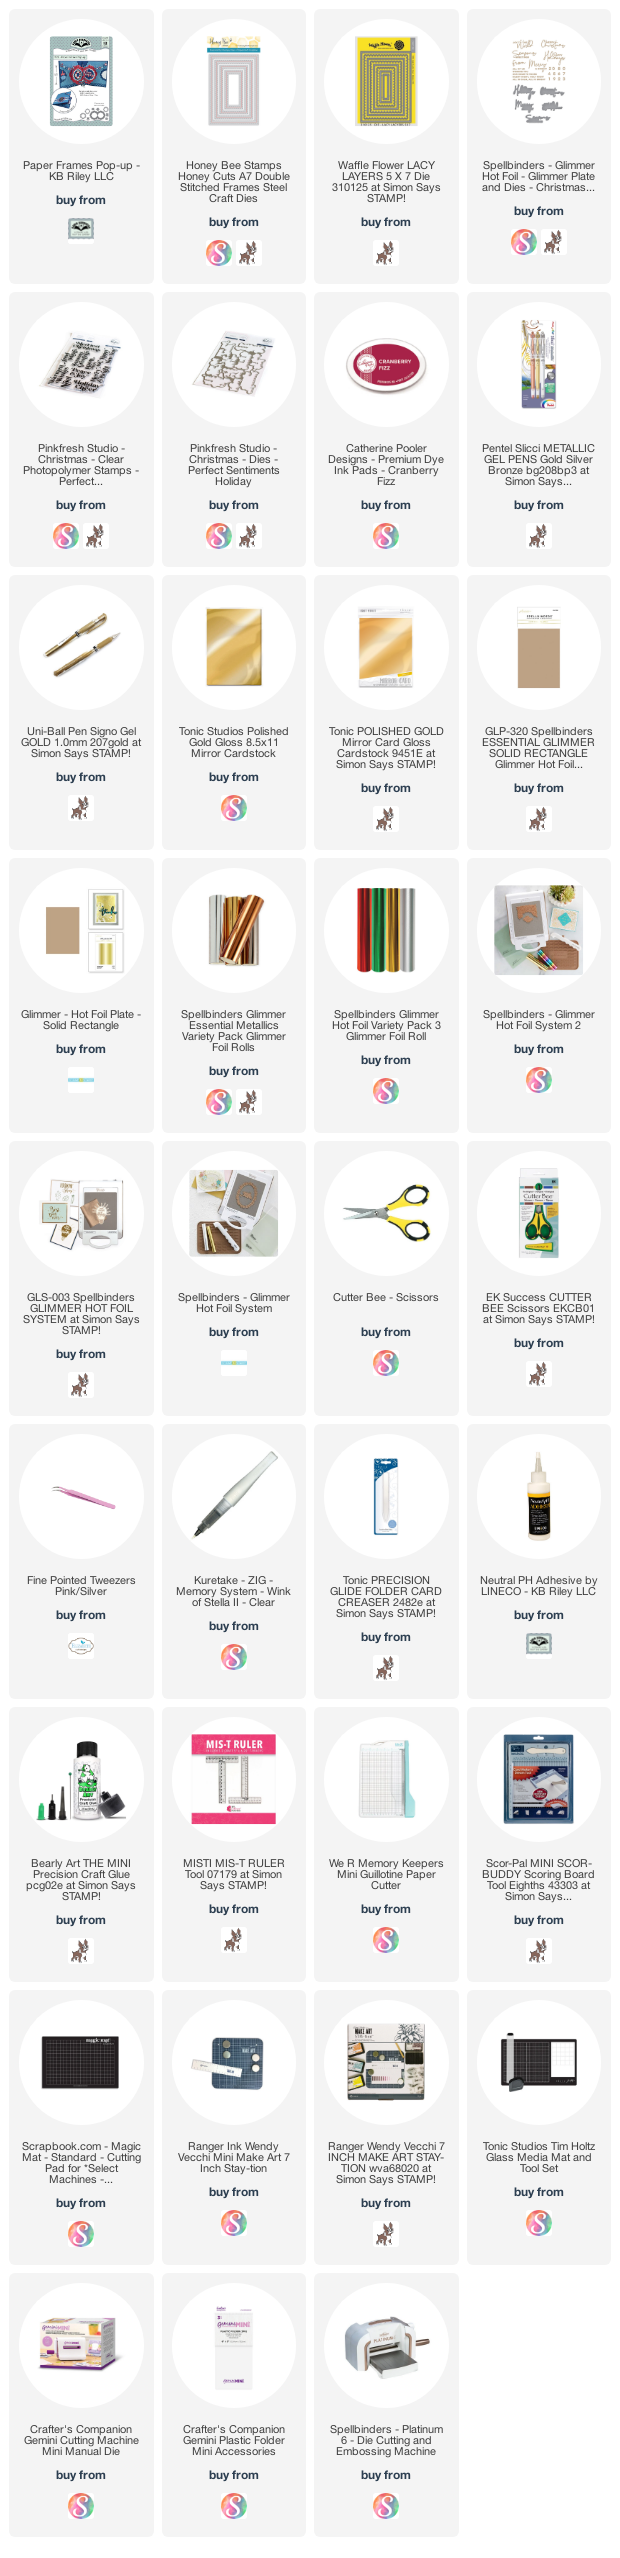
I decided to cancel the subscription that provided linked thumbnails to what products I used on my cards. It was costing me out of pocket each month, so I’m back to listing what I used .

Supplies:
Patterned paper - Say Freeze, Recollections (old)
5 x 7" Kraft card blank & envelope
5 x 7" white card blank & envelope
A7 Nested Rectangle dies - Waffle Flower
Nuvo Glaze
Gold Peel Off sticker border - unknown
Paper Frames Pop Up - Karen Burniston
Label Crosshatch - Karen Burniston
Catherine Pooler inks
Blending brushes - Taylored Expressions
Frosty Hello - Magical Winter Wishes, Your Next Stamp
Sentiment - In & Out Christmas, Taylored Expressions
Snowflake Sticker Peel-Off's, Elizabeth Craft Designs & Stamp On It
Gold gel pen

Wednesday, 30 August 2023

Pop Up Wedding Card


When we heard the daughter of very good friends was getting married, I offered to make their  wedding card for the happy couple.  It was a very small wedding, on a beach in Tofino which is on the northern shores of Vancouver Island. It's truly a magical place so I pulled out a bunch of things from my craft room for this card. I have listed them at the end of my post.


I started with a white panel stamped with a scenic stamp with ocean and trees. Perfect for the backdrop of their wedding! The panel was lightly coloured with inks and blending brushes. The golden panel on the front is actually embossed with leaves ... also perfect for the wedding setting. The bride and groom are nature lovers, who spend a lot of time outside hiking, biking etc. I have had this embossed cardstock for YEARS (hoarding it, ha ha) and this was the perfect opportunity to crack into the package.  


Since I finally have some new goodies in my craft room I wanted to use my new Forest Window which gave me the trees for the front of my panel and then I added some acetate behind the window and created a shaker that was mounted to the card front.  I also wanted to use this truck die set, which I've had since 2018. 😊  I had also purchased the add on, which is where the Mr & Mrs came from on the back of the truck. The engagement & wedding ring were tucked inside the back of the truck for a bit of whimsy.


Inside I used the Paper Frames Pop Up and more from the Wedding Charms dies (both by Karen Burniston) along with some creamy pearl cardstock and more of the embossed leaves. The sentiment stamps are long retired but they worked perfectly on the little labels in the centre of the pop up.


My friend is a master seamstress, and she made her daughters wedding dress. It was just exquisite with hand sewn lace all down the gown. I loved that the wedding dress charm has the emboss feature so I could make it look 'lacy'.


Finally, champagne glasses to toast the newlyweds!


Whenever I give someone a card made with the Paper Frames Pop Up, they turn it over to view it from the top or bottom ... so here is a top view for you.


It's always nice to create a card that will be hand delivered and not worry about bulk or extra postage.

Having been asked how many cards I make I thought it would be fun to keep track this year. Many of my posts include more than a single card or project and below is my tally. 

Card Tally for 2023
January - 53 cards
February - 56 cards
March - 55 cards
April - 32 cards
May - 43 cards
June - 34 cards
July - 56 cards
August so far - 104 cards

I decided to cancel the subscription that provided linked thumbnails to what products I used on my cards. It was costing me out of pocket each month, so I’m back to listing what I used with the linked supplies being affiliate links.

Supplies:
5 x 7" Card blank and envelope
Truck dies - October 2018 Large Die of the Month & Add On - Spellbinders
A7 Double Stitched Frame dies - Honey Bee Stamps
Pearlized cardstocks - from my stash
Golden Leaves A4 Embossed Cardstock - Tonic Studios (old)
Gold and Silver mirrored cardstock - Stampin' Up and Hunkydory
Black glossy cardstock - Tonic Studios
Acetate
Blending Brushes - Taylored Expressions
Stamps inside - Petite Pairs, Stampin' Up (old)
Various sequins and beads from my stash


Thursday, 18 May 2023

Paper Pumpkin Alternate (#1) Pop Up Easter Card

I know Easter is behind us, but I had been working on this Paper Pumpkin kit in February and thought I would make some of them into Easter cards. A few I sent out this year and the others I will hold onto until next year.  Between the daffodils and the bunny ... I couldn't help but make Easter cards!


I had been able to purchase an unopened March 2020 Paper Pumpkin Kit "No Matter The Weather" and brought it down to Arizona with us to work on. I had held onto it long enough, and ended up having a lot of fun putting my cards together. This one is has Karen Burniston's Paper Frames Pop Up inside.

The patterned paper that I used is also one that I have had for MANY years. Back when I purchased it (don't even remember where) I must have really loved it & it was a screaming deal, because I bought TWO of them. Sigh.  

Since I had been working on using up some of my older Easter stash, I added three fuzzy chick stickers inside the card. They are just SO darned cute, and that package is finally used up.

Whenever I give someone a card with the Paper Frames Pop Up, they turn it to view from the top. So now I make sure to take a photo showing that view also ...


I'll be back in a week or two with another Paper Pumpkin Alternate card using this kit ...

Having been asked how many cards I make I thought it would be fun to keep track this year. Many of my posts include more than a single card or project and below is my tally. 

Card Tally for 2023
January - 53 cards
February - 56 cards
March - 55 Cards
April - 32 Cards
May so far - 30 Cards

Additional Supplies:
No Matter The Weather Paper Pumpkin kit, March 2020
Patterned paper - Blank Canvas, 1st Edition (old, from my stash)
5 x 7" Card blank and envelope
White cardstock 
Happy Easter - Photo Play
Sentiment inside - io  (Impression Obsession
Stickers - Jolee's Boutique
Alcohol Markers

This blog uses affiliate links whenever possible. This means, if you make a purchase through one of my affiliate links that you pay the same amount but I may receive a small commission from your purchase. I only link products that I own, love and use for my card making and not every link below is an affiliate one! 😊

Tuesday, 9 May 2023

Gold Snowflakes Pop Up Card

Today I'm sharing the 5th edition to my monthly series "12 Months of Christmas". I pulled out this paper pad, which I have have for a number of years and cut down one of the sheets that had the 4 x 6" gift panel on it. That is what started the card and the rest just fell into place!

Inside I used the Paper Frames Pop Up by Karen Burniston, and decided not to add another sentiment inside the card but there is room for a short message on the signing block. Since the paper has some gold foiling on it I added snowflakes cut from a gold mirrored cardstock. I love sparkle and shine on a holiday card!

... one more look ...

Having been asked how many cards I make I thought it would be fun to keep track this year. Many of my posts include more than a single card or project and below is my tally. 

Card Tally for 2023
January - 53 cards
February - 56 cards
March - 55 Cards
April - 32 Cards
May so far - 22 Cards

Additional Supplies:
Patterned paper - Christmas Made, DCWV (old, from my stash)
5 x 7" Card blank and envelope
White cardstock
Peel Off Gem stickers - Dazzles

This blog uses affiliate links whenever possible. This means, if you make a purchase through one of my affiliate links that you pay the same amount but I may receive a small commission from your purchase. I only link products that I own, love and use for my card making and not every link below is an affiliate one! 😊

Friday, 24 March 2023

5 x 7" Succulent Pop Up Card


It's no secret I love cactus and other desert images, but since I have a huge collection I haven't purchased any new ones for a very long time. When I saw this one though (Crafters Companion) I was smitten and I had to play with it as soon as it arrived. I cut it from a slightly patterned mirrored card stock and adhered it to a white cardstock panel. 

Then I used a water brush and Catherine Pooler inks to paint each section. When dry, the white panel was added to a rainbow holographic one and both mounted to the front of my 5 x 7" card. I chose not to add a sentiment to the outside, as I really wanted the image and the shine to be centre stage.


Inside, I used Karen Burniston's Paper Frames Pop Up cut from patterned paper then added the words with Catherine Pooler stamps & inks. 


The succulent/cactus dies are from Lawn Fawn and I cut them from scraps of the patterned paper and cardstock.


Having been asked how many cards I make I thought it would be fun to keep track this year. Many of my posts include more than a single card or project and below is my tally. 

Card Tally for 2023
January - 53 cards
February - 56 cards
March so far - 37 Cards

Additional Supplies:
5 x 7" Card blank and envelope
White cardstock
Sweet Succulent die - Crafters Companion
Mirri Damask cardstock, Hunky Dory
Patterned paper - Succulent Serenity, Lynda Kanase (discontinued)
Rainbow Holographic Cardstock - Recollections

This blog uses affiliate links whenever possible. This means, if you make a purchase through one of my affiliate links that you pay the same amount but I may receive a small commission from your purchase. I only link products that I own, love and use for my card making and not every link below is an affiliate one! 😊

Tuesday, 28 February 2023

Cute Kitties Pop Up Birthday Card


A cat loving friend celebrated her birthday recently, and this is the card I made for her. The papers and chipboard elements have been in my stash for a couple of years. One of the problems with buying online I guess - you can't really see the all papers in a paper package, and I didn't pay enough attention to the description of the elements or I wouldn't have bought them. They are darling, but chipboard can make cards a little more expensive to mail. 

Since I have them, I got them out for this 5 x 7" card which was hand delivered when we had dinner together.   My first play with Opal Glimmer Foil and I loved how it looked on black cardstock. 


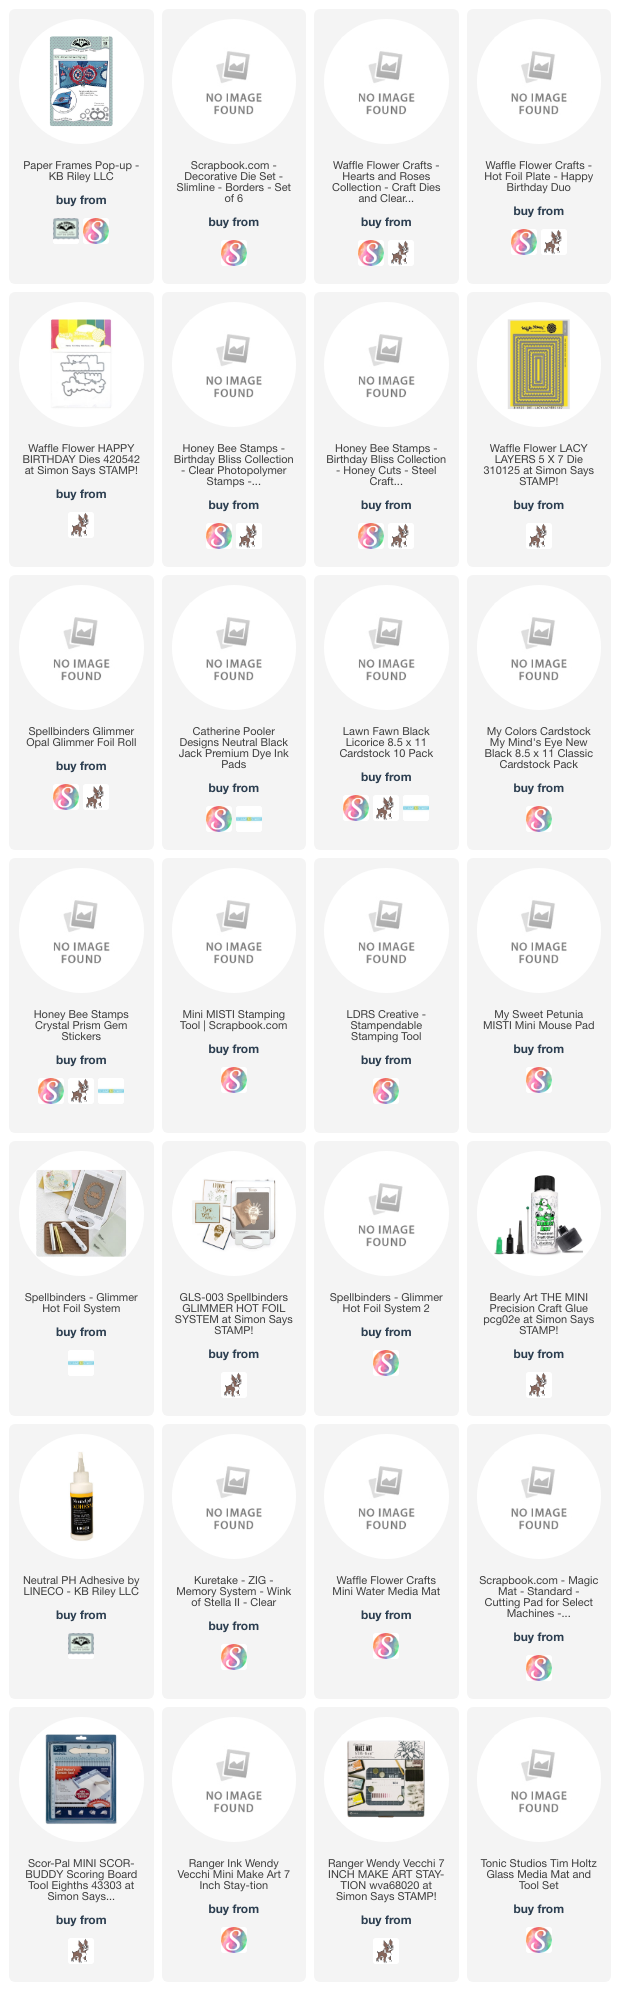
Inside, I used Karen Burniston's Paper Frames Pop Up cut from more of the patterned paper and added some sweet stamps from Honey Bee. The border dies are from Scrapbook.com and I linked as much as I could for you.


Below is what the card looks like when viewing from the top.


Late last year I was asked how many cards I make but I didn't have a clear number. Since many of my posts include more than a single card or project, I thought it would be fun to keep track this year. 

Card Tally for 2023
January - 53 cards
February so far - 56 Cards

Additional Supplies:
5 x 7 card blank and envelope
Patterned paper & chipboard elements - Circle of Love, Stamperia
Stickers on envelope - stash

This blog uses affiliate links whenever possible. This means, if you make a purchase through one of my affiliate links that you pay the same amount but I may receive a small commission from your purchase. I only link products that I own, love and use for my card making and not every link below is an affiliate one! 😊

Saturday, 26 November 2022

Paper Frames Pop Up Christmas Card Duo


Hello my crafty friends! I pulled out an older patterned paper pad for my cards today. In fact, I cut down several of the sheets and ended up with SIX similar card fronts. I made two each with different pop up's by Karen Burniston and these first two cards were the quickest to make. 

Using various rectangles, I die cut these cut aparts from a 12 x 12" sheet and mounted them to the front of a 5 x 7" card base. I added Glitter Dot peel-off stickers and a gold foiled sentiment.


Inside these cards is the Paper Frames Pop Up, cut from other patterned papers in the package. I added stamps and die cut sentiments and also sparkly Glitter Dot peel off stickers.


Below is a view from the top side ...


This is the front of the second card. I added glitter dots, gold gel pen dots and puffy dots as a garland on the tree.


Below is the inside - this one is a little stepped up with some gold foil card stock.


 I'll be back next week with another two cards using those same cut aparts on the fronts but different pop up dies inside!

Additional Supplies:
Patterned paper - Holiday Wonder, Hobby Lobby (old, from my stash)
White cardstock
Glitter Dot Peel Offs - Elizabeth Craft Designs (old, from my stash)
5 x 7" Cards & Envelopes

This blog uses affiliate links whenever possible. This means, that at no cost to you, if you make a purchase through one of my affiliate links that I may receive a small commission from your purchase. I only link products that I own, love and use for my card making and not every link below is an affiliate one! 😊