Showing posts with label Moose Punch. Show all posts

Monday, 7 December 2020

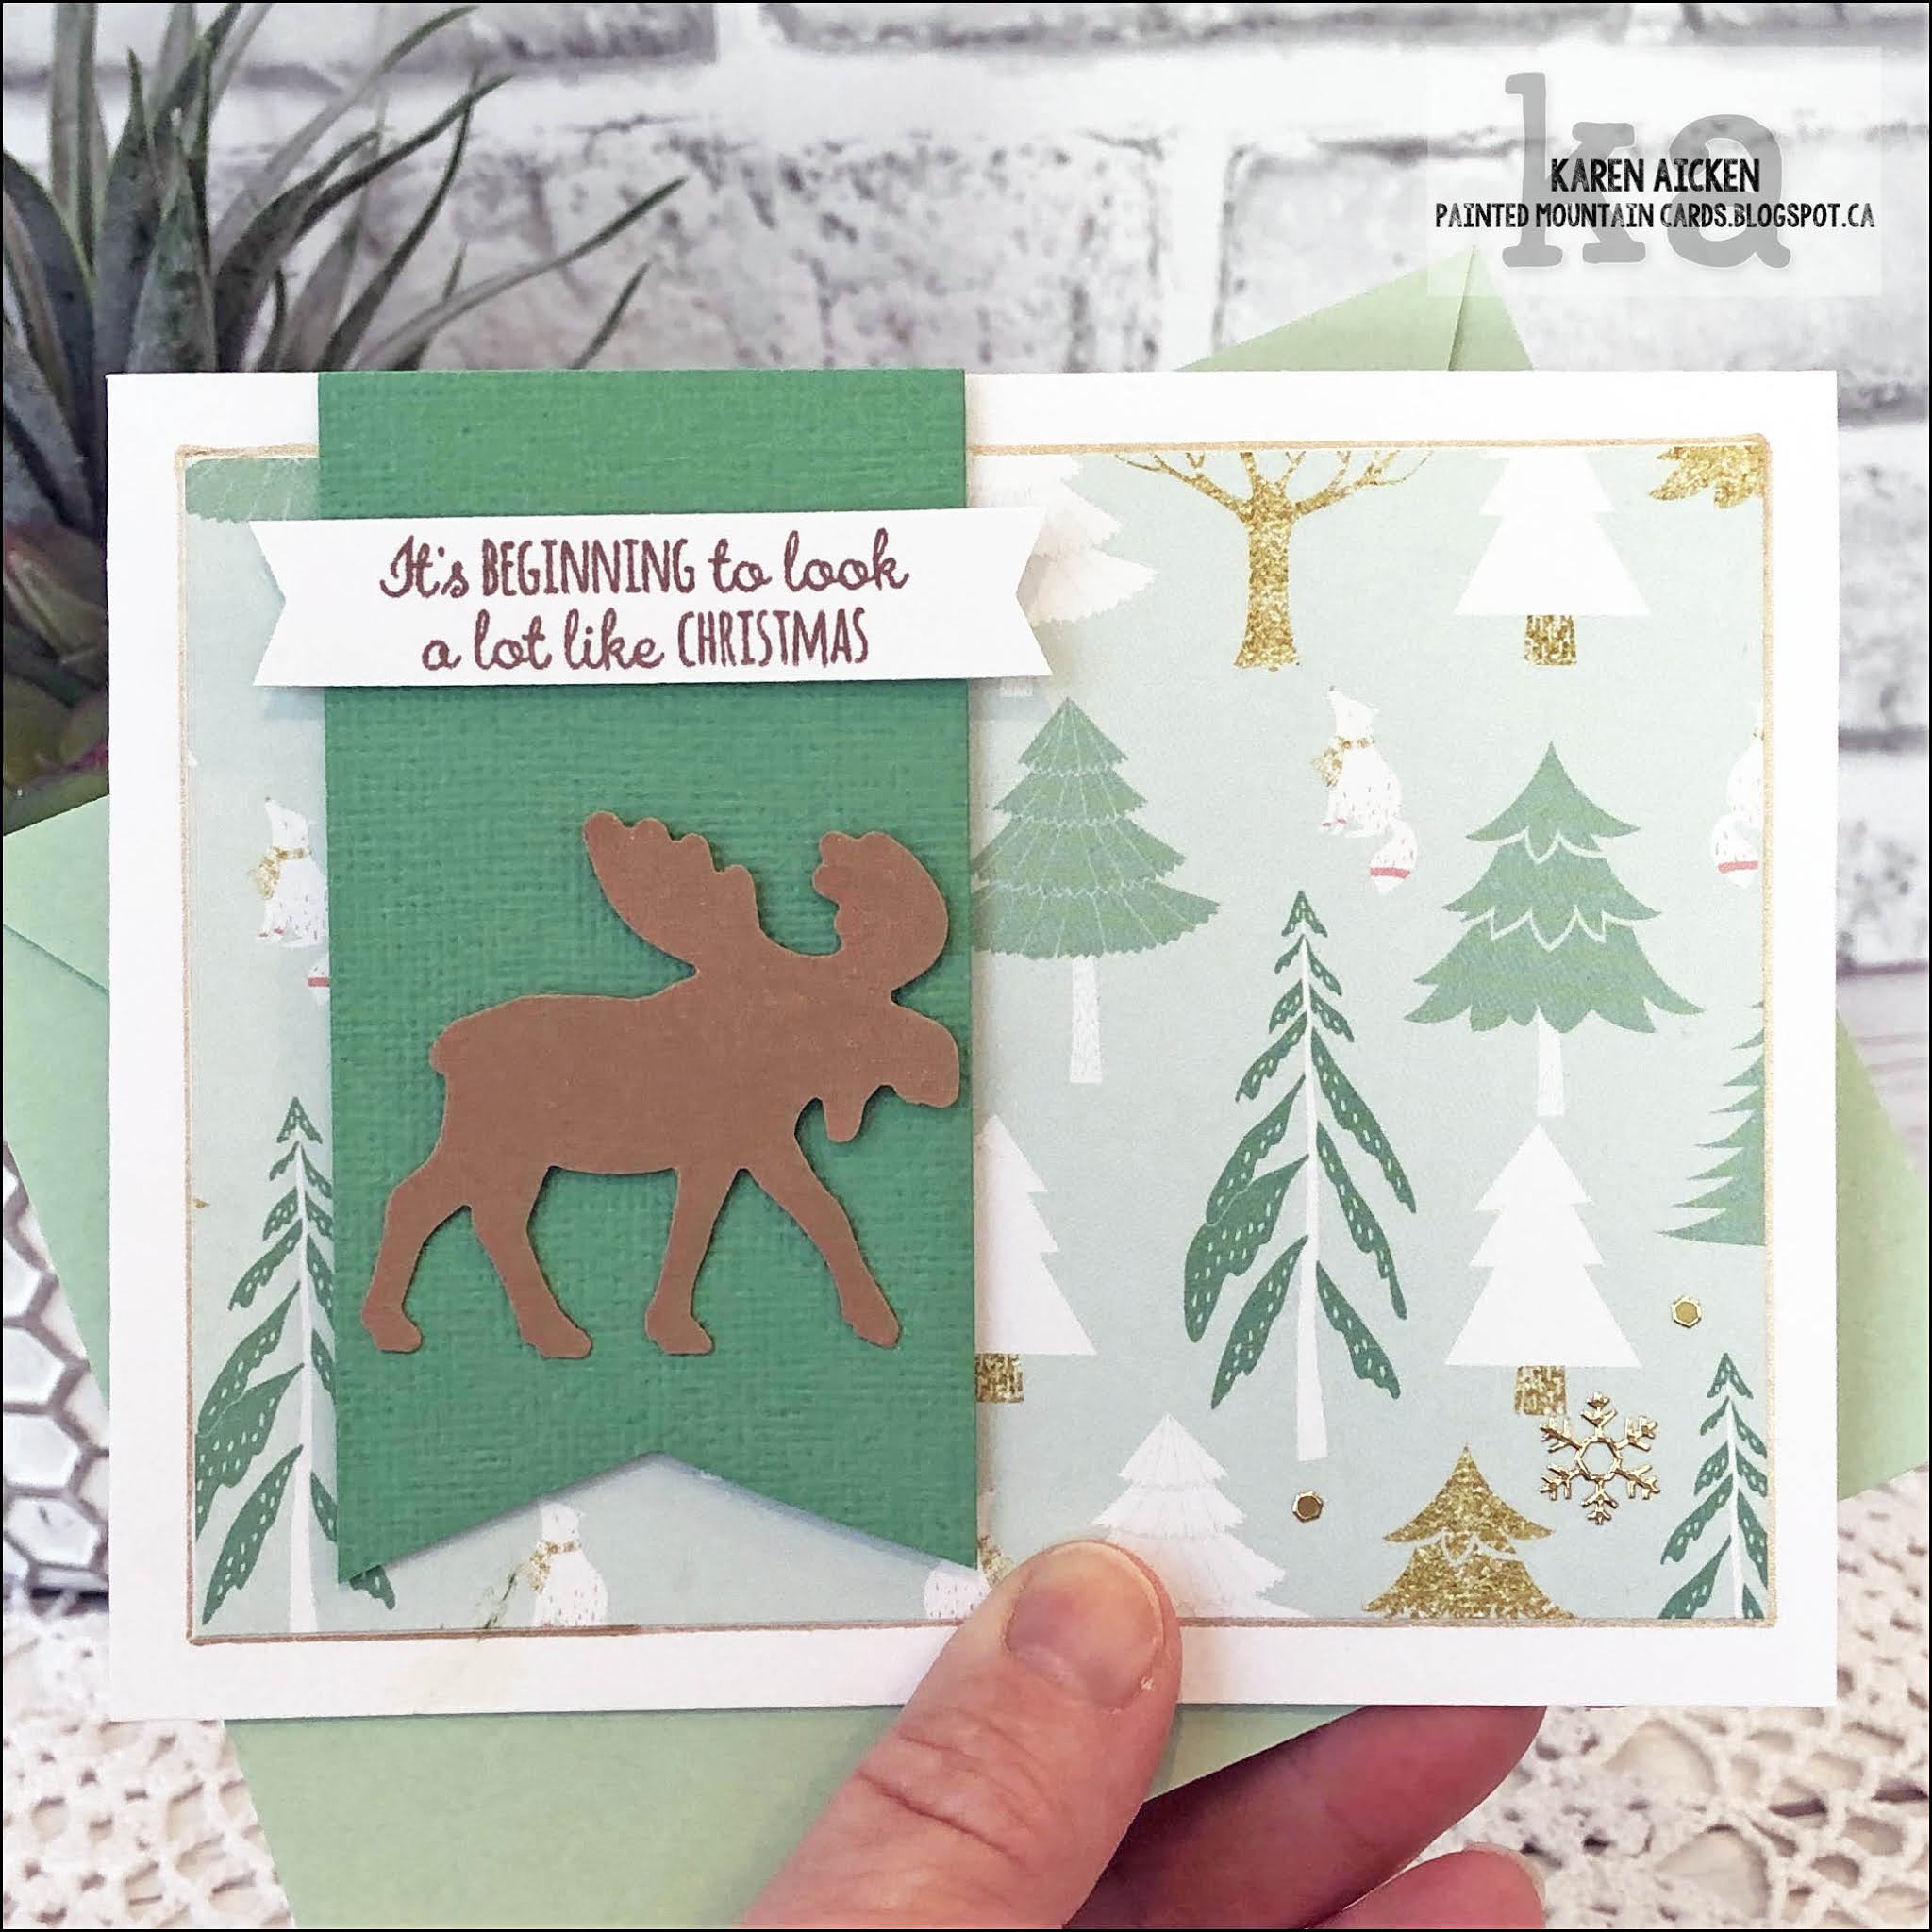
Moose Pivot Panel Christmas Card


Hello crafty friends ...

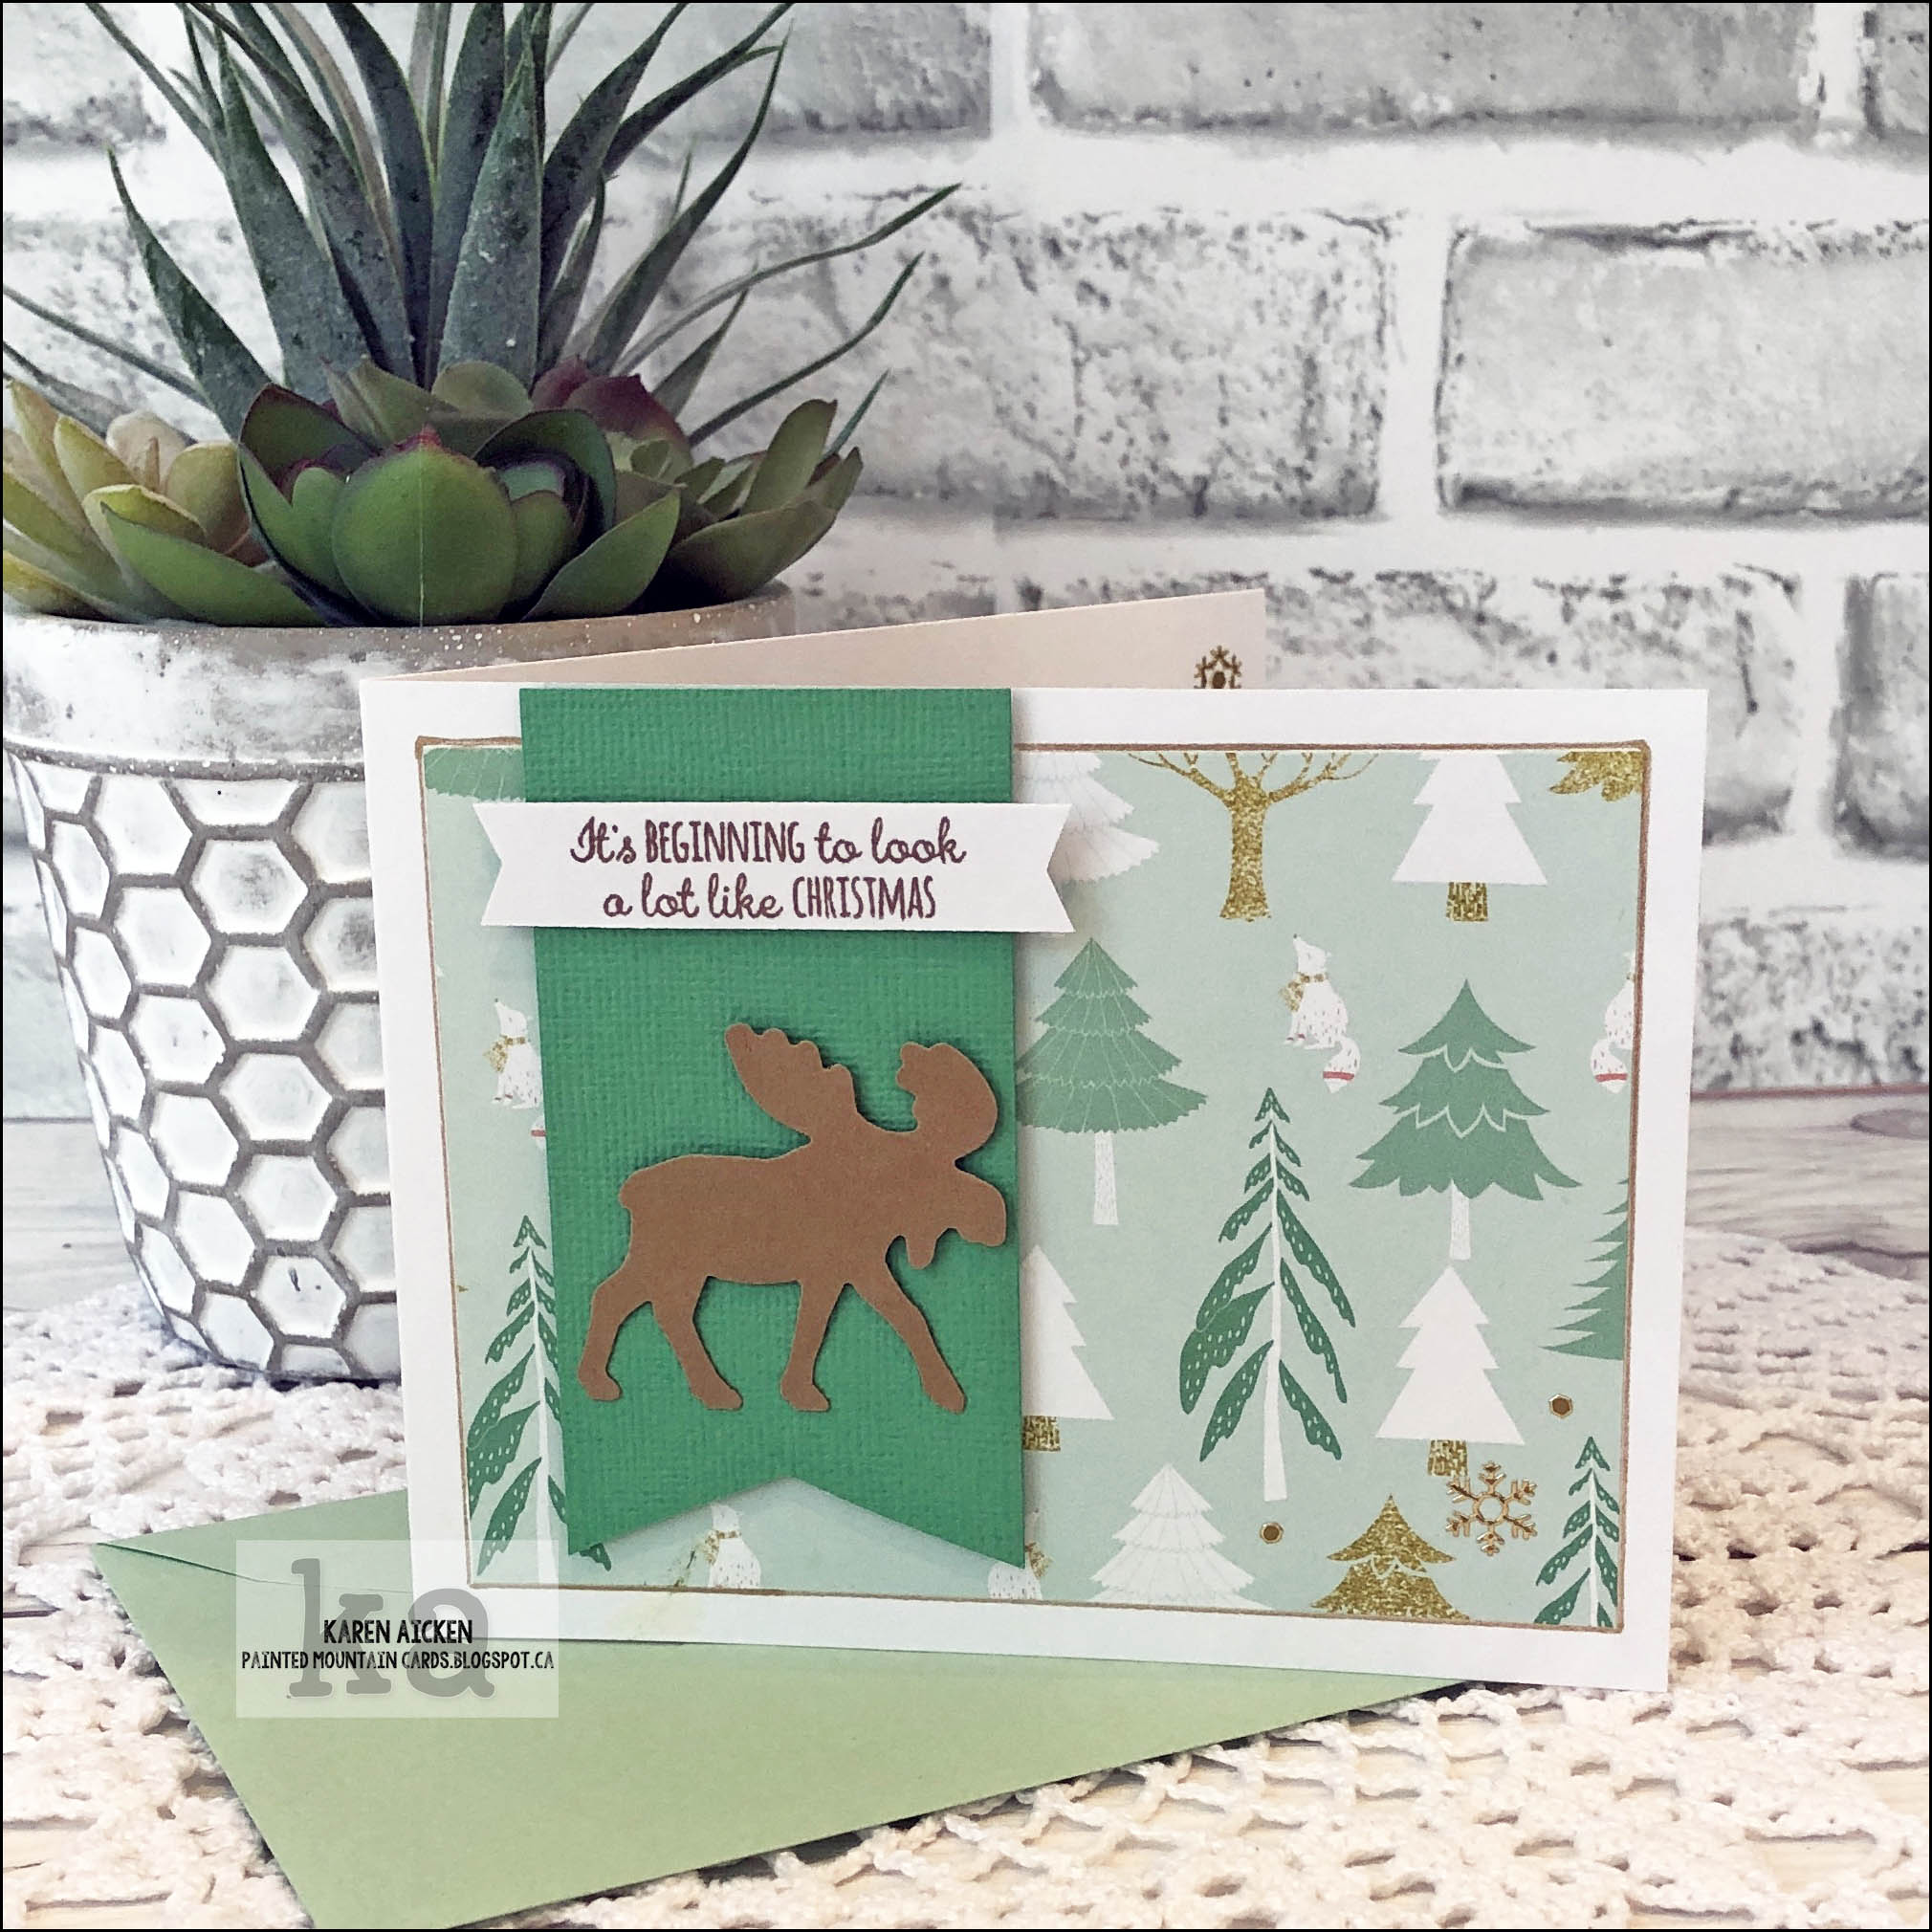
It's Masculine Card Monday here on my blog, and I have another holiday card today using the Merry Moose stamp set and coordinating punch. On Friday I shared a 5 x 7" Shutter Card using this set and said there was just enough patterned paper leftover to create one more card - and this is that card! You can see the shutter card HERE.  

I have a walk through of my card on YouTube as well: 

Between the two cards I was able to use up that entire 12 x 12" sheet of double sided patterned paper. Woo hoo - I love to use things up! The moose on the card front was punched from Kraft card stock and spritzed with a gold shimmer spray.


Inside I used the Evergreen Pivot Panels, a die set by Karen Burniston. Using a gold gel pen I added details to each tree and also to the stars above the trees. 


Whenever I give someone a card made with one of the Pivot Panels, they turn it over to view it from the top. So ... here is a top view for you!


I'll be back tomorrow with another holiday project.

Supplies:
1062 Evergreen Pivot Panels - Karen Burniston
Patterned paper - Websters pages
Sakura gold gel pen
Shimmer spray
Merry Moose stamps and punch - Stampin' Up
Banners Pick A Punch - Stampin' Up
Circle dies - Hero Arts
Snowflake Peel-Off's - Elizabeth Craft Designs
Gold Nuvo Shimmer Pen
Card stocks - stash
Card size - wide A2 (5.5 x 4.25")

Thanks for stopping by today

Friday, 4 December 2020

Christmas Moose Shutter Card

Hello Crafty friends

It's Fun Fold Friday here on my blog and today I'm sharing a holiday Shutter card. I have a walk through for you on YouTube as well:   


I picked up this Merry Moose stamp set with coordinating punch last year at Stampin' Up and while I have enjoyed using it all year long it's perfect for a holiday card. 


The card is held closed with a Belly Band, and I added a label to the back as I have seen non-card makers struggle to open gatefold cards with Belly Bands before and they usually turn the card over to see if there is a flap or something they need to lift. 😁


Once you slide off the belly band, the sides open to reveal the shutter mechanism. The shutter opens as the card opens since the pieces are adhered to the card sides - and this one opens to reveal another moose as well as some stamped trees.


I love using acetate on my cards - and especially on shutter cards as it really mimics the glass of a camera lens then. 


I added a few die cut snowflakes and gold peel off snowflake stickers, and stamped a sentiment onto a label die.


Since I went over all the details in the video, I'll keep my comments here at a minimum. While I used a lot of the 12 x 12" patterned paper sheet on this card, there was enough left to make another holiday card and I will share that one in a few days.

Supplies:
Sam Colcott's YouTube tutorial HERE
Patterned paper - Websters Pages
Stitched circle frame die - Lawn Fawn
Circle die - Hero Arts
Various card stocks - stash
Acetate
Merry. Moose stamp and punch - Stampin' Up
Water Brush
Wink of Stella
Banners Pick A Punch - Stampin' Up
Greeting (and sprig stamped on envelope) - Rustic Retreat, Stampin' Up
Tasteful Labels - Stampin' Up
Gold gel pen
Stitched Snowflakes - Lawn Fawn
Peel Off Snowflakes - Elizabeth Craft Designs
White Pearl Card stock
Brother Label Maker

Card size: 5 x 7", fits in an A7 Envelope

Thanks for stopping by today

Sunday, 4 October 2020

Six Bright Birthday Cards


Hello crafty friends ...


Today I'm sharing my first group of cards made with the August Sheetload of Cards Sketch & cutting guide. This is available to subscribers of Alicia's YouTube Channel at Call Me Crafty Al and I am LOVING her Sheetload ideas. Never mind that it's such a cool name!

So this sketch is a basic layout that I have used often before. But I loved her cutting guide and the use of three different 6 x 6" sheets of patterned paper so I did use her measurements. Notice that each of my six cards has all three of the patterned papers on it! The August 2020 Sheetload will make six cards, so that is what I did but of course I changed up the sketch. That is the fun thing about sketches - they are a guide and you can make them work for you.


I have a shoe box of coloured A2 card bases that I am determined to use up. So whenever possible, I go through that for my nursing home donation cards. There were four navy ones that worked well for the patterned papers, so I used those up then added two white card bases to complete the required six for the Sheetload.


I made two of each design and the three designs are different enough to be included in a single month donation bag for my Mom's old Nursing Home. (I donate 25 Birthday Cards each month there).

Once I was done these three cards - I had to make another set - this was just too much fun. Those will be shared another day.

Supplies:
Sketch/Cutting Guide - August Sheetload of Cards, Call me Crafty Al on YouTube
Various card stocks - stash
Patterned paper - Crafts (from our Dollar Store)
Stitched circle - MFT Stamps
Sakura black glaze pen
Bonanza Buddies - Stampin' Up
Cactus - Year 10 - Lawn Fawn
Tasteful Label dies - Stampin' Up
Copic Markers
Word stamps - May 2015 Paper Pumpkin, Stampin' Up
Moose punch - Stampin' Up
Mini MISTI - My Sweet Petunia
Nuvo Drops

Card size - all, standard A2 (4.25 x 5.5")


Thanks for stopping by today

Monday, 27 January 2020

Moose & Evergreen Pivot Panel Birthday Card

Hello crafty friends ...

Today for Masculine Card Monday, I'm sharing the card I made for my Brother-in-Law's Birthday.


The video's on Blogger are quite small - you can always see them larger on my YouTube channel by clicking HERE.


I'm really happy that I got this moose punch - it is perfect for masculine cards! I added one of the Simple Strip Birthday banners, and matted it with white.


Inside I used Karen Burniston's Evergreen Pivot Panel, cutting the trees from scraps of the Buffalo Plaid patterned paper.  This is an easy card to duplicate, if you would need a quick card. The words on the left panel (another Simple Strip Birthday) reads:  Another Year Closer To Velcro Shoes. Hahaha.


The white fishtail banner is where we will sign our names. Even though this is a masculine card, I thought it needed a little somethin' somethin' so added shiny black border Peel-Off stickers from Elizabeth Craft Designs. I have quite a few of them in my stash, and it's fun to get them out and use them!


Even though this card folds completely flat and would mail for a single stamp, I get to hand deliver it this year!

Supplies:
Kraft, Charcoal and Black card stocks
Buffalo plaid patterned paper - Carta Bella
1062 Evergreen Pivot Panel - Karen Burniston
Peel Off border stickers - Elizabeth Craft Designs
Moose punch - Stampin' Up
White embossing powder
Simple Strips Birthday stamp and die - Taylored Expressions
Layered Fishtail banners - MFT Stamps
Fitted Hexagon and Stitched Hexagon dies - Elizabeth Craft Designs
Cool Tag Banner Sentiments (Let's Celebrate) - Your Next Stamp

Card size - 5-1/2 x 5"

Thanks for stopping by today

Saturday, 28 December 2019

Monochromatic Moose Birthday Cards

Hello my crafty friends!

A few months ago, I ordered what was called an 'A2 sized' card set. There were brightly coloured panels/post cards and coordinating envelopes. I thought they would be great for the cards I donate to my Mom's nursing home so ordered them. Well they are actually smaller than A2, so I was very disappointed.

But after some thought I decided not to return them. One, the price point was really good. Two, they are only 1/4" smaller than standard A2 ... so the envelopes hold a card that is 5.25 x 4". That is still easy enough to use and not too small to give the seniors. I  did know that the panels were not folded cards, and I had planned on using them as matting layers which I can still do. Especially when I realized that they are proportionate to A2 cards so my rectangle dies will still work perfectly. So, wanting a quick break from the frenzy of gift wrapping, tidying up for company etc before Christmas I ducked into the craft room and made these three cards.


They are sweet and simple - I don't often do CAS cards but that is what appealed to me when I was making them. I die cut the coloured panels with a stitched rectangle die, then punched a moose out of the lower right corner of each panel. I actually really liked the cards with the white card base showing through the moose opening but in the end I decided to add the moose pieces back into the openings with foam tape for some dimension.

I stamped the greeting and sentiment inside in coordinating colours, and die cut the greeting with a stitched fishtail banner. That was also popped up with foam tape. I tried a twine bow on the moose to dress up the card a little, but didn't like it. I added some small circles to see if Nuvo or Gum Drops would look good - they didn't. So in the end I decided to just go with the clean and simple look. The matching envelopes help elevate the cards a little.


The sentiment inside all three are the same, just stamped in coordinating colours.


Looking at these photos, if I were to make this design again I would move the greeting on the banner all the way to the right, then tie some coordinating coloured bakers twine around the left end. At least, I would have a look at doing that - no way I'm peeling up the banners on these three as they are stuck down good. Ha.

Supplies:
Card panels and matching envelopes - American Crafts
White card stock
Moose punch - Stampin' Up
Fishtail banner - MFT Stamps
Happy Birthday To You stamp - Cool Tag Sentiments, Your Next Stamp
Stitched rectangle die - Your Next Stamp
Inside greeting stamp - In and Out Birthday, Taylored Expressions
MISTI - My Sweet Petunia

Card size - 5.25 x 4"


Thanks for stopping by today

Tuesday, 10 December 2019

Christmas Cards, Moose and Shaker Card Duo

Hello my crafty friends

I have to say, I'm really loving the shaker kits from Queen & Company these days. I don't even need any more Christmas cards this year, since I have all the ones I made last year for my Mom to send this year. No point in letting them go to waste, so I added them to my Christmas Card box and sent them out with our Christmas letter this year.


This card trio actually started with the snowflake background. I cut it from a red A2 panel, reserving the fall away snowflakes to use on other projects, then wanted to see what it looked like mounted to a card blank. Then I had this piece of buffalo plaid paper so I added a pearlized snowbank to it and finally just sat down to finish the card.


The moose punch is all glittery from a Wink of Stella pen!


Inside the card, I added a couple of the fall away snowflakes, and a stamped greeting from the North Pole Shaker kit. Then another punched moose and this card was finished. But there were still some red snowflakes sitting on my stamping table and I was itching to play with the shaker pieces in the kit.


So ... I made a second card!


The North Pole piece is actually part of a sign, but I cut away the pole to make it an element, then added the die cut bow that comes in the kit. The kraft heart was sitting on my stamping area from a different project. The kraft chevron background die looks so good with the white card stock and red snowflakes! Of course, I'm using a lot of kraft card stock these days so that shouldn't have surprised me.


The remaining fallaway snowflakes from the first background panel were added inside the card with a stamped greeting.


I wasn't ready to stop yet so made another shaker card using the North Pole kit. This Santa hat is so cute! The brim and pom pom were cut from white pearlized card stock for some shimmer and shine.


Inside I added another hat, and the stamped greeting on layered banners.


Into my stash for next year, unless something comes up where I need another card to bring to a party or something.

Supplies:
White, black, kraft and red card stock
Buffalo plaid patterned paper - Cartabella
North Pole Kit and outline dies - Queen & Company
Rectangle dies - Hero Arts
Various filler, sequins and shaker bits
White shimmer card stock
Stitched Large Fishtail Banner dies - Pink & Main
Tiny Snowflake stamp - All Tucked In Christmas, Taylored Expressions
Stitched Fishtail Banner dies - MFT Stamps
Moose punch - Stampin' Up
Snowflake background die - the Stamps of Life
Fishtail Banner die - MFT Stamps
Spectrum Noir pen
Chevron background die - the Stamps of Life

Card sizes - all, standard A2 (4.25 x 5.5")

Thanks for stopping by today

Thursday, 28 November 2019

Row of Mittens Christmas Card

Hello my crafty friends

I saved this cute mitten element to use with the coordinating mitten patterned paper for one of my Christmas Cards.  For this one I chose to make a Z Fold Card.


Here is a quick YouTube video for you, and I have more photos & details below that if you are interested.


I added some YNS Gumdrops as well as Nuvo Drops for a little sparkle.


I HAD to order this Moose punch with coordinating stamp set from Stampin' Up's Holiday catalogue. I have several ideas for it, but haven't had time to really play with it yet. I did add a black punched moose to the centre panel of my card though, and that made me happy. Like the SU Playful Penguin stamp set, I ordered the Moose punch because I can use it year round and not just for holiday cards.


This retired stamp set from Stampin' Up was perfect to go with the mitten patterned paper!


Supplies:
Confetti and grey card stocks
Patterned paper, elements and stickers - Comfort & Joy, My Minds Eye
Stitched Rectangle dies - Your Next Stamp
Words on front - Papertrey Ink
Words inside - Stampin' Up (retired)
Moose Punch - Stampin' Up
The Perfect Blend Gum Drops - Your Next Stamp

Card size - standard A2 (5.5 x 4.25")


Thanks for stopping by today