Showing posts with label Eileen Hull. Show all posts

Wednesday, 19 September 2018

Sundre Mini Album (Notebook)

Good morning friends

I love notebooks. And lists. Lists keep me sane, and notebooks keep my lists organized. When we purchased an acreage last summer, I needed a notebook to keep track of what I was going to need to purchase. We moved on a little mobile home and it was going to need furniture, dishes etc.

I just wanted something quick and easy and of course I wanted to make it myself. I didn't want to spend a lot of time, money or supplies on it as it was a temporary notebook and could be tossed in recycling when it was done.

So, I chose the Mini Album die by Eileen Hull and some paper from my stash. While a farm themed paper would have been more appropriate, I didn't want to waste any of my nice papers on a throwaway item.


There is gold foiled bits on this patterned paper, which is kind of pretty and I love the bird. I've had the paper stack for several years, so I was glad to use some more of it up.


Now here is the cool thing about the Mini Album. It is assembled with elastics. Yes, just elastics from the office supply store. Or your junk drawer.


The die is a ScoreBoards die, so not intended for card stock, as the score lines could cut rather than score. These ones did OK, but I still reinforced the score lines with Washi tape on the inside.


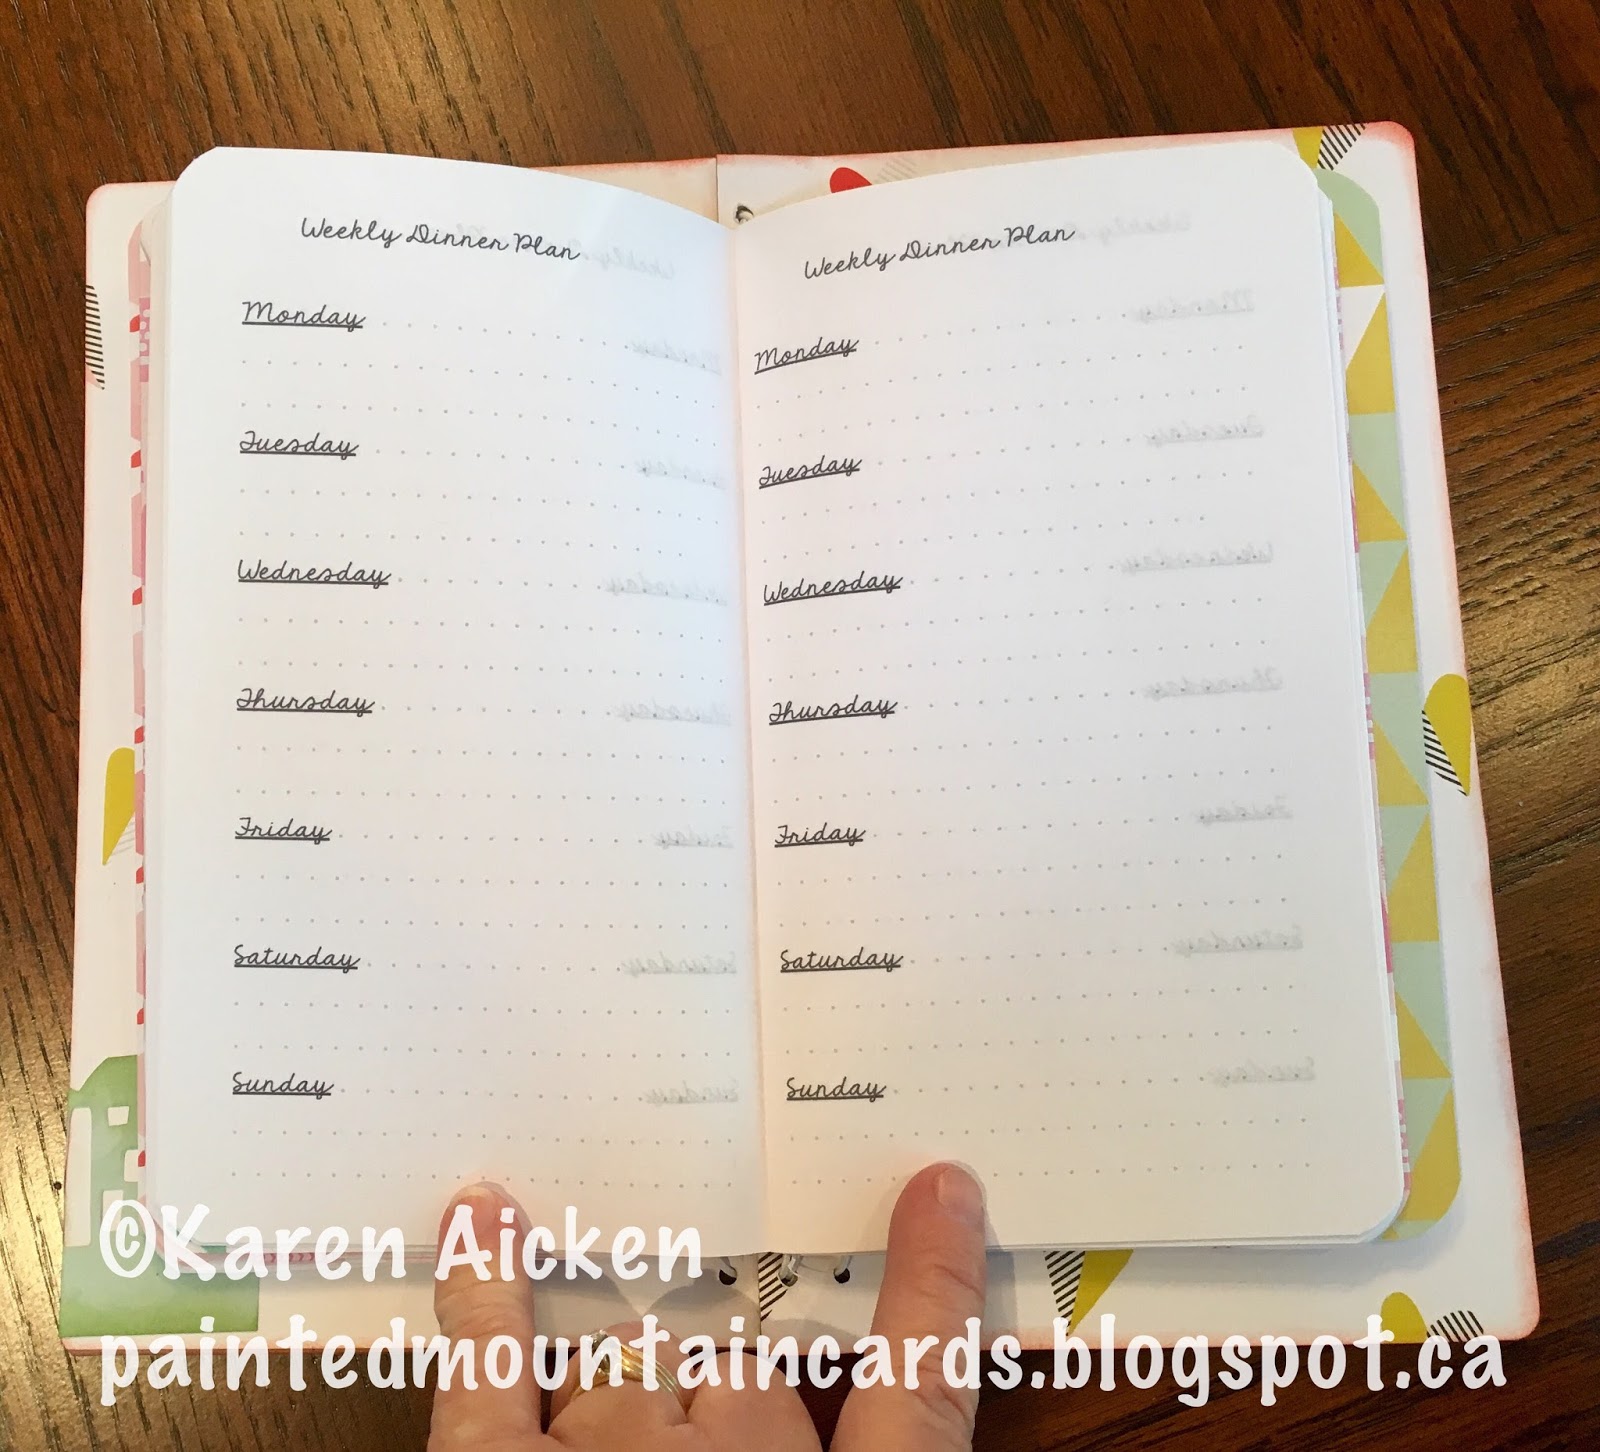
The covers were also made using more papers from the stack, and the pages inside were cut with white printer paper.


I see so many beautiful albums, journals and notebooks made with Eileen's dies - but I wanted to share that they can also be used for quick and easy projects. I bet this whole notebook was completed in well under an hour. And that included inking the edges.

I added a room name to each of the pages, then could write down what we needed for each room. When we were able to get into the 'cottage', we had what we needed to clean it and make it comfortable. Then I was able to mark down any measurements that we needed for each room when we went furniture shopping. All because of my lists! The notebook easily fit in my purse and came in very handy.

Thanks for stopping by today

Thursday, 12 April 2018

A Special Gift for a Special Lady

Good morning friends

Hold onto your hats - there are a LOT of photos in today's post. First of all, this was a Christmas gift for our granddaughter's aid at school. Miss F is totally amazing. She is also the mother of a special needs child and she just gets it. She is supportive and understanding and well, amazing. Olivia loves Miss F. And because of that, we all love Miss F. I asked Heather if I could make Miss F a special gift for Christmas and would she like a Travellers Journal. Heather said YES, and said that something very classy would be perfect.  This is what I came up with...


I use my journals daily, and they are hauled around and stacked and piled on etc etc, so I wanted her cover to be pretty without being 'fragile' and bulky. The patterned paper has lots of sparkly, glittery bits in it and I used the Katherine Label Pop-Up to cut the labels throughout. A paper flower from my stash with a silk covered, embroidered brad was pretty much the only cover decoration. I did add a little bling to the spine with a clear drop jewel and black tassel.


I also added a pretty heart charm to the elastic to symbolize the love Olivia has for Miss F.


Here is a look at the inside, where I added a pocket to the inside front cover. I handmade the inserts, printing a dot-grid onto lovely 24 lb printer paper and cutting everything to size. The insert covers are made from the same patterned paper stack and they are also embossed and glittery.


This next photo shows the back of the first insert and the front of the second one. You can sort of see the glittery areas - it was very hard to capture in a photo.


Wrapped around the third insert, is a purchased vinyl pocket wrap. I added a bookmark to the front pocket as a good visual that there was actually a pocket there.


The other side has places for business cards etc. Below you can see the cover on the third signature/insert.


The vinyl pocket wrap also has a zipper bag on the opposite side to the pockets, which is always handy in a journal. It fits under the elastic binding perfectly and wraps around that third insert.


Then I wanted to wrap it up nicely as well - even though it was a Christmas gift I wanted to keep everything coordinated. I decorated a white gift bag with more sparkly paper from the paper stack and made a sparkly layered tag as well.


I can tell you that the gift was a big hit, and Miss F truly felt appreciated and loved. Can't do better than that.

Supplies:
Glittered card stock - My Minds Eye
White card stock
Matboard - Sizzix
Tassels
Charms
White 24 lb copy paper printed with dot grid
Xyron
Journal BigZXL die - Eileen Hull (Sizzix)
1011 Katherine Label Pop-Up (labels) - Karen Burniston
Stamps - Papertrey Ink
Tag die - Papertrey Ink
White gift bag


Thanks for stopping by today

Wednesday, 11 October 2017

Ocean Themed Travellers Journal

Good morning friends

Today's share is a Travellers Journal (also called a Travellers Notebook) I made for my friend B. She loves the ocean and she loves to travel so it seemed like a perfect fit. I had been hoarding this lovely patterned paper in order to make something for her and since it was large enough to make a journal cover I went with that.


B is quite practical so I didn't want to add a bunch of dimensional elements to the front that would catch when the journal goes in and out of bags. There are tons of gorgeous journals online, made with this Journal Die by Eileen Hull - decorated to the hilt with lots of bling, sari silk ties, layers of 3-d flowers & leaves, metal bits and bobs etc etc. I love looking at them, but any of the journals I have made get USED. So I don't decorate them like crazy and especially when I'm gifting them as I want the recipient to be able to use it without worrying about flattening the decorations, fussing with long silk ties or things catching on the metal elements.

I added some copper foiled acetate bits to the front though, for some shimmer and shine. The journal is held closed with the same black elastic cord that holds the three insert/booklets inside. It's easy to slide off and back on yet stays attached at the spine, and is one of the features I really like about this style of journal.


Inside the front cover is another acetate decoration ...


... and a 3-d shaker sticker. I added it inside, as it is protected by the front cover!


Below you can see the journal open with the three inserts.


The patterned paper for this first insert has glossy embossed bits - it's so pretty.


While the cover and inserts were made by hand, I included a purchased vinyl pocket folder. One side has a pocket that goes the length of the cover and I included some tags that she can use in the journal or for something else.


The other side of the large pocket has three smaller pockets, and I added some decorated scraps to them as well.


Oh, these inserts. This was only the second Travellers Journal I had made and I was still learning. I had a rough time making these inserts. One was cut completely wrong, but I couldn't bring myself to toss it in recycling so I'm using it for rough note taking etc. Then I broke a cutting plate - first time ever! And one is cut uneven, with the top a little wider than the bottom. OMGoodness it was a struggle. But I persevered and I thought that maybe it added to the handmade charm of the gift. Grin. I found this sweet metal seashell charm, so added it to a label on the front of the second journal.

Practice helps and I'm happy to say I am much better at making inserts now. In fact, I really enjoy making them and have a couple done to replace full ones in my own personal journals.


The vinyl folder folds around an insert, and can be inserted in the same elastic as the insert/booklet. Below is the vinyl zipper pocket that is on the opposite side to the pockets. I thought she could tuck all kinds of things in that pocket, and I included a copper seahorse for her to use as well.


I wanted to try cutting down some Zentangle tile sized pocket page protectors to see if they would work as journal pockets and included a few more ocean themed embellishments for her to use.


Finally, I added a glittered sticker and die cut label to the third and final insert (booklet).


While I don't use my journals for travelling, if we ever get this RA under control and can travel again I will certainly make one for that. So many people use them for their trips, because if you are going on a day trip it's easy to slip out one of the insert/booklets and just take that one with you. People add sketches, tape or glue in ticket stubs, maps etc as well as notes on where they are and what they've seen that day. Some leave spaces for printed photos (2 x 3" size) to add when they return home, others bring a little instant printer with them and complete their journal while they are out and about. The inserts themselves easily fit in a purse or bag and when you get back they slip right under the elastic in the cover for safekeeping. Such a brilliant concept!

I have three Travellers Journals on the go now ... one is for paper crafting ideas, wish lists etc etc. One is a Gratitude Journal. When all three inserts are full, they will be easy to store and look back on in the years to come. And I can make new inserts to continue to write about my gratitude for this amazing life. The third one has meal plans, meal ideas and recipe successes with tips for the Pressure Cooker. All three of them get used daily!

I have decided not to keep track of supplies when I make these journals but the Sizzix BigZ XL die is by Eileen Hull and most of the patterned papers and embellishments are by K and Company from my stash.

Thanks for stopping by today


Monday, 17 July 2017

Let's Eat Journal

Good morning friends

I'm back with another journal made with Eileen Hull's Journal die. Honestly, I am having so much fun with this die! It is part of Eileen's new Heartfelt Collection, and has been so popular Sizzix is having to play catch-up with their stock. If you are trying to get your hands on one they will be available again sometime next month.


Here is a photo of the journal opened out. I love these fun, happy colours. Since it is going to be used (by me!) multiple times a day I have kept the embellishments to a minimum so nothing catches or wears out. Once I had adhered the stamped journal card & banner, die cut spoon and row of houses - I gave the covers three coats of Mod Podge. I expect using it around food there is a chance of splatters and finger prints. The Mod Podge should help with that.


I made 3 inserts for the inside, utilizing some of the journal cards in the paper stack as labels. The first insert is going to be used to plan my meals & snacks for each day.


I made a pocket folder out of more coordinating paper in the stack ...


... and the second insert is for our weekly dinners.


Finally, the third insert is for things like Pressure Cooker successes. I love that appliance, and that I can cook 3 frozen chicken breasts in 15 minutes. But I don't always remember how long it takes and usually have to look up how long to cook Basmati Brown Rice (15 minutes with a natural release) and how much water to add. All of those things and anything new I try will go in here.


The dot grid pages were printed from HERE. Thank you to Ray Blake for making this file and others available for printing.


I am enjoying using this journal, and it will help me be more organized in the kitchen. I should be able to keep track of leftovers, and what's in our deep freeze as well as helping me plan to eat healthier.

As I've said with my other journals, these are completely customizable and you can use them however you want. They stand really well on my kitchen desk area where I can easily grab them. It's no wonder Eileen Hull's Journal Die is so very popular!

Thanks for stopping by today.


Monday, 26 June 2017

Travellers Journal for Olivia

Good morning friends.

Note - this is a photo heavy post. Lots of people do YouTube videos showing their journals, but I don't do videos. So ...

I had fun this past weekend making a Travellers Journal for our 6 year old Granddaughter Olivia. If you follow my blog, you know that she loves pink and purple and everything girlie. I've had this pad of Disney Princess paper since Children's Wish Foundation sent Olivia to Disney World so I got it out  againfor her journal.

I used Eileen Hull's Journal die to make the journal itself - it's from her Heartfelt Collection and it's AMAZING. The different ways people are using this die are nothing short of inspiring. It goes together perfectly, all the scoring is done and holes cut with the die. It's a BigZ Score Board die, which means it cuts matt board, chipboard etc. I used heavy chipboard for my covers, covered front and back with patterned paper and it still cut beautifully.

Here is the front cover, embellished with lots of glitter glue, some purple heart gems (purple for Pulmonary Hypertension and hearts because of Olivia's big heart) and layered sparkly 3-d butterfly stickers.


I added a mauve tassel and iridescent heart beads to the spine.


You need to cut two covers - one for the front and one for the back. Then they adhere together with a strong adhesive. Since I use the Elizabeth Craft Designs double sided adhesive for my paper crafting, I used that on my first Travellers Journal. However it is NOT strong enough. I picked up red-line tape for this one. Here you can see that there are three signatures (inserts/booklets) inside the journal.


This is the cover flattened out so you can see the front and back. I chose a wide, pink sparkly elastic to close the journal ... the end photo shows it closed with the elastic.


Here is the inside - there is a little bag with a window & transparency that I've tucked some iridescent rose stickers in and added some purple gems. Olivia can add other goodies to the bag as well. You can also see all three inserts as they fan out when the journal is opened. I added a punched tab to the top of each insert, staggered, with an iridescent gem on the front and a purple one on the back. The front cover of the insert has lots of sparkle and a fabric flower.


Inside each insert, I added a flat paper bag with the bottom trimmed off and notches cut into the top and bottom. They are folded in half sideways and placed against the cover, so when the pages are added to the book the bag forms a pocket. There is one at the inside front cover and the other end is inside the back cover. I added sparkly washi tape to each end to decorate them up a little. Olivia can doodle or write on the bags as well.


Inside each of the bag/pockets there are 4 x 6 patterned paper pieces that Olivia can write secrets or special things on, and a small sheet of washi stickers.


I added a sheet of patterned paper to each of the inserts as well. This first insert has quad paper inside that Olivia can use for practicing her writing. I also stamped each of the pages and she can colour the images in or draw around them.


Below you see the back of the first insert and the front of the second. There is another tab with gems at the top, lots of glitter and another 3-d sparkly butterfly sticker.


I stamped a few images throughout this book as well, but the pages are sketchbook paper so Olivia can use this one for drawing in.


Below is the back of the second insert and the front of the third. As with the others, there is a tab with gems, lots of glitter and a 3-d sparkly butterfly sticker...


... and here you see another bag/pocket. The Disney patterned paper is double sided so there are sweet patterns inside the covers as well.


This third insert has a combination of sketch paper and quad paper. I added iridescent rose stickers throughout this one.


Below is the back of the third insert and the back cover of the journal.


Finally, here is the journal with the elastic closure. It's not too tight so little fingers will be able to slide it off and on easily.


This must seem like a lot of work to do for a 6 year old, but with the amount of time Olivia has to spend at the Children's Hospital I think she will get a lot of use out of it. It will easily fit in her backpack too.  I may look for some small gel pens to go with the Travellers Journal and add a pen-loop. But for now, I'm calling it done!

I'll be back later today with my regular 'Masculine Card Monday' post ...

Thanks for stopping by today