This blog uses affiliate links whenever possible. This means, if you make a purchase through one of my affiliate links that you pay the same amount but I may receive a small commission from your purchase. I only link products that I own, love and use for my card making and not every link below is an affiliate one! 😊
Tuesday, 7 February 2023
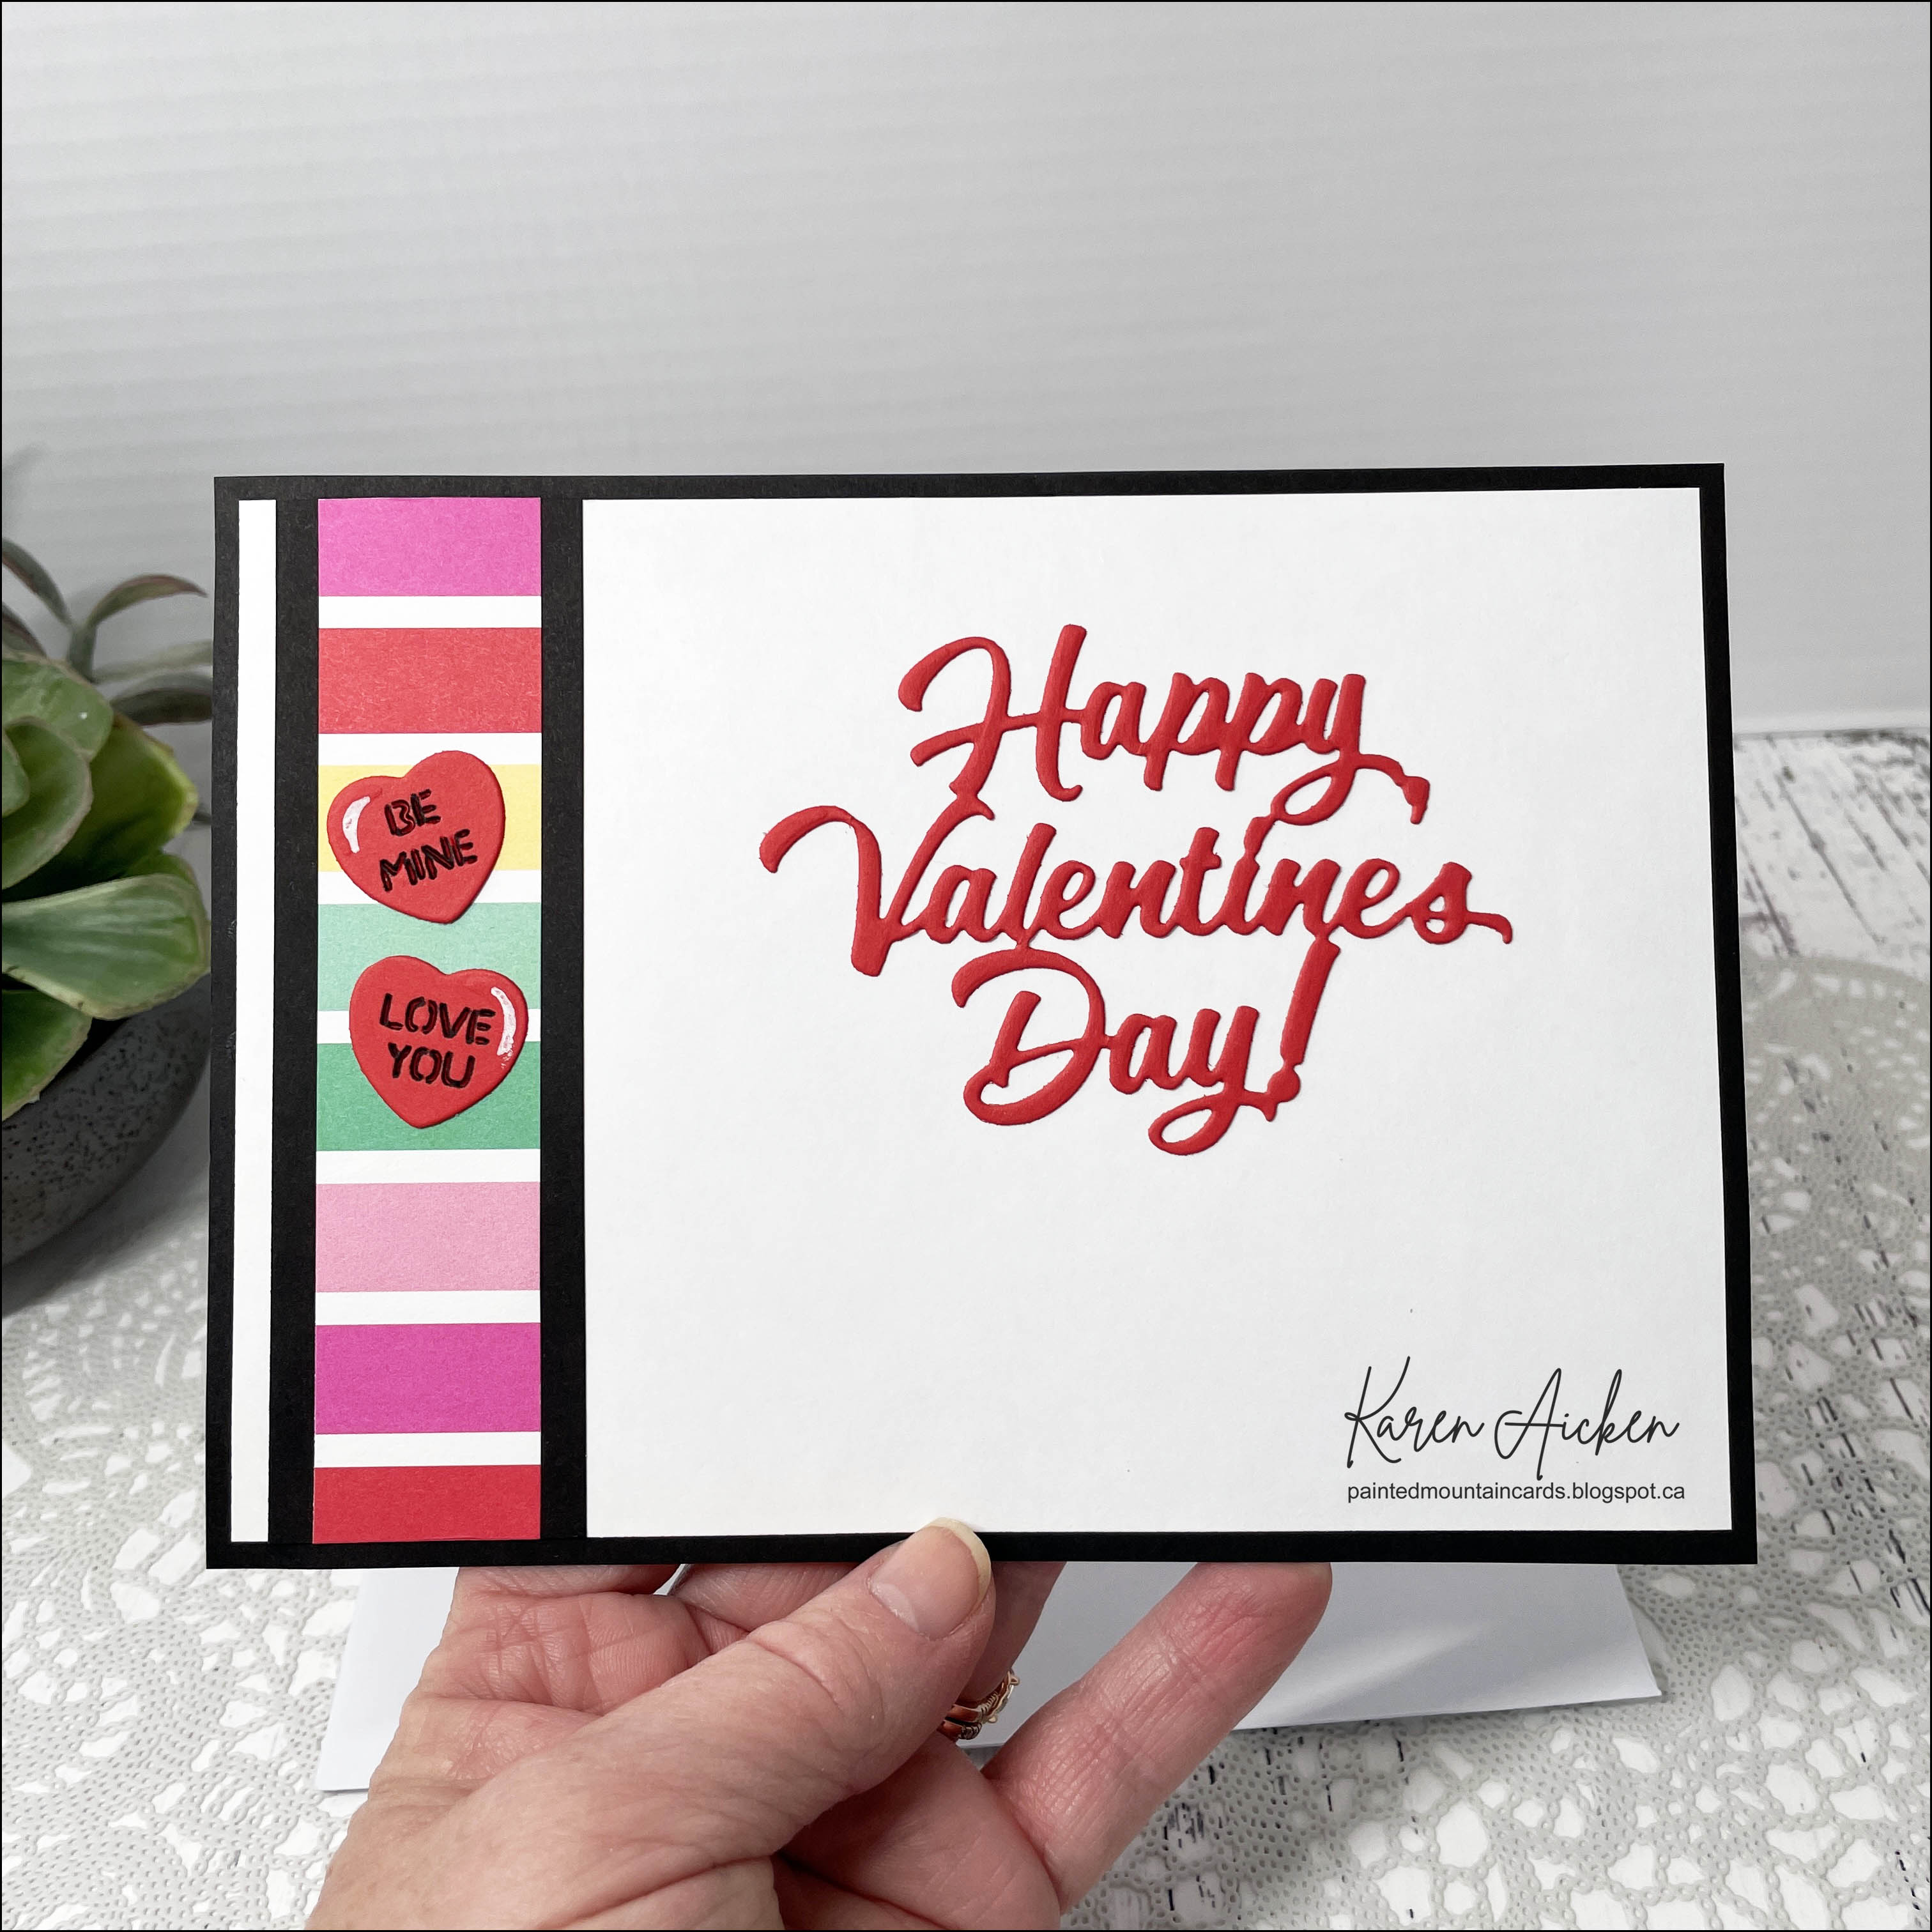
Waterfall Valentine Card
Saturday, 15 May 2021
April Paper Pumpkin Alternate - a Shutter Card
Hello! Today I'm sharing another Paper Pumpkin Alternate Card using the April Paper Pumpkin kit "Here's To You". I knew I had this patterned paper in my stash, so pulled it out to work with the watermelon shaped card from the kit. I cut that watermelon into three pieces to use as elements on my Shutter Card and I have a walkthrough on YouTube:
The watermelon seeds got some shimmer from a Wink of Stella pen, and I added the sweet HELLO die which is included in Karen Burniston's new Waterfall Die Set.
Additional Supplies:
Sweet Sentiments - MFT Stamps
Tasteful Texture Embossing Flower - Stampin' Up
Tasteful Label Dies - Stampin' Up
Transparency
Enamel dots - All the Trimmings, Stampin' Up
Card size - Standard A2, 4.25 x 5.5"
Thanks for stopping by
Thursday, 13 May 2021
April Paper Pumpkin Alternate, Waterfall Card
Hello! I wanted to use the stickers from the April Paper Pumpkin kit so pulled out the new Waterfall Card die set by Karen Burniston and some coordinating patterned paper and this is what I came up with! I have a walkthrough of my card on YouTube:
When you pull the tab, each of the squares flip over to reveal a stamped sentiment and another sticker image. I adhered the stickers to white card stock and fussy cut them out so they would have a little more stability than just sticking them onto the layered panels.
This is a Mini Slimline card and the Mini Slimline dies I used are by Divinity Designs.
When I make a card like this, I usually make it post card style rather than adding the waterfall to a folded card base. Here is a peek at the back which is where we will sign our name.
I still have items left in the kit so more April Paper Pumpkin alternates will be shared soon!
If you are wondering how to assemble the Waterfall Card, Karen Burniston has an amazing assembly video! Once you know how to assemble your die, the rest is card size, paper and colour choice as well as embellishments! You can change the look of your card every time you use the dies. :-) I always enjoy showing you different ways you can use your dies once you know how to assemble them.
The list below contains some affiliate links. If you use these links to purchase I may earn a small commission at NO extra cost to you.
Polka Dot Ribbon - Stampin' Up
April Paper Pumpkin, Here's To You - Stampin' Up
Sequins
Stamps - Hero Arts (Retired)
Card size - 6 x 3.5", fits in a #8 envelope
Thanks for stopping by
Wednesday, 28 April 2021
Mother's Day Waterfall Mini Slimline Card
When I do a card like this, I usually make it a post card style to keep the back nice and flat. In keeping with that, I used the shadow die for the new Happy Mother's Day to inlay into the back panel.
Card stocks and scrap of patterned paper - stash
Stickers - Violette Stickers
Gold foil card stock scrap
Ribbon
"Hugs & Smiles" - Verve
Stickles
Wink of Stella
Card size - 6 x 3.5", fits in a #8 Envelope
Thanks for stopping by
Friday, 31 July 2020
Garden Themed Slimline Waterfall Card
Hello crafty friends ...
It's Fun Fold Friday here on my blog and I'm sharing a garden themed Waterfall Card with both old and new products from Karen Burniston. I talk about the details in my YouTube video!
I did a photo collage showing each of the four decorated panels. As you pull the tab to the right each panel flips over to reveal the one below it. I used the new Backyard Charms along with the older Garden Charms to decorate the panels. I adore the fairy that is in the Backyard Charms ... so added her in a different colour to the back side of each of the panels.
The final photo shows the stamped sentiment that is finally revealed when all the panels are flipped over from pulling the pull tab.
**Karen Burniston's New Release was available for preorder on July 16th with shipping (in the order received) starting August 3rd.
Card size - 8.5 x 3.5", fits in a #10 Envelope
Sunday, 1 December 2019
Sparkling Vintage Truck Waterfall Card
Happy December First! This is always the start of Christmas for our family - and I'm sure missing my Mom today. She was such a big part of our family, and started many of our family traditions.
Today I wanted to share a Christmas card to celebrate December 1st. I actually made it in October, when I decided to try a wider arm on Karen Burniston's adaptation of the Frame Pull Pop Up to create a Waterfall Card. I made a simple Halloween card with stickers (which you can see HERE), and when it worked so well I made an additional two cards that week. A Thanksgiving one (which you can see HERE) and this one for the holidays. I saved this one to post until today though.
Once again I used one of the three paper packages I pulled out for our holiday cards this year, using up some of the stickers and printed elements as well. When you pull the tab, the panels flip up revealing something different on each one. The paper and elements have lots of sparkle on them which I always love for a Christmas card.
Note, the wider arm is 2-1/4" wide with the Frame Pull arm sandwiched in between two of them. I make it longer than it needs to be then trim it where I want the end to fall after I'm done decorating.
Here is a peek at the inside, using one of the printed elements with some die cut layers.
Card size - standard A2 (4.25 x 5.5")
Friday, 18 October 2019
Thanksgiving Waterfall Card
It's Fun Fold Friday here on my blog and I'm sharing another Waterfall card created with Karen Burniston's adaptation of her Frame Pull Pop Up.
I have a short YouTube video so you can see the card in action, with more photos and a supply list below that.
For those of you who like to pin all the different flaps to their Pinterest boards ... here you go!
I would have liked to ink the edges of the pieces for this card, but the card stock has almost a glossy finish and it wouldn't take the ink!
I added a wider arm to the Frame Pull and I'm really liking this idea. I did it first with a Halloween Waterfall card that posted last week. This wider arm would even hold a gift card! Something else on my list to try. Note - the left edge of the gift card has to tuck under the right edge of the waterfall base in order to prevent catch points.
For this card I adhered another pretty sticker from the package and I like that it is fully revealed once the arm is extended all the way to the right.
Here is a peek at the inside;
This one is actually quite a heavy card because of all of the layers since the patterned paper is also heavyweight, but can be mailed with an extra stamp or hand delivered.
Saturday, 12 October 2019
Ghosty Greetings Waterfall Card
I have a Halloween themed Waterfall card to share today, using the adaptation Karen Burniston came up with for her Frame Pull Pop Up and older paper & stickers from my stash.
A different company recently came out with a waterfall die set, where the pull arm is wider than the one that comes with the Frame Pull Pop Up. Hmmmm ... So I added a 2.25" wide strip of black card stock to the pull arm and it worked like a charm. I made it extra long, and just trimmed it to the length I wanted after I was done decorating the card. There was room for a rectangle of the super sparkly patterned paper on the end and I added an arrow for the recipient so they know what to do when they open the envelope.
I found a sheet of these fun foil stickers in my stash, so used them for this card and managed to use up the whole sheet! I've had them for YEARS, so I was happy to finally use them. I outlined each of the orange patterned paper squares with a sparkle pen for additional sparkle. Between the sparkly embossed patterned paper, the foil stickers and the sparkle pen - this is one shiny card!
As usual, I made this Waterfall Card in a post-card (flat) style, but if I want room to write more I can do that on the back where I added another panel of patterned paper from the pack.
I liked the idea of a wider arm so much, I immediately made a Thanksgiving and a Christmas Waterfall card and will share those in the coming weeks. You can even add a gift card to the arm, as long as the inside edge tucks under the mechanism. Fun!
Supplies:
Black card stock
1070 Frame Pull Pop Up - Karen Burniston
Patterned paper - Midnight Magic, Recollections (old)
Tiny Attacher - Tim Holtz
Foil ghost stickers - Amscan (old, from my stash)
1056 Squares Crosshatch - Karen Burniston
Stitched rectangle dies - Your Next Stamp
Circle die - Hero Arts
Sakura black glaze and sparkle pens
Black enamel dots - Stampin' up
Card size - Standard A2 (5.5 x 4.25")
Friday, 8 March 2019
Succulent Waterfall Card
It's Fun-Fold Friday here on my blog and I have a Succulent Waterfall Card to share today.
While I have shared other Waterfall cards made with the Frame Pull Pop-Up, this is actually the first one I made. Ha, I rarely post in the same order I create my projects. As soon as I saw Karen Burniston's brilliant adaptation for the Frame Pull Pop-Up I headed right into my craft room to make one for a friend.
I pulled out these pretty gold rimmed succulent stickers for embellishing and I like how they catch the light when the card is moved.
When you slide the arrow to the left, the top panel flips up to reveal another panel underneath...
... and another one after that.
The last panel combines two of the Word Set dies for the greeting.
I like to make these Post Card style, so this is the back. Keeping everything nice and flat at the back ensures the card lays nice and flat.
The Border Blends make such quick and easy borders - I used this one from the Argyle set to add a little colour to the top of the white panel where I wrote a note to my friend.
I stamped a coordinating envelope as well!
Supplies:
Turquoise card stock, white, green
Patterned paper - K & Company
1054 Rectangles Crosshatch - Karen Burniston
1070 Frame Pull Pop-Up - Karen Burniston
1042 Spinner Square Pop-Up (Stitched squares) - Karen Burniston
1057 Circles Crosshatch - Karen Burniston
1052 Word Set 6 Summer (hello) - Karen Burniston
1002 Word Set 1 Greetings (my friend) - Karen Burniston
1090 Border Blends Argyle - Karen Burniston
Sakura white gel pen
Tiny Attacher - Tim Holtz
Stickers - Paper House
Tuesday, 5 March 2019
Designer Challenge Waterfall Anniversary Card
I chose to make another Waterfall Card, using Karen Burniston's adaptation of the Frame Pull Pop-Up die set. I will link her assembly video at the end of my post.
The first panel has a bow tie and necklace, and starts with the words 'Side by Side'. When you pull the tab downwards, this panel flips up to reveal the second sentiment.
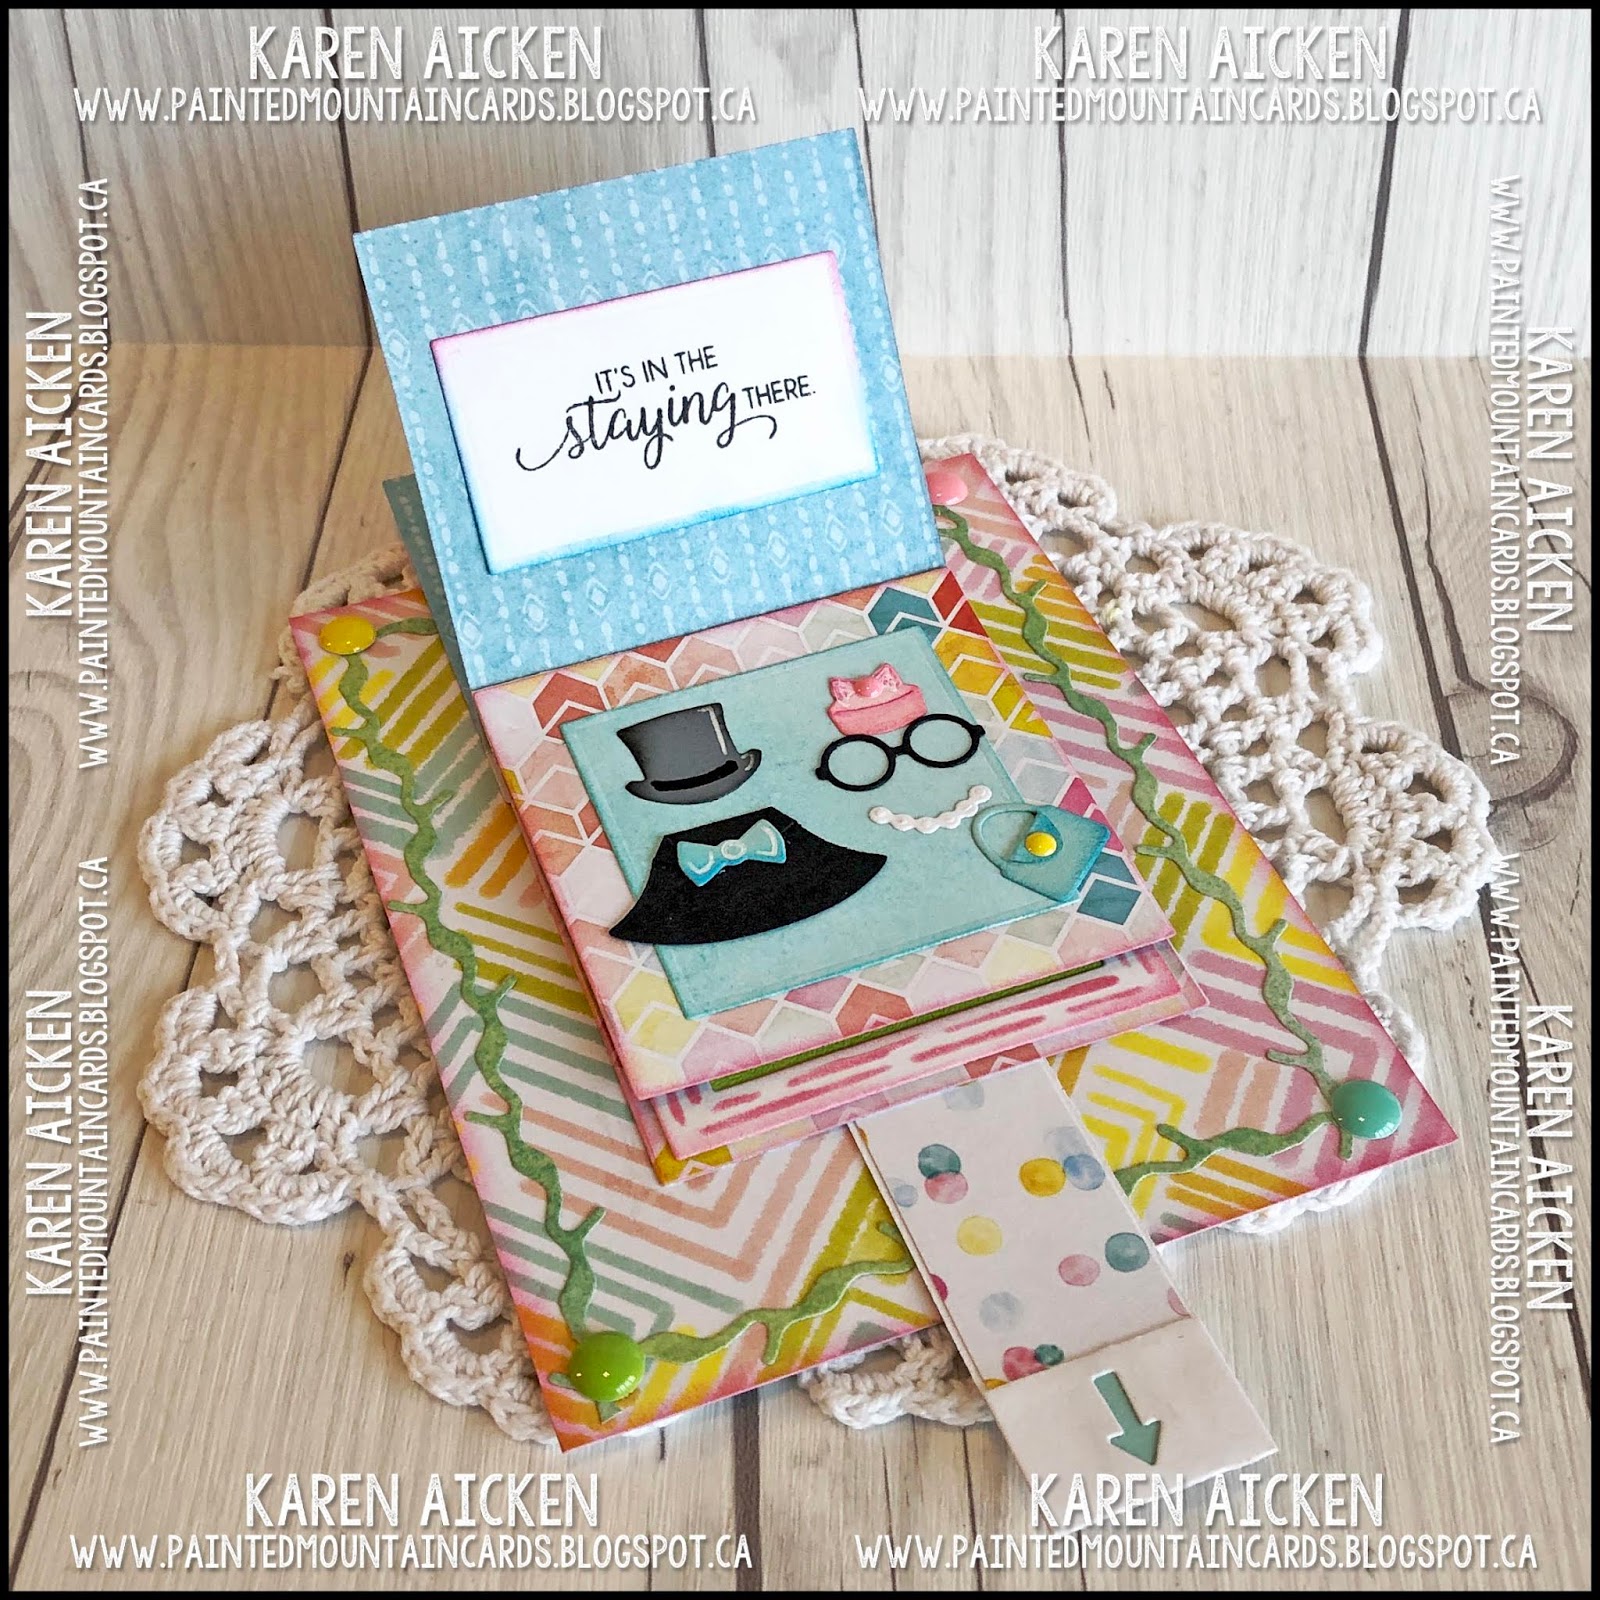
This one says 'Love isn't in the falling...'. In addition to the bow tie and necklace, now there is also both a top hat and pillbox hat. Pull the tab downwards once more and this panel flips up to reveal a third panel.
This third panel completes the saying on the previous one with '...it's in the staying there'. I also added a few more accessories! The dashing cape, a pair of glasses and a handbag. Pull the tab downwards and that panel flips up to reveal the final panel.
This one shows a pair of owls wearing all the accessories from the previous panels! I also added a banner that says 'Happy Anniversary'.
For the masculine owl, I chose to use the beak and feet from the Chick in the Spring Animals so he looks different from the lady owl.
Here is a side view so you can see the waterfall effect. I love Karen Burniston's adaptation of the Frame Pull Pop-Up!
I like to make my Waterfall Cards flat, post-card style. While I decorate the back I keep everything nice and flat so the card will display nicely. We can write our note and sign on names on the white area.
I combined Crosshatch Rectangles, Border Blends Party, and a stamped fish tail banner on the back of this card. This is an anniversary card for our eldest daughter & hubby, and we will be hand delivering it. I think I will add it into a clear cello envelope!
If you would like to see how easy it is to convert the Frame Pull Pop-Up into a Waterfall Card, click HERE to see Karen Burniston's video.
Check out the rest of the Design Team - their blogs are listed on the right side. Karen Burniston will have her project tomorrow (Wednesday) on her BLOG.