I guess this will be my last holiday card share for the year and it's the card I made for our veterinarian. We love her, and her clinic staff. I had also ordered them a Christmas gift back in November, which ended up shipping the day before Canada Post went on strike. So the package is sitting somewhere and hopefully it will turn up one day.
Gifts for our daughters were in the same package, so I'm not impressed. Also not impressed that I didn't get to mail my Christmas cards. The strike is 'over' (postponed until the Spring) so I could actually mail then now. But with the backlog of mail in the system already, and potentially grumpy workers that were forced back to work - I am not taking a chance with my hand made cards getting lost or not delivered until the middle to end of January.
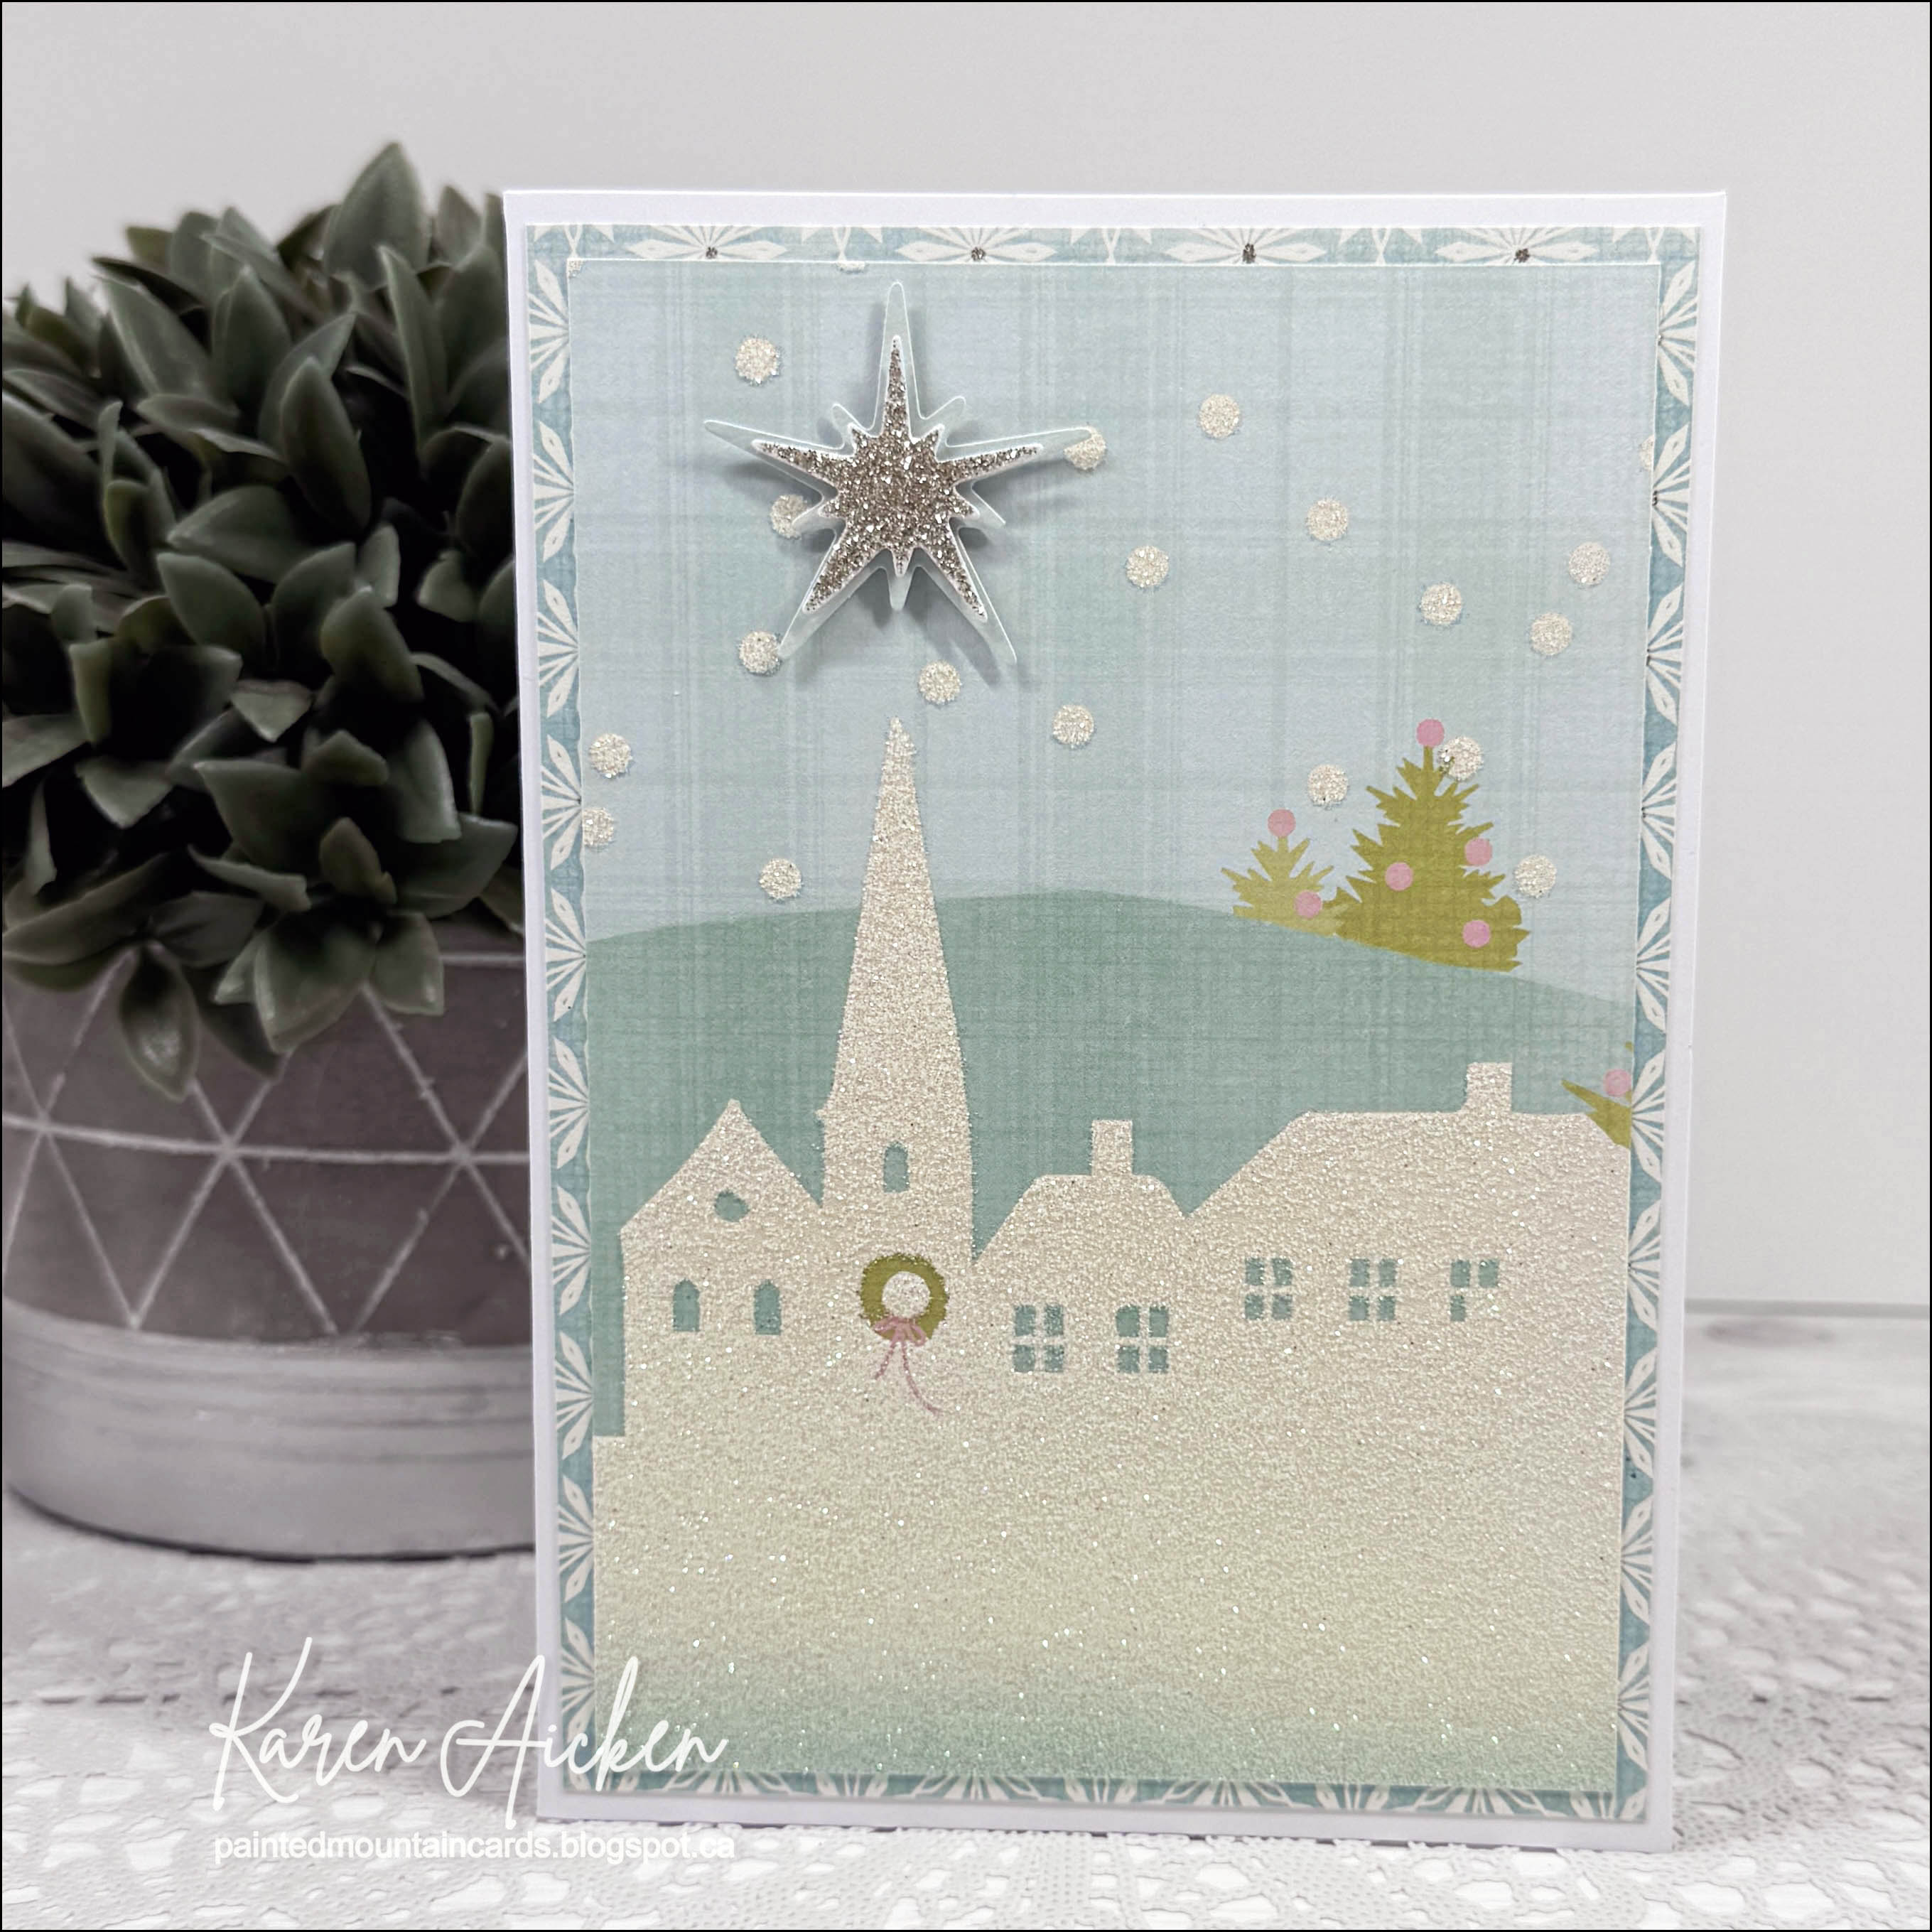
Anyhow, since this card would be hand delivered, I ended up making a 6" square card and was able to use up two 6x6" panels that were in this older paper pad. The stamped images are by Your Next Stamp.

One more look ...

Supplies used:
Patterned paper - Holiday Bash, Recollections
Stickles glitter glue
Alcohol markers
Simple Strips Christmas, stamp and die - Taylored Expressions
Holiday Hello stamps & dies - Your Next Stamp
Pops of Color, Scrapbook .com
Inside stamps - Paws-liday Pups, Your Next Stamp