Showing posts with label Christmas Cards. Show all posts

Monday, 23 December 2024

Holiday Dog Card


I guess this will be my last holiday card share for the year and it's the card I made for our veterinarian. We love her, and her clinic staff. I had also ordered them a Christmas gift back in November, which ended up shipping the day before Canada Post went on strike. So the package is sitting somewhere and hopefully it will turn up one day. 

Gifts for our daughters were in the same package, so I'm not impressed. Also not impressed that I didn't get to mail my Christmas cards. The strike is 'over' (postponed until the Spring) so I could actually mail then now. But with the backlog of mail in the system already, and potentially grumpy workers that were forced back to work - I am not taking a chance with my hand made cards getting lost or not delivered until the middle to end of January.

Anyhow, since this card would be hand delivered, I ended up making a 6" square card and was able to use up two 6x6" panels that were in this older paper pad. The stamped images are by Your Next Stamp.


One more look ...


Supplies used:
Patterned paper - Holiday Bash, Recollections
Stickles glitter glue
Alcohol markers
Simple Strips Christmas, stamp and die - Taylored Expressions
Holiday Hello stamps & dies - Your Next Stamp
Pops of Color, Scrapbook .com
Inside stamps - Paws-liday Pups, Your Next Stamp


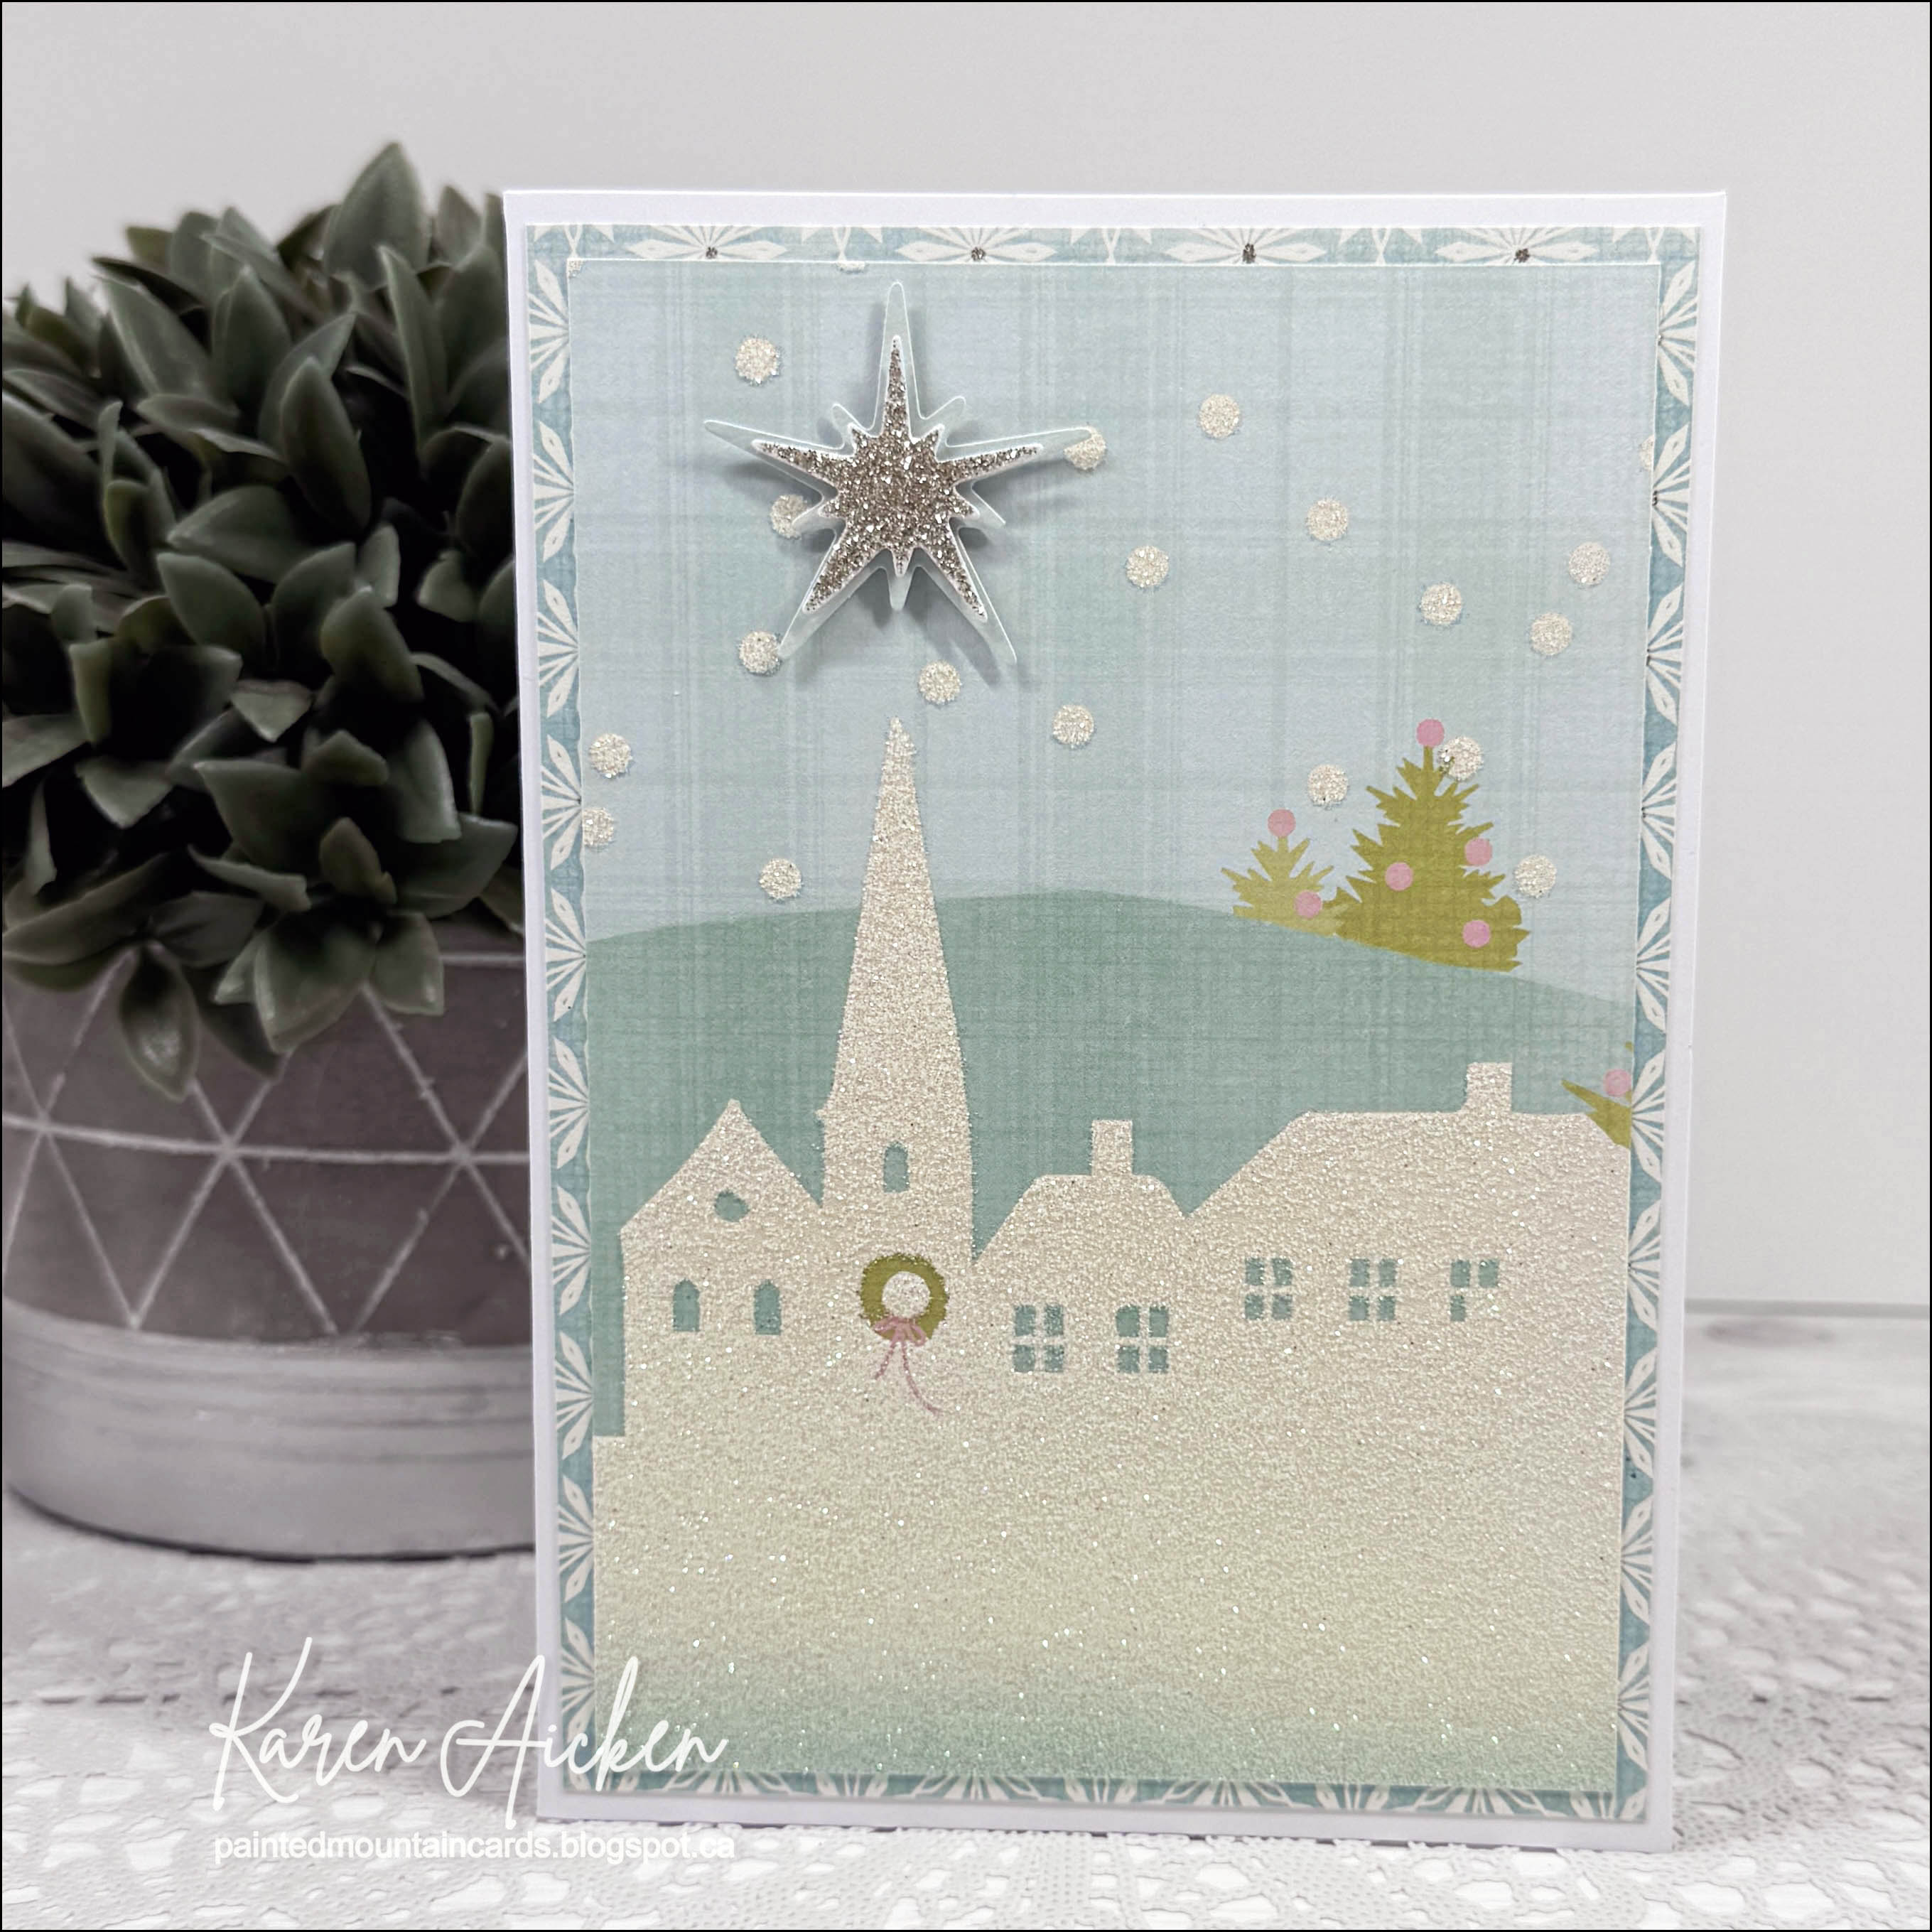
Friday, 20 December 2024

Santa Mail Pop Up


Welcome to Fun Fold Friday here on my blog! Today I'm sharing a Christmas card made using Karen Burniston's new Postage Pop Up die set and older papers from my stash.


I was tickled at how well the papers work with the theme, as I've had them for a couple of years. I was just flipping through the remaining papers in the 6x6" package and saw these ones in there. Serendipity 😊


Here is a close up of the postage part of the pop up. The mechanism is completely generic and can be used to pop up all kinds of things, but since the postage theme is so hot right now - I used the included decorator dies and her coordinating stamps to complete the card.


Our Canada Post strike is 'over' - after over 4 weeks of no mail service - but I have decided not to send out our Canadian Christmas cards. With the backlog of mail they have in the system already, and grumpy workers forced back to work ... I'm not taking the chance. Plus, I don't want people to receive their holiday cards towards the end of January. Instead I will send out some Happy New Year cards and will send out extra Valentine's. The cards I made for this year will be sent out next year 


Supplies used:
Patterned paper - Letters To Santa (6x6"), Cartabella
Postage Pop Up - Karen Burniston
Season of Cheer stamps - Karen Burniston
Special Delivery stamps - Karen Burniston
Wink of Stella
Heart from Cupcake Add-Ons, Karen Burniston
5 x 6.5" card base & envelope - Michaels (old)

Saturday, 2 November 2024

Sparkling Pop Up Christmas Card


Back in October I shared a Slimline holiday card (you can see it HERE).  This is the second card I made - both cards came from the bottom portion of a  12 x 12" sheet, which had a glittery scene printed all the way across. This paper pack is several years old and at the time I also purchased the coordinating ephemera. I used some of that for my cards as well. 


Just like with the Slimline card, this one is a Pop-Up but I used the Twist Flower Pop Up by Karen Burniston inside.


The sentiment was stamped on a punched label, and both the 25th and the glittered church are from the ephemera pack. 


One more look ...


Supplies used:
Patterned paper & Ephemera- Sugar Plum, My Minds Eye
Twist Flower Pop Up - Karen Burniston
Sentiment - Christmas Classics, Stampin' UP
Label Punch - Stampin' Up
Sakura stardust pen


Wednesday, 9 October 2024

Slimline Christmas Pop Up Card


I completely forgot to share a Christmas card in September! We ended up doing a camping trip down the Oregon coast, we've been busy since we got back and I'm having trouble finding time to get in my craft room. But this is the holiday card I made in September ... just a little late, ha ha.


I went with a Slimline card and the patterned paper is VERY sparkly. I've had the paper pad for a few years and there is also a coordinating ephemera pack that I used for the words on the front and the elements inside. The scene was at the bottom of a 12x12" sheet in the paper pad, and I thought it worked well for a Slimline.


The pop-up arms come from Karen Burniston's Mini Pops Pop Up and the signing block was die cut with her Rectangles & Labels set. 


The Canadian Thanksgiving is this coming weekend, and I didn't get a single card in the mail for it. Hoping I can dig out the extra Halloween cards I made last year and get those in the mail or I'll miss the boat on that occasion too! 

Supplies used:
Patterned paper  & Ephemera- Sugar Plum, My Minds Eye
Mini Pop Pop Up - Karen Burniston
Rectangle and Labels Crosshatch - Karen Burniston
Sentiment - Christmas Classics - Stampin' Up
Sakura stardust pen
Catherine Pooler coloured inks
Stickles glitter glue

Saturday, 31 August 2024

Four Christmas Cards w/ Holiday Characters


As much as I am not trying to hurry summer out the door, I do work on holiday cards throughout the year. Here are the four cards I made in August ... sneaking this post in just under the wire, ha ha.

I went looking for a different pad and spied this older 6x6 pad at the bottom of the drawer.  When I took it out to flip through I understood why it was there - I really wasn't keen on the majority of the leftover papers. So I gave myself permission to toss the ones I really didn't like into recycling and just USE a couple of the sheets that I thought I could live with. The others I like better and the pad has been put back into the drawer and not at the bottom of the pile.

The adorable holiday characters are by Divinity Designs - one of their Paper/Die Duo's ... you simply line up the die on the pre-printed sheet and with one pass you get three characters. (I didn't use the Santa on these cards.)

These cards are based on the August 2023 Sheetload of Cards, definitely my all time favourite.

I have only a few of the Merry Christmas Peel-Off stickers left and then I will have to find out where else to buy them. They do come in handy and I've long been a fan of Peel-Off's.


I used an older stamp set for the inside, along with a leftover strip of patterned paper and narrow gold foil tape.

Supplies used:
Patterned paper - North Country, Prima (6x6")
Blending sponge - Ranger
Catherine Pooler coloured inks
Narrow gold tape - Amazon .ca
Santa & Friends Paper/Die Duo - Divinity Designs
Nuvo Glaze
Gold foil card stock
Sentiment stamp - unknown (old, from my stash)
Merry Christmas die - Karen Burniston
Snowflake Peel-Off stickers - Ecstasy Crafts
Merry Christmas Peel-Off stickers - Elizabeth Craft Designs


Tuesday, 23 July 2024

Mini Slimline Snowflake Tri-Shutter Card

I plan on making at least one holiday card each month, & this is the one I made for July. Here in Southern Alberta we are in a heat wave ... and my craft room is the warmest room in the house. Obviously I'm not getting a lot done in there these days! We don't have AC so when it gets to be over 30ºC (86ºƒ) the house can get a little uncomfortable. I am happy to sit outside on our back deck, where there is enough shade and a bit of a breeze to cut the heat but I don't haul a bunch of crafting stuff out there to work on.  Having RA and limited mobility - that is waaaaaay too many steps to bring it out and then back in to put away. I'd rather sit and listen to a podcast or audio book. It's also why I didn't do a full video for this card --- it's just too hot!


I wanted to make a fun fold card, so pulled out this Mini Slimline Tri-Shutter die set by Divinity Designs. The card base die can fit through a regular die cutting machine and you don't even need extended pads if you use removable tape. Just run it through on one end, turn the die/cardstock around and run it through the rest of the way. However, I do have a Big Shot Plus that I can use for larger dies like this. If I'm going to cut one using the big machine though, I usually cut a couple more and add the die cut bases in with the die set to use the next time. 

I've had this silver foiled snowflake paper (12 x 12') for a couple of years but realized after I die cut the layers and added them to the white card base, that I covered up the sticker on the back so I have no idea who makes it!

After I finished the stamping and the card was 'finished', I had a look through my small snowflake dies to add a few extra as embellishments. But you know what? I decided that I liked it just the way it was. 😊  One more card for my holiday stash.


Note, the measurements for the matted rectangle inside the card are:  3 x 2.75", and 2.75 x 2.5"

Supplies used:
Mini Slimline Tri Shutter Die Set (with Layers) - Divinity Designs
Patterned paper - unknown
Rainbow Holographic cardstock - Recollections
Snowflake die - Elizabeth Craft Designs
Catherine Pooler coloured inks
Front sentiment - Snowflake Season, Penny Black
Inside Sentiment - Christmas Classics, Stampin' Up


Friday, 28 June 2024

Holiday Slimline Wiper Card Duo


Welcome to Fun Fold Friday here on my blog!  I have two more holiday cards to add to my bin for Christmas 2024 - these ones are Slimline sized Wiper Cards and I have a walkthrough of these on YouTube


I used Slimline sized patterned paper along with a Wiper Card die set made for a 5x7" card - I love getting more uses out of my dies.  I also used the 'Above It All' stamp/die bundle that I got from Stampin' Up last year. Since we live in the foothills of the Rocky Mountains, I knew I could use this die set year round. You can take the gondola up to the top of Tunnel Mountain in Banff in the Spring & Summer for some spectacular views. Also in summer you can also take a gondola up Sunshine Mountain to hike around on top of the ski hill to see all the beautiful wildflowers.

In the photo above, you can see the card fronts and the piece that comes out when you pull on the sides. In the photo below you can see the back sides of both cards when they are closed. Yes, even though the papers are exactly the same the position of the prints are slightly different - I explain that in my video. Hint - I have a REALLY hard time making Wiper Cards - they just don't make sense in my brain. Ha.


Finally, the lower photo shows the back of the card in the open position.


Note - I lined up the die onto the right side of the papers and held it in place with removable tape before die cutting (I showed this in the video). Also, I trimmed about 1/4" from the top of the wiper piece and rounded the corners so it fit inside the card a little better. Since the card size is smaller than the 5x7" that the die was designed for I needed to make that adjustment. That part was easy peasy! 


Supplies used: 
Patterned paper - Slimline paper pack, Frozen - Whimsy Stamps
5x7" Rectangle Wiper Card die set - Sam Calcott, Made To Surprise/Mixed Up Crafts
Corner rounder
Push here - Lawn Fawn
Labels Crosshatch - Karen Burniston
Catherine Pooler coloured inks
Above it All stamps & dies - Stampin' Up
Silver Snowflake peel off stickers


Thursday, 30 May 2024

Four Winter Scene Cards


I hope to work on holiday cards all year long, so here are the ones I made in May.

Since I was so happy with how the die cut deer looked on the Mini Slimline cards I shared in April, I used the die again for these 5x7" holiday cards! (You can see the other cards HERE).  Of course the cards started with the pretty scenic patterned paper which I cut into 4x6" panels. They were matted with 4.25x6.25" blue cardstock and mounted to the card bases. 


I lightly placed the deer where I would want it on the card fronts, then stamped the sentiment on the front. I added the deer (which were cut from white pearl card stock) with foam tape then added a few silver snowflake stickers for some sparkle.


I stamped the same sentiment inside all four cards and added a single snowflake sticker inside. I'm so proud of myself for USING and not hoarding this pretty paper, which I bought back in early November. I just cut into four sheets (had to hold my breath, ha ha) and used it.

Supplies used:
5 x 7" card blanks and envelopes
Patterned paper - Winter Backgrounds (6 x 6"), Paper Rose
White pearl cardstock
Catherine Pooler inks
Sentiment - Christmas Classics, Stampin' Up
Snowflake Peel-Offs - Stamp On It
Inside - Wonderful Christmas, Waffle Flower


Tuesday, 30 April 2024

Mini Slimline Christmas Card Duo with Deer


I plan on working on holiday cards at least once a month - so I'm just squeaking in with April's cards. Last month I shared a 5x7" card duo made with a lovely winter scene patterned paper. I saved the leftover pieces for these two Mini Slimline cards. You can see the other two cards HERE:

I do love shimmer and shine on a holiday card, so for these ones I added Rainbow Holographic card stock to the entire front of these these cards. Normally I would have cut away the centre of the card stock to use on a different project, but the patterned papers are quite thin and the edges of the cut away area below would show through. So I left it as a full size panel.


I just adore this large deer die, and cut it from white pearl card stock then lightly inked the edges with a blending brush and dye ink. I positioned the deer where they would be adhered with foam tape and stamped the sentiment, then I added the deer. Glitter dot stickers were added to each flank and some Pops of Color in a clear sparkle colour for even more shine.


I kept the insides clean and simple, with a stamped sentiment and holly leaf. Oh, and the sentiment on the front? The paper has a bit of a coating on it so I had to set the panels aside to dry for about 15 - 20 minutes after stamping the sentiment on the front panel before continuing with the cards.


Supplies used:
Patterned paper - Frosted Forests & Falling Flakes, Hunkydory
White pearl cardstock
Blending brushes - Taylored Expressions
Catherine Pooler inks
Words on front - Christmas Classics - Stampin' Up
Pops of Color, Icicle - Scrapbook .com

Thursday, 28 March 2024

Scenic Holiday Card Duo in Purples


I will be making Christmas cards throughout the year and today I'm sharing this holiday card duo. I knew I wanted to use the deer dies included in the Grassy Grove bundle (Stampin' Up) with pretty scenic patterned paper and I'm happy with how they turned out. 


The papers are 8" square, and my cards are 5 x 7". I saved the remaining patterned paper strips to use on Mini Slimline cards the next time I'm ready to make holiday cards. I stamped the sentiments right on the patterned paper, but since it is coated I had to let the ink dry for about 15 minutes to prevent it smearing. 

The deer were cut from scraps of charcoal Stardream, which is a heavyweight pearlized cardstock. I bought a bunch of it many years ago and I'm still using it - because I save all but the tiniest pieces!


Inside I stamped some pine branches and a stamped sentiment.


Supplies used:
Patterned paper - Frosted Forests & Falling Flakes, Hunkydory
Coordinating solids - Frosted Christmas
Deer Dies - Grassy Grove Bundle
Sentiments:  Christmas Classics, Stampin' Up
Charcoal Stardream Card stock
Catherine Pooler inks
Pops of Colour, Icicle - Scrapbook .com
5 x 7" Card blank and envelope

Wednesday, 28 February 2024

Christmas Card Duo in Blues


I want to work on my holiday cards throughout the year, hopefully making a couple each month. Here are the two cards I made in February - a Slimline and a 5x7" & card. I'm loving the winter scene patterned paper (Hunkydory) and managed to get both cards out of a single 8x8" sheet!

I haven't used vellum in awhile, so that is how I added the stamped sentiment. I like that you can still see the scene through the vellum. Of course I added the Winter Owl die cut, which I LOVE ... and it was cut from white pearl cardstock then lightly inked on the feathers with brown ink. I added a scrap of white cardstock behind the body to keep all those fallaway bits in the die cut, but did let the ones on the wings fall away.


Some silver snowflake stickers & Glitter Dots added the holiday sparkle I like and my card fronts were done.


Here is a peek at the inside of the cards:


Supplies used:
Patterned paper - Frosted Forests & Falling Flakes, Hunkydory (now retired)
Vellum
Words - Christmas Classics - Stampin' Up
Catherine Pooler coloured inks
Silver Snowflake Peel Offs - Stamp On It
Glitter Dots - Ecstasy Crafts
Winter Owls Bundle - Stampin' Up
White Pearl cardstock
Inside sentiment - Wonderful Christmas - Waffle Flower

Wednesday, 31 January 2024

Four Winter Scene Christmas Cards


Can you believe we are at the end of January already? Crazy.  Usually I make next years holiday cards during the Christmas season, while I'm in the Christmas spirit and there is no pressure to make them. This year I did make some but decided that I will also make a few each month throughout the year. Here are my first four Christmas cards for 2024!


These cards are 5 x 7", and I used some of that pretty winter scene paper (Hunkydory) that I made cards with in December. I love the prints, but it is thin and can wrinkle easily so you have to use care with it. 


The papers are 8x8" so I was able to get two cards from each sheet. The arched window die set (Waffle Flower) has less than a 4" opening in the center so that worked perfectly. It's sure getting a lot of use ... I think I bought those dies last Spring. After I had the patterned paper adhered behind the arched window, I had the not-so-great idea to spritz the panel with Shimmer Spray. 

Since the paper is thin, the whole front panel buckled. AACK. I tried laying the panels under heavy books for a few days and that helped, but I could still see the buckles in the papers. So I used an embossing folder and that also helped.


The horse and sleigh are from a Papertrey Ink set I have had for years & I knew I'd use that set for these scenic cards. The sentiment was stamped onto a white pearl strip but the card seemed to need something else. So I added some die cut snowflakes and a few Glitter Dot stickers and the cards were finished.


Supplies used:
Forest Window dies - Waffle Flower
with the coordinating solids - Frosted Christmas, Hunkydory
In the Meadow stamps - Papertrey Ink
Catherine Pooler coloured inks
Shimmer Spray
Leafy Flourish embossing folder - Craft Concepts
Misti 
Stamp inside - Warmest Wishes, Crafters Companion
Snowflake dies - Scrapbook .com
White pearl cardstock
Short Crosshatch Rectangles - Karen Burniston
Seasons Greetings - Christmas Classics, Stampin' Up
Snowflake Peel-Offs - Stamp On it
Glitter Dots - Ecstasy Crafts
5 x 7" card blanks & envelopes

Friday, 22 December 2023

Mini Slimline Christmas Duo


Welcome to Fun Fold Friday on my blog! Today I'm sharing my final Christmas cards for 2023 and these two Mini Slimline cards helped me use up the last of a 6x6" paper pad. 


The first card also uses the Winter Owl bundle (Stampin' Up) with a simple box pop up. The sentiment was trimmed from a sheet of borders in the pad - it was the last one!


 The Pop Up strip measures 1 x 3", scored at .5, 1.5 and 2". I have several video tutorials on creating this type of Pop-Up, here are a couple:  Slimline Pop Up Tutorial (but the technique and measurements work for A2 cards as well) or Quick and Easy Pop Up Tutorial (from 2 years ago but I use it all the time).


The second card has a piece of snowflake printed acetate over the ornament patterned paper - I don't do this nearly enough as I really like how it looks. The ornament decoration is a Peel Off sticker I've had in my stash for many years - originally it was from Elizabeth Craft Designs. As was the Seasons Greetings Peel Off sticker.

The navy cardstock strip goes over the patterned paper but under the acetate, and the Seasons Greeting is on top of the acetate. 


Inside I used my new favourite die by Karen Burniston ... the Twist Flower Pop Up. I love that it fits inside a Mini Slimline and Slimline card!


One more look ...


Having been asked how many cards I make I thought it would be fun to keep track this year. Many of my posts include more than a single card or project and below is my tally. 

Card Tally for 2023
January - 53 cards
February - 56 cards
March - 55 cards
April - 32 cards
May - 43 cards
June - 34 cards
July - 56 cards
August - 106 cards
September - 61 cards
October - 51 cards & 5 Tags
November - 46 cards
December so far - 22 cards (& 16 simple tags)

I decided to cancel the subscription that provided linked thumbnails to what products I used on my cards. It was costing me out of pocket each month, so I’m back to just listing what I used .

Supplies:
Patterned paper - A Winter's Night, Recollection (old)
Mini Slimline Embossed Edge Rectangle dies - Kat Scrappiness
Snowflake Luxury Foiled Acetate - Hunkydory
Snowflake Peel Off's - Ecstasy Crafts
Ornament Peel Off''s - Elizabeth Craft Designs
Copics to colour the snowflakes copper
Catherine Pooler Inks
Water Brush
Seasons Greetings Peel Off's - stash
Twist Flower Pop Up - Karen Burniston
Double Stitched Circles - Divinity Designs
Magic Holiday Messages - Lawn Fawn
Glitter Dots - Ecstasy Crafts
Large Snowflake Peel Off's - Elizabeth Craft Designs
Wink of Stella
Wonder & Cheer - Above it All, Stampin' Up
Winter Owls (stamps & dies) - Stampin' Up
Fishtail banners - MFT Stamps
Short Crosshatch Rectangles - Karen Burniston 

Thursday, 21 December 2023

Arched Window & Deer Card


I have been really enjoying this 8x8" paper pad with the pretty winter scenes (linked below) and this card is one that I had in my head when I ordered the paper. I love how it came out and will be making more of these for next year

After die cutting the Forest Window from a white cardstock panel, I embossed it with a 5x7" embossing folder then backed it with the patterned paper. The deer is a die I picked up in early November and I bought it because it's so nice and big! I love deer dies - especially over the holidays, and this is the first one I've seen this size. The deer was cut from white pearl cardstock and I added a snowflake sticker to his flank.


Inside the card I added a stamped greeting and more snowflake stickers along with a leftover strip of the purple paper which I had used to mat the front panel.

While it's hard to see in the photo, that bottom strip is embossed with dots and it adds such a nice texture inside the card!


Having been asked how many cards I make I thought it would be fun to keep track this year. Many of my posts include more than a single card or project and below is my tally. 

Card Tally for 2023
January - 53 cards
February - 56 cards
March - 55 cards
April - 32 cards
May - 43 cards
June - 34 cards
July - 56 cards
August - 106 cards
September - 61 cards
October - 51 cards & 5 Tags
November - 46 cards
December so far - 20 cards (& 16 simple tags)

I decided to cancel the subscription that provided linked thumbnails to what products I used on my cards. It was costing me out of pocket each month, so I’m back to listing what I used with a few affiliate links included.

Supplies:
Embossing Folder - Leafy Flourish, Craft Concepts
Coordinating solids - Hunkydory
White pearl cardstock
Peel off Stickers - Ecstasy Crafts
Glitter Dots - Ecstasy Crafts
Sentiment inside - Wonderful Christmas, Waffle Flower
Catherine Pooler inks
Blending Brushes - Taylored Expressions
Softly Falling embossing folder - Stampin' Up
5 x 7" Card & Envelope