Friday 30 September 2022

Greenhouse Easel Birthday Card


Hello my crafty friends and welcome to Fun Fold Friday here on my blog. I have a new appreciation for Easel Cards these days, so this one was decorated with a greenhouse and potted plants and was for our daughter's birthday.  The photo above shows how the card looks coming out of the envelope, and below how it stands for display.


I stamped a sentiment on the white panel, and that is also where we signed our names. The Happy Birthday sentiment was gold foiled and I adore the shine. It really catches the light in real life.


... one more look ...


Note - this is a 7 x 5" card, which fits in a standard A7 envelope for mailing. 

This blog uses affiliate links whenever possible. This means, that at no cost to you, if you make a purchase through one of my affiliate links that I may receive a small commission from your purchase. I only link products that I own, love and use for my card making and not every link below is an affiliate one! 😊

Any supplies I'm unable to link are listed at the very bottom of my post.
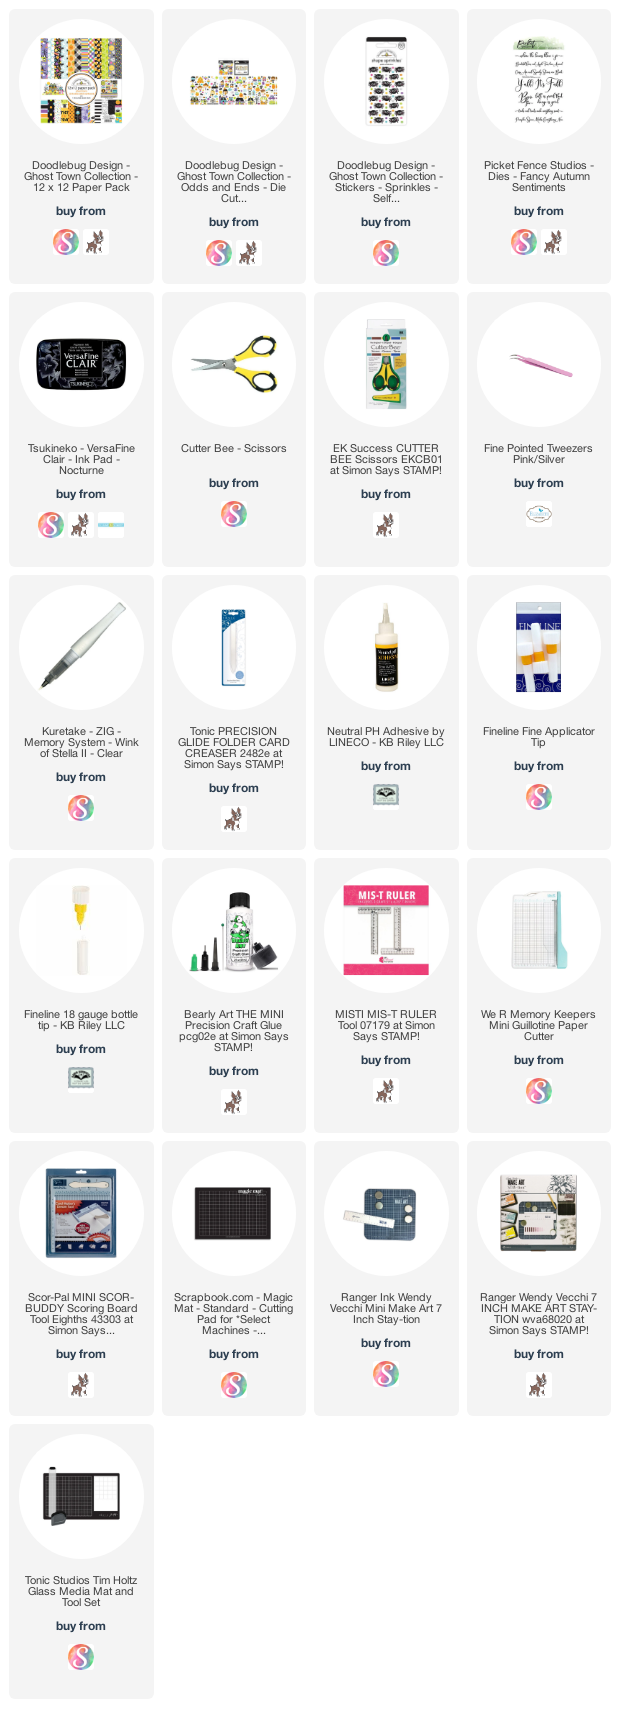

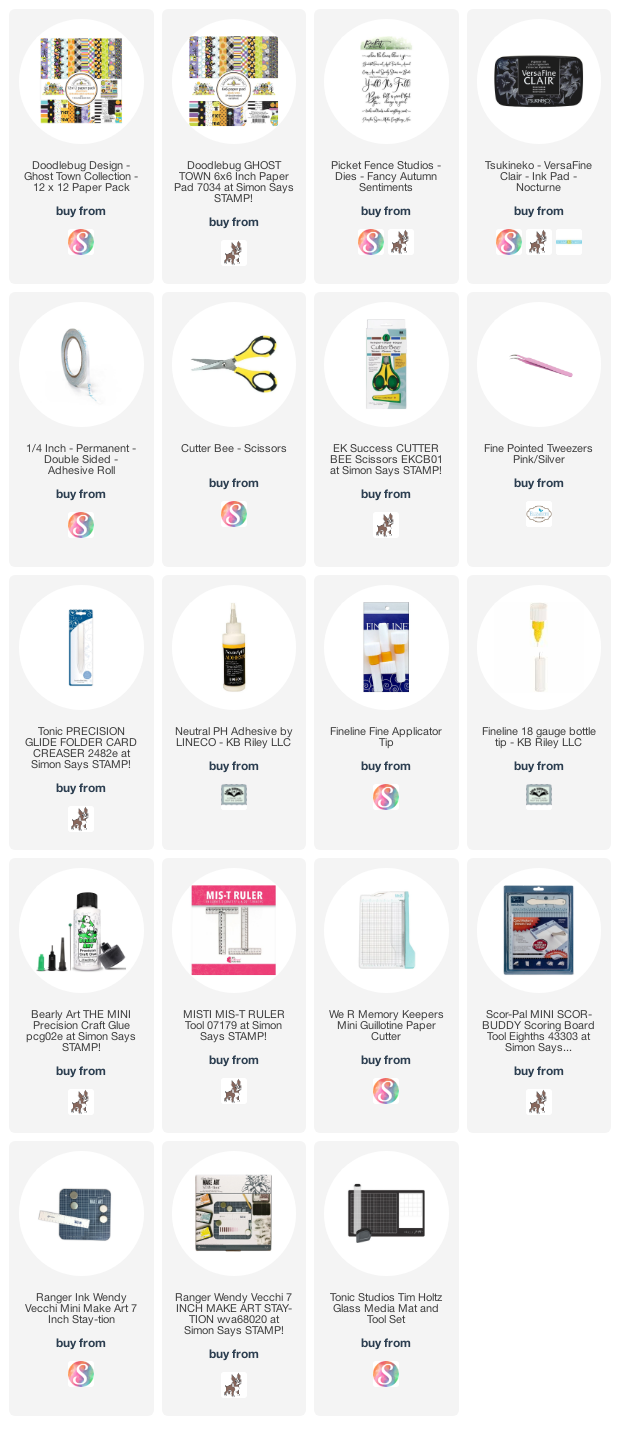
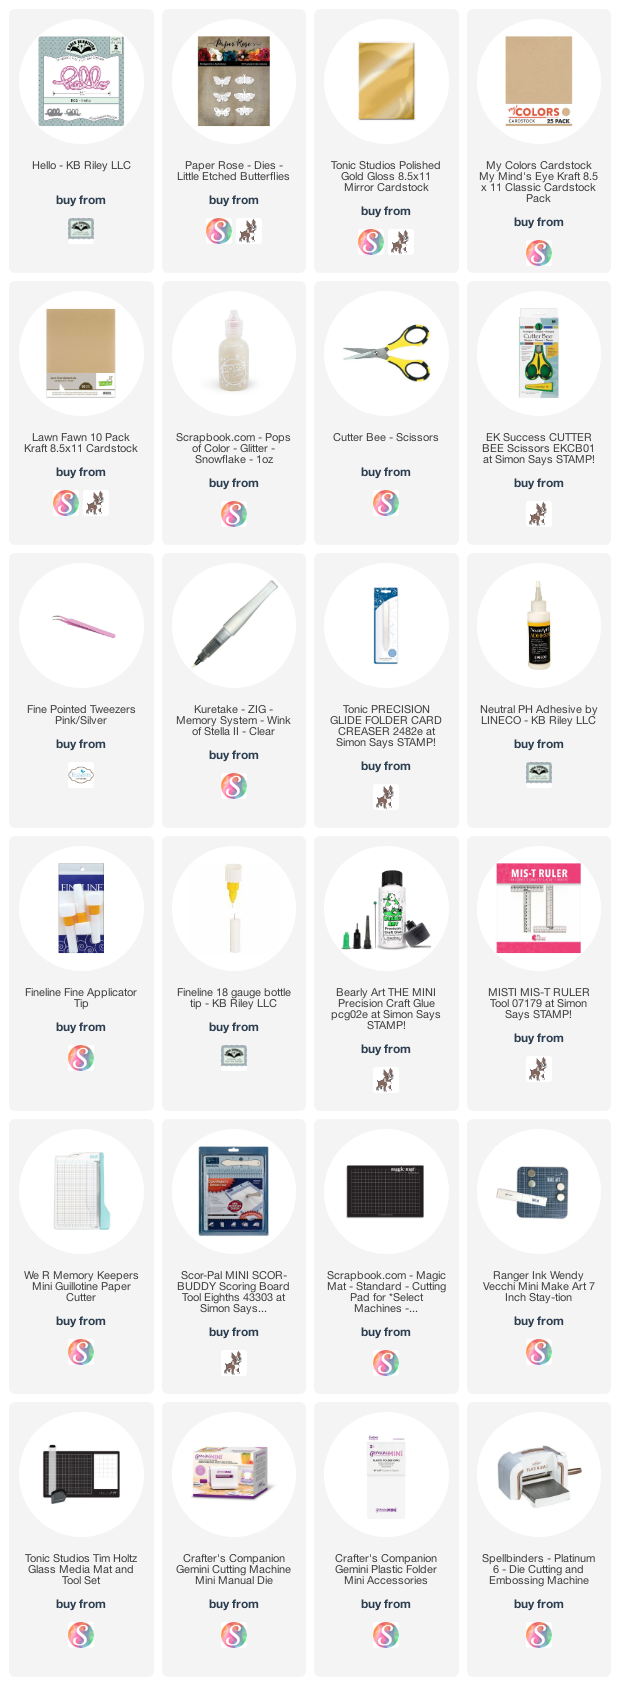
Additional Supplies:
Green card stocks - stash
Sequins - leftover from an old Paper Pumpkin Kit
White cardstock
Patterned paper - Eucalyptus, Hobby Lobby
Matte silver cardstock - stash
Garden Greenhouse - Stampin' Up (Retired)

Thursday 29 September 2022

Cute Halloween Gift Tags


Hello my crafty friends. I will be giving each of the Grandkids some Halloween goodies in a white gift bag so of course I had to make some cute Halloween Tags to tie onto the bags. I pulled out some black card stock, Doodlebug patterned paper, and a couple of die sets by Karen Burniston.  The Short Crosshatch Rectangles have become indispensable in my craft room so I used two of those for the tag bases.


One of the 12 x 12" sheets had all these smaller cutaparts, so I trimmed them down to fit inside a pierced black square cut with one of the dies in the Spinner Square Pop Up set. The tags were personalized with my label maker, and finally I cut the smallest circle from a Divinity Designs set for the tag reinforcement. Oh, and Olivia and Alma's got some iridescent gems on their tags.


These were a great way to use up both some partial sheets of card stock and patterned paper, and look SO cute tied on the white gift bags. ❤️.  This particular patterned paper might be retired, but I will link some other cute Halloween papers below.

This blog uses affiliate links whenever possible. This means, that at no cost to you, if you make a purchase through one of my affiliate links that I may receive a small commission from your purchase. I only link products that I own, love and use for my card making and not every link below is an affiliate one! 😊

Any supplies I'm unable to link are listed at the very bottom of my post.


Additional Supplies:
Bakers Twine
Gems - stash

Wednesday 28 September 2022

Halloween Full Front Shakers - No Foam Tape!


Hello my crafty friends. I've been making a lot of shaker cards these days - especially now that I have seen how easy these 'Full Front Shaker' cards are. There are several different names - but these shaker cards are created with acetate that is folded around a decorative panel and no foam tape is required. I know several companies are selling these acetate panels for different sizes of cards. These already have the corners mitred and a strong double sided adhesive tape attached to each of the four 'flaps'.

I wanted to try my hand at making my own, since I have a ton of acetate that I've had for years. It worked like a charm and I was so excited I whipped up these four shaker cards for Halloween! I also have a YouTube video on these cards:   


The decorative pieces are cut aparts from a 12 x 12" sheet of patterned paper in an older package by Doodlebug Designs. They measure 4 x 6" so I added them to a 5 x 7" card.


The sequins are from Picket Fence Studio's, as is the stamped sentiment on the one below.


Included in that older patterned paper package was a 12 x 12" sheet of punch out elements. They were probably designed for 12 x 12" scrapbook pages but they worked really well for the inside of 5 x 7" cards!


... a couple more pics ...


Since the papers etc are discontinued I will link others for you, also by Doodlebug Designs. ❤️

This blog uses affiliate links whenever possible. This means, that at no cost to you, if you make a purchase through one of my affiliate links that I may receive a small commission from your purchase. I only link products that I own, love and use for my card making and not every link below is an affiliate one! 😊

Any supplies I'm unable to link are listed at the very bottom of my post.


Additional Supplies:
Journal cards/cut aparts - various Doodlebug packages
5 x 7" cards & envelopes
Acetate - old, from my stash
Sequins - Purple Rita, Picket Fence Studios
Patterned paper - Boos & Brews, Doodlebug

Tuesday 27 September 2022

Diamond Z-Fold Slimline Card with Flowers


Hello my crafty friends!  Last week I shared a Diamond Z-Fold card that was a 5 x 7" size. I really enjoyed making that card (and a second one that hasn't been shared yet) but wanted to figure out how to adapt the measurements for a Slimline card. Today, I have a YouTube video with a tutorial showing how to do that!  


This is the card I featured in the video, but the tutorial was for a masculine Diamond Z-Fold Slimline and I shared a peek at two others I've made. I'm really having fun with this!


The gold mirror card stock shows up much better in real life (and in the video) than in the photos.


That center diamond is actually mounted to a pop-up platform so it floats above the back panel.


NOTE:  in the video I shared several other samples. Those have not yet been posted here on my blog or on my other social media platforms. I will be sharing them in the coming weeks though!

Measurements for Diamond Z-Fold Slimline Card by Karen Aicken 

Card base - 8 x 8.5". With the 8" side at the top, score at 2" and 4". The 4" scoreline is the center, so fold your card in half along that scoreline. Then fold the front right flap back to the outside along the 2" scoreline.

Patterned paper - TWO 1.75 x 8.25" pieces and ONE 3.75 x 8.25" piece. I don't always use the two smaller ones, often just adding one to the front and leaving the inside one undecorated. It's entirely up to you.

Diamonds - TWO 2.75" squares and ONE 2-1/2" square

Patterned paper (BE MINDFUL OF THE PATTERNED PAPER IF IT HAS A DIRECTIONAL PATTERN) TWO 2.5" squares and ONE 2.25" square.

Signing block - 2.25" cardstock square with a 2" square of white or light cardstock of your choice.

Pop Up strip - 4 x 3". With the 4" side at the top, score at 1, 2 & 3"
Assemble as shown in the video.

This blog uses affiliate links whenever possible. This means, that at no cost to you, if you make a purchase through one of my affiliate links that I may receive a small commission from your purchase. I only link products that I own, love and use for my card making and not every link below is an affiliate one! 😊

Any supplies I'm unable to link are listed at the very bottom of my post.


Additional Supplies:
Patterned paper - Flower Market, CartaBella
Off-white cardstock - scrap

Monday 26 September 2022

Four 5 x 7" Nautical Birthday Cards


Hello my crafty friends and welcome to Masculine Card Monday here on my blog. I had this patterned paper pad out for a different set of cards, and decided to cut down the page of 4 x 6" Journal Cards and make 5 x 7" Birthday Cards to donate to my Mom's old nursing home. 

The patterned paper is one I picked up several years ago, stumbling on a screaming deal. It was the only reason I picked up the pad, as I sure didn't need any more 12 x 12" patterned paper pads. 😂. But for the price, I knew I would get good use out of the heavy, glossy papers for my donation cards so ... into my cart it went.


All of the insides were done the same, with the MISTI helping with keeping my stamping 'oops' free. 

 
... one more look ... 


This blog uses affiliate links whenever possible. This means, that at no cost to you, if you make a purchase through one of my affiliate links that I may receive a small commission from your purchase. I only link products that I own, love and use for my card making and not every link below is an affiliate one! 😊

Any supplies I'm unable to link are listed at the very bottom of my post.


Additional Supplies:
Kraft 5 x 7" cards and envelopes
Patterned paper - Hey Sailor, DCWV (retired)
Black fine point sharpie
Anchors - Sea Creature Sentiments, Your Next Stamp (retired)
Ivory cardstock - stash

Friday 23 September 2022

Paper Pumpkin Alternates - Pop Up Thanksgiving Card


Hello my crafty friends and welcome to Fun Fold Friday here on my blog. Today I'm sharing three more cards using an older Paper Pumpkin Kit. I decided to get everything out and finish off the kit, but there were SO many of these laser cut sprigs and feathers, I have a bunch left for more projects! Also, there were supposed to be four of these Kraft card bases, but I only had three. I doubt they were shorted by Stampin' Up, I must have used one when I first got the kit but didn't use the envelope for some reason. At any rate, I have three more cards done and these ones have a Pop Up surprise inside. I have all the details in my YouTube video:   


Since there were so many sprigs leftover (all orange) I flipped three of them over to the white side and stippled the Sangria ink on top with a blending brush. I also added a gold mirror cardstock circle behind everything for a little pop and some additional shine. I like that those labels match the envelopes so well!


Using Karen Burniston's Katherine Label Pop Up, I animated the Happy Fall (& shadow) and added a cardstock square for a dedicated place to write our personal message.


Each of the Happy Fall detail pieces were cut from a different patterned paper. I was able to use up some smaller leftover pieces for this!


 This blog uses affiliate links whenever possible. This means, that at no cost to you, if you make a purchase through one of my affiliate links that I may receive a small commission from your purchase. I only link products that I own, love and use for my card making and not every link below is an affiliate one! 😊

Any supplies I'm unable to link are listed at the very bottom of my post.


Additional Supplies:
October 2018 Paper Pumpkin "Friends of a Feather, Stampin' Up
Patterned paper - Dusty Durango, Stampin' Up (OLD!!!)
Brown cardstock
White cardstock

Thursday 22 September 2022

Halloween Z-Fold Card


Hello my crafty friends. Today I'm sharing a 5 x 7" Fold card for Halloween. The card actually started with Karen Burniston's Slim Pattern Plate Spiders which I cut from black glitter card stock. I'm not going to lie - it took several passes through the machine to cut through the thickness, and then I had to poke out every single piece that didn't belong in the die. I won't be using that cardstock with an intricate die again!

Then I decided to make a 5 x 7" card, and pulled out some patterned paper from Doodlebug Designs. When I had a look through the Odds & Ends ephemera though, I saw this larger pumpkin & signs piece and decided to use it. Which of course covered up some of those hard earned spiders & webs. 😂  I used the Short Crosshatch Rectangles for the rectangle layering pieces, more ephemera from the package and then the spider Shape Sprinkles. They also come with small enamel dots so I added some of those too.


Finally, some Wink of Stella for some shine and the card was finished. The envelope was decorated with some Doodlebug stickers so everything coordinates.

This blog uses affiliate links whenever possible. This means, that at no cost to you, if you make a purchase through one of my affiliate links that I may receive a small commission from your purchase. I only link products that I own, love and use for my card making and not every link below is an affiliate one! 😊

Any supplies I'm unable to link are listed at the very bottom of my post.

Additional Supplies:
Black glitter cardstock - Stampin' up   
Inside Greetings - Halloween, Papertrey Ink 

Wednesday 21 September 2022

Autumn Sunflower Shaker Card


Hello my crafty friends!  I've been making a lot of shaker cards lately - this one uses an A2 Shaker Pouch from MFT Stamps that I've had in my stash for several years. They came in a package of 10, and if they are still available I will link them below. I added a cardstock frame  (Lawn Fawn die) to hide the adhesive and edges of the pouch. The nice thing about these pouches, is you don't need to fuss with any foam tape!

I added the pouch & sequins over a piece of that lovely sunflower patterned paper I've been using a ton, then to the card front. The words are by Karen Burniston and were die cut from gold mirror card stock with double sided adhesive on the back. That way I knew it would stick to the plastic of the shaker pouch. I also added some sheer stickers & a felt acorn sticker from my stash.


Here is a peek at the inside. That sentiment is another one that I have had for years but pull it out almost every Thanksgiving to use on at least one of my cards.


This blog uses affiliate links whenever possible. This means, that at no cost to you, if you make a purchase through one of my affiliate links that I may receive a small commission from your purchase. I only link products that I own, love and use for my card making and not every link below is an affiliate one! 😊

Any supplies I'm unable to link are listed at the very bottom of my post.


Additional Supplies:
Sequins - stash
Caramel cardstock 
Buff textured cardstock - my stash
White cardstock
Stickers - Hallmark and others from my stash (old)
A2 Shaker Pouch - MFT Stamps (discontinued)
Sentiment inside - Be Full, Neat & Tangled

Tuesday 20 September 2022

Diamond Z-Fold For Halloween


Hello my crafty friends. Today I'm back with another Halloween card using papers & ephemera from Doodlebug Designs. I don't know what I was thinking when I bought several different Halloween Odds & Ends packages last November when they went on sale. Each package has a LOT of ephemera ... I now have enough to make Halloween cards for the rest of my life. And beyond! 😂  

That being said, it IS fun that I don't feel the need to be stingy with these cute pieces! Today's card is a Fun Fold card - a Diamond Z-Fold. Although they seem to go by a number of different names and they have been around for quite a while. I finally made my first one and immediately made a second that will be shared another day. And I have so many ideas for more!  Z-Fold Cards are my very favourite type of Fun Fold cards to make, so this variation is right up my alley. I can't believe it took me so long to make one.  

I have also figured out the measurements to make a Slimline version and will be sharing that - along with a full tutorial - next week! In fact, I can't seem to stop making the Slimline version and will have several to show in the video. 


I've had this patterned paper for a very long time, so it was fun to actually use it as well. 


This is a 5 x 7" card, and is nice and flat when it comes out of the envelope. When it's fully open, the middle diamond floats above the back of the card. It's mounted with a simple box pop up platform. 


I still have a some Doodlebug spider embellishments left from last years cards so I'm having fun adding them to my cards this year too. They might be retired now, but if not I will link them for you. You can see the shine they give on the ghost truck grill.


There are a lot of tutorials online for this type of card, but I really liked the 5 x 7" version as then the diamonds are a nice size for decorating. I found a tutorial to link for you, but of course, she doesn't refer to it as a Diamond Z-Fold. 😂  I always find it funny when stampers come up with their own names for a popular fun fold, not realizing it makes it hard for people to find your blog or YouTube video when searching. Anyhow, her finished card is BEAUTIFUL, which is why I chose to share her tutorial.  NOTE:  I didn't add all the layering panels that are often shown in these cards, as they are heavy enough and with even more layers the card would require extra postage. Click HERE to see Heather's tutorial and card.

Since the Doodlebug patterned paper I used is retired, I am linking a different package for you. I'm such a huge Doodlebug fan!

This blog uses affiliate links whenever possible. This means, that at no cost to you, if you make a purchase through one of my affiliate links that I may receive a small commission from your purchase. I only link products that I own, love and use for my card making and not every link below is an affiliate one! 😊

Any supplies I'm unable to link are listed at the very bottom of my post.


Additional Supplies:
5 x 7" card and envelope
White cardstock
Patterned paper - Doodlebug Sook Alley (double sided)

Monday 19 September 2022

Four Birthday Cards with Gold Whales


Hello and welcome to Masculine Card Monday here on my blog. Today I'm sharing a set of 4 cards I made to donate to my Mom's old nursing home. Once again I pulled out the June 2021 Sheetload of Cards for the sketch and cutting guide, and an OLD paper pad from my stash.


Some of the papers have gold foiled bits, and all of them have a gloss finish. Below is the inside ... all of them have the same stamped sentiment. The prints on the patterned paper show as black in the photos, but are navy blue in real life. 😊


This blog uses affiliate links whenever possible. This means, that at no cost to you, if you make a purchase through one of my affiliate links that I may receive a small commission from your purchase. I only link products that I own, love and use for my card making and not every link below is an affiliate one! 😊

Any supplies I'm unable to link are listed at the very bottom of my post.

Additional Supplies:
Patterned paper - Hey Sailor, DCWV (Retired)
June 2021 Sheetload of Cards
Oval punch - Stampin' Up 
Navy cardstock

Friday 16 September 2022

Sewing Themed Landscape Accordion Card


Hello my crafty friends and welcome to Fun Fold Friday here on my blog. Today I'm sharing a Mini Slimline Accordion card using several dies by Karen Burniston. This card was sent to one of my friends who does amazing things with a sewing machine. 😊


The Sewing Charms are part of her new release and I added them to a Landscape Rectangle Accordion. I like that this die set creates a Mini Slimline sized card!


I didn't take a photo, but I wrote my personal message on the back side, which you can't see when the card is displayed. 


This blog uses affiliate links whenever possible. This means, that at no cost to you, if you make a purchase through one of my affiliate links that I may receive a small commission from your purchase. I only link products that I own, love and use for my card making and not every link below is an affiliate one! 😊

Any supplies I'm unable to link are listed at the very bottom of my post.

Additional Supplies:
Matte silver cardstock - stash
Navy cardstock 
Copic marker
Sequins - old Paper Pumpkin kit
Black fine point marker
White cardstock