That being said, it IS fun that I don't feel the need to be stingy with these cute pieces! Today's card is a Fun Fold card - a Diamond Z-Fold. Although they seem to go by a number of different names and they have been around for quite a while. I finally made my first one and immediately made a second that will be shared another day. And I have so many ideas for more! Z-Fold Cards are my very favourite type of Fun Fold cards to make, so this variation is right up my alley. I can't believe it took me so long to make one.
I have also figured out the measurements to make a Slimline version and will be sharing that - along with a full tutorial - next week! In fact, I can't seem to stop making the Slimline version and will have several to show in the video.
I've had this patterned paper for a very long time, so it was fun to actually use it as well.
There are a lot of tutorials online for this type of card, but I really liked the 5 x 7" version as then the diamonds are a nice size for decorating. I found a tutorial to link for you, but of course, she doesn't refer to it as a Diamond Z-Fold. 😂 I always find it funny when stampers come up with their own names for a popular fun fold, not realizing it makes it hard for people to find your blog or YouTube video when searching. Anyhow, her finished card is BEAUTIFUL, which is why I chose to share her tutorial. NOTE: I didn't add all the layering panels that are often shown in these cards, as they are heavy enough and with even more layers the card would require extra postage. Click HERE to see Heather's tutorial and card.
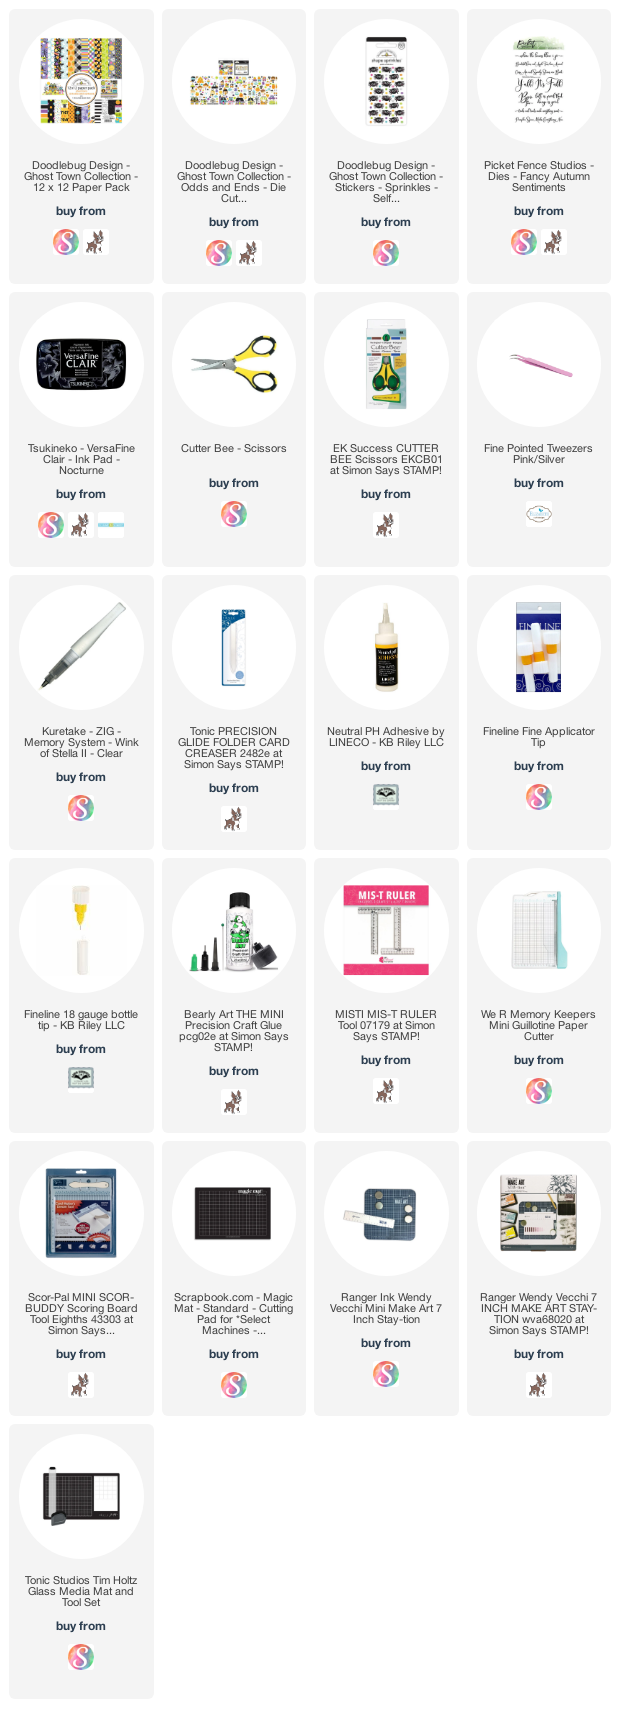
Since the Doodlebug patterned paper I used is retired, I am linking a different package for you. I'm such a huge Doodlebug fan!
This blog uses affiliate links whenever possible. This means, that at no cost to you, if you make a purchase through one of my affiliate links that I may receive a small commission from your purchase. I only link products that I own, love and use for my card making and not every link below is an affiliate one! 😊
Any supplies I'm unable to link are listed at the very bottom of my post.
Additional Supplies:
5 x 7" card and envelope
White cardstock
Patterned paper - Doodlebug Sook Alley (double sided)
5 x 7" card and envelope
White cardstock
Patterned paper - Doodlebug Sook Alley (double sided)


This style has been on my to do list for a while, love your card
ReplyDelete