Showing posts with label MFT Stamps. Show all posts

Saturday, 4 October 2025

Four Floral/Butterfly Birthday Cards


I haven’t used this card layout in a long time - so I pulled out this older floral paper and made four Birthday Cards for my nursing home donation bin. The paper is double sided, so the teal strip is actually the reverse side of the floral. I stamped a sentiment onto white card stock and popped them up with foam tape.


I die cut two rectangles then cut them in half so I had one for each of the cards and I adhered them on the right side below the teal strip. The pretty butterflies are a die from Divinity Designs, and they were also popped up with foam tape after I added a dot of glitter glue to the centres.

Below is what the inside looks like - all four are done the same.


Several years ago, I mistakenly ordered 20 sheets of this patterned paper when I meant to order two. I’m still working on whittling it down, ha ha.


Supplies used:
Patterned paper - Basic Grey
Label die - Stampin’ Up
Butterfly die - Butterfly Trio Divinity Designs
Front sentiment - Anything But Basic Birthday Wishes, MFT Stamps
Stickles glitter glue
Inside sentiment - Cake & Candles, Avery Elle
Mini MISTI

Wednesday, 1 October 2025

September Sheetload Birthday Cards (2nd round)


I had intended on posting this yesterday, but once again the day got away from me. This is my 2nd play with the September Sheetload and I think the cards turned out so cute! I can see me using this one again and again as you can really change up the look depending on what you add as your decorative element.


I did some stamping and colouring for mine - four of the card have this cute chick (MFT Stamps) and four have a hamster in a cupcake wrapper (Your Next Stamp)


Inside I added a sentiment from the Birthday Chicks stamp set and they all have a punched banner to bring a little colour inside.


Supplies used:
September 2025 Sheetload of Cards - Call Me Crafty Al (find her on YouTube)
Enjoy your special day - LJD Birthday, MFT Stamps
Patterned Paper - Birthday Bisque, Jillibean Soup
Banner Punch - Stampin’ Up
4 w/ Hammie Sweetness Overload
4 w/ Birthday Chicks - MFT Stamps
Circle die - Tasteful Label Dies - Stampin’ Up
Alcohol Markers
White paint pen
Stickles

Monday, 22 September 2025

September 2025 Sheetload of Cards


Today I’m sharing my first play with the September Sheetload of Cards - and I quite liked it. After I got these ones cut, I pulled out additional sheets from the same (really old) paper pad so I could make another set. I’ll share those another day.

These went into my Nursing Home donation bin - I have needed to build up my stock for them! The label and ice cream cone are older punches from Stampin’ Up and I aded a stamped sentiment as per the Sheetload sketch.


Inside each card is a two toned stamped sentiment and a little fishtail banner for a pop of colour.


Supplies used:
September Sheetload of Cards - Call Me Crafty Al
Enjoy your special day - LJD Birthday, MFT Stamps
Patterned Paper - Birthday Bisque, Jillibean Soup
Ice Cream Punch - Stampin’ Up
Label Punch - Stampin’ Up
Sweet Ice Cream stamps - Stampin’ Up
Shimmer Spray
Banner Punch - Stampin’ Up


Monday, 16 June 2025

Father’s Day Card/Gift Card Holder


It’s Masculine Card Monday here on my blog!  Father’s Day really snuck up on me this year so I was scrambling to get cards made. But I did it - with a few days to spare! In the interest of saving time, I made two of the cards with gift card pockets inside and I think they turned out cute. I’ll share the second one another day - this one was made for our son-in-law. It’s a 5x7” card and the leafy die cut frame ended up working perfectly for the 6x6” patterned paper I wanted to use!

The Happy Father’s Day was done with my Brother Label Maker and attached to a 1/2” strip of white card stock then popped up with foam tape. Since I was hand delivering them I didn’t need to worry about them being too bulky to go through the mail.

This family is going on a 9 - 12 month sabbatical in August, so there really isn’t anything they want. They are busy getting rid of things, so I added cash into the pocket so he can treat himself to several nice coffee’s as they get ready for this big adventure.


Supplies used:
5x7” card and envelope
5x7” Foliage Frame, Kat Scrappiness
Patterned paper - Watercolour Landscapes 1.1, Paper Rosse
Gift Card Pocket - MFT Stamps
Best Gift Ever - MFT Stamps
Brother Label Maker

Friday, 2 May 2025

Pop-Up Birthday Card Duo


Welcome to Fun Fold Friday here on my blog! As I continue to pick away at using up my stash, I pulled out this older Paper Pumpkin kit to make a pair of pop-up birthday cards. The card bases in the kit are printed on the front and back, so I cut one apart to get two card fronts. After mounting the printed card panels to white card bases, I stamped a bird onto the panel and the sentiment onto a white fishtail banner. The purple vellum and the sequins were included in the kit.


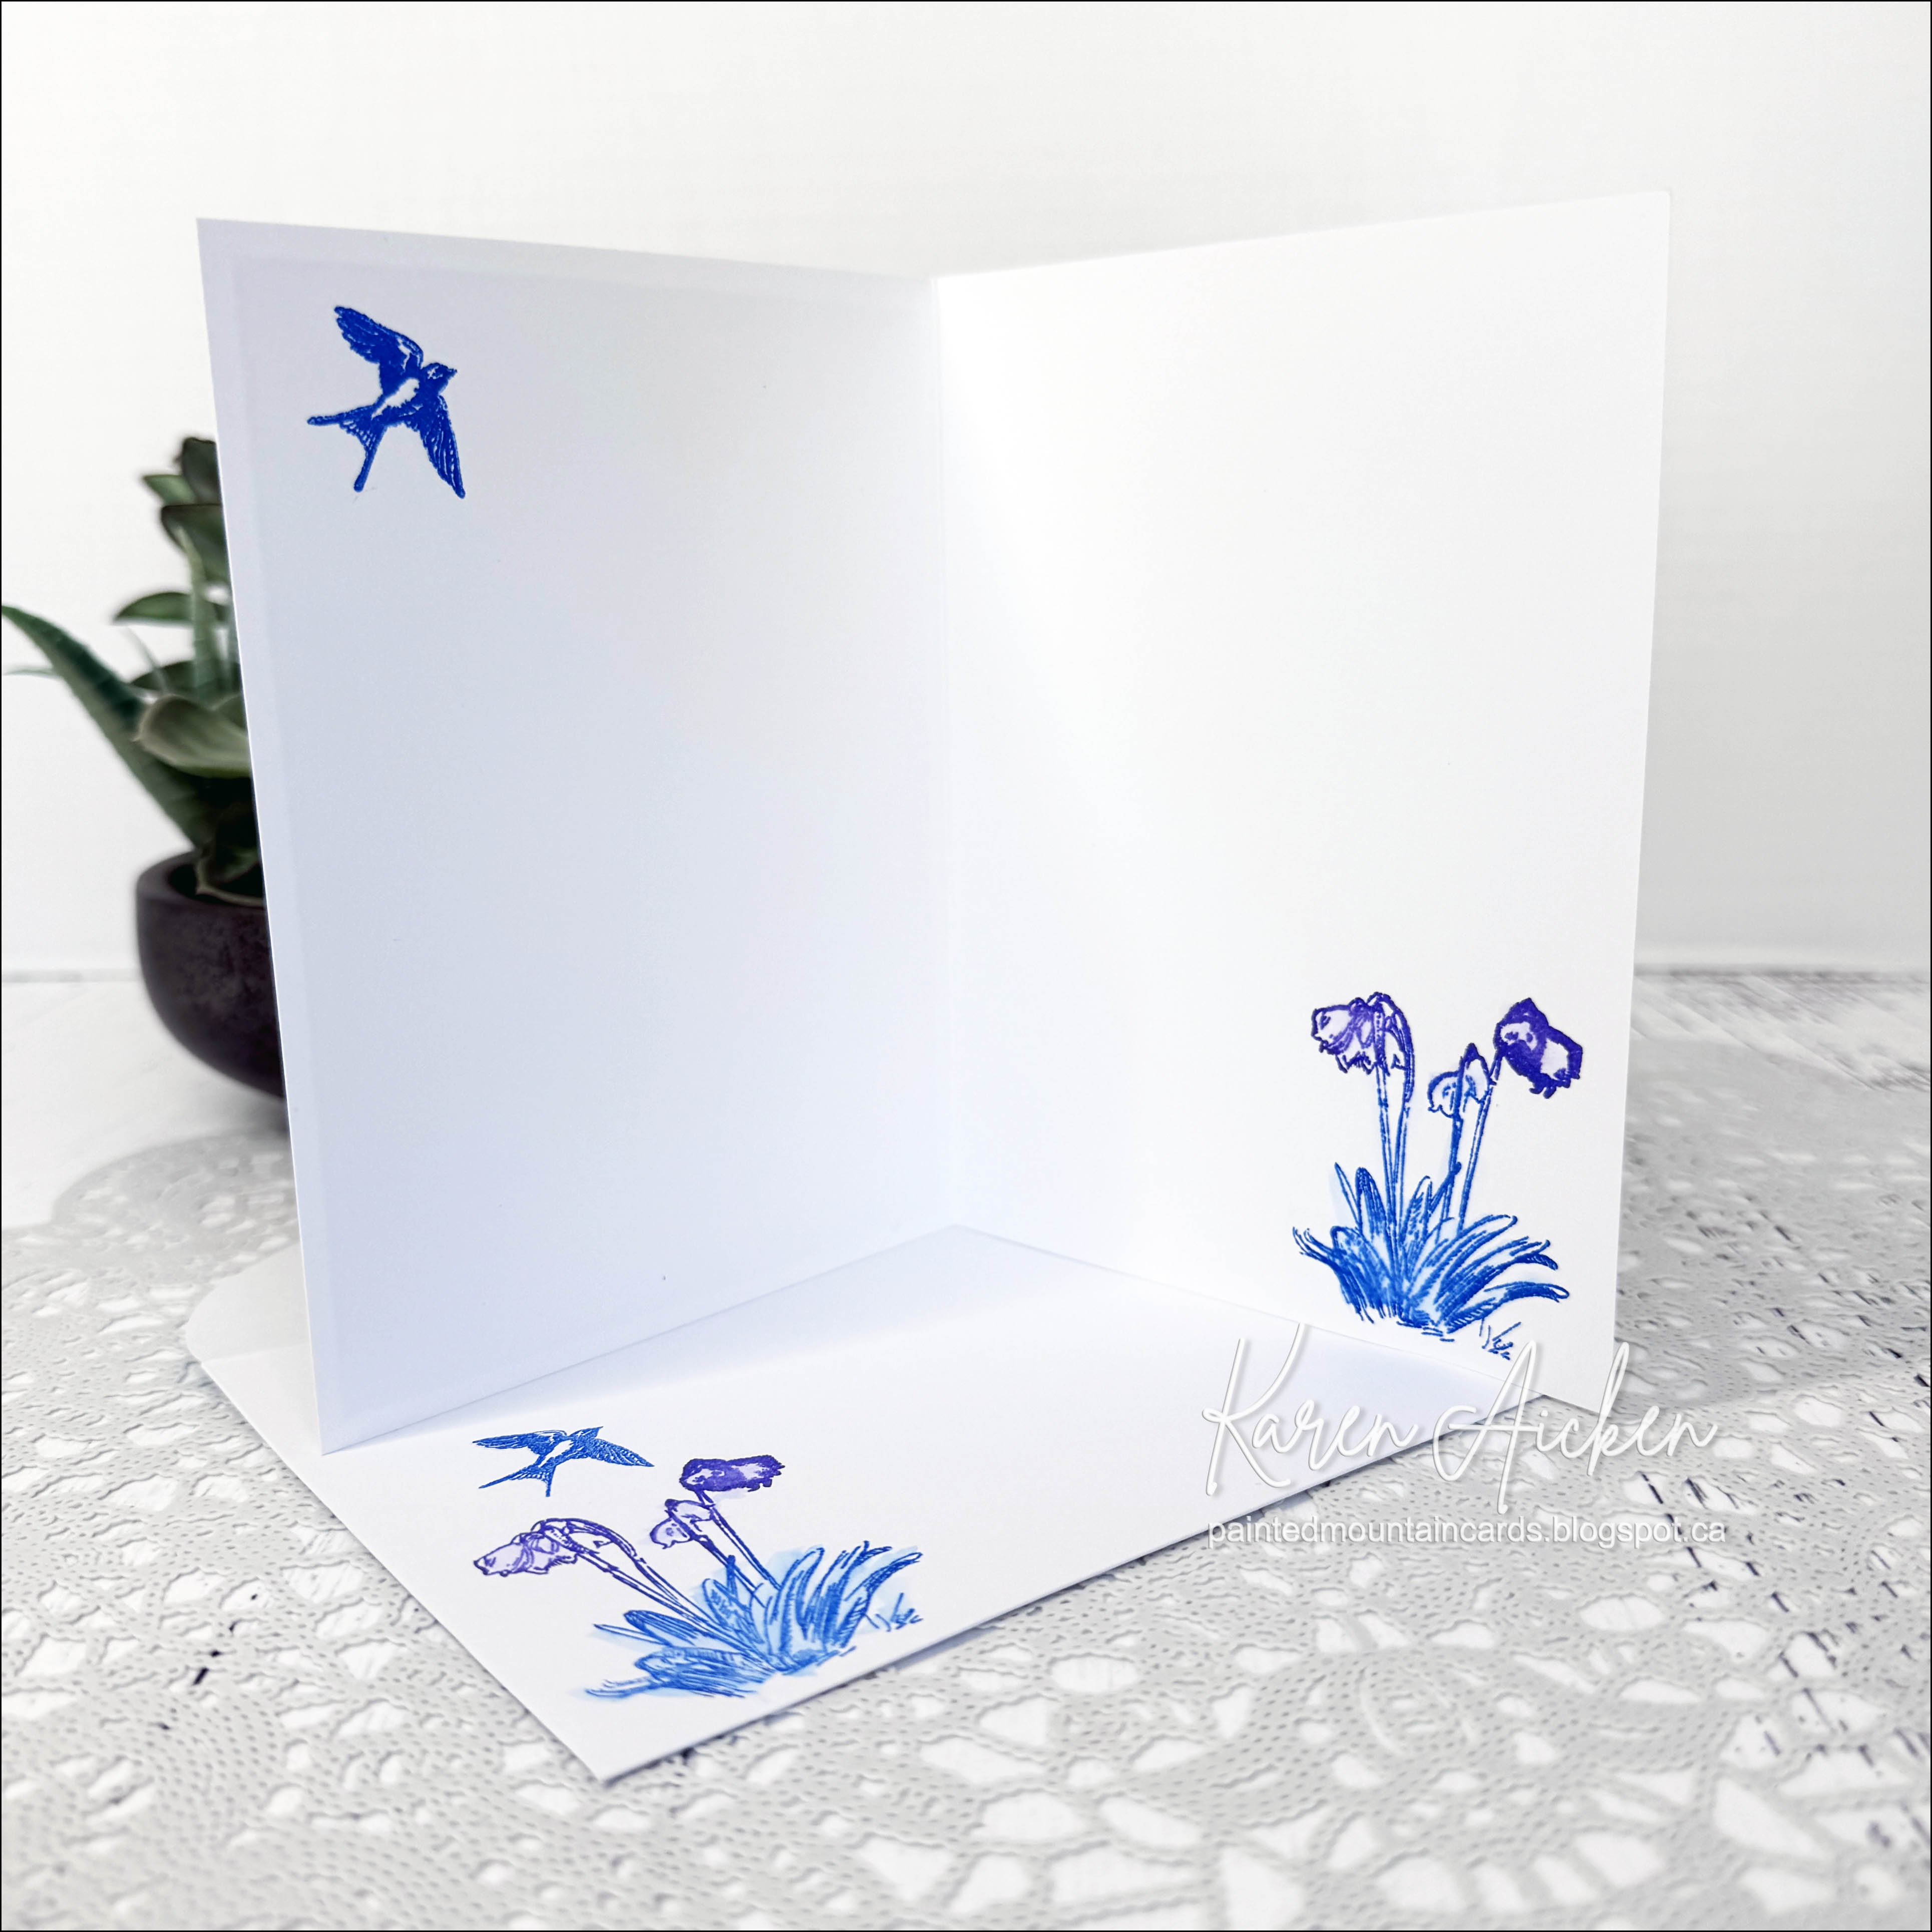
Inside, I used Karen Burniston’s Twist Flower Pop-Up, which I have really been enjoying. The sentiment was stamped onto a white stitched circle, and after stamping the bird in the upper right corner of the card I stamped it again - without reinking - below the sentiment. Then the circle was adhered to the Twist Flower mechanism. 

I added a leftover patterned strip (from a different set of cards) to bring some more of the pretty scene inside the card then added a sequin to the sentiment and a second bird stamp at the bottom right corner. 


Supplies used:
March 2024 Paper Pumpkin - Memorable Meadows, Stampin' Up
Bird stamps, old papercraft magazine
Anything but Basic Birthday Wishes - MFT Stamps
Twist Circle Pop Up - Karen Burniston
Stitched Circle dies - MFT Stamps
Inside verse - Better with Age, Penny Black

Wednesday, 23 April 2025

Sending Hugs Note Card


If you follow me, you know I rarely post things in the same order I make them. I had been working with an older Paper Pumpkin kit (from March’24) and had this one panel left over. I decided to make it into a note card and used one of the included envelopes to dress it up a little. I’ll be sharing the other cards I’ve made another day. 😊

The card bases that come in the kit are printed both front and back, and I often cut them in half to give me two printed panels. That is where this one came from.

The sentiment (MFT Stamps) was stamped onto one of the kit fishtail banners, which has a gold foiled accent, was popped up with foam tape. The birds and flower images were not in the kit but came from an older stamping magazine that usually includes a set of stamps.


Supplies used:
March 2024 Paper Pumpkin - Memorable Meadows, Stampin' Up
Bird & flower stamp - old paper crafter magazine
Essential Sentiments - MFT Stamps
Water brush

Saturday, 19 April 2025

Two Floral Birthday Cards


I have had these floral note cards for several years - they are printed on both the front and back, so I cut one in half to give me two floral panels. After trimming the panels to 4x 5.25”, I added them to white card bases. 

I had been going through my “in progress” bin and found these 3-d flower stickers that were already adhered to the die cut labels. I replaced the foam tape, since the foam squares that I had initially used were losing their adhesive, then added them to the card fronts with thin foam tape. The sentiments were stamped on a scrap strip of white card stock and I fishtailed the ends with scissors.


Here is a peek at the inside using a bold sentiment by Catherine Pooler.


Supplies used:
Floral note card - front and back
Labels & Stickers - many years old, found in my stash. K & Co
Sentiment - Be Happy, Twice The Wishes, MFT Stamps
Pops of Color, Snowflake - Scrapbook .com
Happy Birthday - Little Something Sentiments, Catherine Pooler

Friday, 28 March 2025

Panda Birthday Card


While I had the panda face die out for our grandson's birthday, I thought it would also make a cute birthday card for our nieces little fella who is turning one. I die cut the panda from a white cardstock square (it cuts the openings rather than the outline) and backed the openings with black cardstock.

I tried something different this time and was very happy with how it worked out! I nestled the die back into the openings and LIGHTLY brushed grey ink over the die and onto the paper. The die acted as a mask and when I lifted it off you could more easily see the round face of the panda.

I have had the patterned paper (which is double sided) for a year or two so I wanted to use it. The card base is 5 x 6.5", I cut the patterned paper to fit then matted it with black. One of the party hats was fussy cut and popped up with foam tape on the panda's head. A little Pops of Color on the panda's nose for some sparkle, a bakers twine bow and the card front was finished.


Here is a peek at the inside ... the red & white star paper is the print that is on the reverse of the party hat print. I used the leftover patterned paper for a couple more birthday cards using the March '25 Sheetload and will share those another day.


Supplies used:
Patterned paper - Birthday Wishes, Echo Park
Panda face die - Neat & Tangled
5 x 6.5" Card Base and Envelope - Michaels
Blending Brush
Pops of Color - Snowflake, Scrapbook .com
Bakers Twine
Stickles glitter glue
Inside - Lots of Birthday2Stamp, the Stamps of Life
Stitched circle dies - MFT Stamps

Wednesday, 5 March 2025

Bright Birthday Themed Sheetload of Cards


Things were busy in the later part of 2024 so I didn't get a chance to play with the October Sheetload of cards. But I knew I wanted to try it and after making up these cards I can't wait to play with it again. It's another one designed for 6x6" patterned papers and I've had this pad for a couple of years. 

I'm doing great at building up my Nursing Home donation card stash! Since I donate 25 birthday cards each month, when my stash is depleted I need to get working. That's why I'm sharing so many batch made birthday cards lately.


Here is a peek at the inside ... all of them are done the same. I used leftover bits and pieces in the paper package for the fishtail banners on the interiors so they coordinate but they don't necessarily match the papers on the card fronts.

Supplies used:
Patterned paper - Sweet Shop, Queen & Co (6x6")
Large Birthday - Technique Tuesday
Inside - LJD Birthday Greetings (MFT Stamps)
October 2024 Sheetload of Cards - Call Me Crafty Al
NOTE - I am no longer linking the Sheetloads, as some of them have been archived for her channel subscribers and I don't want to send you on a wild goose chase. 😊

Saturday, 1 March 2025

Set of Birthday Cards


I have had this patterned paper for YEARS, so it was fun to dig it out and make some Birthday Cards. I chose the February 2020 Sheetload of Cards for the sketch and cutting guide and then just rummaged around in my stash for the decorative element dies and stamps.

The swirly die is another oldie by Stampin' Up - I loved it back when it first came out in the catalogue and still love it. These ones were die cut from the same Kraft as the card base, then lightly inked with burgundy ink.


Below is a peek at the inside, with all the cards being the same. 


Supplies used:
February 2020 Sheetload of Cards - Call me Crafty Al
NOTE - I am no longer linking the Sheetloads, as some of them have been archived for her channel subscribers and I don't want to send you on a wild goose chase. 😊
Patterned paper - Prairie Hill, Pink Paislee (old)
Swirly Scribbles - Stampin' Up
Large Birthday - Technique Tuesday
Peel Off's - Dazzles
Alcohol markers
Inside - LJD Birthday Greetings (MFT Stamps)
Mini Misti


Friday, 28 February 2025

Party Cat Pop-Up Birthday Card


It's Fun Fold Friday here on my blog and today I'm sharing the Pop-Up card I made for a friend's birthday. She is a cat lover, so I pulled out this 'Be A Cat' die from Waffle Flower then went rooting around in my older patterned papers to decide what I wanted to use.


I added a die cut party hat to the cat and had her 'holding' onto the stitched rectangle with a stamped Happy Birthday. I really had fun making this one!


Inside I used Karen Burniston's Postage Pop Up die set, which has a completely generic mechanism. My favourite kind! Instead of the included postage themed dies, I added a stamped & die cut circle to the mechanism.


Supplies used:
Be A Cat dies - Waffle Flower
Patterned Paper, Blank Canvas - 1st Edition Papers (old, from my stash)
Alcohol markers
Stickles glitter glue
Pops of Color - Black, Scrapbook .com
5x7" card base and envelope
Party Hat Triplits dies - Sizzix
5x7" Lacy Layers dies- Waffle Flower
Happy Birthday stamps - Happy Birthday Many Ways, Catherine Pooler
You Deserve stamps - Little Something Sentiments - Catherine Pooler
Postage Pop Up die set - Karen Burniston
Pawsome Birthday Sentiment stamps  - Waffle Flower
Stitched Circle dies - MFT Stamps
Peeking Pets stamps - Catherine Pooler

Monday, 24 February 2025

Four Sheetload Birthday Cards


It's Masculine Card Monday here on my blog and today I'm sharing a set of four Birthday Cards that I can donate to my Mom's old nursing home. I had gone through this older 6x6" paper pad and the coordinating ephemera and made up little 'kits' that I could just pull out and assemble. A lot of the 'kits' used the June 2021 Sheetload of Cards which is a great one for using those 6x6" papers.

I just kept making up the 'kits' until the paper and most of the ephemera was gone, then I decided on card bases to add to the 'kits'. 


Here is a peek at the inside, they are all the same inside.


Supplies used:
Banners Crosshatch, Karen Burniston
Stitched circle die - MFT Stamps
Inside - the Inside Scoop, Birthday, Taylored Expressions
Patterned paper - Let's Celebrate, Carta Bella (6x6")
Let's Celebrate Ephemera - Carta Bella
Stickles glitter glue

Tuesday, 26 November 2024

Birthday Cards from Note Cards!


Last winter I cut down a box of printed note cards so I could use the card fronts to make Birthday Cards for my Mom's old nursing home. I cut them down because they were printed on a very lightweight cardstock and I do not like 'wussy' cards. I must have found the note cards on sale for a good price, but I cannot remember where. Ha. 

I pulled the card fronts from my 'In Progress' bin and got them all finished and ready to donate.


The card fronts had been cut down with stitched rectangle or square dies and I added them to folded white cards. The prints were dressed up with Stickles glitter glue for some shine and a stamped sentiment was added to some of them.

For the insides, I wrapped a white panel with washi tape from my stash and stamped a greeting before adding them inside the cards. I saved the card backs to use for matting and sentiment stamping etc, so there was very little waste.


This cute sloth panel was cut into a square as there must have been just too much pink background for my taste.


Here is another peek at the inside - each group of four got a different sentiment stamped inside.


Supplies used:
Note cards - unknown, possibly Paper Studio? I didn't end up keeping the supply list when I initially cut down the note cards.
Stickles glitter glue
Stitched Rectangle dies
Sentiment - MFT Stamps
Banner dies - MFT Stamps
Washi tapes - old, from my stash
Essential Birthday Sentiments - LDRS
Birthday Blowout - Poppy Stamps
Catherine Pooler inks

Wednesday, 30 October 2024

Halloween Sheetload Cards


Since I like to work ahead on holiday cards and I had the bin of Halloween elements out anyhow - I decided to pull out a favourite Sheetload and make a batch of cards to have on hand for next year. The August 2021 Sheetload yields eight cards and I will need five of them for the grandkids. That leaves me three cards ahead to send to friends for Halloween 2025 😊

I pulled out some older Doodlebug patterned paper and got the card fronts all cut and assembled. Then I went through the elements and added the ones I thought worked with each card. Some got a punched white layer behind them so they would stand out more and most got a stamped sentiment.


Here is a peek the inside - I trimmed a strip of the patterned paper to add some colour inside, as well as a stamped sentiment.


Supplies used:
Patterned paper - Doodlebug Designs
3-D Stickers - old, from my stash
Label punch - Stampin' Up
Mini Strips Halloween, stamp and die - Taylored Expressions
Double Stitched Circle dies - Divinity Desigs
Resin stickers - Monster Bash - Stampin' Up
Sassy Pants Spooktacular - MFT Stamps

Thursday, 24 October 2024

Halloween Mini Slimline


When I was looking through my Halloween elements, I noticed that one package was almost gone - but these 3-D sparkly skull pieces were in it. I pulled all three out to make this card.

I cut the purple background using a die by Taylored Espressions then gave it a good spritz with shimmer spray. I added the 3-D skulls into the window openings and added a stamped sentiment. Then I pulled out an older package of resin stickers and added a crow above the sentiment.


Here is a peek at the inside where I wrapped holographic washi tape around the bottom edge and stamped the sentiment (in two parts). The resin sticker package also has the skull & crossbones in it so I added one inside. 


Supplies used:
Mini Slim Square Window Cutting Plate - Taylored Expressions
3-d Elements - old, from my stash
Resin crow & Skull/Crossbones - Stampin' Up (old)
Sassy Pants Spooktcular - MFT Stamps
Washi tape - old, from my stash
Shimmer Spray

Wednesday, 23 October 2024

Halloween Slimline Duo


I love making Halloween cards - and when I went through my bin to get this years ready to mail, I didn't have enough! Which surprised me as I usually have lots leftover at the end of October each year. I pulled out this Slimline paper pad,  found two panels that would work for Halloween and these are the cards I came up with.

I have had these 3-d elements in my stash for YEARS. I probably hoarded them for the first couple of years but I'm over that and have been making an effort to USE my supplies and not trying to make them last for the rest of my life. Ha.


Aren't these ones cute? The frogs came with the googly eyes - so fun. I added a stamped sentiment with thin foam tape to finish off the card front.


I stamped the sentiment on a white panel that had holographic washi tape wrapped around the bottom edge (another item from my stash) and added another pumpkin element. The panel was matted with black and added inside the card.


I chose a different package of elements for the second card, and added the die cut BOO instead of a stamped sentiment.


It's hard to see in the photo, but the purple BOO layer was sprayed with Shimmer Spray.


The inside was done the same as the first card ...


Supplies used:
Patterned paper panel - Slimline Paper Pack 'Enchanted Forest", Whimsy Stamps
3-d Elements - old, from my stash
BOO die - Photoplay
Shimmer Spray
Inside greetings - Papertrey Ink
Catherine Pooler coloured inks
Sponge dauber - Ranger
Washi tape - old, from my stash
Happy Boo day - Sassy Pants Spooktacular, MFT Stamps