Showing posts with label Charm Accordion. Show all posts

Tuesday, 12 July 2022

Ice Cream Charm Accordion Card


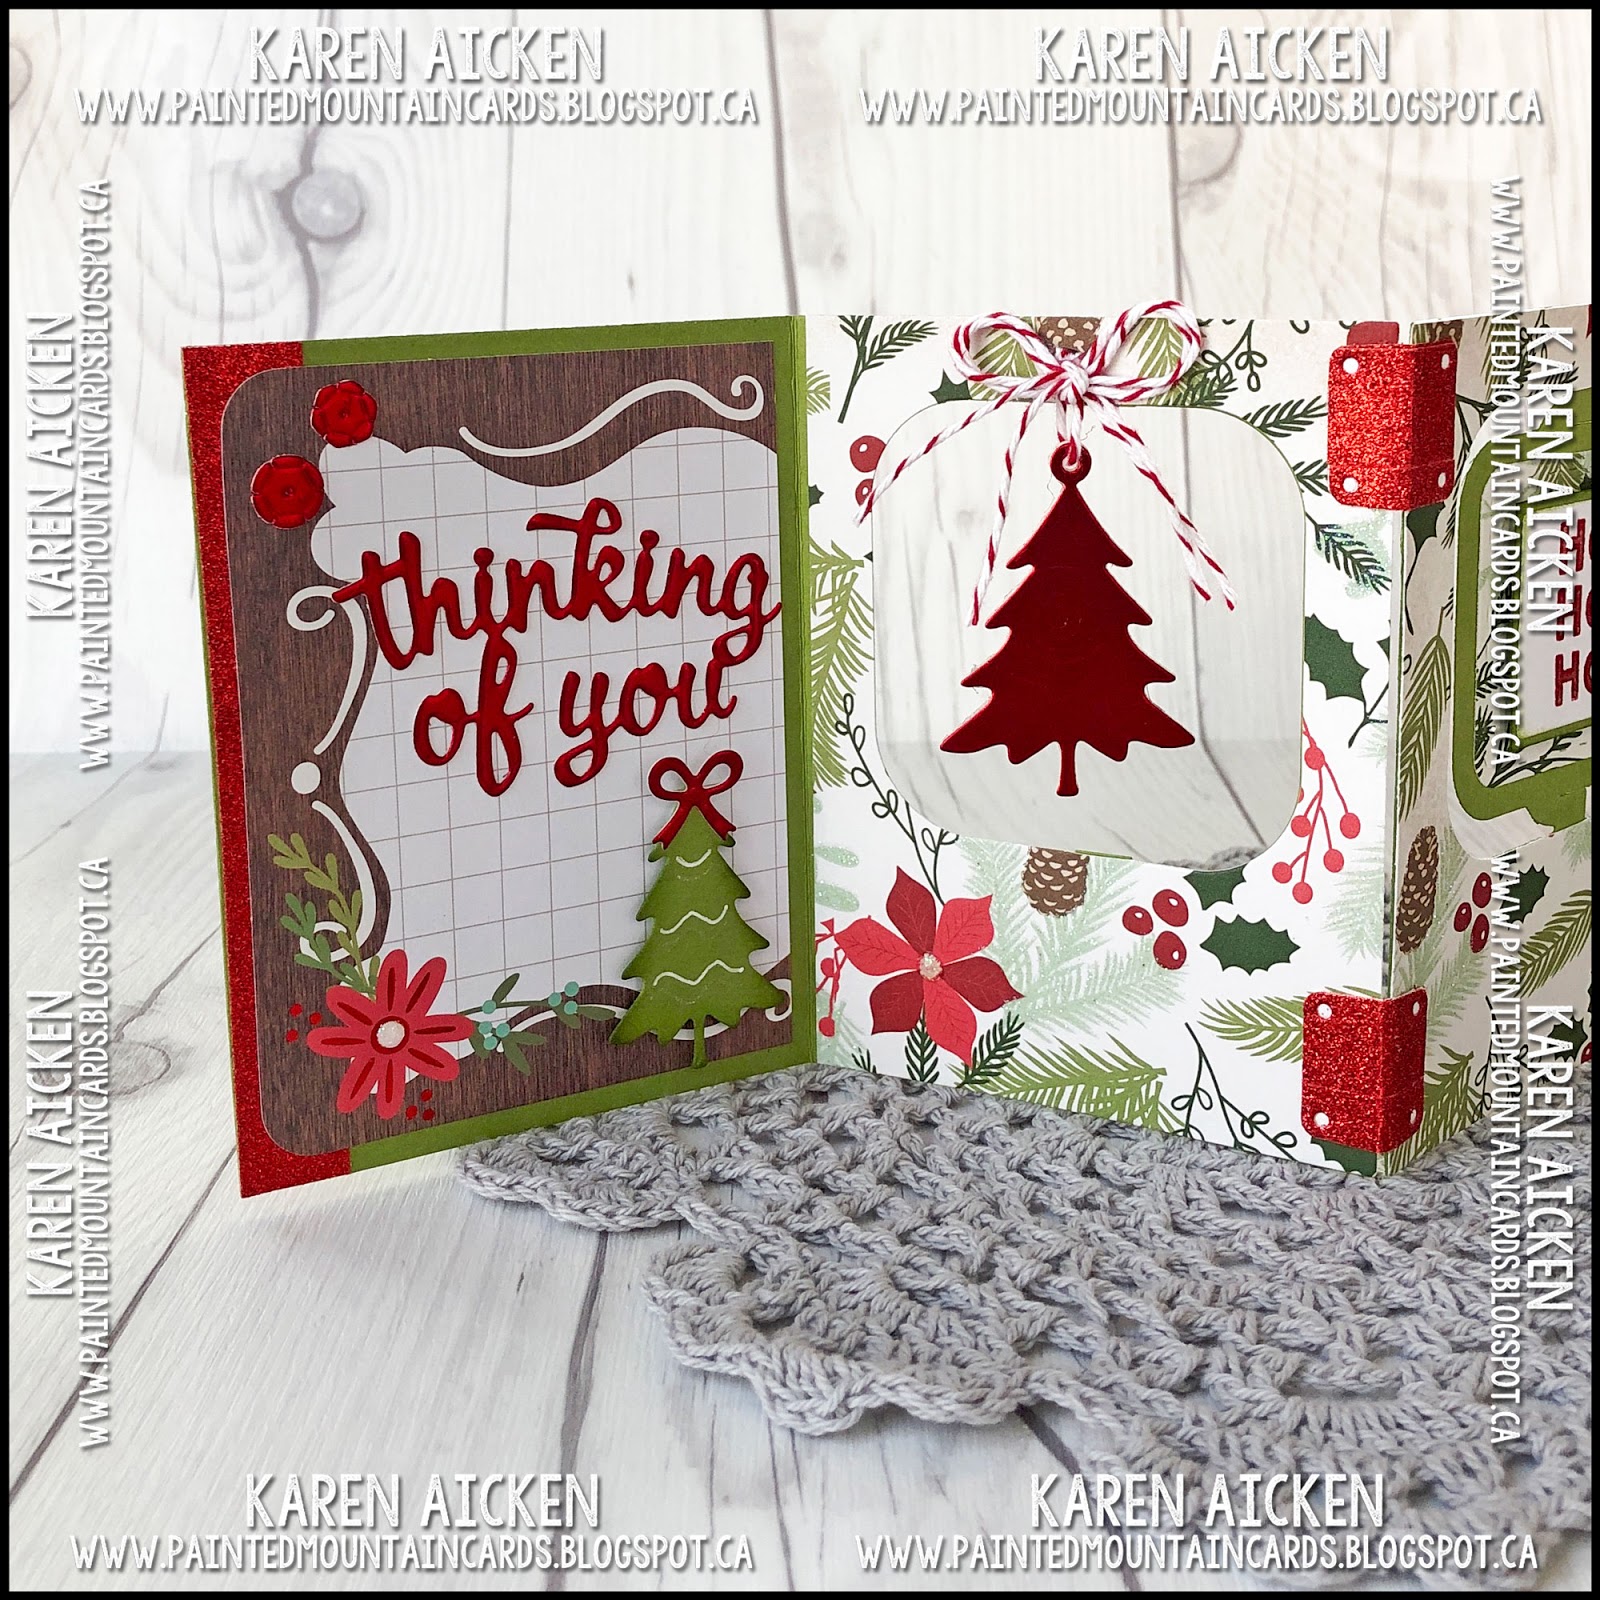
Hello my crafty friends.  In keeping with our families tradition to have ice cream on a certain day in July ... here is another ice cream themed card!  If you'd like to read more about this tradition, I will add the details below the photos. 

For this card I pulled out several dies by Karen Burniston, and some cheerful plaid patterned paper from my stash. The ice cream cones are from the Sweet Treats Charms - simply snipping off the hanging hole lets you create embellishments instead of charms. I added some glitter to the ice cream portions, and also to the dangling heart. 


The Charm Accordion comes with a die that cuts four jump rings, I cut mine from the same pink card stock as the card base but only needed one for this card.. I added a little clear drying glue to the ends but I don't find they separate with regular card handling. You could also use a metal jumping or even twine or embroidery floss!


Here is what it looks like from the back ...


When my Mom was a little girl, there was always a July parade in their town. Afterwards her dad, my Grampa, would take her to the drugstore for an ice cream soda. She continued the tradition with my brother and I, on a special day in July she would take us for ice cream. And I did that with our kids too - bringing my Mom along. We always made sure she had ice cream on that day. 

Now that she has passed, we continue the tradition - raising an ice cream cone to her in a toast and our grandkids think it's a great tradition! I also send my family ice cream themed cards to celebrate.

This blog uses affiliate links whenever possible. This means, that at no cost to you, if you make a purchase through one of my affiliate links that I may receive a small commission from your purchase. I only link products that I own, love and use for my card making and not every link below is an affiliate one! 😊

Any supplies I'm unable to link are listed at the very bottom of my post.


Additional Supplies:
Patterned paper - Plaid Tidings, Stampin' Up (retired)
White card stock - Accent Opaque Digital Super Smooth (Amazon .ca)

Friday, 3 July 2020

Doubled Charm Accordion Baby Card

Hello crafty friends ...


This is one of those cards that is just better in real life, but seeing it on a video is the next best thing! 


I have had this patterned paper for many years, and it was fun to pull it out again for this card.  This card was not difficult, but it sure did take a long time. I would suggest being familiar with how the Charm Accordion goes together and probably do one first with scrap card stock before you cut into the nice stuff. Also, I used wet glue to add the patterned paper panels to the white card base so I'd have some 'wiggle room'. That was probably the hardest part of the project.


Below is how the card looks opened, and likely how it will be displayed.


The Charm Accordion comes with a die that cuts 4 jump rings, which is what I used here. I did secure them with a TINY piece of card stock so they didn't come open. Another step that took awhile and is not necessary - but I didn't want to put all this work into the card and find out that a charm fell off while they were enjoying the card.

Folded, the Charm Accordion is ~3.25" wide, so slightly narrower than a Slimline Card which is 3.5". But it still works and fits perfectly in a #10 Business Envelope.


Finally, you can see the back of the card here. I didn't add decorations to the backs of the accordion panels, but you definitely could.


In the next photo, I am showing how I created the doubled Accordion. If you click on the photo it should open up larger, in a separate window for a closer look. The white card base was folded in half and the fold is at the top. I placed the Charm Accordion on the fold, with the top cut line ABOVE the fold so it didn't cut. Other details are on the YouTube video.


Supplies:
White card stock
Patterned paper - Baby Girl Stack, DCWV (old, from my stash)
1007 Charm Accordion - Karen Burniston
Scallop border die - Papertrey Ink 
1086 Baby Charms - Karen Burniston
Black pen
Sakura White Gel Pen
i-crafter Blending Brushes
Scalloped label - Dotted Patterns  Set 4, Studio Katia
Welcome Little One, Swan-derful - Your Next Stamp
Pink Carnation Crystals - Studio Katia
Crystal Rainbow Confetti - Studio Katia

Card size - 3.25 x ~8.5", fits in a #10 Business Envelope

Thanks for stopping by today

Friday, 27 March 2020

Birthday Owls Charm Accordion Card

Hello crafty friends ...

Today I'm sharing another card I made for Hochanda, a crafts TV channel in the UK. They selected which of Karen Burniston's dies they wanted to feature on their KB segment and the team got to work on samples to share on TV. 


Remember you can always see my interactive card videos HERE on YouTube.


I have always loved the Charm Accordion, so I paired it with the fun owls from the Feathered Animals and added a few Birthday Charms too. Since the Hochanda cards were specifically made for TV, I made sure to use products that would catch the bright lights and hopefully catch people's attention. The black on the card is lovely black mirror card stock. I can't get my hands on more - it is constantly sold out!

Below is the card front, and how it looks coming out of the envelope.


Look at how fun this card is - and what a great display piece it makes! I cut two Charm Accordions and attached them together with the included hinge.


Here are the first two panels and you can see the turquoise glittered frame and hinges, and the dangling star charm. The stars all got some shimmer with a glitter pen.


Also on the hinges, I cut them again from the black glossy card stock and adhered the narrow frame around the glittered hinge. This is a fun detail and gives the card a little more shine.


Here are the final two pages - I tried to make each of the owls look a little different from each other.


This is the back view, with a dangling star in the centre. You don't really see this when the card is displayed but people will turn it around when they look at it so this finishes off the card nicely.


I was really happy with how this card turned out and was proud to send it off as a show sample.

Supplies:
1003 Word Set 2 Birthday - Karen Burniston
1004 Birthday Carms - Karen Burniston
1007 Charm Accordion - Karen Burniston
Red, green, pink, blue, yellow and kraft card stocks
Patterned paper - Happy Hooray, Pebbles
Blue glitter card stock
Black mirror card stock - Tonic
1075 Feathered Animals - Karen Burniston
Yellow polka dot patterned paper scrap
Sakura white gel pen
Bakers Twine
Nuvo Drops
Spectrum Noir Glitter Pen
White pearl card stock

Thanks for stopping by today

Tuesday, 5 November 2019

Ho Ho Ho Greetings - Designer Challenge Card

Hello my crafty friends

Welcome to Karen Burniston's November 2019 Designer Challenge, where KB asked the team to use either the Fancy Label Accordion or the Charm Accordion to make a holiday card. I adore the Charm Accordion die set so that is what I used for my card and I have a lot of photos and a short YouTube video for you!

Let's start with the card front. Even though I used the Charm Accordion, I used it a little differently and added a journal card made for pocket scrapbooking on the front. The bear from the Winter Animals is so darned cute, I used him for the front of the card and added a red foil hat and tree.


The journal card I used on the front has red foiled bits in it which tie in with the bears hat and tree.


I like to show you different ways to use your dies - so I have a couple of 'twists' with the Charm Accordion. I cut the Charm Accordion base twice, joining the two pieces together with the included hinge. Then I sandwiched the far left and far right pages in between two foiled journal cards! I did this a couple of times when the Charm Accordion was first released and I'd forgotten how much I like it. I used journal cards from an old Project Life kit but a lot of 12 x 12 patterned paper packs often come with them that you can cut out and adhere as I did here.

Instead of joining the pivoting centre squares, I snipped one completely away and dangled a red foil tree charm in the opening. That tree is from the WINTER CHARMS but I also used trees from the Evergreen Pivot Panels as embellishments on the card.


I cut a larger, 6 x 4" journal card in half and added one half to the left and the right sides of the card. I like that when you open the first panel, it looks like the red foiled tree is on an accordion panel, when in fact it actually hags from the opening where I snipped away the accordion piece on that second panel. When you open the card to the next panel, the dangling tree is revealed.


The third panel has a stamped Ho Ho Ho ...


... and the panel on the far right has thee trees with red foil bows and white gel pen details.


Here is a look at the back side. The white panel is where we can sign our name when we send the card this year.


I hope you will check out what the rest of the Design Team has created for the challenge - their blogs are linked on the right. Karen Burniston will have her project tomorrow (Wednesday) listed on her blog

Supplies:
1007 Charm Accordion - Karen Burniston
1018 Winter Charms - Karen Burniston
1016 Winter Animals - Karen Burniston
1102 Word Set 10 Thinking of You - Karen Burniston
1022 Word Set 3 Holiday - Karen Burniston
1062 Evergreen Pivot Panels (trees & bow) - Karen Burniston
1054 Rectangles Crosshatch - Karen Burniston
1089 Rockin Rectangle (sequins) - Karen Burniston

Journal cards - Project Life, Becky Higgins (stash)
Patterned paper - Comfort & Joy, My Mines Eye
Red glitter washi tape - Recollections
Red mirror card stock - Tonic Studios
Bakers Twine
Black pen
Sakura white gel pen and sparkle pen
Nuvo Drops
Ho Ho Ho - Gift Tag Greetings, MFT Stamps


Thanks for stopping by today

Saturday, 31 August 2019

Shooting Star Shaker Cards

Hello my crafty friends

I finally got to play with this space themed shaker kit I got from Queen & Company in April! I got it since it would make great boy cards, with the rocket and space ship ... and then Karen Burniston came out with her Rocket Pop Up and Space Charms which I ended up playing with first.

But when I found out that our Grandson Ilai would actually have Kindergarten class while in daycare at the university, I had to make him a card. Of course his little sister Alma (age 2) also loves happy mail so I made one for her too with the same shooting star die.

Here are both cards together ... I love how different they look using the same die just by changing the papers!


First up is Alma's card, decorated with some bright sequins and a stardust glitter pen.


Here is a look at the inside:


The second card is for Ilai - he does not like any girly colours at all, so this one will make him happy.


This is the inside, where we wrote our message to him.


Supplies:
Grey, black and white card stocks
Space Shaped Shaker Kit - Queen & Company
Patterned paper - Be Brave, Pink & Main
Stitched rectangle - Your Next Stamp
Fishtail Banners - MFT Stamps
Sequins etc - stash

White card stock
Patterned paper - Sunny Studio Stamps
Space Shaped Shaker Kit - Queen & Company
Stitched rectangle - Your Next Stamp
1007 Charm Accordion (star) - Karen Burniston
Stitched Fishtail Banner and Fishtail Banner - MFT Stamps
Various sequins and filler - stash
Sakura Stardust Pen
Hey You - MFT Stamps

Thanks for stopping by today

Tuesday, 7 August 2018

Designer Challenge Star Accordion Book/Card.

Good morning friends

It's time for Karen Burniston's monthly Designer Challenge, and the theme for the August challenge is "Charmed".  With so many Charm sets to choose from, I think you are in for some great inspiration from the Design Team!

For my Charmed challenge card, I wanted to see if I could make the Charm Accordion work as a Star Book. It did, and easily! I'm very happy with how well it turned out and I think this would be a fun table decoration for the holidays, done in different colours and with seasonal charms.


I pulled out some polka dot patterned paper from my stash, and cut six Charm Accordion bases. Two from yellow, two from blue, one from pink and one from green. I also cut the scalloped 'icing' pieces from the Cake Pop-Up, two long and two short for each of the pages. I like how they give a different look to the Charm Accordion when they are adhered to the top and side edges!

This is the first page of the expanding card, what you will see when you take it out of the envelope. The greetings start with 'make a wish!'


For each page, I used a circle from the Circle Charm Accordion to cut a window from the centre of each accordion panel.  Before adhering the pages together, I added a small square of acetate to the back of every other page. That gave me a 'window' on each page to adhere the charms to.

Each of the pages was folded in half along the score line, then the right side of the first yellow page was adhered to the left side of the green page. I continued until all the pages were adhered together using a strong adhesive. I used Lineco PH Neutral adhesive, which is also sold on Karen Burniston Riley's site. Once all the pages were adhered together and I had my book - I adhered the scalloped borders one by one.

To create the black frames around each window, I nested the same circle die used to cut the window and a larger zig-zag circle die from the same set. Holding them together with removable tape made cutting all twelve black frames really easy.


I added a variety charms to the acetate, with little hearts and a touch of glitter. Each page also got die cut words combined form the various Word Sets and a black die cut candle with more glitter. The hearts from the Coffee Charms cut three at a time so that makes short work of adding little hearts to your projects.


The second page says 'celebrate' and 'congrats' and has a donut and party hat charm.


The third page says 'Happy Birthday' and has the party hat charm and a cupcake. I used as many scraps as I could from the patterned paper circles that fell away when the windows were cut into the centre panels. That way everything coordinates.


The fourth page says 'Hello friend' and has a cupcake and present charm.


The fifth page says 'Birthday Greetings' and has the gift charm and an ice cream cone. For all the charms, I snipped off the hanging hole so make them embellishments rather than charms.


The sixth and final page simply says 'enjoy' with a white panel for our note and signature. There is an ice cream cone and a balloon die that I chose not to add a string to.


Since there isn't any foam tape (!!) the card will fold flat and fits perfectly in a 5 x 7" envelope. I will add an extra stamp on it though, since there are a lot of layers and therefore it likely weighs too much for a single stamp.

Initially I planned on using magnets to hold the card closed on the final two pages, but realized that it works better to fold flat so the final pages were adhered together.


When it comes out of the envelope, you get this fun 'Star Book' look for your greeting card! It stands so nicely on it's own and would make a nice birthday decoration as well as a card.


I hope I've inspired you to use your Charm Accordion die in a different way! For those that want to add my card to their Pinterest board(s), here is a group photo shot for you:


Be sure to check out our Design Team's projects and see their take on the challenge. Their blogs are linked on the right. Karen Burniston will have her project and a big group post on her blog tomorrow (Wednesday). You can find Karen's blog HERE.