Showing posts with label Explosion Card. Show all posts

Tuesday, 13 February 2024

Four Pop Up Valentine Cards


I have had these 6x6" Valentine papers for years - but I won't buy any new pads until I use these ones up. There are quite a few smaller bits and paper strips in the packages as well from previous years cards so it will be a few years before I can call them done.  Today I am sharing four Pop Up cards made with a bunch of older product from my Valentine's bin.


The ephemera packages still have some cute images in them and of course a package of doily's lasts FOREVER. I pulled out both for the front of this card as well as the little Happy Valentine's Day banner. I bought a package of those at Michaels about 10 years ago, ha ha and I'm still using them every year.


Inside is a simple box pop up using more ephemera and a cute banner piece. The Sweet Valentines stamp was from the $1 bins at Michaels many years ago.


The second card uses a similar layout to the one above, another doily from a different package, enamel hearts and more ephemera from the packages. The sentiment is from MFT - their Essential Sentiments. Another stamp set I have got a lot of use out of over the years.


Inside this one is a double box pop up... 


I loved these little sloth images, so used them for the next two cards. Both are explosion cards. I loved using up a full sheet of paper for each of them. 😊


I do have a couple of YouTube videos showing different ways to fold the papers for these. Explosion Cards (which I have been making for over 30 years!!!) so I will line one HERE for you.


These cards also use lots of foam tape so ended up being fairly bulky. But I will be hand delivering them to our grandkids tomorrow when they come to visit. 


Supplies used:
Patterned paper - Be Mine, Pebbles
Ephemera - old, unknown
Doily's - from my stash
Lacy Circle dies - Waffle Flower
Happy Valentine's Day fishtail flag - old, Recollections
Black gel pen
Narrow seam binding - Stampin' Up
Heart Enamel Dots - Recollections
Essential Sentiments - MFT Stamps
Nested heart dies - Hero Arts
Happy Valentine's Day - A Stamp In The Hand
Banner - Recollections
Short Crosshatch Rectangles - Karen Burniston
Sweet Valentine's Day stamp - Recollections
Catherine Pooler dye inks

Thursday, 30 March 2023

Three Mini Slimline Easter Explosion cards (and Video Tutorial)

When I realized that the past couple of explosion cards I've made had a bit of a different fold than the ones I had shared previously, I decided to do a new tutorial. you can find that on YouTube

While I did these ones in a Mini Slimline sized card, the same 6 x 6" folded explosion piece fits in an A2 sized card as well. I think I like the larger card better, but you know I had to at least try it out in a Mini Slimline card! And I know the grandkids will enjoy their cards and that is what matters.

I was able to use up a bunch of smaller pieces of the patterned paper as well as full sheets inside, so I have made a big dent in my older Easter supplies this year! The stickers have been in my stash for a number of years. They are plastic and adhering them with white glue had them popping off. So I used a new-to-me-glue 'Beacon 3 & 1' which is a solvent glue. It stuck those plastic bunnies down perfectly!

That strip of bunny paper had been in the package, trimmed off of the sheet that was used on a different card long ago. I always keep these strips etc ... maybe if I didn't keep them I wouldn't have all those little leftover bits hanging around. But when I can use those little bits to create three cards? That makes it worth it, ha ha.

Below are pics of the explosion panels inside ...


Here is a link to my March 19th video where I shared several different Easter cards using the same fold but decorated differently. Those small cutaparts that are often included in those 6 x 6" paper pads fit perfectly! Here is the original tutorial I did folding it just a little differently.

Having been asked how many cards I make I thought it would be fun to keep track this year. Many of my posts include more than a single card or project and below is my tally. 

Card Tally for 2023
January - 53 cards
February - 56 cards
March so far - 54 Cards

Additional Supplies:
6 x 6" paper pad - Spring, Echo Park &
6 x 6" Flirty Florals, Q & Company &
6 x 6" Your Crafty Happy Place, MFT Stamps
White cardstock
Grass and cloud masks - MFT Stamps
Bunny Stickers - American Greetings (Old, from my stash)
Some Bunny stamp set - Simon Says Stamp (retired)
Big Bold Easter - Taylored Expressions (retired)

This blog uses affiliate links whenever possible. This means, if you make a purchase through one of my affiliate links that you pay the same amount but I may receive a small commission from your purchase. I only link products that I own, love and use for my card making and not every link below is an affiliate one! 😊

Sunday, 19 March 2023

Stashbuster Pop Up Cards for Easter


As I have mentioned in other posts, I am making an effort to USE UP a bunch of my Easter supplies ... stickers, ephemera, pre-stamped and coloured images. Just stuff that has been hanging around for toooo long. I have made a big dent in it too ... and next year I will be able to purchase some new goodies for the season.

Today's cards are stashbuster cards and I made them all into pop ups too. I have a walkthrough of the cards on YouTube:  


This card was actually the last one I created, and used up some of the leftover papers etc from  the other six cards 😊.


I have had this patterned paper for several years, and have both the 12 x 12" AND the 6 x 6" pads. They must have been a screaming deal, ha ha. So I used one of the 6 x 6" pieces to create the explosion inside and decorated it with the cut-aparts from the smaller pad as well.


For the other six card fronts I used an older Sheetload sketch, February 2020. I used the paper layout only, not the 'nested string' etc that was shown on the sketch. 

The Peeps on the card below were in the little bin of pre-done embellishments I have ... initially they were made using this same paper pad and I had done enough for two cards. Glad to have used them up this year.


This card used a sweet sticker and a die cut word. It was done so long ago I didn't even remember who makes the Easter die, but I found it on Simon Says Stamp. It was also in that little bin.


Inside that card I used another sticker onto a stitched oval and that was added inside with one of Sam Calcotts paper springs. I'll link her video below if you want to watch it to see how she uses them.


This cute Riley the Moose image was also in the bin ... all coloured and everything. I guess I must not have needed any more Easter cards the year I coloured it so into the bin it went. 


For the inside of that card I used Karen Burniston's Little Twist Pop Up, but without the accordion folded panel that normally goes across the arms. There is less bulk and I always like showing you different ways you can use your dies. I also used her Easter Charms, cutting them from pastel mirrored card stock scraps.

NOTE:  I cut the bunny charm on the back side of the mirrored card stock to get the reverse image. 😊


Here is a link to Sam Calcotts video where she shows her paper springs Here is a link to the February 2020 Sheetload of cards video

Having been asked how many cards I make I thought it would be fun to keep track this year. Many of my posts include more than a single card or project and below is my tally. 

Card Tally for 2023
January - 53 cards
February - 56 cards
March so far - 32 Cards

Additional Supplies:

February 2020 Sheetload

Patterned paper, 12 x 12" and 6 x 6" pads: Springtime, Authentique

White cardstock

Sentiments - Old, some from my computer

Riley in basket - Riley & Company

Coloured pencils, blending stump and Gamsol

Bunny Stickers, old, stash

Ephemera - Easter, Echo Park

Chicks - Your Next Stamp
Alcohol Markers

Peeps - older card kit from Simon Says Stamp

Stickers - stash ($ Store?)

Gems - leftover from a Stampin' Up card kit

Easter Greetings - Michaels

Joules boutique  bunny sticker


This blog uses affiliate links whenever possible. This means, if you make a purchase through one of my affiliate links that you pay the same amount but I may receive a small commission from your purchase. I only link products that I own, love and use for my card making and not every link below is an affiliate one! 😊

Thursday, 8 December 2022

Christmas Tree Shaker Pop Up Card


Hello my crafty friends. I'm back with another sneak peek of Karen Burniston's newest release. The Hexagons Crosshatch are the dies in the new release, and I also used the Rectangles Crosshatch and the Christmas Trees Pop Stand for the shaker card on the front.

I have a walk through of all the details for my card on YouTube


Inside, I used one of the 6 x 6" sheets of patterned paper to create the fun fold. I did a tutorial for this type of card back in August, and HERE is the YouTube link to that tutorial.


Below is a look at the whole new release, which will be shipping on December 12th. We will be celebrating that day with a Blog Hop (and prizes!).  The team will be sharing sneak peeks leading up to the Blog Hop and there will be lots of inspiration!


Additional Supplies:
Hexagons Crosshatch - Karen Burniston (shipping Dec 14)
Scrap of Kraft cardstock
White cardstock
Glitter Dots Peel Off Stickers - Elizabeth Craft Designs (stash)

This blog uses affiliate links whenever possible. This means, that at no cost to you, if you make a purchase through one of my affiliate links that I may receive a small commission from your purchase. I only link products that I own, love and use for my card making and not every link below is an affiliate one! 😊

Friday, 21 October 2022

Fall Explosion Card


Hello my crafty friends and welcome to Fun Fold Friday here on my blog. When I was going through my box of Fall & Thanksgiving embellishments I saw this 6 x 6" patterned paper pad by Lawn Fawn in the box. I only have two fall themed 6 x 6" pads, so I keep them both in the box. I decided to use a few more sheets and some of the smaller pieces in the pad and make an Explosion Card. 

I made one of these recently and did a tutorial on YouTube, so click HERE if you would like to see how to make these cards. 


This is another card that uses up a bunch of older items from my craft room. Other than the Happy Fall, which I bought in August - everything has been in my stash for several years! The acorns were created with an older punch from Stampin' Up.

This blog uses affiliate links whenever possible. This means, that at no cost to you, if you make a purchase through one of my affiliate links that I may receive a small commission from your purchase. I only link products that I own, love and use for my card making and not every link below is an affiliate one! 😊

Any supplies I'm unable to link are listed at the very bottom of my post.

Additional Supplies:
White cardstock
Banner punch - Stampin' Up (retired)
Acorn punch - Stampin' Up (retired)
Copic markers
Patterned paper - Fall Fling 6 x 6" (retired)

Tuesday, 4 October 2022

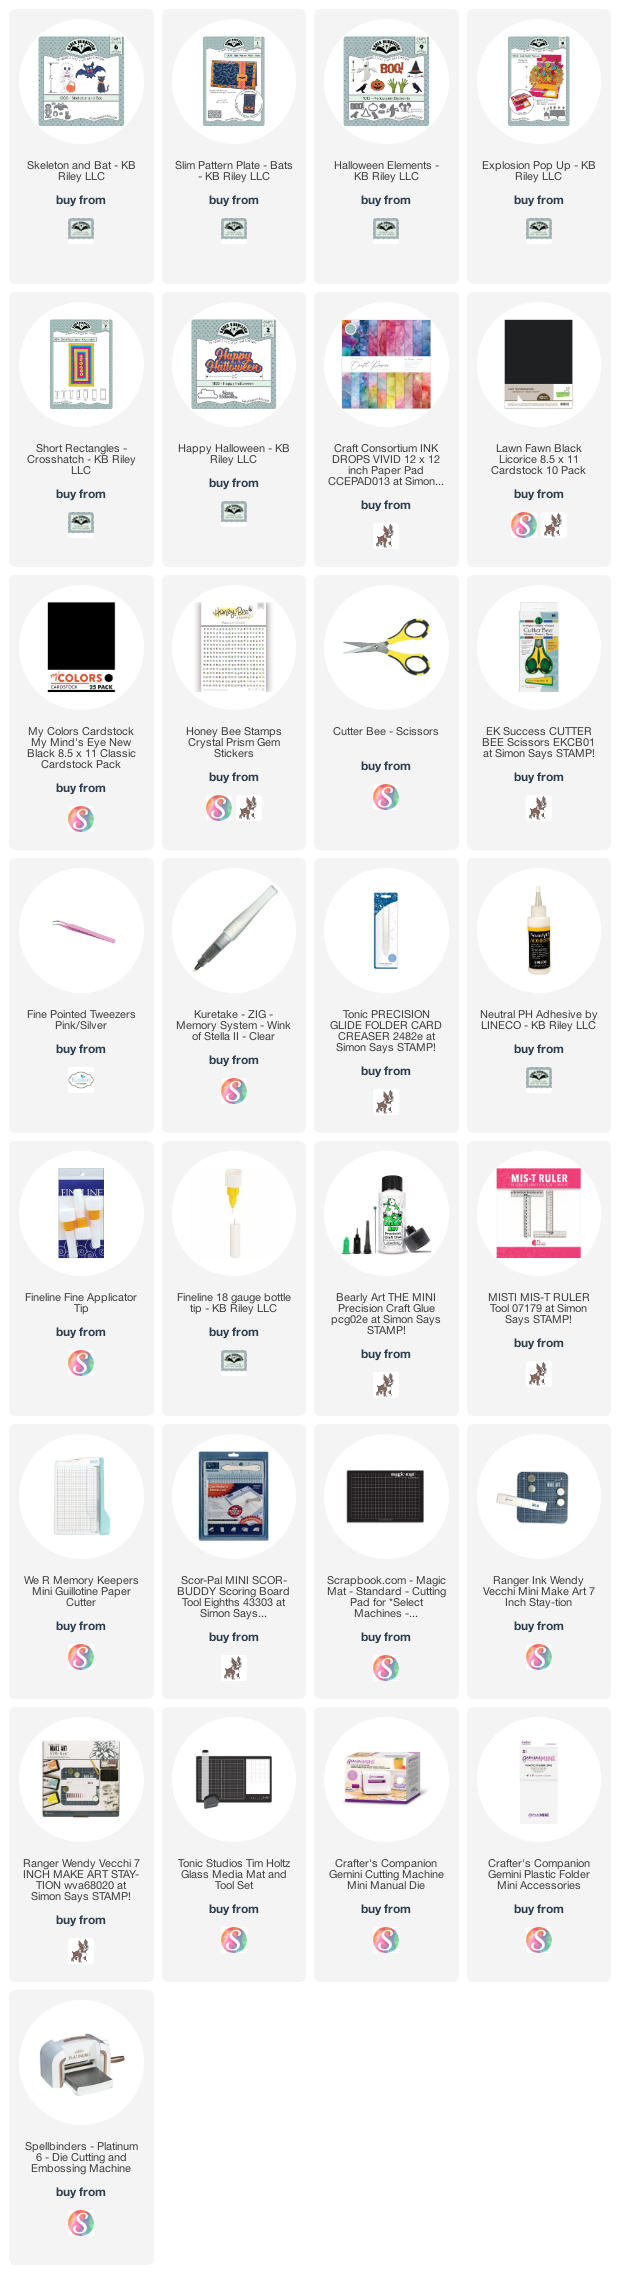
Halloween Mini Slimline Explosion Card


Hello my crafty friends and welcome to Karen Burniston's October Designer Challenge with the Theme: {"HALLOWEEN or FALL" - create a card with a Halloween or Fall theme.} I created a Mini Slimline for Halloween in rather untraditional colours.

The Slim Bat Pattern Plate was cut from black cardstock and layered over a background of rainbow packing tape that was attached to white card stock. I've said this many times before, but you need to go slowly and have lots of patience as the packing tape is thin and tends to stretch and buckle. Your end result is colourful, but not 'perfect'. You could also use patterned paper in stripes, or create a rainbow of coloured cardstock strips for your background. This one was cut with the Slim Crosshatch Rectangles, which is a die set I use constantly.

The Happy Halloween & shadow were added to the front, and also some sparkly bling on several of the bats.


Inside, I used the Explosion Pop Up and other dies by Karen Burniston - they are all linked below. The patterned paper pad is one I've had for a couple of years and I get SO much use out of it! The new Skeleton is going to be a favourite in future Halloween's as well ❤️


I added some details lines with a sparkle gel pen both inside the card and on the Happy Halloween on the card front - and my card was finished.


The rest of the Design Team is linked on the right side of my blog and I hope you will check out what they came up with for the challenge. Karen Burniston will have her post tomorrow (Wednesday) on her BLOG.

This blog uses affiliate links whenever possible. This means, that at no cost to you, if you make a purchase through one of my affiliate links that I may receive a small commission from your purchase. I only link products that I own, love and use for my card making and not every link below is an affiliate one! 😊

Any supplies I'm unable to link are listed at the very bottom of my post.

Additional Supplies:
Rainbow packing tape - Amazon.ca (several years old)
White cardstock

Friday, 26 August 2022

Sunflower Explosion Card


Hello my crafty friends and welcome to Fun Fold Friday here on my blog. I am having another play with that gorgeous sunflower patterned paper and this time I created an Explosion card AND I have a tutorial for you on YouTube:  


Lots of dimension with this type of fun fold, but it folds down nice and flat for mailing. I also like that a 6 x 6" paper fits perfectly inside a standard A2 card.

This paper was sent to me for Scrap 'n Stamp Canada's August Inspiration Hop "Sunflower Power" and I'm still creating cards with it, it's just SO pretty. If you would like to see the three cards I made for the hop, click HERE.


This blog uses affiliate links whenever possible. This means, that at no cost to you, if you make a purchase through one of my affiliate links that I may receive a small commission from your purchase. I only link products that I own, love and use for my card making and not every link below is an affiliate one! 😊

Any supplies I'm unable to link are listed at the very bottom of my post.


Additional Supplies:
White cardstock

Friday, 5 August 2022

Pop Up Baby Card


Hello my crafty friends! Today I'm sharing the baby card I made for our niece & her hubby, who had a baby girl recently 🥰.   The patterned paper is one I've had in my stash for YEARS as well as that sweet ribbon. The paper has some sparkle to it and I used a pink pearl glimmer foil for the other elements.


Since it's Fun Fold Friday on my blog, this card has a little surprise inside ... it's an explosion card! I have been making this type of explosion card for over 30 years (gasp). I would go into our kids classroom with a suitcase full of stamps & ink pads and teach these to the kids.  This card started with a 9" square of patterned paper. I think I will have to do a YouTube tutorial on this fun fold for those who haven't seen them before. Adding it to the list!

Since I also did some reverse foiling, there were areas of pink pearl foiling left on the cardstock after die cutting the circle and Congrats inside. So I pulled out an old heart punch and punched out the hearts from the leftover area. No waste and they coordinate perfectly!


I spelled out the baby's name using an alpha die set and rainbow holographic cardstock. Everything that is available is linked below. 😊 


This blog uses affiliate links whenever possible. This means, that at no cost to you, if you make a purchase through one of my affiliate links that I may receive a small commission from your purchase. I only link products that I own, love and use for my card making and not every link below is an affiliate one! 😊

Any supplies I'm unable to link are listed at the very bottom of my post.


Additional Supplies:
Card (6.5 x 5")  and envelope - Michaels
Patterned paper - Nana's Nursery Baby Girl, DCWV (old, from my stash)
Pink patterned paper inside - Provocraft? (old, from my stash)
Pink cardstock - stash
White card stock - Accent Opaque Digital Super Smooth (Amazon .ca)
Sequins - leftover from an older Paper Pumpkin kit
Hearts - retired punch from Stampin' Up
Rainbow Holographic cardstock - Hunkydory

Thursday, 26 August 2021

Back To School Explosion Card


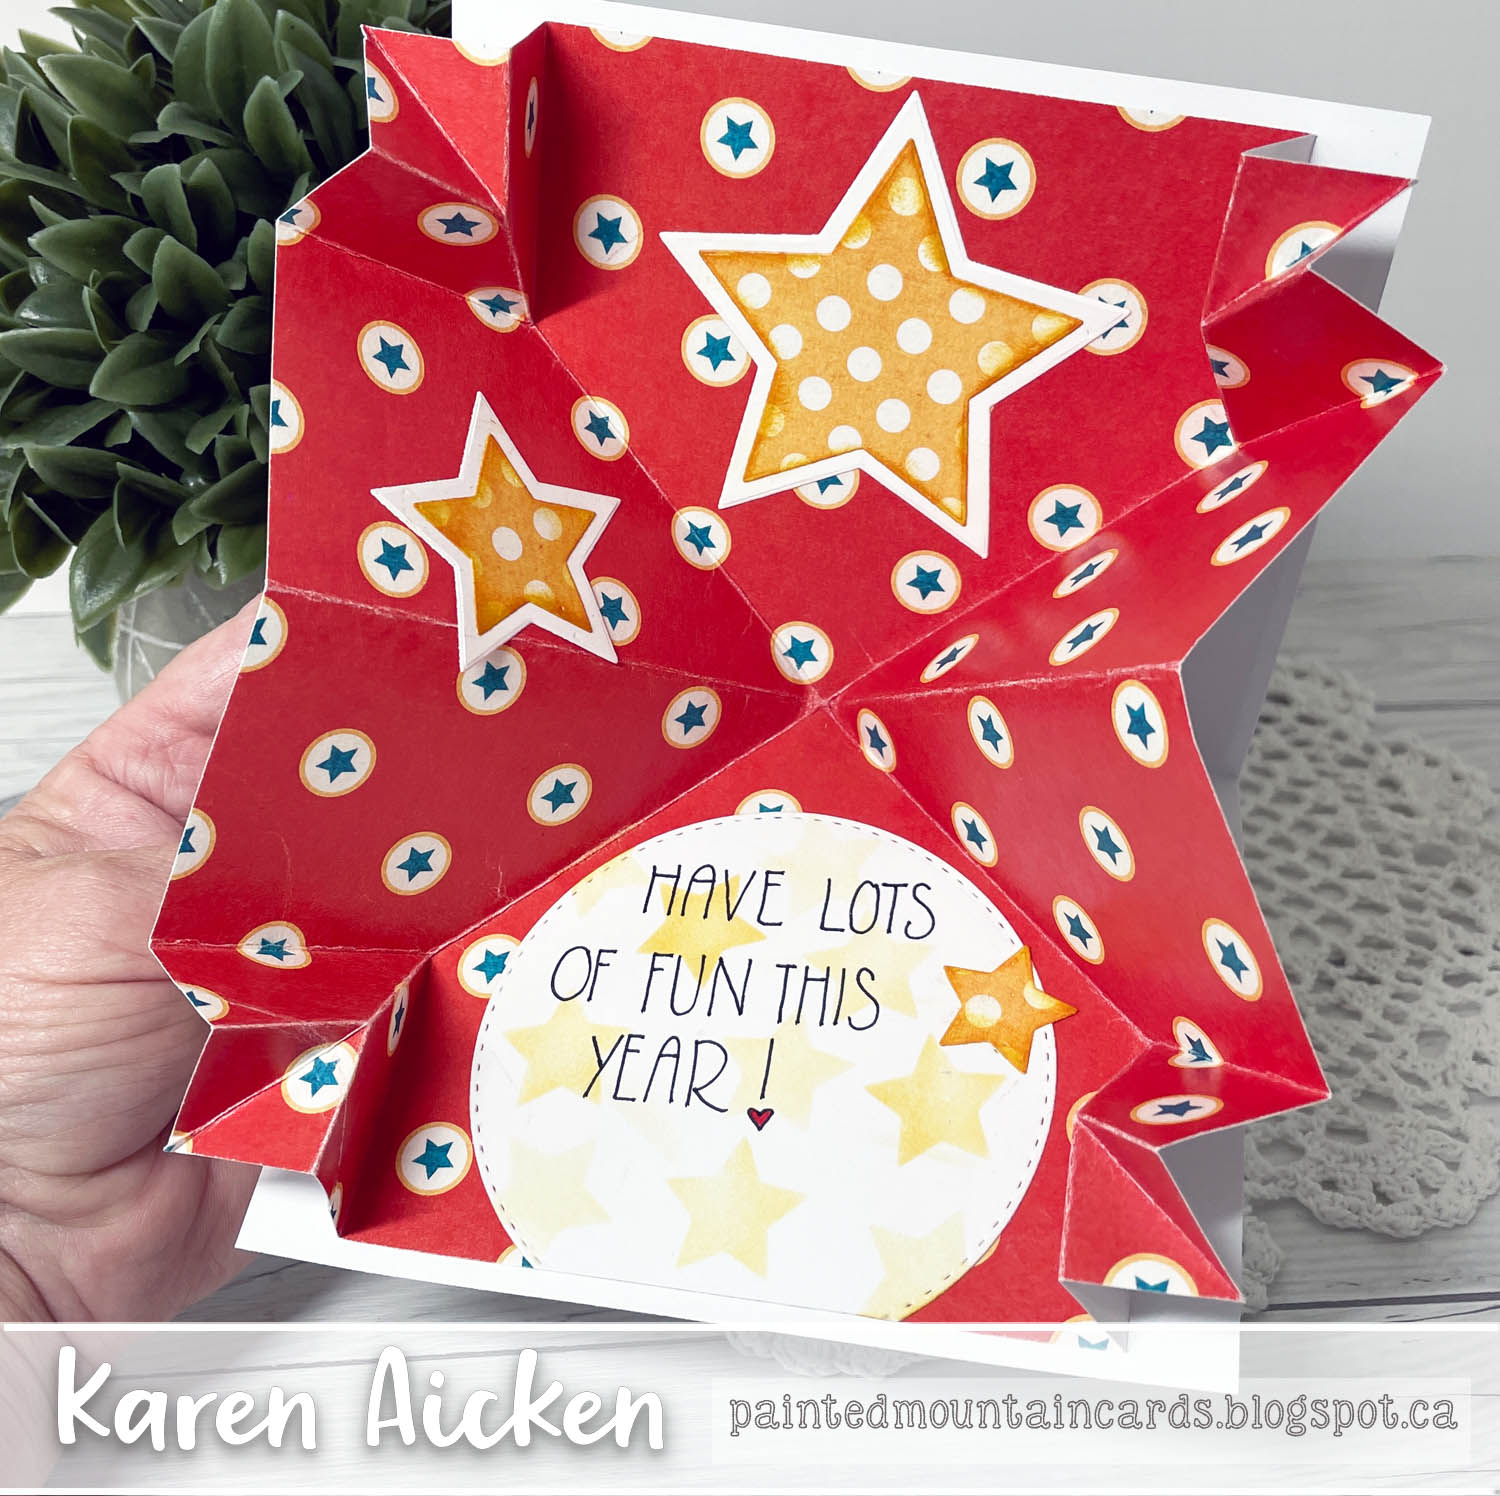
Hello!  This Explosion Card is one I sent to our Granddaughter Alma for 'Back to School'. I used some patterned paper from my stash to make the folds inside, then decorated it with die cut stars that I also used as a stencil. The sentiment circle used the Double Stitched Circles from Divinity Designs, and everything that is available is linked below for you.


These cards fold down completely flat for mailing! I have been making these cards for well over 20 years, so I don't need a tutorial to do them. I had thought about filming one to share with you, then realized there are SO many out there now that I would just choose a favourite and link it for you. I'm still nursing the tendonitis in my right arm so taking a break from so much filming and video editing is helping the healing process.


Click HERE for a tutorial!

This blog uses affiliate links whenever possible. This means, that at no cost to you, if you make a purchase through one of my affiliate links that I receive a small commission from your purchase. I only link products that I own, love and use for my card making!

Additional Supplies:
Patterned paper - School Days, Miss Kates Cuttables
Black and Red fine point markers

Thanks for stopping by