Hello! Today I'm sharing my second card with this older Paper Pumpkin kit, which is from May 2018 called "Manly Moments". It is now available as a card kit from Stampin' Up if you are interested in getting one - just contact your demonstrator! I liked the card fronts as shown in the Paper Pumpkin pamphlet so the front of this card is pretty much identical to the one I shared earlier this week. But the insides are completely different even through they both use pop up dies by Karen Burniston!
I have a walkthrough of my card on YouTube:
Inside, I used Karen Burniston's Mini Pops to create the pop up platform for my trees, and used the 'throw away' pieces from the stickers on the card front to create the mountains behind them. I do go over that in the video. I also sacrificed one of the lovely woodgrain lined envelopes, cutting strips as decorative elements for this card.

If you are interested in seeing the assembly video for the Mini Pops, you can check out Karen Burniston's video here:
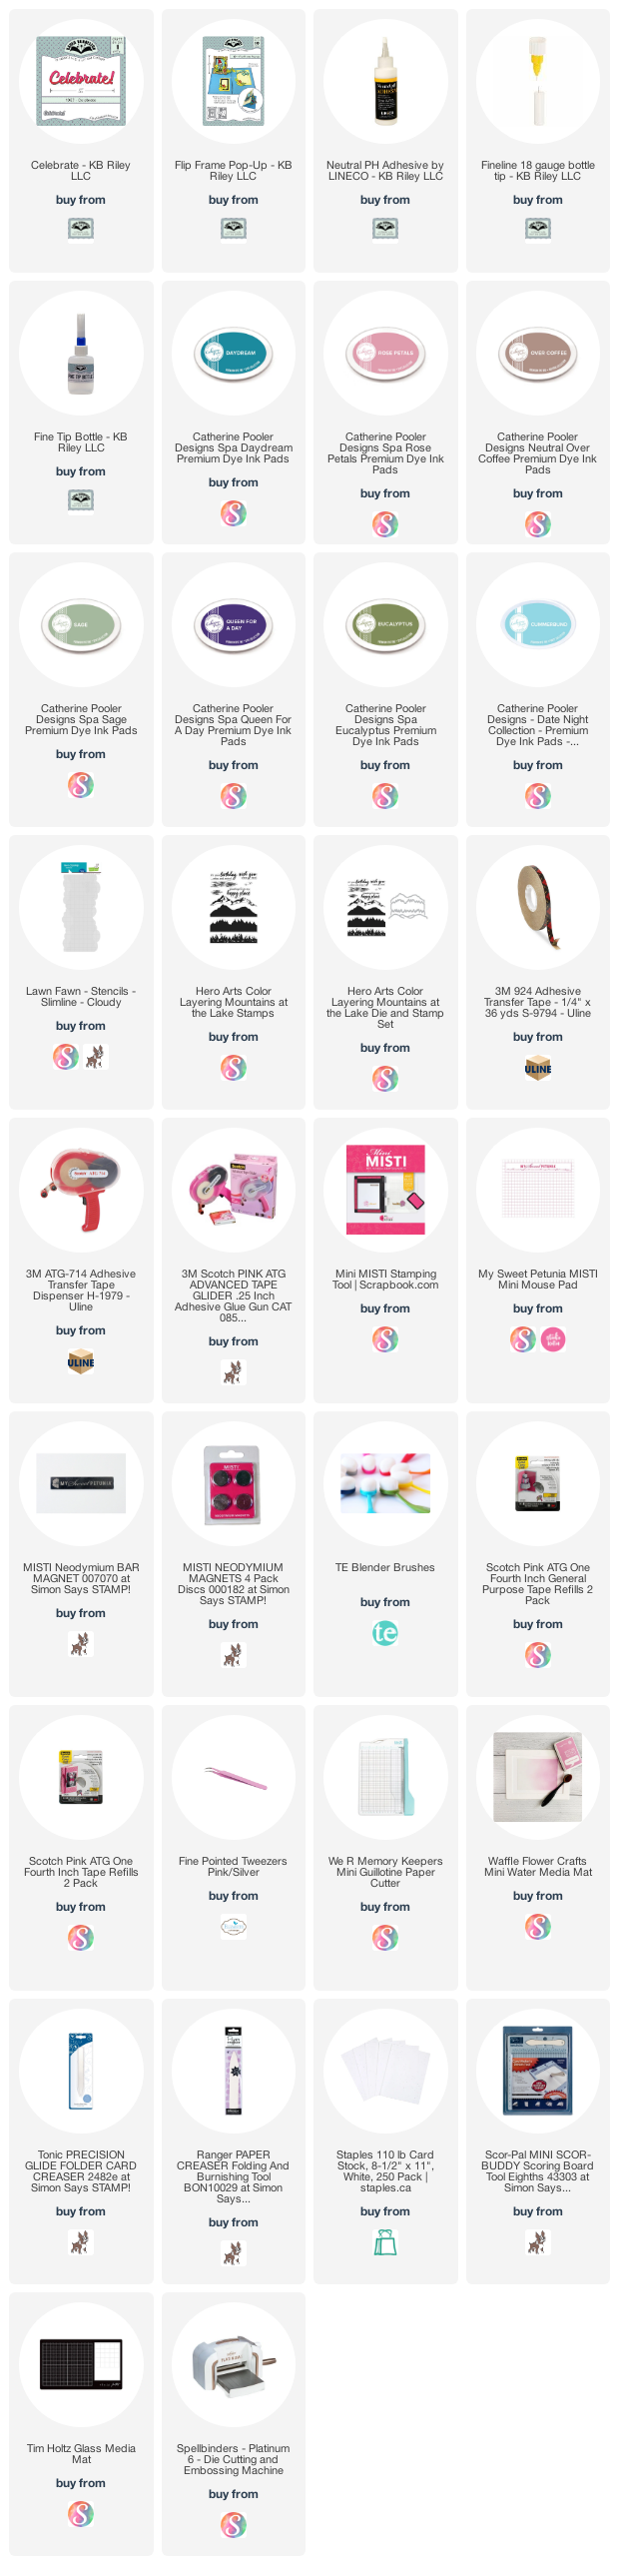
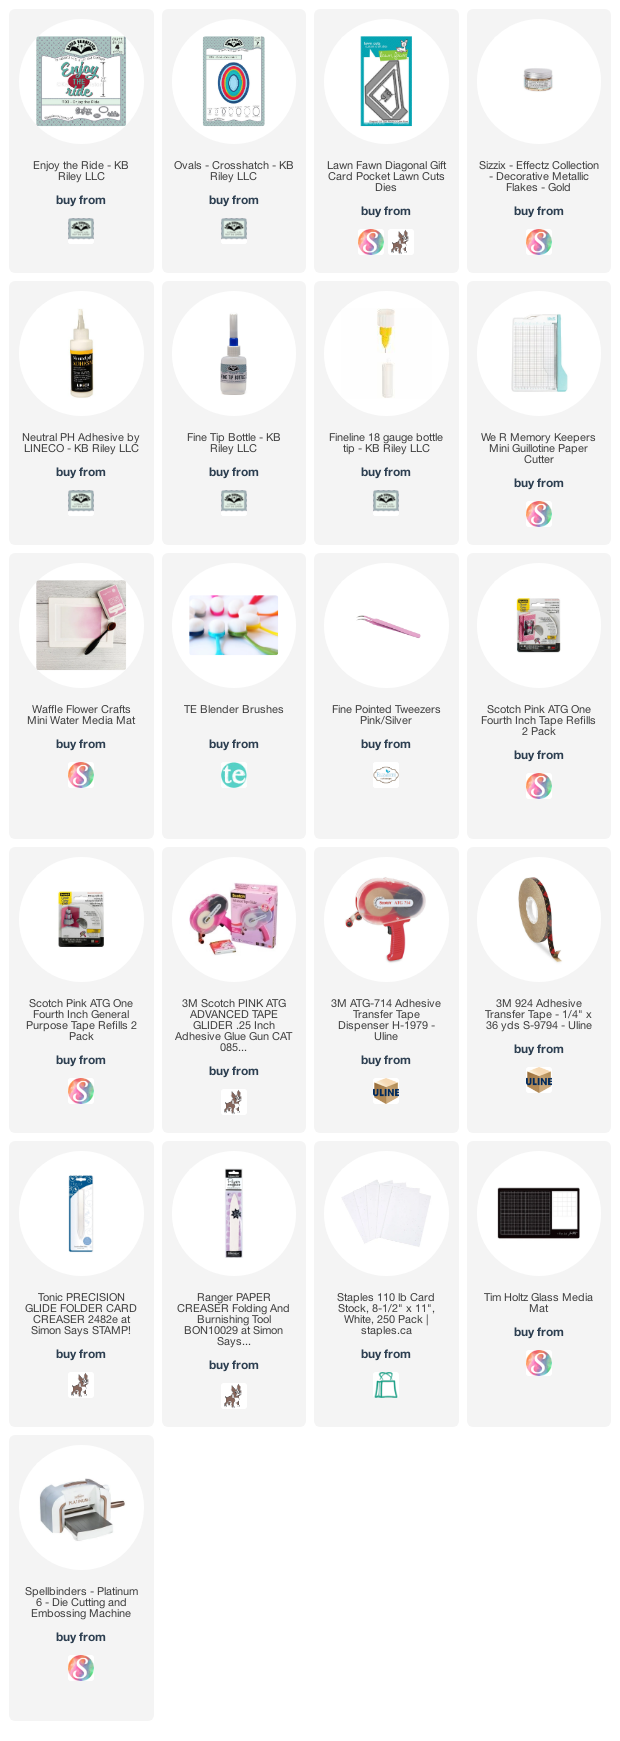
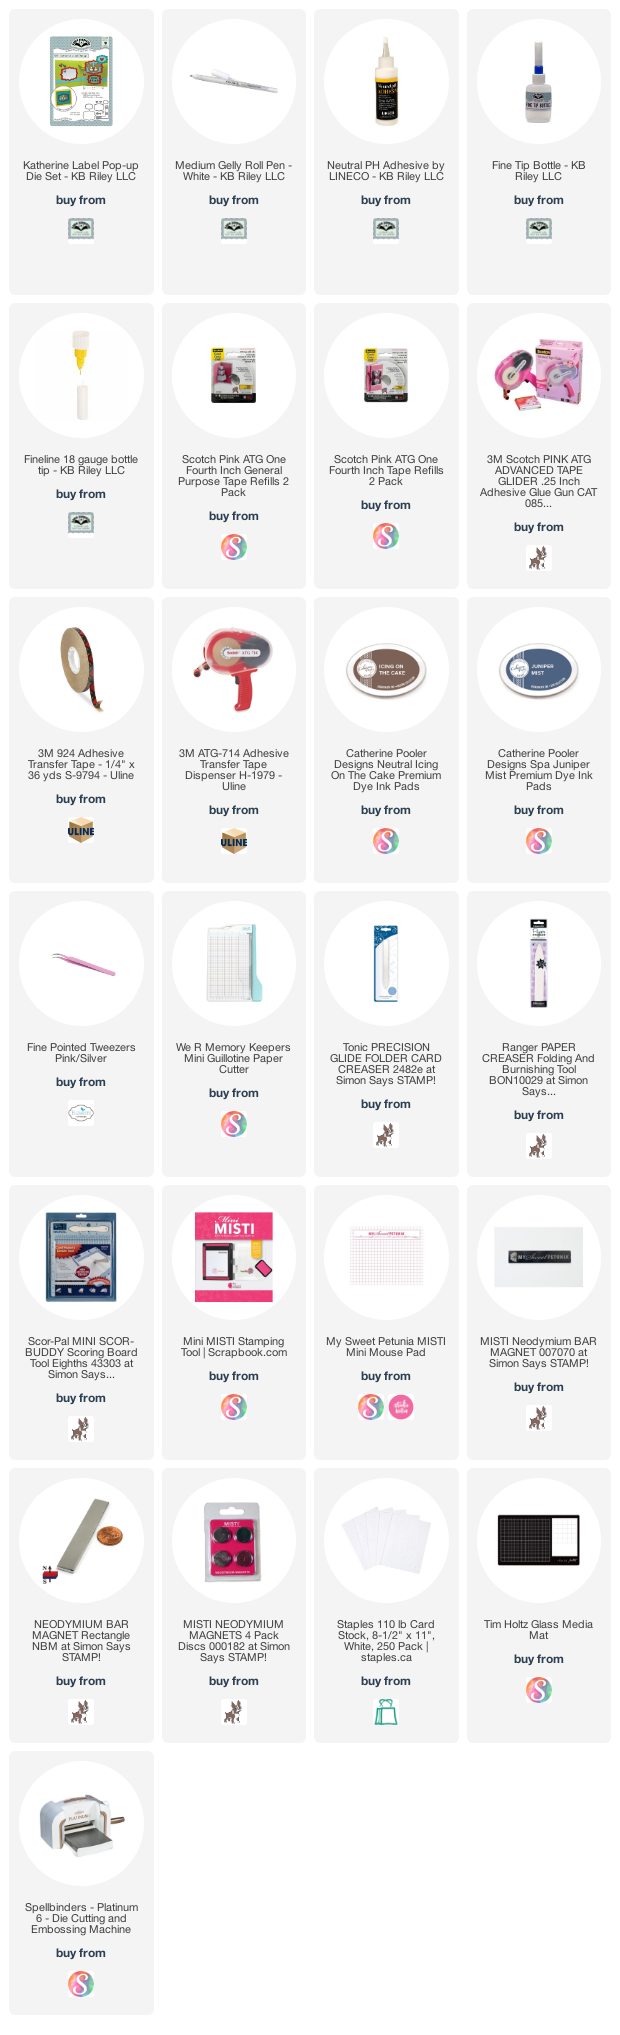
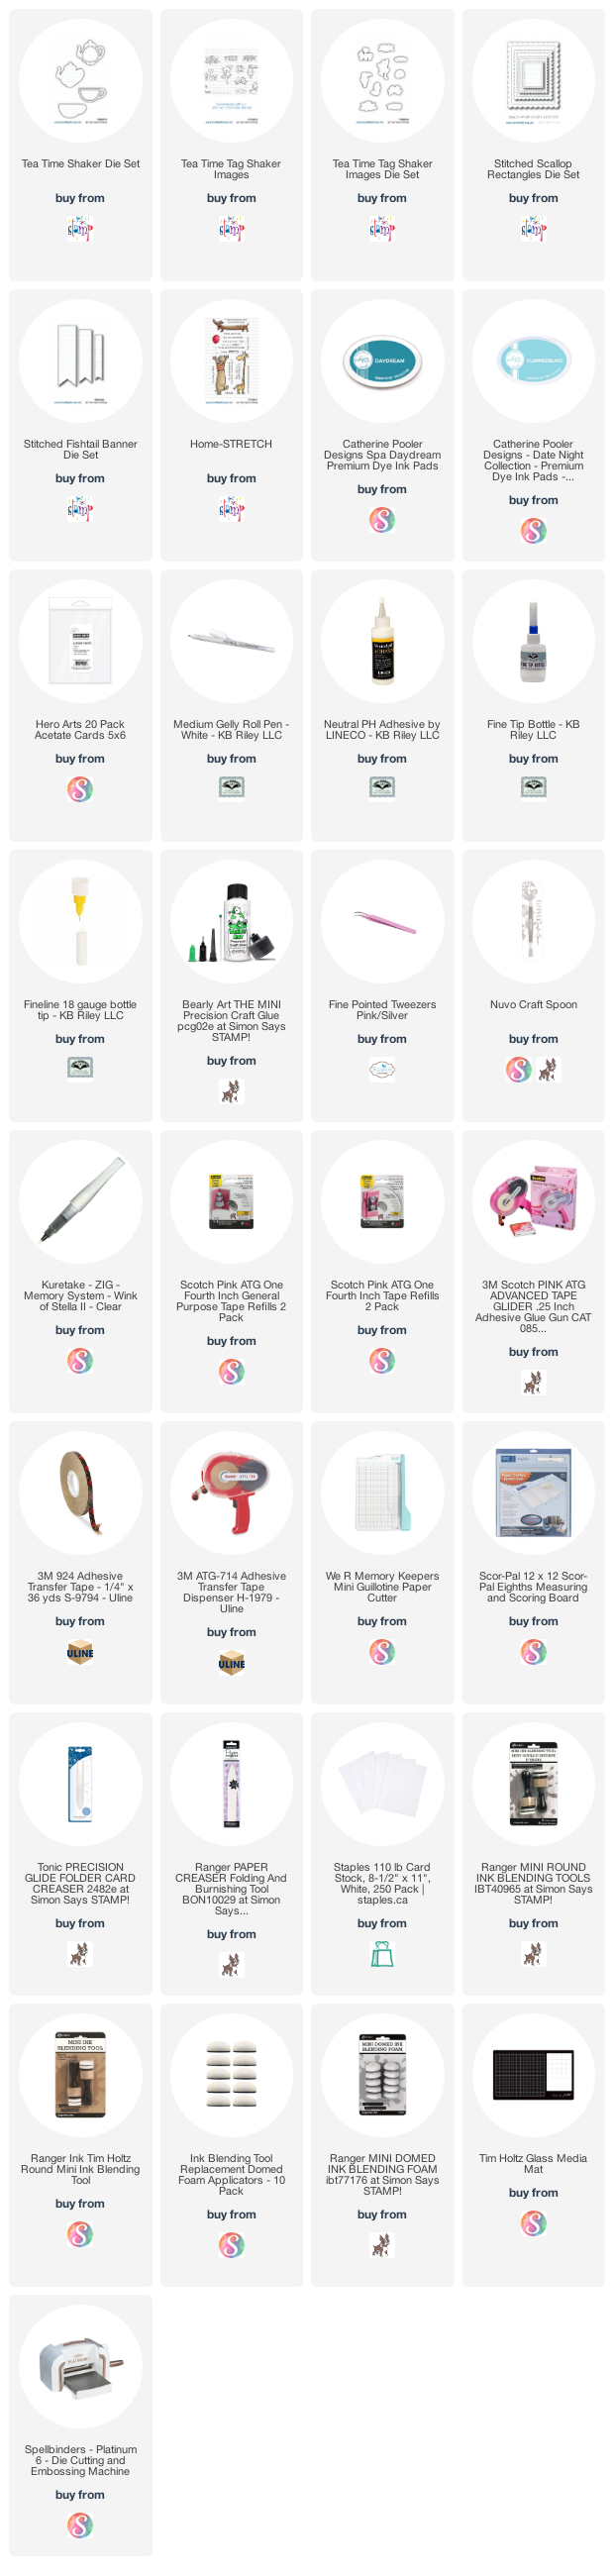
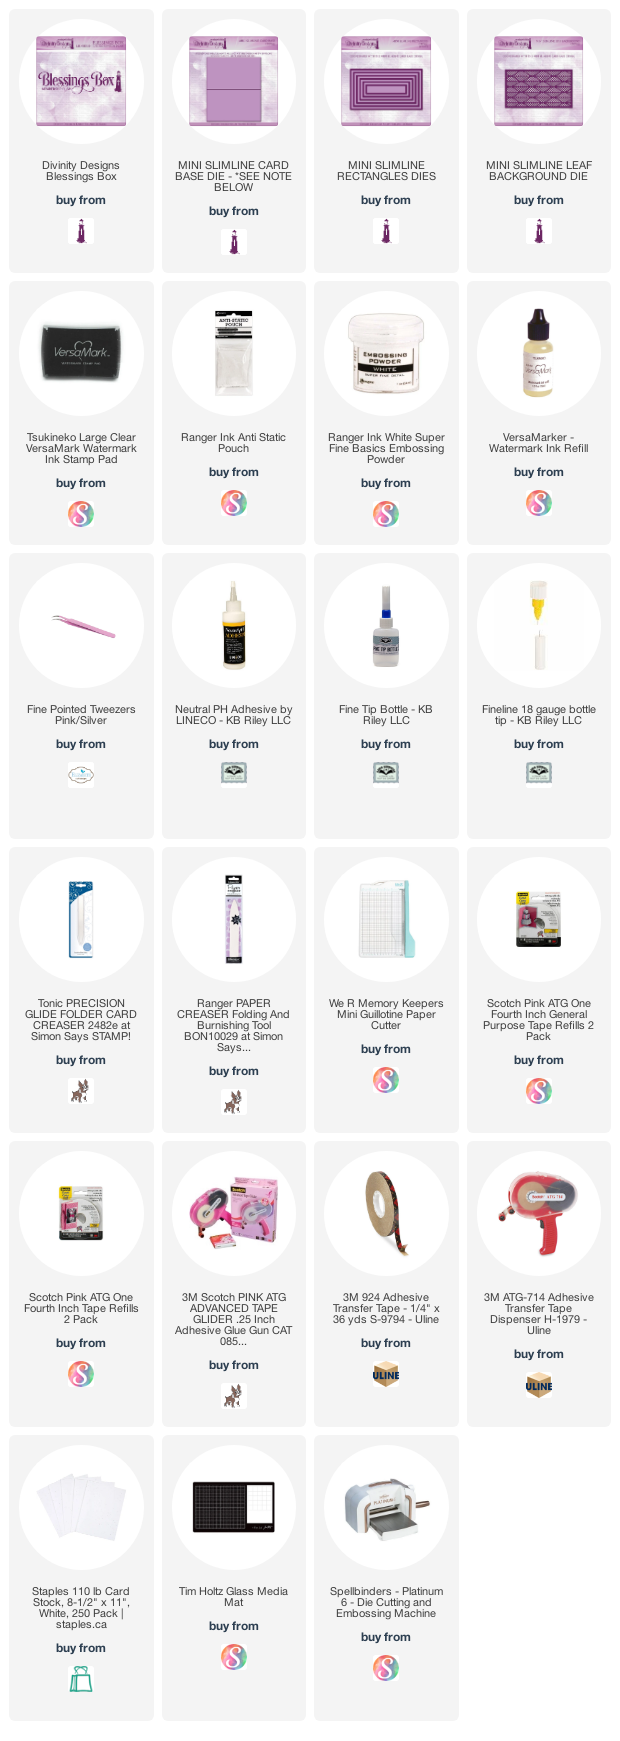
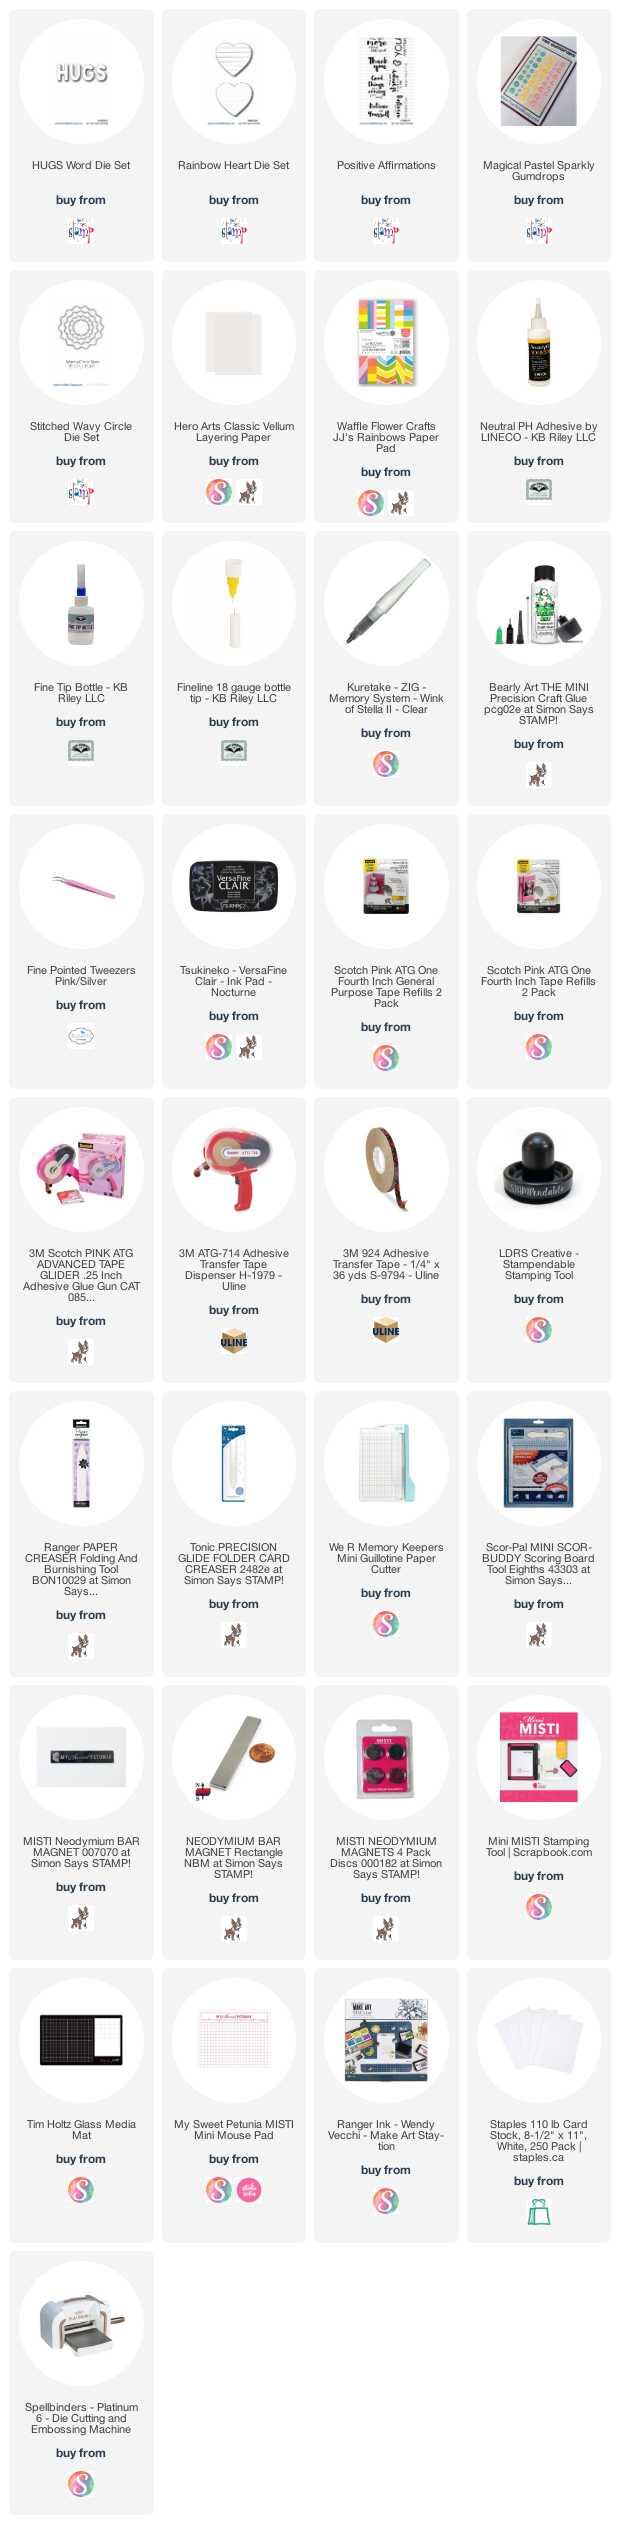
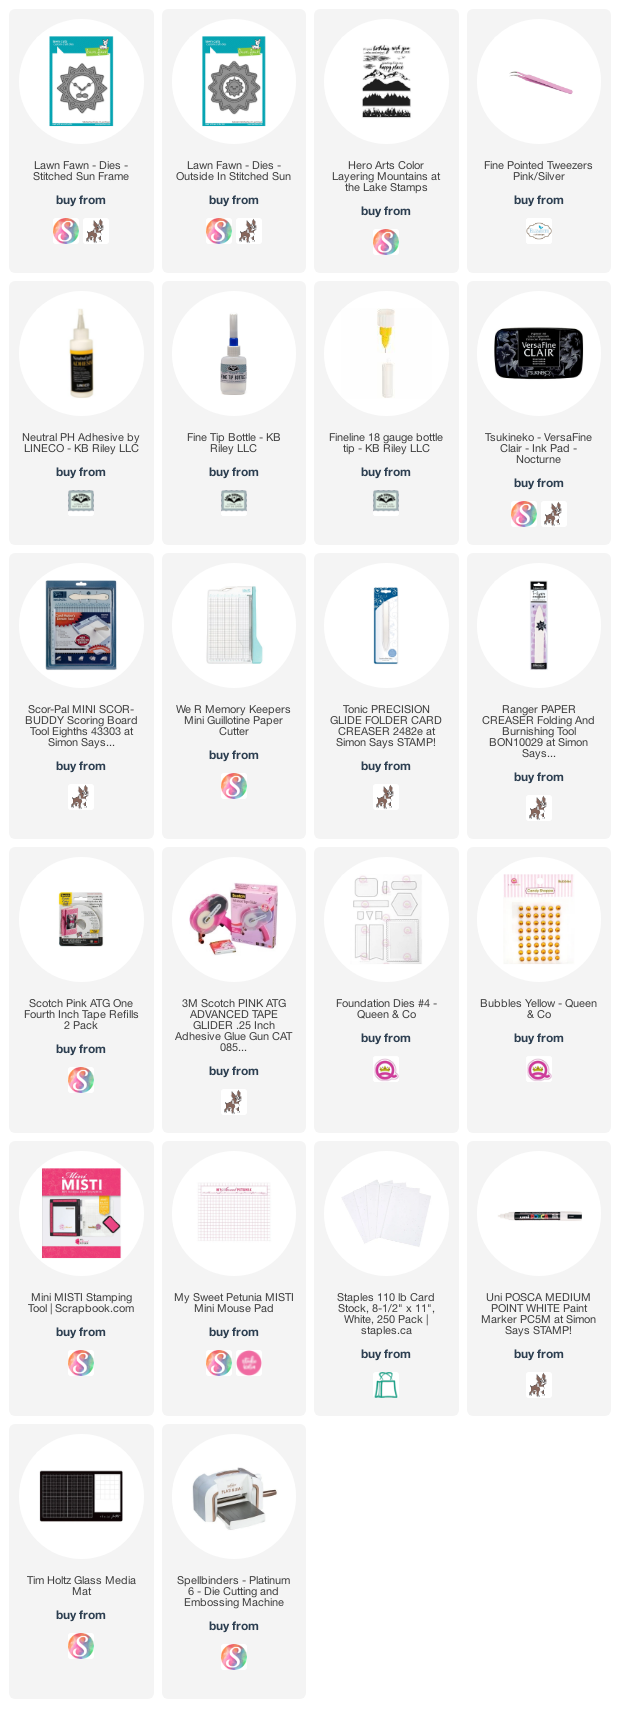
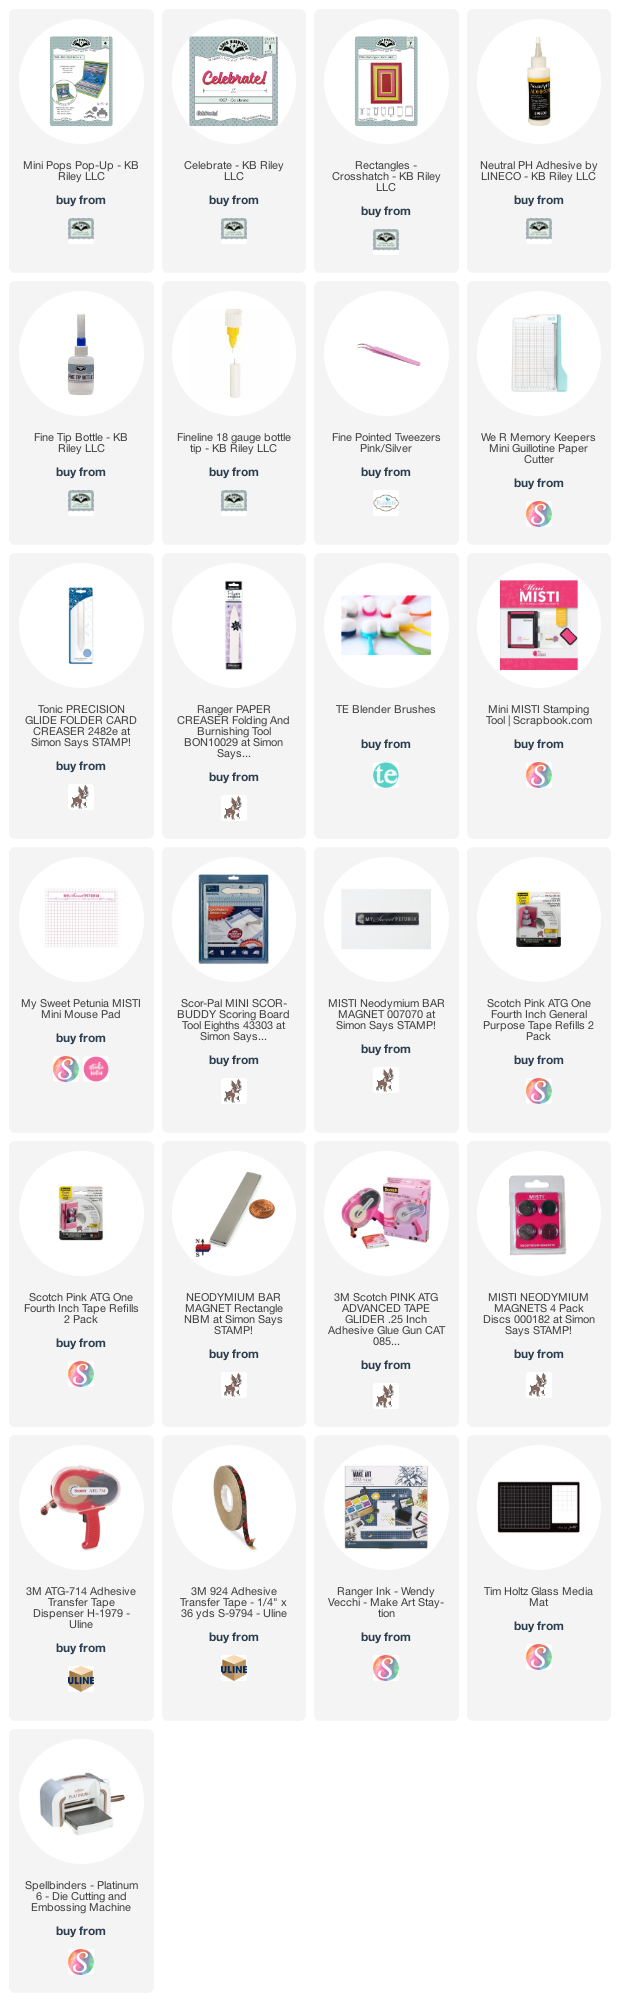
For your convenience I have linked many of the products used below. Some may be affiliate links which means if you use these links to purchase I may earn a small commission at NO extra cost to you.
May 2018 Paper Pumpkin Kit "Manly Moments" - Stampin' Up
Mar 2021 Paper Pumpkin Kit "Here's to You", (birds, long sentiment) - Stampin' Up
Sahara sand card stock - Stampin' Up
Dark green card stock
Treeline - Tim Holtz Alterations steel ruled die
Confetti card stock
In the Pines Bundle - Stampin' Up
 Thanks for stopping by