Thursday 31 January 2019

Noel Wreath Christmas Card

Hello my crafty friends

Today's share is a Christmas Card because I'll be working on holiday cards throughout the year. I took stock though, and likely won't need to make too many as I have quite a stack still in the bin. Since my Mom isn't sending cards out anymore I have all the ones I made for her in my bin as well.


The patterned paper has gold foiled bits, and I used gold foil card stock for the stitched banner. The stickers are so pretty - they are shiny and glittered.


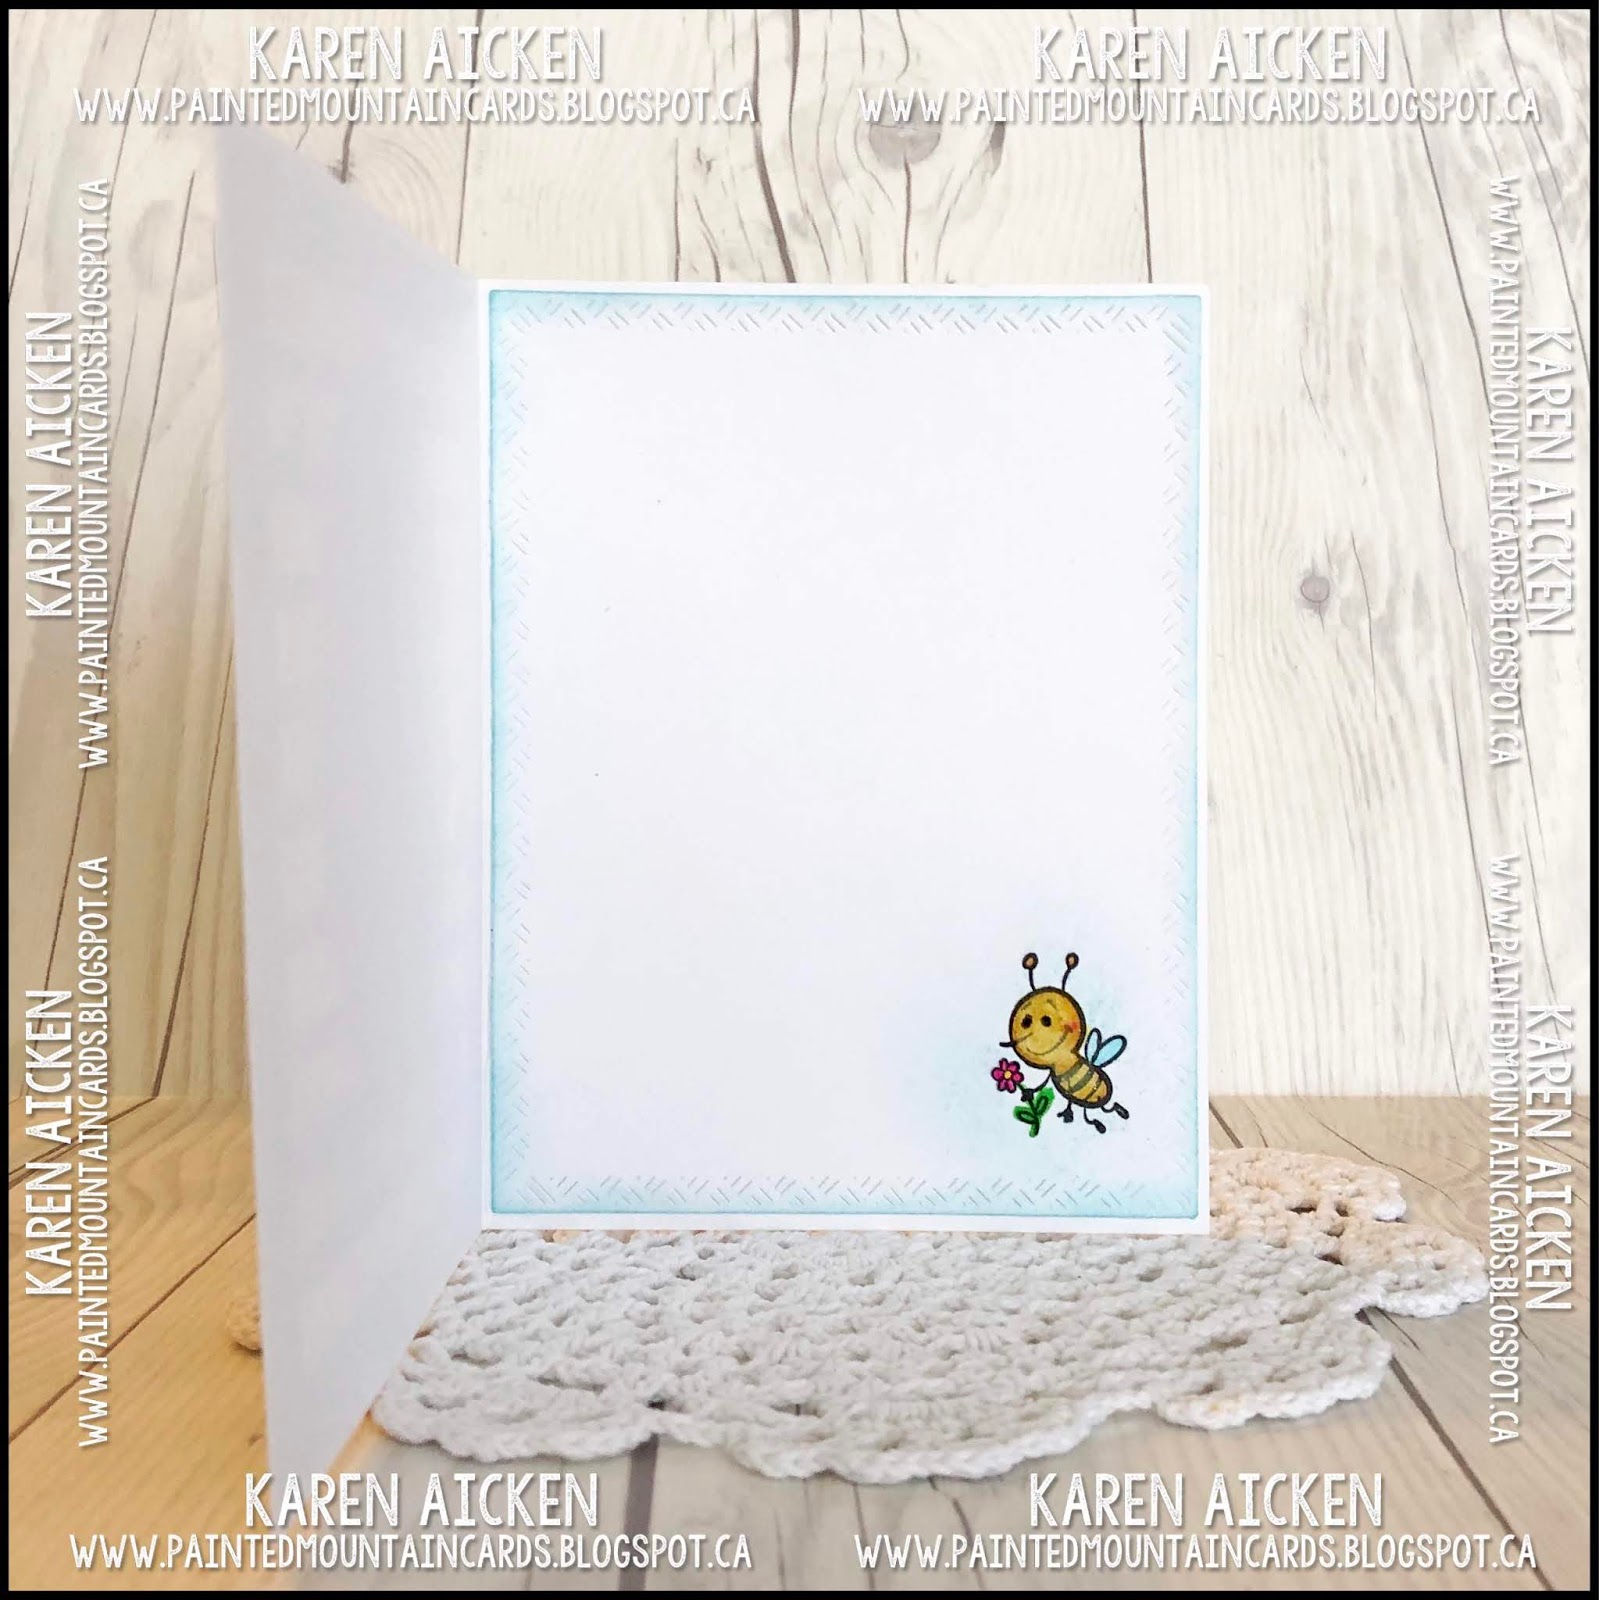
Inside I added some matted layers and more of the stickers ... and wrote our note below the Merry Christmas.


I couldn't capture the pretty glitter on the stickers in the photos, but as always you can click on a photo to enlarge it.

Supplies:
White card stock
Stickers - stash
Patterned paper - DCWV
Gold foil card stock - Stampin' Up
Stitched Fishtail banner die - MFT Stamps
Gold Sequins
Dashing Rectangle dies - Elizabeth Craft Designs

Thanks for stopping by today

Wednesday 30 January 2019

Panda Thank You

Hello my crafty friends:

Today I'm sharing a Thank You card, made with the Neat and Tangled Panda die combined with this lovely tropical patterned paper by Lynda Kanase. I picked up this paper stack last year and I really like the colours in it!


I fussy cut the leafy cut-apart from one of the sheets in the stack and stamped my greeting inside the opening. Then it was popped up near the bottom of the card.


Inside I used a Fishtail Banner die with a white stitched rectangle and a small scrap of patterned paper which left me lots of room to write our note of thanks.


Supplies:
White, blue and green card stocks
Dashing Rectangle dies - Elizabeth Craft Designs
Patterned paper - Lynda Kanase (Sizzix)
More essential sentiment stamps - MFT Stamps
Panda die - Neat & Tangled
Bakers Twine
Dot stamps - Stamps by Judith
Distress Oxide Inks
Stitched rectangle dies - Elizabeth Craft Designs
Banner die - Verve (freebie!)

Thanks for stopping by today

Tuesday 29 January 2019

Sending Hugs Challenge Card

Hello my crafty friends

I'm back with my second post today. I had a post scheduled but I also wanted to play along with Fun Friday Challenge #6 "Colours of Winter" at Your Next Stamp. You can see all the details of their challenge HERE:

I'm sending my mom a card every week or so, and that is what this card is for. When I think of the 'Colours of Winter', I think blues and white with a touch of purple. I used those colours for my card today, but amped it up with the bright pink of the heart bloom for a pop of colour. My Mom has low vision, so she needs the contrast to see the image.


For the striped panel, I cut the YNS Stitched Striped Panel Insert Die from a piece of glossy recycled packaging. I love how it catches the light when the card is turned.

I added the sentiment to the front on a stitched fishtail banner. Both the stamp and sentiment are from the latest YNS release. Even though it's a Valentine stamp set, it can be used for other occasions too!


I added that cute bee stamp inside and still had lots of room to write her a note to let her know I'm thinking of her.


Supplies:
1054 Rectangles Crosshatch - Karen Burniston
Stitched Striped Panel Insert Die - Your Next Stamp
Blue and white card stocks
1055 Ovals Crosshatch - Karen Burniston
Zig Clean Color Markers
Water Brush
Love and Hugs stamp set - Your Next Stamp
Sakura black glaze pen
Sakura white gel pen
Sequins
Stitched fishtail banner - MFT Stamps
Wink of Stella

Thanks for stopping by today

Yellow and Teal Birthday Card Trio

Hello my crafty friends

Today's share is a trio of Birthday Cards that I am donating to my Mom's nursing home.


I adore this patterned paper from Stampin' Up, but I've had it for years and I really wanted to finally use it up.


I used an MFT Blueprints die set for the first two cards...


... and the inside of all three are identical.


I get SO much use out of Karen Burniston's bold Happy Birthday die. It cuts as a single piece and the wider font makes it easy peasy to adhere to your project.


This final card uses one of my favourite sketches from 2018 - C4C452.


They turned out bright and cheery and I know the residents will enjoy them.

Supplies:
White, yellow and teal card stocks
1030 Happy Birthday - Karen Burniston
Balloon dies - Lawn Fawn
Balloon string dies - Papertrey Ink
Sakura white gel pen
Stamp inside - Avery Elle
Blueprints #29 - MFT Stamps

Thanks for stopping by today

Monday 28 January 2019

Llama Birthday Card Trio

Hello my crafty friends

When the Stamps of Life came out with this cute Llama stamp and die set, I couldn't wait to order it. I have no idea why - it's like flamingoes. One day I'm going along not thinking about flamingoes and the next day I want to make flamingo cards all the time. Ha - I hadn't thought about Llama cards before seeing this set. Now I want to make lots of Llama cards!


I was able to use up a whole bunch of small pieces and scraps from this patterned paper stack for my cards today and fussy cut the banners from another sheet in the stack. Here is the first card:


The second card uses the Llama dies as well ...


... and at the third card uses the Llama stamp and the outline die. I think it's just SO fun!


All the cards are the same inside, and I'll be donating these to my Mom's nursing home.


Supplies:
Llama stamps and dies - the Stamps of Life
Patterned paper - DCWV
White, black and red card stocks
Copic markers
Sakura black glaze pen
Sakura white gel pen
Dashing rectangle dies - Elizabeth Craft Designs
Water Colour Pencils
Word Bubble - Stampin' Up
Happy Birthday and Hooray - MFT Stamps
Banner dies - Umbrella Crafts
MISTI - My Sweet Petunia

Thanks for stopping by today

Sunday 27 January 2019

Oval Frame Pop-Up Anniversary Card

Hello my crafty friends

Today's share is an Anniversary card for our middle daughter and hubby. I used some of Karen Burniston's January 2019 release including the Oval Frame Pop-Up die set. I just LOVE the little heart tree that is included!


The Rockin' Rectangle Pop-Up comes with a die that cuts four sequins, so I cut them from white card stock here and gave them some shimmer with a Wink of Stella pen. It is so easy to adhere card stock sequins - just regular adhesive works and they don't pop off in the mail!


Here is the inside ... the Oval Frame Pop-Up has a ton of dimension to it. It's also really REALLY hard to photograph.


I used the largest heart from the new Heart Pivot Panels to die cut a heart shaped window out of each of the end ovals, then backed them with a smaller oval of red card stock with foam tape. I like the shadow box look this gave those panels.


The fall away hearts have a nice 'press dot' edge, so I added them below the words on the lower centre ovals.


The tiny heart is the fall away heart is actually the centre of the heart glasses from the new Tiny Accessories Two. It makes such a sweet accent. And I adore the scalloped edge with 'press dots' on this rectangle from the Rockin' Rectangle so used it again here fo the greeting.


Even with all this dimension, the card folds completely flat for mailing! The new release is available on the WEBSITE for pre-order now. 

Supplies:
Red, white, kraft, brown and black card stocks
Patterned paper - Recollections
1079 Oval Frames Pop-Up - Karen Burniston - available for PRE-ORDER
1088 Heart Pivot Panel (heart) - Karen Burniston - available for PRE-ORDER
Sakura white gel pen
1089 Rockin' Rectangle (rectangles and sequins) - Karen Burniston - available for PRE-ORDER
1060 Word Set 7 Autumn (happy) - Karen Burniston
Wink of Stella
Seam binding

Card size - 4-1/2 x 6"


Thanks for stopping by today

Saturday 26 January 2019

C4C468 Pivoting Owl Birthday Card

Hello crafty friends

It's Saturday and that means a new challenge at the Crazy4Challenges Blog. I am the hostess for January and our Guest Designer is my friend and Design Teammate Kelly Booth


This week my challenge is:  Celebrate! January always feels so long, but it’s coming to a close. Make a card to Celebrate! You can make a birthday card, a card to celebrate an upcoming holiday, a card for someone who has a new job, going on a vacation etc. Let’s Celebrate!

I chose to make a  fun Birthday Card using a bunch of dies by Karen Burniston. It turned out SO cute!  I started with the Circle Charm Pop-Up, and added an owl from the NEW Feathered Animals set. Of course he had to be wearing a party hat which is from the Birthday Charms. I also combined two different word set dies for the 'hello' and the fish tail banner.  Karen Burniston's new release will be shipping at the end of the month, and is available for PRE-ORDER right now! I'll add a link at the bottom of my post.


I snipped away the pom pom at the top and moved it down the hat slightly, to avoid it catching on the pivoting hinge. Alternatively, the hat could be moved down on the owl's head but I wanted him to wear his cheery red spectacles so I liked the hat where I placed it.


When you open the card, you see that the owl from the front pivots to the inside, and reveals three long necked birds and the Happy Birthday greeting. I also added two borders using the NEW Border Blends - Party. I kept the negative pieces to use on a different project as they are decorated with press dots. These Border Blends are going to be lots of fun - borders often add the perfect finishing touch, bringing colour and dimension with very little effort.


I used the ostrich/turkey head from the die set, which I just adore. There is something about the shape of this head that appeals to me and makes me smile. I've made a Valentine Ostrich and a Peacock so far, and I'm looking forward to making 'proper' ostriches for some fun cards in the near future. There is also a new set of Tiny Accessories coming tomorrow which is going to be perfect for making all kinds of cards. I'm partial to the cape and mask, the layered hearts and these fun heart shaped spectacles which I used here.


Finally, for those of you who like to pin 'fronts and insides' to your Pinterest boards - here you go!


Check out the C4C blog to see how the Crazies have been inspired by the challenge. We'd  love to see your take on it, so be sure to stop by the Crazy 4 Challenges blog and link up your creations. If you are uploading to an online gallery, please use the keyword C4C468.

Check out the NEW RELEASE, which is available for pre-order right now on the WEBSITE!

Supplies:
Patterned paper - Echo Park
1054 Rectangles Crosshatch - Karen Burniston
1046 Circle Charm Pop-Up - Karen Burniston
Aqua, white, red, yellow, kraft and black card stocks
1090 Border Blends Party - Karen Burniston 
1004 Birthday Charms - Karen Burniston
1075 Feathered Animalsblack pen
1003 Word Set 2 Birthday - Karen Burniston
1076 Tiny Accessories 2 - Karen Burniston
1078 Easter Charms (trimmed bow)  - Karen Burniston
Sakura white gel pen
1034 Word Set 5 Royalty (Banner) - Karen Burniston
1052 Word Set 6 Summer (Hello) - Karen Burniston

Thanks for stopping by today

Friday 25 January 2019

'Hey You' Cactus Card

Hello my crafty friends

I have found a new-to-me challenge blog called 'The Male Room' and since I enjoy making masculine cards I wanted to play along again this week. The challenge is 'NATURE' - another great reason to play along as I love nature images etc. You can find all the details HERE.


I own a couple of Concord and 9th's Turnabout stamps, and when I saw this cactus/succulent themed one I ordered it as soon as it was available. I also purchased the coordinating dies which I don't usually do with those stamps. But I love anything Southwest themed, so of course these appealed to me. They will make great masculine cards as you can see here.


Honestly, the first three panels I stamped were a hot mess. I am not great at choosing colours that work together - I didn't know this until I started using the Turnabout Stamps! And I finally realized I didn't have the stamp lined up correctly on the door of my MISTI so that was the biggest hurdle. A little shift and ... ta-da. This one is going to be FUN!


I used the leftover stamped strip inside the card along with one of the negative pieces of Karen Burniston's new Border Blends. This die set is part of the new release, which is available for PRE-ORDER right now on the website


I'm putting this card in the stash, as I can use it for a Thank You, or Thinking of You or even a Birthday Card if I need to. There is lots of room to write on the white panel.

Supplies:
To The Point Turnabout Stamps and dies - Concord & 9th
MISTI - My Sweet Petunia
White, kraft and green card stocks
Fishtail banner die - MFT Stamps
Hey you stamp - MFT Stamps
1090 Border Blends, Argyle - Karen Burniston AVAILABLE FOR PRE-ORDER
Rounded Rectangle Infinity dies - Hero Arts

Thanks for stopping by today

Thursday 24 January 2019

Valentine Ostrich Pop-Up Card

Hello my crafty friends

Today's share is a Valentine card made using the BRAND NEW Rockin' Rectangle Pop-Up. You can add a window or not - your choice, and as always with these dies you can choose the size of your card and where on the card you want to place your pop-Up. I really like windows on my cards so did choose to add one for my card share today.


See the sequins? Well that is a die that's included with the Rockin' Rectangle die set and they cut four at a time. Here I die cut them from a small scrap of black glossy card stock which catches the light just like real sequins do. But card stock sequins are much easier to adhere to your project than the plastic ones!


Below is the card as it is opening ...


... and fully open. The Rockin' Rectangle piece rocks up and out to the side - it's such a cool pop-up mechanism and completely generic. You are going to be seeing this one used a LOT, if the design team reaction is any reaction then people are going to love using this die set.


The 'love you' is from the new Word Set 9 Love. It cuts as a single piece so it's easy to adhere to your projects. Here I cut it from both aqua and black and offset the black one for a shadow effect.


This ostrich - he's seriously cute. Makes me grin every time I make one. This fella is holding some fussy cut Valentines.


Here is a quick peek at the rocking mechanism ... looks complicated but the assembly is quite easy. Remember this is a Karen Burniston die and she does all the thinking for you. In addition, she has a full assembly video on the product page and her YouTube channel if you are ever stuck.


Finally, for those who like to pin card fronts and insides together - here you go!


Supplies:
Pink, black, aqua, red and white card stocks
Patterned paper - Doodlebug Designs
1089 Rockin' Rectangle - Karen Burniston
Acetate
1080 Woven Basket Box Card (grass) - Karen Burniston 
1075 Feathered Animals - Karen Burniston 
1054 Rectangles Crosshatch - Karen Burniston
1083 Word Set 9 Love - Karen Burniston 
1076 Tiny Accessories 2 - Karen Burniston 
Black glossy card stock - Stampin' Up
Black marker
Sakura white gel pen


Thanks for stopping by today

Wednesday 23 January 2019

Minion Shaker Birthday Card

Good morning friends

I had a lot of fun making this Birthday card for our nephew's son. I knew I wanted to make a shaker card, because two year olds seem to love shaker cards. But I also wanted to use the Minion stamp so I combined the star shaker with an Action Wobble for a fun action card.


I love Minions! This stamp is just happy, and even more happy when it bobs and wobbles around on the card front.


Then there is the shaker part. I also love making shaker cards these days! For this one I cut the star opening out of the card front, and added the white frame and some gel pen accents.


When the card is opened, you see the star shaped window in the card front and that the shaker is adhered to the inside of the card.


Love Love LOVE these shaker pouches by MFT as well. They just make creating Shaker Cards an absolute breeze.


Supplies:
Minion stamp - Crackerbox palace
Alcohol markers
Star window and frame dies - MFT Stamps
Star shaker pouch - MFT Stamps
Sequins
Blue, White and yellow card stocks
White embossing powder
Action Wobble
Sakura white gel pen
Happy Birthday and Yay stamps - MFT Stamps
Dashing Rectangle its - MFT Stamps
Fine point markers

Thanks for stopping by today