Sunday 31 January 2021

Daisy Pop Up Slimline Card

Hello! Today I'm sharing a Slimline card that I made to send out for Happy Mail. I have a walkthrough of my card on YouTube as well:

After die cutting the View From My Window Slimline die from patterned paper, I added the semi-circles back into the openings but in different spots than they fell out of. I like that this die cuts the piercing marks on both sides of the cut line.


The daisy's were stamped on white card stock then punched out with the coordinating punch and I used the leaf from the Daisy die set by Elizabeth Craft Designs. Those were cut from blue mirrored card stock and I added some sequins to continue the shimmer & shine.

Inside I made a simple box pop up. I'm hoping to have a tutorial for you next month.


Another daisy sits on the pop up box, and I stamped the stem from the stamp set right on the card base.


One more look ...


Supplies:
View From My Window Slimline die - Crafty Meraki (designed by Candice Fisher)
Daisy Lane Stamps - Stampin' Up
Large Daisy Punch -by today Stampin' Up
Various card stocks
Patterned paper - Moonflower Magic, Craftsmart
Shimmer Spray
Blue mirror card stock - Tonic Studios
Daisy (daisy leaf die) - Elizabeth Craft Designs
Tailored Tag punch - Stampin' Up
Thinking of you - A Touch Of Ink, Stampin' Up
Tasteful Label dies - Stampin' Up
Taylored Expressions Blending Brushes
Sequins
Card size - 3.5 x 8.5", fits in a #10 Business Envelope

Thanks for stopping by today

Saturday 30 January 2021

Love Shaker Tag


Hello! Today I'm sharing my project for the Crafty Meraki Instagram Hop celebrating the new release, called Meraki Hugs. Since not everyone is on Instagram though, I'm also doing this blog post! 

I really like both the Love Slimline Tag and the Celebrate Slimline Tags and I have a lot of ideas for them. This was a fun opportunity to use one of my ideas - to make a shaker tag and since it's coming up on Valentine's Day I chose the Love Slimline tag to work with.


Cutting the Love Slimline Tag from white card stock allows the bright & fun 'love heart' shaker filler to really show up! I am so excited about this shaker filler - I found a Canadian seller on Etsy that has some really fun bits. 

I will link her shop in the Supply list below, if you are in Canada and looking for some fun shapes for your shaker cards. If you shop with her, please let her know I sent you as it's always good for small businesses to know where their customers are coming from.


There is lots of room on the back of the tag to write a note if I choose to. 


If you are on Instagram, you can find me HERE and the Crafty Meraki Instagram Hop starts at 11am EST. There is a chance to win a $50 e-card to the Crafty Meraki shop!

"Crafty Meraki is a tribe of women who are all creators but more importantly, love helping others in any way we can! 

Meraki (may-rah-kee) a verb, or adverb, a Modern Greek word, derived from the Turkish “Merak” (Labor of love, to do something with pleasure), is applied to tasks, usually, creative or artistic tasks, but can be applied to any task at all. Meraki means to do something with passion, with absolute devotion, with undivided attention.

Crafty Meraki was born out of a vision to help creators do what they love doing the most- to create!"


Supplies:
Love Slimline Tag Die - Crafty Meraki
Acetate
Word hearts - Mommy Panda Supplies, Etsy
Various shaker filler - stash
Heavyweight card stock
Seam binding
Sequins
Silver cording

Thanks for stopping by today

Friday 29 January 2021

Sending Hugs Slimline Card

Hello! Today's card uses more of that pretty patterned I received as a RAK (Random Act of Kindness) from Marilyn W back in November. I am enjoying USING the paper and not leaving it sitting on a shelf.

I had used this wreath die on a holiday card last month and mentioned that I really didn't use it much since it was too big for a Slimline card and almost too big for even an A2 card. But since I had it out anyhow, I had this idea to just use partial wreath's on a Slimline instead of the full wreath and this is what I came up with!


In the video of that Christmas Wreath Trifold Card (click HERE to see that card) I mentioned that I had got the wreath out as I had been eyeing the wreath die set from Stampin' Up but knew that I had this die and didn't use it very much and wondered if I really NEEDED another wreath die. Well, I caved and bought that set and now that I have used this older one a couple of time I am ready to play with the new set ... guilt free. 😉

I am trying really hard not to just 'collect' Slimline dies - but this one from Rubbernecker has such a nice edge detail I did order it and I'm really glad I did. It's just lovely! I die cut the ECD wreath twice from the dark teal card stock and added one to each edge of the Slimline card, snipping off the parts that overhung the edges.


Here is a peek at the inside:


I added just a touch of light stencilling to the inside and there was lots of room to write my message when I mailed this card.

Supplies:
Wreath Die - Elizabeth Craft Designs
Patterned paper - Eucalyptus, Paper Studio 
Card stocks - stash
Slimline Teardrop die - Rubbernecker
Shimmer Spray
Stencil - Leaf Prints Four, Slimline - Stamplorations
Sakura gold and white gel pens
Gold foil card stock - Stampin' Up
1/8" and 1/2" Quick Strips dies - the Stamp Market
Tasteful Label dies - Stampin' Up
Small Flowers - Foliage Frame Slimline, Trinity Stamps
Big Hugs stamp and die set - Papertrey Ink
Glitter Dots - Elizabeth Craft Designs
Seam Binding - Stampin' Up
Card size - 3/5 x 8.5", fits in a #9 or #10 Business Envelope.

Thanks for stopping by today

Thursday 28 January 2021

January 2021 Paper Pumpkin - First Group of Alternates


Hello! Today I'm sharing my first four Paper Pumpkin Alternate cards ... and this post has lots of photos! I also have a walkthrough of my cards on YouTube! 


My first alternate is quite straightforward. I cut the red patterned card base in half and saved one half for later. On the other piece I die cut it with a stitched scalloped rectangle. I really liked the printed mailbox elements that were included in the kit, so I cut it with a stitcheded rectangle to add a little detail to the edges, but the rest of the card front was done using the suggested layout.


Inside I added another stitched and scalloped rectangle, stamped the snail from the PP kit, and added the Hi, Valentine onto a die cut word bubble.

My second Paper Pumpkin Alternate card is a Slimline card that also has a Pop Up inside!


I added the '& Hugs' from Crafty Meraki's Love Slimline Tag die set!


The Pop Up inside has the hearts stamped and fussy cut as well as a square vellum doily.


My third Paper Pumpkin Alternate was lots of fun to make, using the Rockin' Rectangle die set by Karen Burniston.


My fourth card is also a Pop Up that I will send to my brother. I know it's a little flowery, but he is going to really appreciate the sentiments! I used the April 2020 Paper Pumpkin stamp set for those. I had found an online listing for that Paper Pumpkin kit and I was SO excited! I used those same sentiments on 4 cards that I sent to each of our kids and our Mother In Law, and those cards and video will be shared in a week or two. 


Inside I used a beautiful lacy heart doily that was a gift from my Stampin' Up demonstrator.


Supplies - Everything included in the January 2021 Paper Pumpkin unless specified below
#1 
Stitched Scallop Rectangle - Your Next Stamp
Various card stocks - stash
Stitched Rectangle Die Set - your Next Stamp
Copic markers
Black glaze pen and white gel pen
Word bubble die - Stampin' Up
Wink of Stella
Gold gel pen
Black fine point marker
Card size - Standard A2, 4.25 x 5.5"


#2 Slimline
Sketch - Call Me Crafty Al
Wink of Stella
Various card stocks
Copic markers
Gold gel pen - Sakura
& Hugs - Love Slimline Tag, Crafty Meraki
Pop Up - 1-1/4 x 3-1/2", scored at 1/2, 2-1/2 and 3"
Mini MISTI - My Sweet Petunia
Vellum doily
Clear resin hearts - Stampin' Up
Heart Stencil - Scrapbook.com
I-crafter blending brushes
Banners Pick A Punch - Stampin' Up
Wink of Stella
Black fine point marker
Card size - 3.5 x 8.5", fits in a #10 Business Envelope


#3
1089 Rockin' Rectangle - Karen Burniston
Stitched Rectangle Die Set - Your Next Stamp
Heavy weight acetate 
-leftover piece so not full size
cut 2" off right edge of card base and used that cut away portion inside to sandwich the acetate
Red line tape
Heart doily - Stampin' Up
Puffy heart stickers - Recollections
Label punch - Stampin' Up (retired)
Word Window punch - Stampin' Up (retired)
Gold embossing powder
Various card stocks
Painted Love Gold Vinyl Stickers - Stampin' Up (retired)
Gold gel pen - Sakura
Card size - Standard A2, 4.25 x 5.5"


#4
White card base
April 2020 Paper Pumpkin, My Wonderful Family
Patterned paper - Love Blossoms, Stampin' Up
Pop Up - 1-1/4 x 5", scored at 1, 3 and 4"
Tastefuln Label dies - Stampin' Up
Doily - Stampin' Up
Gold gel pen - Sakura
Card size - Standard A2, 4.25 x 5.5"


Thanks for stopping by today

Wednesday 27 January 2021

WTF (Who'se Turning Forty) Pop Up Slimline Card


Hello!  Today I'm sharing a fun Pop Up card I made for our son in law who is celebrating a big birthday soon. It's a little cheeky, and I know he will get a kick out of this take on 'WTF'. I have a walk through of my card with all the details on YouTube here


Inside I have not one, but TWO Pop Up's using die sets by Karen Burniston... the Rockin' Rectangle and the Mini Pops. 


Since he loves to snowboard, this snowboarding dog image from your Next Stamp was perfect - even though it's a Christmas stamp set, you can use some of the images for winter creations! 


The 'Lets & Celebrate' dies are by Crafty Meraki and I am getting lots of use out of that die set.

Since I went over all the details in the video, I'll keep my comments here to a minimum. 


Supplies:
Patterned paper - Doodlebug Design
Card stocks
1089 Rockin Rectangle - Karen Burniston
1146 Mini Pops - Karen Burniston
Mini Misti - My Sweet Petunia
Pawliday Pups - Your Next Stamp
Pawliday Pups Die Set - Your Next Stamp
Ohuhu Markers
Sakura black glaze and white gel pens
Wink of Stella
Fine point marker
Celebrate Slimline Tag - Crafty Meraki
Cool Tag Banner Sentiments - Your Next Stamp
Adhesive backed snowflakes - Stampin' Up (retired)
Alhpa - Sizzix BigZ
Fishtail banner - MFT Stamps
White pearl card stock
Snowflake dies - Papertrey ink
Card size - 4 x 8.5", fits in a #10 Business Envelope

Thanks for stopping by today

Tuesday 26 January 2021

Robot Pop Up Birthday Card

Hello! This patterned paper and coordinating sticker package has been in the craft room for a couple of years, so I decided this adorable robot sticker needed to get on a card. I used the Flip Fram Pop Up by Karen Burniston for the Pop Up action on my card and I have a walk-through on YouTube here

I have someone special in mind for this Birthday Card!.


I like all the height and dimension you get with the Flip Frame Pop Up! Lots of AWE but it's very easy to assemble. Win win!


Supplies:
Patterned paper, stickers and cut aparts - Boy Crazy, My Minds Eye
Card stocks - stash
1134 - Flip Frame Pop Up - Karen Burniston
Subtle Embossing Folder - Stampin' Up
Cool Tag Banner Sentiments - Your Next Stamp
Sentiment - Happiest of Birthday's, Stampin' Up
Stitched Star dies - the Stamps of Life
Sunburst punch - unknown
Taylored Expressions Blending Brushes
Dot stamp - Stamps by Judith
Card size - 4-1/2 x 6", fits in an A6 envelope

Thanks for stopping by today

Monday 25 January 2021

Crafty Meraki "Meraki Hugs" Release Week 4


Hello!  Welcome to another week of sharing the new release from Crafty Meraki. The release is called Meraki Hugs and there are even more fun products being released today!

This was actually the very first card I made when I opened my Design Team package because I just couldn't wait to play with these adorable owls. My card combines the new Owl Yours with the View From My Window Slimline die for a sweet card you could send out for happy mail.

I used some of the smaller images in the Owl Yours stamp set to create the background pattern, then added splatters of ink. The owls were coloured with Ohuhu markers  and I used my Scan 'n Cut to cut them out. I went over their eyes with a black glaze pen for some shimmer and shine.


For the bottom right owl, I carefully cut his head away from his body then reattached it with foam tape. This allowed me to adjust the angle of his head.

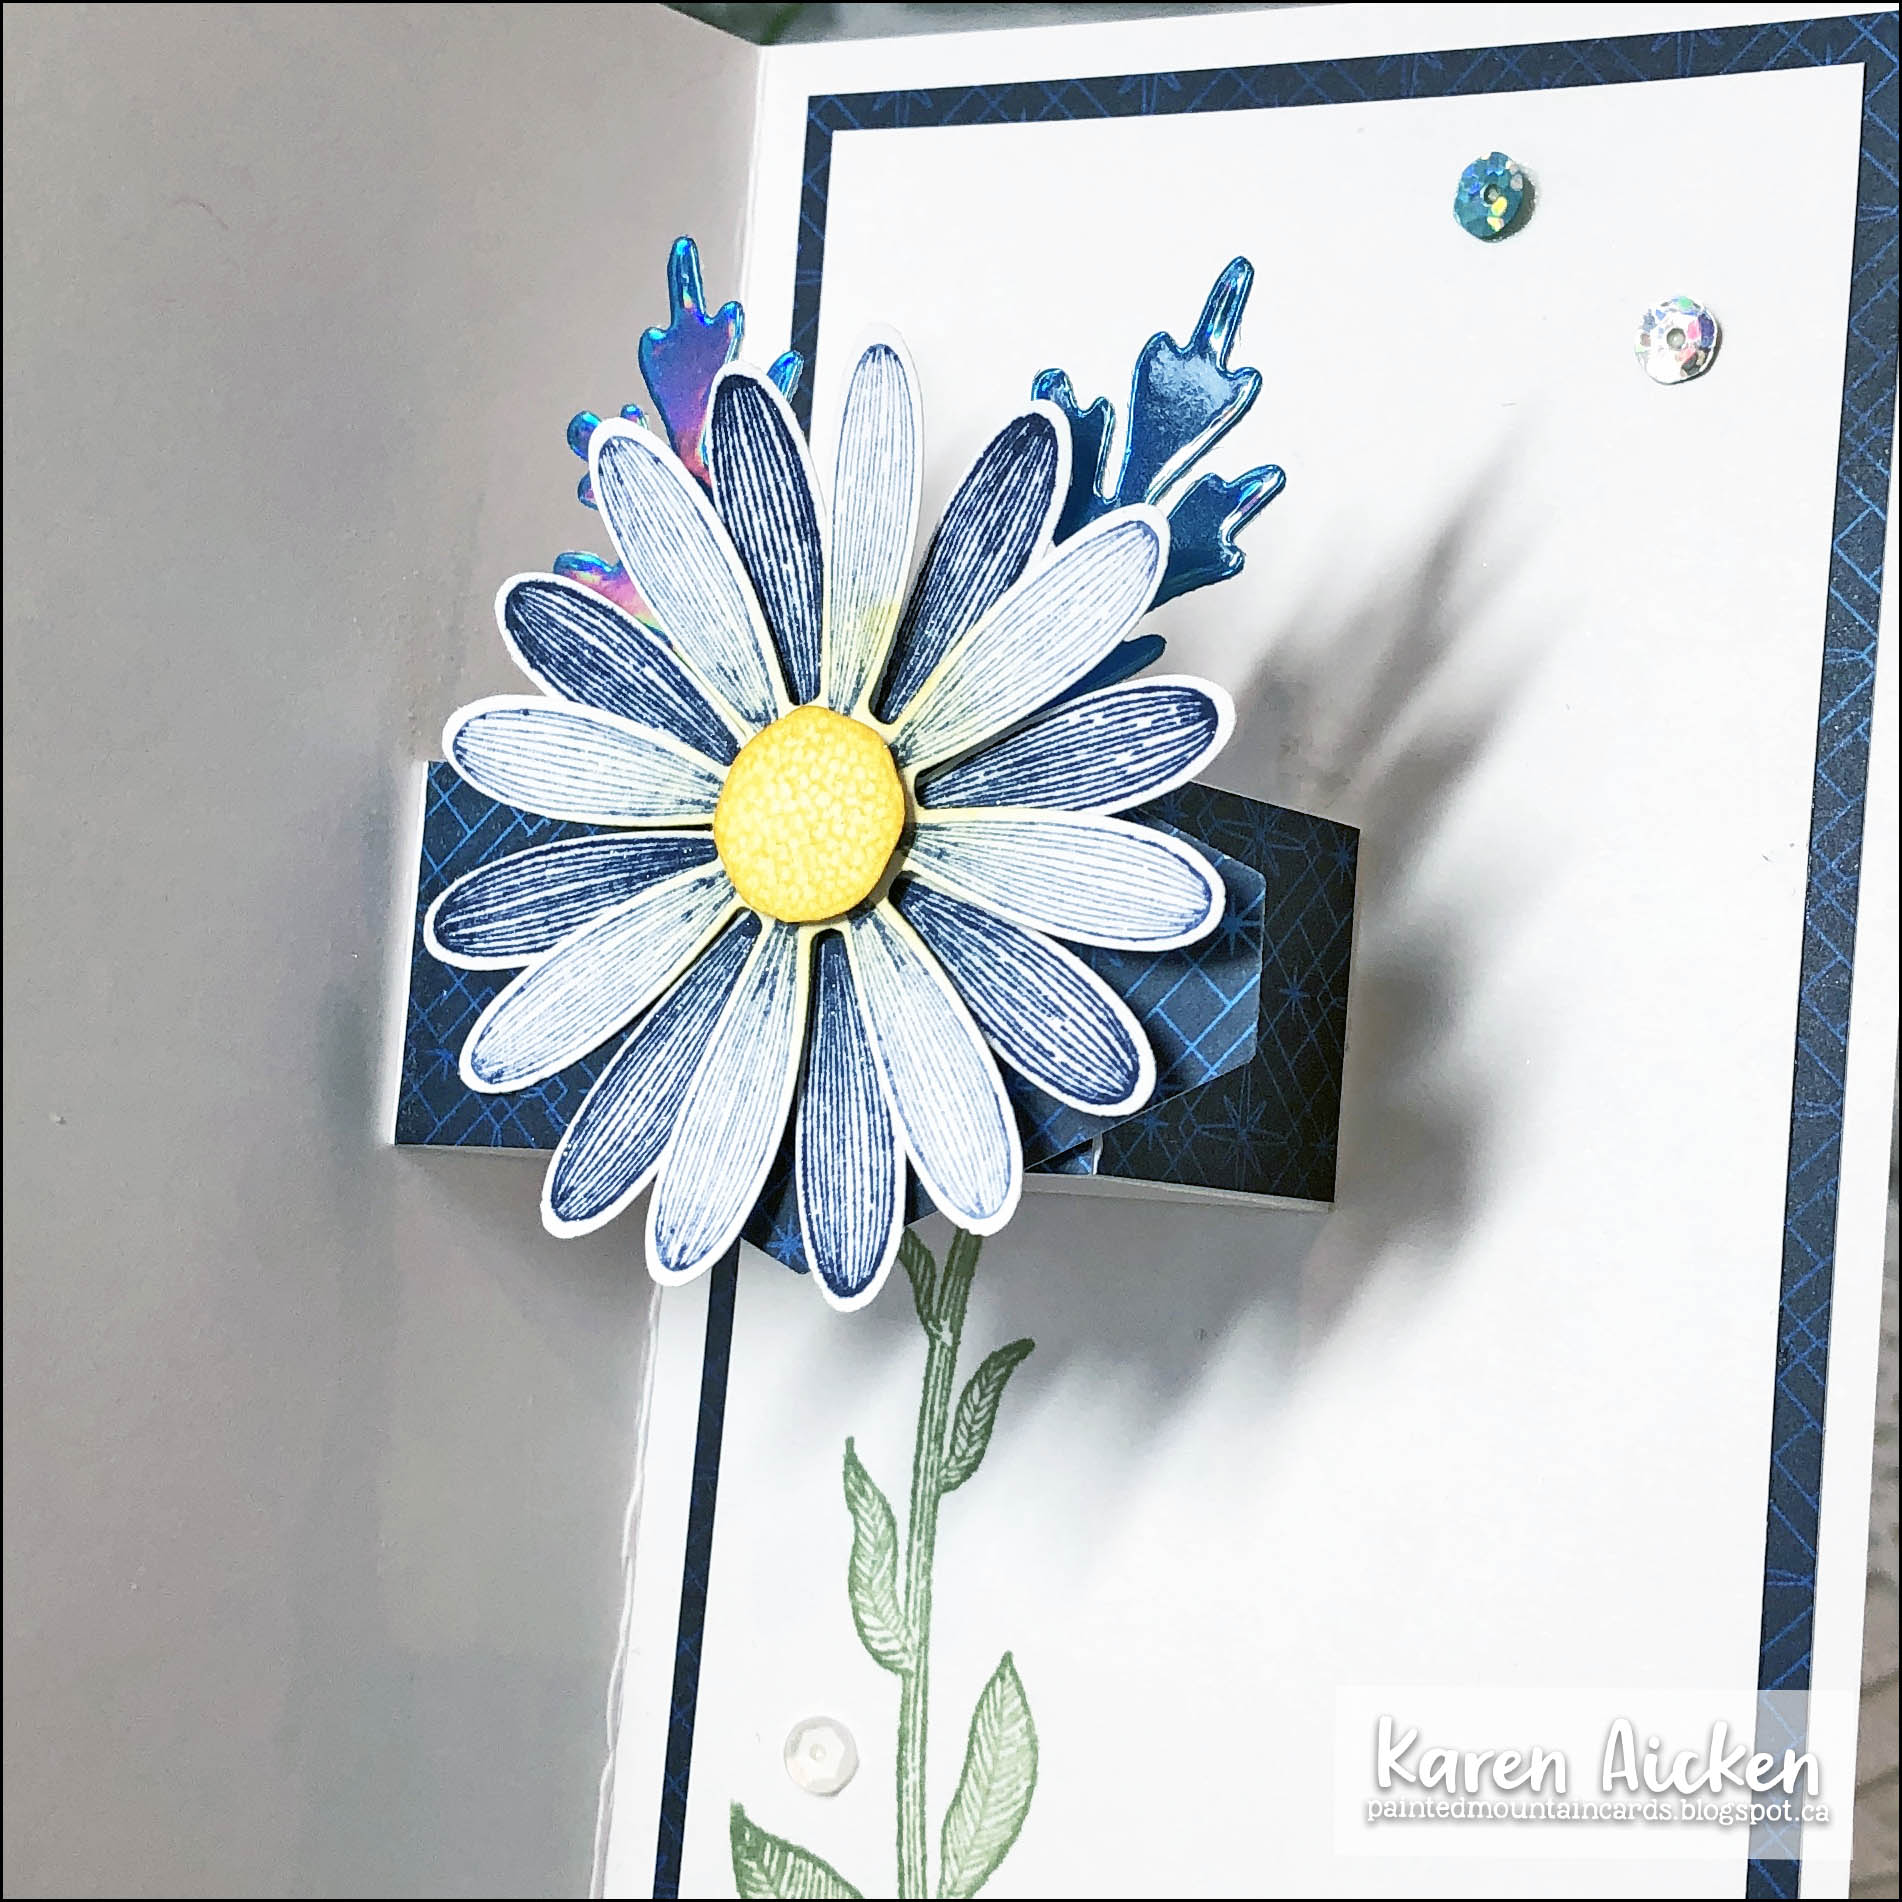
Of course, I decorated the inside as well ...


 'And now for something completely different', ha ha. My second Design Team card for this release features the Thanks die and a LOT of shimmer and shine. I knew I wanted to cut all the layers of the Thanks from different colours and when pink glittered card stock caught my eye I knew exactly what I wanted to do. I also pulled out white pearl card stock and pink mirror card stock and cut some 1/2" strips from all three.

After cutting a 8.5 x 3.5" panel of lightweight card stock, I started adding alternate coloured strips  until it was filled. Flipping the panel over, I trimmed off all the overhanging strips and then cut the panel down to 8.25 x 3.25" and added it to the folded card base.


The Thanks die gives you a lovely wide shadow layer with a press dots feature, as well as a pretty script Thanks word and smaller shadow layer too. You can combine them in different ways or only use the pieces you wish - so fun! I have a couple more ideas with this one so you will be seeing it again for sure.


I cut the 'thanks' piece from both white and pink glittered card stocks, then pieced them together alternating colours. That left me with a second 'thanks' to use on another project.!

I maybe should have done a quick video to show you this card - it's definitely one that is better in real life. I took over a dozen photos trying to tone down the rainbow reflection in the pink mirrored card stock, and these photos were the best I could do. The card is SO sparkly and shimmery and shiny - it's very elegant in person where the photos make it look a little dull.


The Design Team will be sharing all the fun items from the release today, and we will be having an Instagram Hop on January 30th. So fun!

"Crafty Meraki is a tribe of women who are all creators but more importantly, love helping others in any way we can! 

Meraki (may-rah-kee) a verb, or adverb, a Modern Greek word, derived from the Turkish “Merak” (Labor of love, to do something with pleasure), is applied to tasks, usually, creative or artistic tasks, but can be applied to any task at all. Meraki means to do something with passion, with absolute devotion, with undivided attention.

Crafty Meraki was born out of a vision to help creators do what they love doing the most- to create!"


Supplies:
Owl Slimline Card:
View From My Window Slimline Die - Crafty Meraki
Owl Yours - Crafty Meraki
White card stock
Mini Misti
Broken China Distress Oxide Ink
Ohuhu markers
Sakura white gel and black glaze pens
Hand made cloud mask
Water Brush
Card size - 3.5 x 8.5", fits in a #9 or #10 Business Envelope


Thanks Slimline Card:
Thanks die - Crafty Meraki
Pink glitter card stock - Stampin' Up
Pink mirror card stock - Tonic Studios
White pearl card stock
Majestic Confetti - Studio Katia
Card size - 8.5 x 3.5", fits in a #9 or #10 Business Envelope


Thanks for stopping by today

Saturday 23 January 2021

Valentine Shaker Tags


Hello!  Today I'm sharing a pair of shaker tags that will be perfect to tie onto a goodie bag for two of the grandkids on Valentine's Day. 


The Cool Tag 3 die set from Your Next Stamp also comes with a die to cut a window from the tag to make shakers (as I did here) AND a die that cuts shaped confetti so you can customize the colour of your shaker filler. I used shaker filler from my stash but I really like having the option to customize the filler.


The adorable animals and the sentiment are also from Your Next Stamp and are linked in the Supply List below.


Supplies:
Cool Tag 3 Die Set - Your Next Stamp
Black Olive Ink - Your Next Stamp
Woodland Cuties - Your Next Stamp
Woodland Cuties die set - Your Next Stamp
Photo Booth Thumbs Up (Smile) - Your Next Stamp
Card stocks
Patterned paper - Over the Rainbow, Recollections
Acetate
Foam strips - Stampin' Up
Heart confetti - Recollections
Mini MISTI - My Sweet Petunia
Black glaze pen and white gel pen - Sakura
Ohuhu markers
White embossing powder
Banners Pick A Punch - Stampin' Up
Ribbons - Stampin' Up
Bakers Twine

Thanks for stopping by today!


Pop Up HOORAY, 100th Birthday Card

Hello!  Today I'm sharing a very special Birthday Card ... it's for a friend's mom who is turning 100!!! She deserves a big party with all of the family, but of course with COVID the celebration will be much smaller. 

I have a walkthrough of this Slimline Pop Up Card on YouTube HERE

Can I just say how much I adore this coloured glitter card stock? ❤️❤️❤️


Inside is the Pop Up, using the Hooray Pop Up by Lawn Fawn and the balloons are on the arms from the Mini Pops die set by Karen Burniston.


I added numbers to the balloons using Karen Burniston's Number dies and the balloons were tied together with twine.


Finally, one more look at the Pop Up from the side. It looks dusty in the photo but that is actually SHIMMER. Ha.


I hope that they get to do something special today (safely) for this VERY special occasion.


Supplies:
Pop Up Hooray - Lawn Fawn
Rainbow Glitter card stock - Stampin' Up
Card stocks - stash
Shimmer Spray
Patterned paper - Over the Rainbow, Recollections
Wink of Stella
1146 Mini Pops - Karen Burniston
Balloon dies - Lawn Fawn
1031 Numbers - Karen Burniston
Sakura white gel pen
Twine - October Paper Pumpkin
Stitched Strips (Slimline) - Trinity Stamps
Stacking Stars - Honey Bee
Vellum
Slimline Nested Ticket dies - Rubbernecker
1067 Celebrate - Karen Burniston
Banners Pick A Punch - Stampin' Up
Card size:  8.5 x 3.5", fits in a #10 Business Envelope

Thanks for stopping by today