Showing posts with label Double Z Fold Card. Show all posts

Friday, 26 September 2025

Double Z Fold Birthday Card


It’s Fun Fold Friday here on my blog, and today I’m sharing the Double Z Fold birthday card made for our eldest granddaughter. She is very interested in space etc, so I pulled out this very old paper pad for her card. 


Below you can see the card open and standing for display.


I always like how nice and sturdy these cards are and I was able to make use of some border strips and other cut-aparts in the paper pad for decorating. The flowers, stars & moon were fussy cut and added as decorative elements.


There are a number of pages in the paper pad that contain four 6x6” panels. I rarely make 6x6” cards, but I cut one down for the front of the envelope and wrote her name inside the moon. Since we were hand delivering the card, I didn’t have to worry about anything catching in the mail so the fussy cut flowers were added with thin foam tape.


Supplies used:
5 x 6.5” card base & envelope - Michaels
Patterned paper - Moon Flower Magic, Craftsmart (old form my stash)
Large Birthday - Technique Tuesday
Self Adhesive Gem stickers - Dazzles
Stardust gel pen - Sakura


Monday, 28 November 2022

Fun Fold Christmas Card Trio

Hello crafty friends. Today I have THREE different fun fold cards to share today. While they could have each been separate posts, since the supplies on each are identical I decided to lump them together in one ***long*** post. 😊. 

I have a walkthrough of the cards on YouTube as well:  

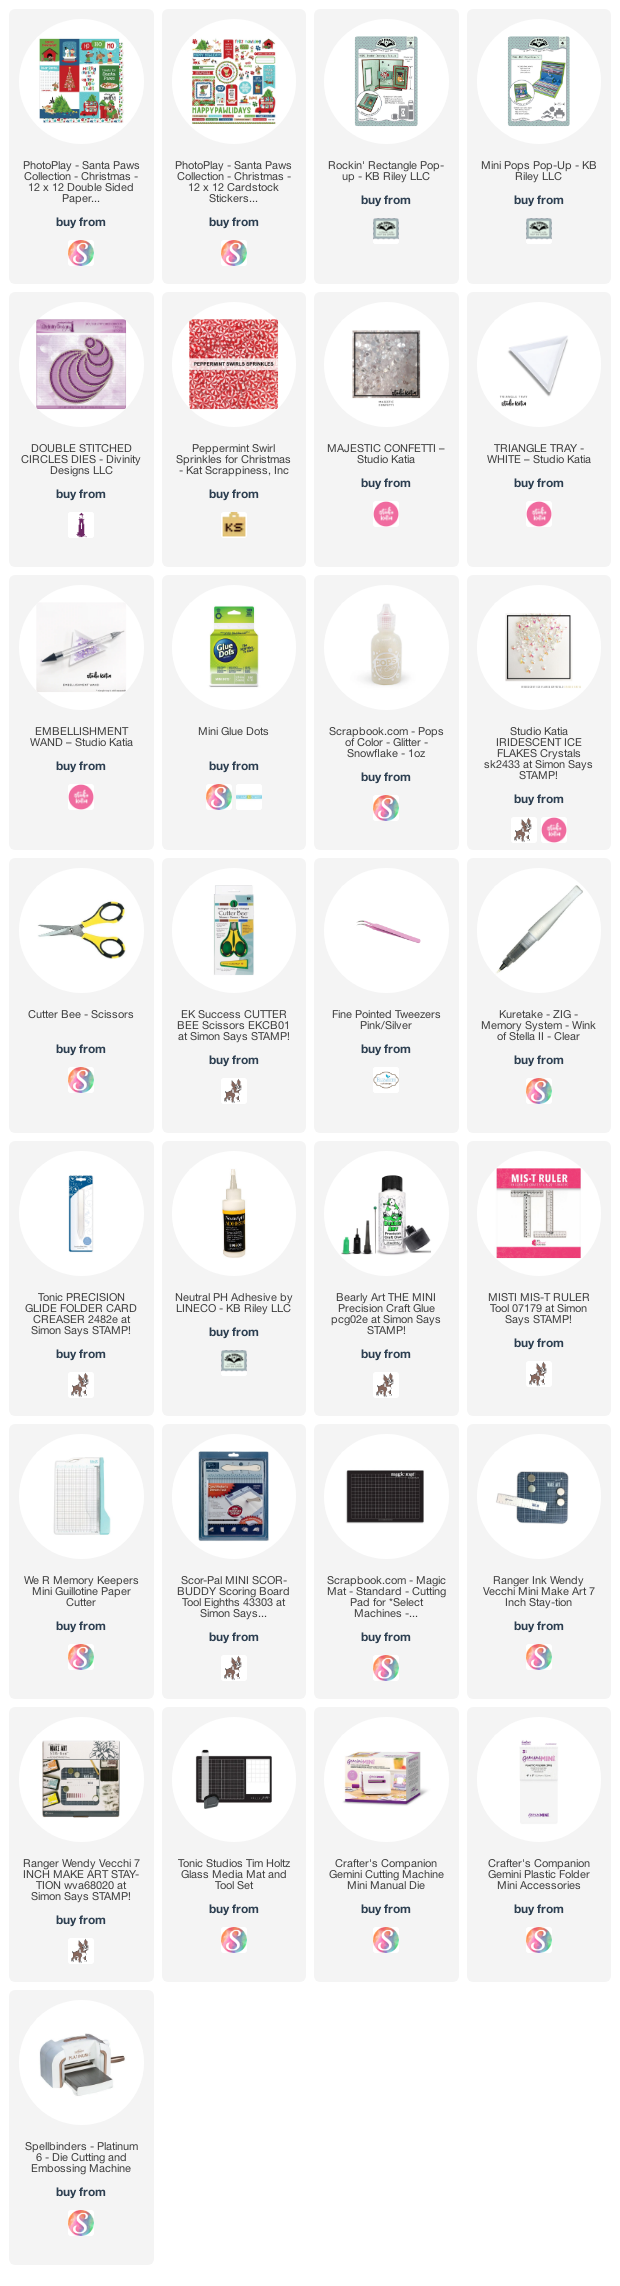
The first card is a Double Z Fold card - I haven't done one of these in a long time! The patterned paper is double sided, with the paw prints on one side and cutaparts on the back. In the video I said I'd purchased three sheets, two to use the cutaparts and one to use the cutaparts. But in fact I only purchased TWO sheets and a coordinating 12 x 12" sticker sheet. 


I love now nice and sturdy these cards are for display.


The second card uses my favourite cut apart from the sheet. I added Pops of Color to his nose so it's nice and shiny.


Inside is a simple box pop up for the sentiment piece (another cut apart) and I also added one of the Mini Pops arms for the circle dog piece. I show more of that detail in the video.


All of the cards started with these Memories & More card bases (with. matching envelopes) from Stampin' Up. There are 10 green speckled card/envelope sets and 10 red & green polka dotted cards with red envelopes. The front of the third card has another one of the cutaparts as well as stickers from the sheet.


Inside I used another of Karen Burniston's pop up dies - the Rockin' Rectangle. I also used the second double decker bus cut apart on this one and a few more stickers from the sheet.


I made another trio of cards, and will be sharing those in the coming weeks.


Additional Supplies:
Santa Express Memories & More card pack - Stampin' Up
White cardstock
Peppermint embellishments - from my stash, but I linked similar ones for you below.

This blog uses affiliate links whenever possible. This means, that at no cost to you, if you make a purchase through one of my affiliate links that I may receive a small commission from your purchase. I only link products that I own, love and use for my card making and not every link below is an affiliate one! 😊

Monday, 24 December 2018

Christmas Double Z Fold Card

Good morning friends

I love love LOVE this suite from Stampin' Up. The patterned paper is super cute and ...  FLOCKED!!!  So the white stripes on this paper are fuzzy and you just want to touch it. There is a stamp and coordinating die set, and the dies work on the patterned paper as well as the stamps. So cool.


I made a Double Z-Fold card, in a wide A2 format. Some of the elements were fussy cut from the patterned paper and I used the dies where I could. Then I created a little scene. I like how it looks like Mrs. Claus is so pleased that Santa is having a treat and a well deserved rest.


But when you open the card, you see that Mrs. Claus is actually tickled at the little elf handing her a present!


 The scalloped border was trimmed from one of the 12 x 12" sheets in the package, and like the white apron, hats, candy and Santa's beard - the white dots are flocked.


Finally, for those who like to pin 'fronts and insides' photos to their Pinterest boards - here you go!


I added a wonky stitched circle to the back of the card, along with another die cut or two as an area for us to sign our names. Completely forgot to take a photo of that!

Supplies:
Red and white card stocks
Stamps, dies and patterned paper - Stampin' Up
MISTI - My Sweet Petunia
Words - Your Next Stamp
Nuvo Glitter Pen
Wonky Circle die - Your Next Stamp
Card size - A2

Thanks for stopping by today

Wednesday, 28 November 2018

Double Z-Fold Card with a Pop-Up Surprise

Good morning friends

I am just SO pleased with this card. The 'Still Night Bundle' was another stamp & die set from the Stampin' Up Holiday catalogue that I just HAD to have. We have a pair of Great Horned Owls in our neighbourhood and can often hear them hooting in the evenings and early mornings. We've enjoyed watching them perch on our roof or the trees outside the family room and have loved seeing the owlet's too.

Since my brother also likes owls and I needed to make his Birthday Card, I chose this set and made a wide Double Z-Fold card with masculine coloured patterned paper from my stash.


It was close to bedtime when I started the card, but then this idea came to me and I had to stay in the craft room to see if it would work. And it did - I was SO excited! I added Karen Burniston's Katherine Label Pop-Up to the inside panel so when the card is opened, this filigree owl pops up. How cool is that???


I was just thrilled that my idea worked - it really opens up a whole bunch of possibilities with these cards and is just another reason I like the Katherine Label Pop-Up so much.

Below you can see the layers that show the card is put together like a normal Double Z-Fold card, and then the arm for the Katherine Label is adhered inside the inner fold.


When I first saw this die in the set, I thought - meh. But I loved everything else in the bundle. Now I think this filigree owl is beautiful and I can't wait to use it again.


I know my brother is going to be just tickled with his card and that makes me happy.

Supplies:
Patterned paper - the Paper Studio
Kraft and white card stocks
Still Night stamp and die bundle - Stampin' Up
Copic markers and Stampin' Up Blends
Happy Birthday stamp, Perennial Birthday - Stampin' Up
Word stamp, Picture Perfect Birthday - Stampin' Up
Dashing rectangle dies - Elizabeth Craft Designs
1011 Katherine Label Pop-Up - Karen Burniston
Stitched fishtail banner dies - MFT Stamps
Sakura white gel pen

Thanks for stopping by today

Wednesday, 17 October 2018

Double Z-Fold Birthday Card Group

Good morning friends

I've been wanting to make this style of card for a long time. A really long time. But I just never got around to figuring out the measurements, or watching the YouTube videos showing them. Well, I did watch one but it required too many 3/8" type measurements, and I just left it for another day. So while it's not a new idea, the talented Jennifer McGuire's video last week was on making these cards - complete with all the measurements for this wide A2, a regular A2 and a square card. Waaa hooo - I headed straight into my craft room and got these 6 cards made.


I have had the patterned paper for years - so making these 6 cards made a good dent in finishing off the package. I love the yellow with the grey and teal. Karen Burniston's Happy Birthday die worked perfect on the fronts as well. This grey one has a white panel behind the Happy Birthday as there wasn't enough contrast without it.


You can see the teal patterned paper in the group photo at the top of this post, which you do notice when you open the card - so the stamped greeting on the middle panel actually coordinates really well. It just doesn't look like it does in the photo below.


Since I'm making so many birthday cards, I ordered this fun birthday stamp set by Stampin' Up. I love that I can coordinate the images with any patterned paper I'm using and they are easy to fussy cut.


I did add a stamped, stitched circle to the centre panel of each card to break up all the rectangle shapes.


Finally, for those that like to pin group shots to their Pinterest boards - here you go!


After making these cards, I cut all the pieces for several other (different) cards, so by the end of the week I will have used up this patterned paper package! And I LOVE to use things up!! All six of these cards are going into my Nursing Home donation bags but I think this design would make some cute birthday cards for kids too.

Supplies:
1030 Happy Birthday die- Karen Burniston
White and grey card stocks
Patterned paper - Stampin' Up
Bow and party horn stamps - Stampin' Up
Stitched circle dies - MFT Stamps
Hooray stamp - MFT Stamps

Thanks for stopping by today

Sunday, 20 May 2018

Snowmen & Mittens Double Z Fold Christmas Card

Good morning friends

I decided to fussy cut some images from a sheet of patterned paper in a holiday stack and made this card.


There are some glossy accent and glittered accents as well.


I haven't made a Double Z Fold card in awhile - and this one has re-whetted my whistle. I just need more playtime!

As for supplies, I completely lost the notes! I'm pretty sure the patterned paper is from Recollections - it's quite old and from my stash. The sweet double banner die is from Concord & 9th.

Thanks for stopping by today.

Saturday, 24 March 2018

C4C 427 Three Kids Easter Cards

Good morning friends


It's Saturday and that means a new challenge at the Crazy 4 Challenges blog. Bonnie Sharp had her challenges all ready for us, so even though she has left the Design Team she said to go ahead and use her challenges. Kristine Reynolds is joining us as our Guest Designer again this month (yeah!). You can find her blog HERE.  

This is Bonnie's challenge:  A cutie patootie challenge for you today - make a card or scrapbook page that has a child theme! Blocks, playground- even a little red wagon if you wish! Bonus points if you use baby or children stamps!


If you follow my blog, you will know that I rarely make a card just to make a card - I need so many specific cards throughout the year, I like to make the challenges work for me. This week I am sharing the Easter cards I made for my Mom to give the Great Grandkids (the ones who celebrate Easter). I know it's probably a stretch for the challenge, but hey. I'm a rebel.


I purchased a sheet of Journal Cards (or Cut-Aparts) by Echo Park to make the cards this year. We had had a lot of company and I knew time would be at a premium. This seemed like a good solution and I'm happy with the cute images on the panels.


Olivia loves Pop-Up cards, so I used a Happy Birthday Pop-Up as the base for another Journal Card. 


I added that sweet scalloped border by Prickley Pear, stickers and glitter glue inside the card.


Zachary got a Double Z-Fold card, because he's a little rough and these are nice and sturdy.


I didn't add a lot of glitter since it was for a boy, but a little on the cheeks and then the bunnies nose and eyes are raised and shiny from a black glaze pen.


I was excited to make Ethan's card, but very unhappy after I'd stamped the background. The card base was yellow and I wanted to stamp the stippled stripes in yellow for a tone on tone look. I have never liked this Stamin' Up ink colour (Delightful Dijon) and only have it as it was part of a bundle. Since I have it though, I thought I should at least try it. Yuck. I have since taken the ink pad out of my ink pad basket so I don't make this mistake again. 

I debated far too long about whether or not to toss the stamped yellow card base and start again, then decided that Ethan (at 5) would really only see the cute chick & egg and he will love that it's on an Action Wobble.  I didn't have another sheet of that same yellow card stock and the others didn't match the chick. So in the end, I left it.


I added some bright happy colours and another Cut-Apart inside.


Check out the C4C blog to see how the Crazies have been inspired by the challenge. We'd  love to see your take on it, so be sure to stop by the Crazy 4 Challenges blog and link up your creations. If you are uploading to an online gallery, please use the keyword C4C427.

Supplies for Olivia's Hoppy Easter card:
White card stock
Plaid patterned paper - Echo Park
Yellow patterned paper - Photo Play
Happy Birthday 3-d Drop-Ins Rectangle - Stephanie Barnard (Stamps of Life)
Cut-apart - Echo Park
Fun foam
Sakura Black Glaze pen
Stickles
Stitched scalloped border die - Prickley Pear Stamps
Black fine point sharpie marker
Marvy LePlume II Markers
Stickers - Mambi

Supplies for Zachary's Bunny Double Z fold card:
Teak and white card stocks
Cut-apart - Echo Park
Stickles
Fine point black marker
Marvy LePlume II Markers
Stickers - Mambi
Sakura black glaze pen

Supplies for Ethan's Easter Chick Wobble card:
Cut-apart - Echo Park
Stickles
Yellow Soft Finish Card Stock - Elizabeth Craft Designs
White card stock
MISTI
Action Wobble
Marvy LePlume II Markers
Fine point black marker
Brushstroke stripe stamp - Stampin' Up


Thanks for stopping by today

Friday, 16 February 2018

Owl Double Z Fold Card

Good morning friends

It's Flip-It Friday here on my blog today, and I have a Double Z fold card to share. I love photographs, always have. They tell a story, and it's a story you can remember every time you look at the photo.

Last Spring & Summer we had a pair of Great Horned Owls in the back yard and we really enjoyed watching them as well their little one. I can still hear them at night, but they are much harder to see when it gets dark so early and gets light so late.

A few days ago I went outside with the dogs, and there in the tree - right on the other side of the fence - was a little Great Horned Owl! He stayed in the tree for quite awhile, and I enjoyed watching him. I wasn't worried about him with our dogs, as he was too little to attempt to carry them off.


I printed the photo from my phone, using the Instax SHARE printer and then added one of Lynda Kanase's Photo Frames. I love that you get to choose the colour of frame and can customize it with any of the words from any of her Picture This sets.

After adding the card stock frame & label to the photo, I adhered them both to her Seasonal Tag die.


The patterned paper has glossy embossed dots, and of course the photo is glossy as well. I like how they compliment each other.


For this card, I used the words from the I AM Phrases (frame and stamp set) as they were perfect for this amazing owl.


The words are fun to cut away from other projects, not just the frames. I'm going to get lots of use out of them!

Supplies:
Patterned paper - DCWV
White, brown and blue card stocks
Photo Frame, I Am Phrases (word dies) - Lynda Kanase (Sizzix)
Photo Frame, Seasonal Props (frame and label) - Lynda Kanase (Sizzix)
Seasonal Tag - Lynda Kanase (Sizzix)
Fun foam
Life Is stamp - Stampin' Up
Leaf dies - Stampin' Up
INSTAX Mini Share Printer
INSTAX Mini film
Silver Ribbon - Stampin' Up
Nuvo Crystal Drops

Thanks for stopping by today