
Hello crafty friends
The final sheets were this woodgrain chevron pattern and I thought I could use them for a masculine birthday card. When this card was done I used the leftover chevron pieces to make a few more card fronts for the nursing home and called it done.

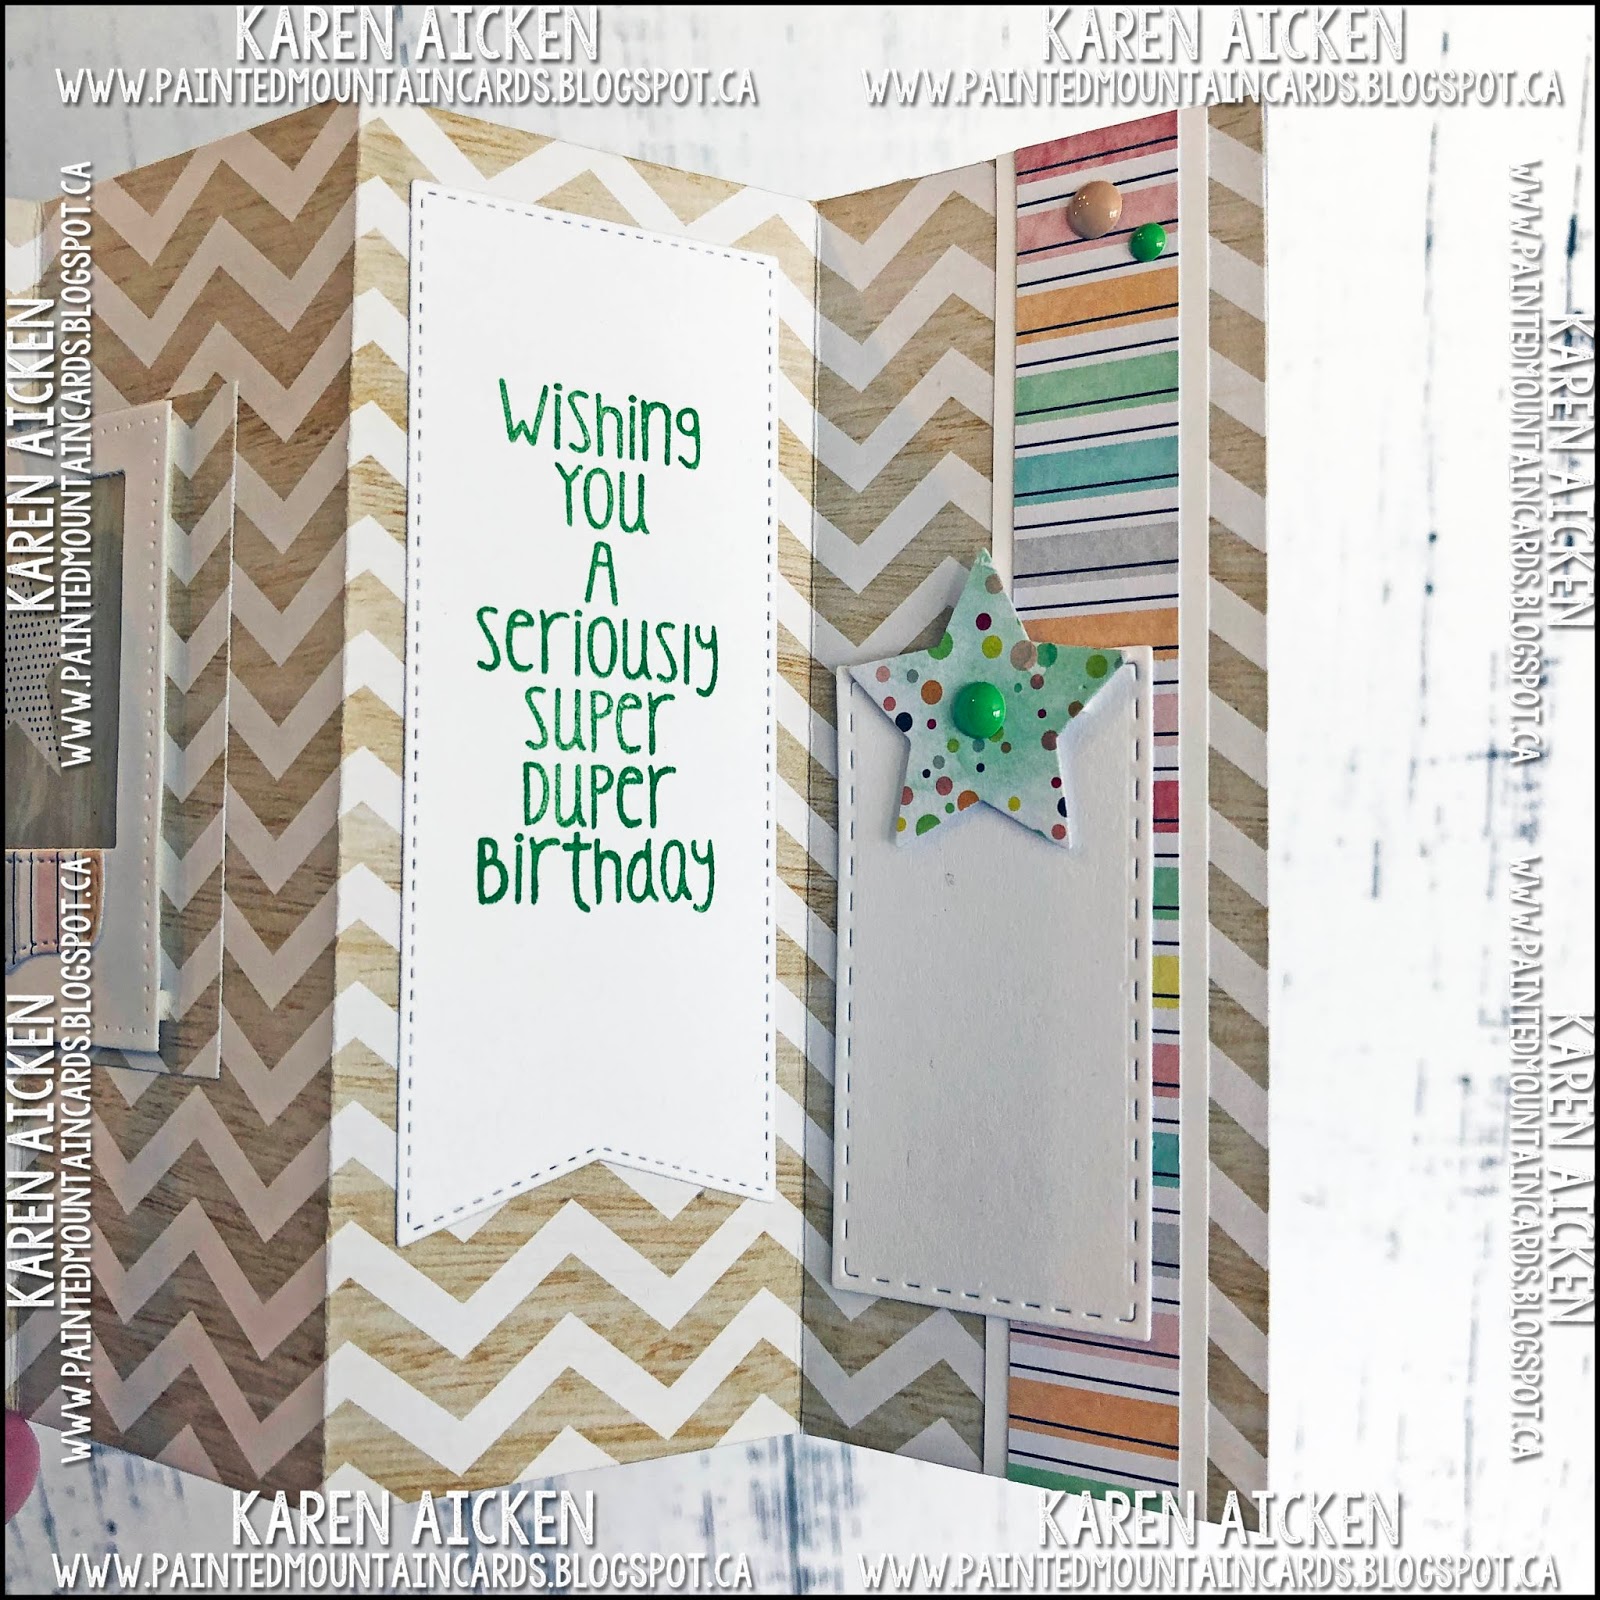
I chose not to use the Lever Card Layering Dies this time, as I didn't want to break up the chevron pattern on each panel.

The striped paper was perfect to add a pop of colour. In fact, I used it a fair bit on all of the other card panels too. There were lots of cut aparts in the paper pad too, some with sort of a wonky polaroid print. I cut those apart and used the patterned centres to die cut embellishments from such as the star shown below. The colours matched the papers perfectly but the words printed below the prints didn't appeal to me.

I loved the look of the polaroid pieces, but not their wonky edges. Your Next Stamp has this fun Polaroid Frame with Piercing Marks as part of their February Release, and I used it with almost all of those polaroid cut aparts. I thought it was a great way to use these smaller pieces on card fronts!
For this woodgrain and polka dot star one, I added acetate behind the YNS Polaroid Frame for some additional detail on the card.

I am afraid to search for it, but I think I probably have another identical paper pad in my stash. I absolutely loved it when I found it and it was such a screaming deal at the time I'm pretty sure I picked up a second one. But for now, I'm going to pretend this paper is all used up. Ha!
Today I'm sharing a masculine card created with the Lever Card die set from Divinity Designs. When I am crafting, I often watch something on my iPad Mini ... either Netflix or YouTube. Well something popped up in my YouTube feed that looked interesting on Breaking Down a 12 x 12" Paper Pad. I watched it for a bit until I realized it was more for creating page kits for scrapbooking. (Also, I thought I had saved it so I could share it here, but apparently I did not). The video got me thinking though and I pulled out this older Dear Lizzy paper pad and took all the pages out of the binding to have a look at them.
There were a few I knew I'd never use for my cards so I added some 4 x 6" self adhesive magnet sheets to them to use for die storage. Easy Peasy and those papers were no longer glaring at me when I flipped through the pad.
Then I just started pulling papers and cutting them down. I wasn't trying to get as many cards as possible, more to use the papers until they were gone. It doesn't sound that different, but it was a completely different mind set for me.
I created about 75 card fronts from those papers!!! I will add them to card bases probably in May when I'm needing more cards to donate to my Mom's old nursing home and will start to share those ones as they are completed. They have their embellishments added, words are stamped and layered on the panels - all I need to do is use my MISTI to stamp the greetings inside the card bases and adhere the panels to the front.
If you follow my blog you know how much I love to use things up, so this project - which took me about 5 days off and on - was right up my alley. Both in the 'assembly line' way of working that I enjoy so much and the using up an entire paper pad.
The final sheets were this woodgrain chevron pattern and I thought I could use them for a masculine birthday card. When this card was done I used the leftover chevron pieces to make a few more card fronts for the nursing home and called it done.

Remember you can see all of my card videos on my YouTube Channel HERE:
I chose not to use the Lever Card Layering Dies this time, as I didn't want to break up the chevron pattern on each panel.

The striped paper was perfect to add a pop of colour. In fact, I used it a fair bit on all of the other card panels too. There were lots of cut aparts in the paper pad too, some with sort of a wonky polaroid print. I cut those apart and used the patterned centres to die cut embellishments from such as the star shown below. The colours matched the papers perfectly but the words printed below the prints didn't appeal to me.
I loved the look of the polaroid pieces, but not their wonky edges. Your Next Stamp has this fun Polaroid Frame with Piercing Marks as part of their February Release, and I used it with almost all of those polaroid cut aparts. I thought it was a great way to use these smaller pieces on card fronts!
For this woodgrain and polka dot star one, I added acetate behind the YNS Polaroid Frame for some additional detail on the card.

I am afraid to search for it, but I think I probably have another identical paper pad in my stash. I absolutely loved it when I found it and it was such a screaming deal at the time I'm pretty sure I picked up a second one. But for now, I'm going to pretend this paper is all used up. Ha!
Supplies:
Lever Card die - Divinity Designs
Patterned paper and Cut parts - Dear Lizzy Neapolitan, American Crafts
Acetate
Polaroid Frame with Piercing Marks - Your Next Stamp
White card stock
Stitched rectangle die set - Your Next Stamp
Banner dies - Queen & Co
Silly Monsters (Happy Birthday) - Your Next Stamp
Stacking Star dies - Honey Bee Stamps
Carrot Cake Gumdrops - Your Next Stamp
MISTI - My Sweet Petunia
Lots of Birthday 2 Stamp - the Stamps of Life
Catherine Pooler Inks
Card size: Standard A2, 4.25 x 5.5"
Thanks for stopping by today
Great job using up all that paper! Fabulous card
ReplyDelete