Showing posts with label Waffle Flower. Show all posts

Friday, 28 February 2025

Party Cat Pop-Up Birthday Card


It's Fun Fold Friday here on my blog and today I'm sharing the Pop-Up card I made for a friend's birthday. She is a cat lover, so I pulled out this 'Be A Cat' die from Waffle Flower then went rooting around in my older patterned papers to decide what I wanted to use.


I added a die cut party hat to the cat and had her 'holding' onto the stitched rectangle with a stamped Happy Birthday. I really had fun making this one!


Inside I used Karen Burniston's Postage Pop Up die set, which has a completely generic mechanism. My favourite kind! Instead of the included postage themed dies, I added a stamped & die cut circle to the mechanism.


Supplies used:
Be A Cat dies - Waffle Flower
Patterned Paper, Blank Canvas - 1st Edition Papers (old, from my stash)
Alcohol markers
Stickles glitter glue
Pops of Color - Black, Scrapbook .com
5x7" card base and envelope
Party Hat Triplits dies - Sizzix
5x7" Lacy Layers dies- Waffle Flower
Happy Birthday stamps - Happy Birthday Many Ways, Catherine Pooler
You Deserve stamps - Little Something Sentiments - Catherine Pooler
Postage Pop Up die set - Karen Burniston
Pawsome Birthday Sentiment stamps  - Waffle Flower
Stitched Circle dies - MFT Stamps
Peeking Pets stamps - Catherine Pooler

Friday, 31 January 2025

Princess Pop-Up Birthday Card


Welcome to Fun Fold Friday here on my blog! Today I'm sharing the pop-up card I made for our granddaughter's birthday. I haven't purchased any new stamps, dies, paper etc in the last year, instead going through and trying to use up some of my huge stash. This Disney themed paper I've had for several years so I pulled it out for her card. 


I added some Stickles glitter glue on the flowers etc, and added a little die cut cupcake and stamped sentiment banner on the front.


Inside, I used Karen Burniston's Raising Platform Pop-Up as well as her cupcake dies from the Cupcake Add-On set. Since I love sparkle on a birthday card, several of the pieces were die cut from rainbow holographic cardstock which really catches the light. 


Supplies used:
Patterned paper - Disney Princess
5x7" Lacy Layers - Waffle Flower
5x7" card base and envelope 
Raising Platform Pop Up - Karen Burniston
Cupcake Add-Ons - Karen Burniston
Baking Borders - Karen Burniston
Circles Crosshatch - Karen Burniston
Simple Strips Birthday (stamp and die) - Taylored Expressions
Rainbow Holographic card stock - Recollections
Stickles glitter glue
Whatnot Sentiments Set 12 - Your Next Stamp
Heart stencil - Scrapbook .com

Wednesday, 14 August 2024

Slimline 'Thinking of You' Card


After making the Pop-Up Birthday Card last week, I wanted to use up the leftover paper pieces and not just store them away. This is the card I came up with, one I can send to a friend for Happy Mail.

The diagonal strip is matted with rainbow holographic cardstock for some shine, and the flowers were added to a scalloped vellum circle.


I always like this sentiment, since I do so much texting these days.


Supplies used:
Patterned paper - Miss Caroline, My Minds Eye
Rainbow Holographic Cardstock - Recollections
'Hey You' die - Pinkfresh Studios
Vellum - Stampin' Up
Scallop Circles - Divinity Desixgns
Beautiful Blossoms Paper Die Duo Set 1 - Divinity Designs
Self Adhesive gem stickers - Dazzles
Wink of Stella
Slim Lacy Layers - Waffle Flowers
Inside Sentiment - Just Because, Gina K

Friday, 2 August 2024

Butterfly Bunny Birthday Card Duo

Welcome to Fun Fold Friday here on my blog!  After I used this die to make Easter cards, I made a note to use it again for summer Birthday cards. This week I made these two and the second one is a pop up.

The die is quite large, so I made my cards into 5x7" but a 6x6" square card would work as well. The patterned paper is MANY years old and from my stash. I die cut the Butterfly Bunny from patterned paper and adhered them both to burgundy card stock. Then the images were fussy cut so I could pop them up with thin foam tape.

For this first card I added Stickles glitter glue around the butterfly wings, and added a pair of small die cut butterflies.

Below is the inside of the first card ... with a stamped sentiment and a light green vellum butterfly.

The second card is stepped up. I die cut butterflies from both patterned paper and white pearl vellum, adhering three of them over the butterflies on the main image. They were glued down along the butterfly bodies only, so there is some lift to the wings.

The first card base was white but I wanted to try it with a Kraft card base as well. In the end, I think I like the white one better. For the inside of this second card I used Karen Burniston's Lorna Label Pop Up.

The 'fluttering by' sentiment is actually part of a larger stamp that also says 'I miss you'. I knew I wouldn't use that one very often, so I trimmed away the 'miss you' portion and can add it to the 'fluttering by' sentiment again if I do need it. But I will get lots more use out of that stamp with it saying "fluttering by to say ..." 

I also added a couple more butterflies to the pop up area, and of course - Glitter Dot stickers for some shimmer.


The birthday sentiment was stamped on a scalloped white panel - both it and the crosshatch green panel are from the Short Crosshatch Rectangles die set - also by Karen Burniston


Supplies used:
Patterned paper - K & Company (very old, from my stash)
Bunny & Butterfly die - Creative Expressions
Butterfly dies - Scrapbook .com
Shimmer spray
Sakura glitter pen
Lorna Label Pop Up - Karen Burniston
Short Crosshatch Rectangles - Karen Burniston
Little Etched Butterflies - Paper Rose
White pearl vellum - stash
Fluttering By Sentiments - Waffle Flower 
Catherine Pooler coloured inks
Blending sponge - Tim Holtz
Glitter Dot stickers - Ecstasy Crafts
Stickles glitter glue
Happy Birthday - Birthday Blowout, Poppy Stamps
Essential Birthday Sentiments - LDRS
Kraft 5x7" card base & envelope
White 5x7" card base & envelope


Thursday, 25 July 2024

Rainbow Chihuahua Pop-Up Birthday Card


I wanted to play with some bright & happy colours, so pulled out another one of those rainbow dog panels and made a pop-up birthday card for my stash.


If you would like to learn more about these rainbow dog note cards, I did a YouTube video HERE a few months ago. This panel was from one of the note cards, which I cut down & matted it with black cardstock. I added it to a card base after covering the front of the base with rainbow patterned paper. I wanted to add a little somethin' something so Nuvo Drops made the nose raised and shiny.


Inside I used Karen Burniston's Lorna Label Pop Up. This was a re-release of one of my favourite dies from when she was with a different company. Back then the die 'cut into' the inner card but now it's a 'glue in' which is much more versatile. Ironically, this is a top folding A2 card which is what worked best with the old die set. 

I pulled out KB's Baking Borders and die cut the bases from a scrap of the rainbow paper and the tops from rainbow holographic cardstock. As I said in the original video, the note cards came with coordinating envelope seals which I usually save for the envelopes. For this card though, I added the seal to one of the decorator dies that comes with the Lorna Label die set so I could use it inside the card. 

Since I'd trimmed the cupcake border to fit on the bump out, I had a small strip leftover. I trimmed away two of the cupcakes and added one to the sentiment panel and saved one to decorate the front. As usual, I finished off the inside of the card before going back to complete the front.


Supplies used:
Rainbow dog notecard - amazon. ca
Patterned paper - JJ's Rainbows, Waffle Flower
Lorna Label Pop Up - Karen Burniston
Baking Borders - Karen Burniston
Squares Crosshatch - Karen Burniston
Happy Birthday & celebrate - It's Your Day, MFT Stamps
Sentiment - Inside Out Birthday, Catherine Pooler
Rainbow Holographic cardstock - Recollections
Nuvo Glaze

Thursday, 11 July 2024

Sympathy Card w/ July's Sheetload of Cards


Today I'm sharing the first finished card from the July Sheetload of Cards that I shared yesterday. I will be finishing them off one by one, until I have eight completed cards for my stash. I thought the purple background to the gold floral cluster leaned itself well to a sympathy card and since I always like to have some of those on hand that is what I made.


I added a couple of butterflies punched from gold foil paper and matted the stamped sentiment on a gold foil paper scrap. Finally, a few glitter dots to finish it off. 


I don't usually do pop-ups inside a sympathy card but I do like to finish off the inside. So, using a different paper piece from the pad I cut a 4x6" piece. This mimics the 1/2" border all around the front panel. Another scalloped circle, this time from white cardstock and I stamped the sentiment with a plum ink. Then I added a pair of punched butterflies and my card was done.


I especially like the 5x7" size for sympathy cards.


Supplies used:
Patterned paper - Brianna, K & Company (old, from my stash)
Narrow gold foil tape - Amazon .ca
Gold foil paper - Recollections
Floral cluster die - Hand Penned Petals Bundle, Stampin' Up
Butterfly punch - Martha Stewart (old, from my stash)
Glitter Dot stickers - Ecstasy Crafts
Here for you - Waffle Flower
Inside Out Sympathy - Catherine Pooler
Stardust glitter pen - Sakura
Catherine Pooler coloured inks
Blending sponges - Tim Holtz
Stitched Scalloped circle nesting dies - Tutti Designs
5x7" card bases & envelopes - Ohuhu (Amazon .ca)
Vellum - Stampin' Up

Friday, 21 June 2024

Ice Cream Z-Fold Card Trio


Welcome to Fun Fold Friday here on my blog! I had found these older ice cream ephemera pieces in a ziplock bag in my craft room so decided to pull them out and use them on my ice cream cards this year. I haven't made a Z-Fold card in awhile so that is what I did as well - they are my very favourite fun fold card to make.


When my Mom was a little girl, there was always a July parade in their town. Afterwards her dad, my Grampa, would take her to the drugstore for an ice cream soda. She continued the tradition with my brother and I, taking us for ice cream on that special day in July.  I did that with our kids too - bringing my Mom along. We always made sure she had ice cream on that day. 

Now that she has passed, we continue the tradition - raising an ice cream cone or sundae to her in a toast,  and our grandkids think it's a great tradition! I also send my family ice cream themed cards to celebrate. 


I love the Lacy Layer dies from Waffle Flower and have managed to collect most of the shapes. There are alternating scalloped & stitched/straight edge dies in each set, which is what I used for these cards.


I added Pops of Colour (glitter glaze) on each of the ice cream pieces for some shimmer and shine, and added the elements using thin foam tape. The Celebrate was stamped in grey ink onto narrow cardstock scraps then I fishtailed the ends.


Here is a look at the inside of the above card, but they were all done the same.


Supplies used:
Patterned paper - Heart Throb, Queen & Co (6x6")
Petite Prints - Doodlebug (Love Notes)
Lacy Circles - Waffle Flower
Pops of Color, Icicle - Scrapbook .com
Ice cream ephemera - unknown, from my stash
Happy stamp - Biggest Wish, Stampin' Up
Coloured pens & markers
Share a Milkshake - Stampin' Up
Catherine Pooler coloured inks


Sunday, 16 June 2024

Ice Cream Shaker Card


Every July (on a certain day) my Grandpa would take my Mom to the Soda Shop in their little town for an Ice Cream Sundae. She continued the tradition with my brother and I even once we were living on our own!  When my Dad could no longer drive, we would make sure my Mom got her ice cream sundae on that day. Now that she is in heaven, we keep that tradition going with our children and grandchildren. It's a happy way to honour her memory!  I also send them an ice-cream themed card.


Today I'm sharing the first ice cream card that I'll be sending this year and I couldn't resist making this one a shaker card. Or Faux Shaker.  Or Edge to Edge Shaker.  Or one of the other names these go by 😂.  

I cut the patterned paper to 4 x 5.25" and cut a piece of transparency 5 x 6.25" (1" bigger all around). Scoring the transparency to fit around the decorated piece of patterned paper, I mitred the corners and attached it to the back of the patterned paper on 3 sides. After pouring in the sequins on the front side, I attached that one transparency edge on the back and my 'faux shaker was finished. The ice cream element, gem stickers & word die were added on top of the transparency and the whole piece was adhered to the front of my card.


Inside I added some scalloped circles, die cut phrase and gem stickers - which were attached with a folded paper spring.


Supplies used:
Patterned paper - Neapolitan, Dear Lizzy (old)
Transparency
Peel Off gem stickers - Dazzles
Sequins - Stash
Scallop Stitched Nesting Circle dies - Tutti Designs
Blending Brushes - Taylored Expessions
Washi Tape - possibility Doodlebug Designs
Big Scripty Words - Lawn Fawn
Rainbow patterned paper - JJ's Rainbows, Waffle Flower
YAY die - the Stamps of Life
Mini Alpha & Numbers - Karen Burniston

Thursday, 30 May 2024

Four Winter Scene Cards


I hope to work on holiday cards all year long, so here are the ones I made in May.

Since I was so happy with how the die cut deer looked on the Mini Slimline cards I shared in April, I used the die again for these 5x7" holiday cards! (You can see the other cards HERE).  Of course the cards started with the pretty scenic patterned paper which I cut into 4x6" panels. They were matted with 4.25x6.25" blue cardstock and mounted to the card bases. 


I lightly placed the deer where I would want it on the card fronts, then stamped the sentiment on the front. I added the deer (which were cut from white pearl card stock) with foam tape then added a few silver snowflake stickers for some sparkle.


I stamped the same sentiment inside all four cards and added a single snowflake sticker inside. I'm so proud of myself for USING and not hoarding this pretty paper, which I bought back in early November. I just cut into four sheets (had to hold my breath, ha ha) and used it.

Supplies used:
5 x 7" card blanks and envelopes
Patterned paper - Winter Backgrounds (6 x 6"), Paper Rose
White pearl cardstock
Catherine Pooler inks
Sentiment - Christmas Classics, Stampin' Up
Snowflake Peel-Offs - Stamp On It
Inside - Wonderful Christmas, Waffle Flower


Friday, 17 May 2024

Birthday Wishes Pop Up Card Duo


Welcome to Fun Fold Friday here on my blog!

I wanted to use this paper pad, and since there are two sheets of each design I made two cards. While I didn't plan on making two identical cards, I know they will be going to different people so I just went with it.  This is another one of those paper pads that has some large prints that are hard to make work with A2 sized cards. These two are 5x7" and they turned out really well. I added a die cut Birthday Wishes (and the shadow) with foam tape then a few Glitter Dot stickers for some shine.


Inside I used the Paper Frames Pop Up and decorated with some fussy cut plants from a retired Stampin' Up paper package. 


Since those plants were fussy cut and in my embellishment binder, these cards didn't take very long to create which is always a bonus.


Supplies used:
Patterned paper - Farmhouse, Craftsmart (I think I got it at Michaels a few years ago)
5x7 Nesting dies - Waffle Flower
Birthday Wishes die - Simon Says Stamp
Paper Frames Pop Up - Karen Burniston
Plants - fussy cut from Stampin' Up papers (old)
Sentiment - Little Something Sentiments, Catherine Pooler
Glitter Dot stickers - Ecstasy Crafts
5x7 Card blank and envelopes


Wednesday, 8 May 2024

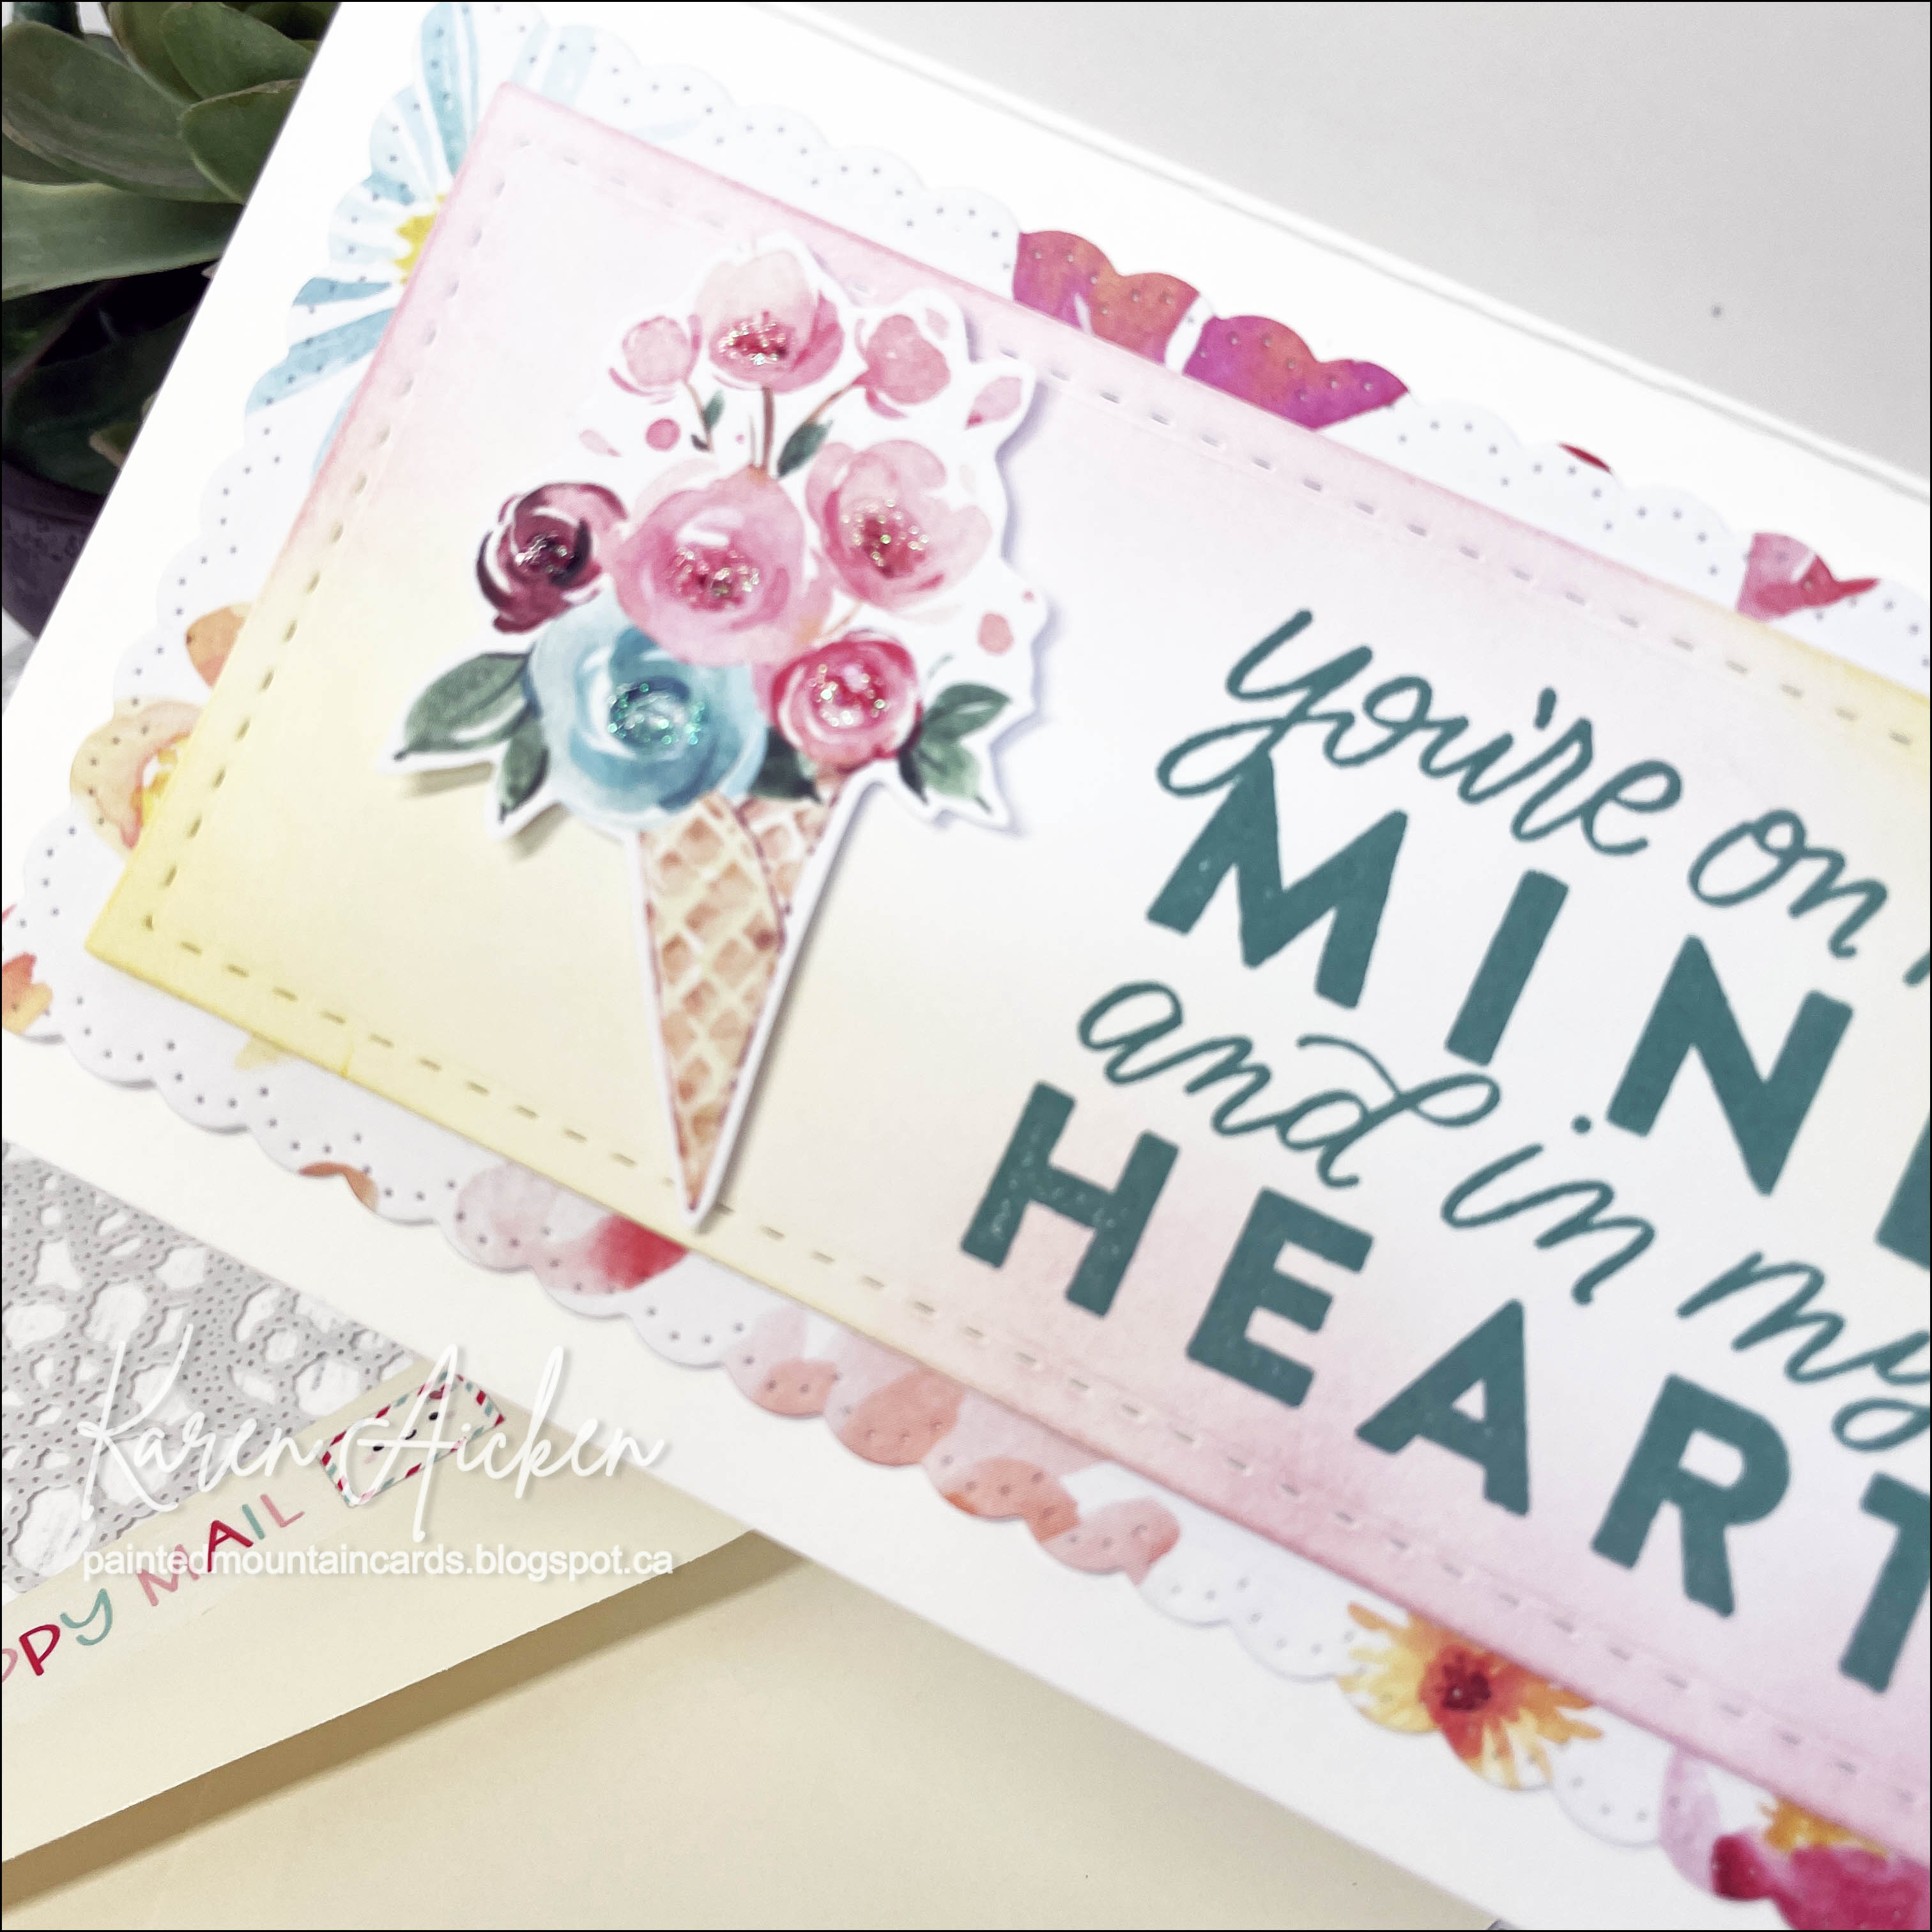
'On my Mind' Slimline Card


Well this is the last card I'll make with this patterned paper. Several of the patterns in the package are just too big for cardmaking. I've used most of them, including the ones I liked the best and I'm calling it done. The decorative elements I used on this card were actually fussy cut from one of the sheets!

I love that little girl holding the large bouquet.  It's hard to see in the photos, but I added clear glitter glue to the flower centres for some sparkle.


Below is a peek at the inside. I added more patterned paper, and a stamped sentiment onto a white panel that was inked with blending brushes, then ... a few more fussy cut elements.


Supplies used:
Patterned paper - Circle of Love, Stamperia
Slim Lacy Layers - Waffle Flower
Outside words - Essential Sentiments, MFT Stamps
Inside words - Good Feelings, Stampin' Up
Blending Brushes
Pops of Color, Snowflake - Scrapbook .com
Catherine Pooler coloured inks

Monday, 29 April 2024

Dog Bone Shaped Sympathy Card


I decided to make a pet sympathy card to have on hand, so pulled out the Slimline Dog Bone die from Whimsy Stamps. I also made it into a shaped card! To do this I die cut the bone three times. Twice from white card stock and once from the rainbow slimline patterned paper. After doing the stamping on the rainbow piece and adding the die cut dog, I adhered it to one of the white bones. For the remaining white bone, I scored those top bumps about 1/4" down from the top. Adding adhesive ABOVE the score line I attached the two pieces together. Ta dah - a shaped top folding card!


Now if I'd been smart, I would have done the inside stamping before I adhered the back to the card front. Instead, I stamped on a fishtail banner and adhered it over a scrap of the rainbow paper inside.


One more look ...


Supplies used:
Patterned paper -  Rainbow Magic Slimline paper pad,  Whimsy Stamps
Slimline Dog Bone die set - Whimsy Stamps
Pawfect Sentiments - Waffle Flower
Get Grounded stamps - Ink Blot Shop
Critter Condolences - MFT Stamps
Wink of Stella

Sunday, 21 April 2024

Small Butterfly Tri-Shutter Card


Welcome to Fun Fold Friday here on my blog!

Today's card is petite when it comes out of the envelope, but it opens up nice and big. Years ago I ordered a Tri-Shutter die set because I couldn't believe the price point! Then I couldn't believe the size of it when it came - no wonder it was priced so well. Totally MY fault for not paying more attention to the size that was clearly listed when I ordered.  The set was intended for pocket scrapbooking, so folded the card is 3x4". 

I actually wanted to see if I could use a printed note card for the card base and the die fit perfectly! This copper foiled one is from my stash and it's just SO pretty with that foiling. I did adjust the center fold a little so I could mount the larger matted rectangle & butterfly on it. The ATC dies from Waffle Flower are the perfect size for this card as well so that made me happy.

The larger butterfly die was included in the Sri Shutter die set and I added a smaller butterfly as well. The copper metallic card stock was in my stash and I coloured gold glitter dots with a rust alcohol marker so they would match a little better.


While I don't get a ton of use out of it, I do make sure to pull it out now and again to make a card. I shake my head every time, at how foolish I was. 


Supplies used:
Tri-Shutter die set - Sizzix (old)
Foiled note card - the Paper Studio
ATC Layer dies - Waffle Flower
Subtle Dynamic Embossing Folder - Stampin' Up
Copper foil cardstock - Recollections
Fluttering By Stamps & dies - Waffle Flower
White pearl cardstock scraps
Little Etched Butterflies - Paper Rose
Glitter Dot stickers
Alcohol markers

Friday, 5 April 2024

Party Dog Pop Up Card


Welcome to Fun Fold Friday here on my blog!

I made this card for a dog-loving friend and I think she is going to get a kick out of it. I used one of the rainbow dog note cards that I have been having fun with - (I have a YouTube video sharing about those note cards HERE.)  For this card, the note card front was matted onto black card stock and I added a plaid washi tape strip down the left side. First the washi tape was applied to a strip of white card stock the length I wanted it and the ends tucked under. That way they don't peel or lift from the card base.


Just for some sparkle and fun, I also added a party hat and cupcake to the dog then the word celebrate (all dies by Karen Burniston) using both the same plaid washi tape and rainbow holographic card stock. 


Inside I used the Raising Platform along with the Happy Birthday (and Happy Birthday Shadow) & balloons from the Big Birthday Charms. In my head I wanted to do something with strips of acetate on the arms, but it didn't work out when I was making the card so I will have to think on that some more. But I am happy with how the card turned out - it's so happy & cheerful!


Lots of dimension with this Raising Platform Pop Up die set 🥰.


The sentiment was stamped onto layered Crosshatch Circles - I was careful to check for catch points before I adhered everything down. The dots are from my all time favourite stamp - a peg stamp by Stamps by Judith.


Supplies used:
Raising Platform Pop Up - Karen Burniston
Happy Birthday and Happy Birthday Shadow - both, Karen Burniston
Birthday Charms - Karen Burniston
Word Set 2 Birthday - Karen Burniston
Crosshatch Circles - Karen Burniston
Big Birthday Charms - Karen Burniston
Rainbow Dog note card - Amazon .com
Plaid washi tape - Doodlebug Designs
Patterned Paper - Love Notes Tiny Prints, Doodlebug Designs
Rainbow Holographic Cardstock - Recollections
Stickles glitter glue
Catherine Pooler coloured inks
White pearl cardstock
Patterned paper - JJ's Rainbows, Waffle Flower
Pawfect Sentiments - Waffle Flower
Posca Paint Pen
Dot stamp - Stamps by Judith
Peeking Pets - Catherine Pooler
5 x 7" card base and envelope