Hello! It's time for Karen Burniston's Designer Challenge, where she challenged her Design Team: "Theme: "ROCK, SPIN, POP, SWAP!" - make a card that features one of four motion pop-ups - Spinner Square, Rockin' Rectangle, Parcel Pop-up or Pop 'n Swap. You may incorporate new dies into this challenge if you like." New Dies? Yes, you read that correctly, there will be new dies and you can see them all HERE.
I usually work ahead for Design Team posts, and as I say in the YouTube Video I created my Designer Challenge card in early July as my sample new dies were taking a bit longer to reach me than usual and I wanted to get this card made and in the mail. That's why I didn't use any of the new dies in my card today, but I will have a couple of Pop Up cards made with Karen Burniston's new release coming up this week! That's also why the card says Happy July. 😊
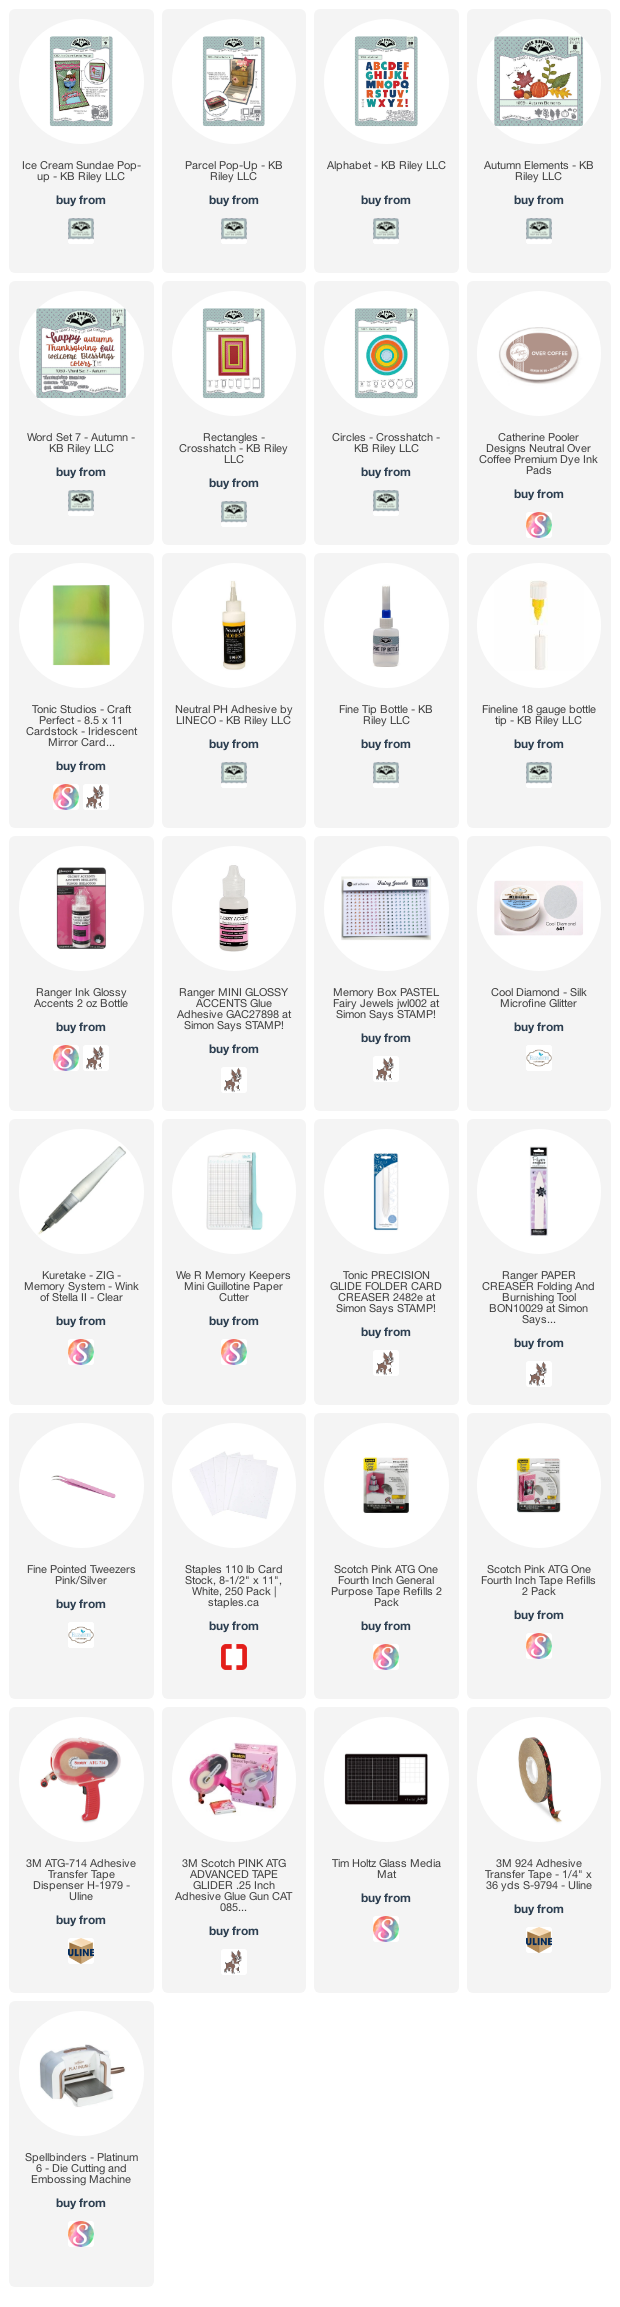
I chose the Parcel Pop Up for my card today, adding the decorator dies from the Ice Cream Sundae Pop up as well as the Alpha. Everything is linked below.
The ice cream cone slides out from behind the sundae as the card is opened, and back down as it's closed.
Every year I send Ice Cream cards to my kids in honour of my Mom. When she was a little girl there was a parade in their small town each July and afterwards her dad (my Grandpa) would take her for an ice cream soda. She made sure to take my brother and I for ice cream on this day each July and I did the same with my kids and now my grandkids. When my Mom lived away from us for a few years, I started sending her Ice Cream themed cards since we couldn't be together for an ice cream sundae and now I make sure to send my kids and my brother an ice cream card in July.
I went over the details in my video, so for now I will link the supplies used for my card. I will be back tomorrow with a NEW RELEASE card featuring the new Garden Bench Pop Up!
For your convenience I have linked many of the products used below. Some may be affiliate links which means if you use these links to purchase I may earn a small commission but there is NO extra cost to you.
Additional Supplies: Copic markers Kraft, red and purple card stocks Silver foil card stock - Stampin' Up black fine point marker
Hello crafty friends ... The Karen Burniston Design Team is having a Blog Hop to kick off previewing the new release AND there is a Giveaway! Each of the Design Team will have a chance for you to win a $25 Gift Certificate! Details on how to win are at the end of my post.
I have a link below the prize information, that will take you to a 'flip book' of the new release, which is always fun to see.
A friend gifted me with this fun nautical themed 6 x 6" patterned paper, so I used it for my card today. As usual, I created the inside first, then used the leftover strips of patterned paper to then decorate the front. The 'Ahoy Matey' piece is a cut-apart from the paper pad, and the HELLO is from the Word Set 6 Summer.
Remember you can always see my interactive cards on my YouTube Channel HERE
Inside I used the NEW Treasure Chest and Treasure Charms with the older Sea Animals and Ocean Animals ... paired with the Parcel Pop Up. Whew - that was a mouthful.
When you lift the flap of the treasure chest, you see the gold and jewels inside, and a stamped greeting. I also used some crab arms to hold onto the matted labels (from the new Paper Frames Pop Up) which is where we can sign our names.
GIVEAWAY:
To celebrate the release Karen Burniston and each of the Karen Burniston - KB Riley LLC Design Team members will be giving away a $25 Gift Certificate to some lucky person who comments on our blog posts, so make sure you join the hop and comment on everyone's blog post. Winners will be randomly chosen from ALL of the blog hop comments received on our blog posts by Monday, April 13th 2020. Lots of chances to win some goodies, so just leave a comment on this post or any other blog hop posts to enter! Don't forget to leave some way for us to contact you, in case you are the lucky winner as often times we draw a name and have no way to reach you and have to keep drawing. Trust me - this happens often as people assume if they leave a comment we can reach them.
Hello my crafty friends Today is Fun Fold Friday here on my blog and today I'm sharing the card I made for our Vet's office. Our dogs are both due for vaccinations right before Christmas each year, so I always bring the office a yummy treat and hand made card.
I added a stamped and die cut Bulldog wearing a Santa Hat inside the Parcel Pop Up.
The scallops, bow and border strip were cut from white glitter paper so there is lots of shimmer and shine on the card. Note - the Scallops are actually the dies from the Cake Trims!
It's so cute the way the dog slides in and out of the package when you open and close the card.
Supplies:
Dog stamps and coordinating die - Recollections
Bristol Smooth Card Stock
MISTI
Tombo Markers
Tombow Blender
1116 Parcel Pop Up - Karen Burniston Nuvo Drops
Sakura black glaze pen
Green and white card stocks
Patterned paper - Recollections
White glitter card stock, Opal White - Best Creations
Hello my crafty friends Today I'm sharing a card that I made using the new Parcel Pop Up along with the new Flap and Closure, both by Karen Burniston. It's mostly white on white with one of the whites being a super sparkly glitter card stock. I love some sparkle on my holiday cards!
Here is a short YouTube video so you can see the card in action - it's always more fun that way, and also easier to see how the mechanism works. Note that not just the igloo slides up and down out of the snowbanks, but also the penguins on either side!! More details are below the video.
As usual, I finished the card front after the inside was done. I did plan out where to stamp the penguin, but forgot about the circle flap so his beak is covered up until you open the flap. I decided to be OK with it though - no way I was going to start over or even start pulling it apart to swap out the stamped panel. I had waaaaaay too much time invested in this one!
I also used two magnets to hold the flap closed, since the card is larger than A2 and the card stock is on the thicker side.
To create the arms for the penguins, I die cut the second largest Crosshatch Circle from Acetate, then traced the inside edge of the 3rd largest Crossatch Circle onto the acetate circle. Once the circle was cut in half, I simply fussy cut along my traced line to give me to acetate arcs to animate the penguins. The cute scarf comes from the Winter Animals, and the hat from the Christmas Animals. They fit perfectly!
TIP: If the recipient were to open the card further than 45 degrees, there was a possibility that the penguins feet would come above the snowbanks and create a catch point preventing the card from closing without creasing or tearing the penguins. My solution was to add an acetate strip to their feet than hangs down into the centre of the card. How long you make this strip would depend on how high up you mount your images, or how big they are. But this solution works like a charm.
I know just who this card is going to ;-)
Supplies
Heavyweight white card stock
1116 - Parcel Pop Up - Karen Burniston
1118 Flap & Closurep - Karen Burniston
White glitter card stock - Craft N Craftin'
Playful Penguin stamps - Stampin' Up
Black Glaze and white gel pens - Sakura
White and red cad stocks
1006 Nature Edges - Karen Burniston
Iglo die - Your Next Stamp
Scotch Tape
1057 Circles Crosshatch - Karen Burniston
Acetate
1061 Christmas Animals (hat) - Karen Burniston
1016 Winter Animals (scarf)- Karen Burniston
1-65 Merry Christmas - Karen Burniston
Words inside - Hero Arts
MISTI
Stitched snowflake dies - Lawn Fawn
1062 Evergreen Pivot (snowflake on front) - Karen Burniston
Hello my crafty friends It's Fun Fold Friday here on my blog and today I'm sharing the Pop Up card I made for Alma's 3rd Birthday. I used Karen Burniston's new Parcel Pop Up for the inside, so kept the front nice and simple. Alma is such a sweetheart, the "You're Sweet' die was perfect for the front.
First though, here is a short YouTube video so you can see the card in action ...
I cut the 'You're Sweet' from recycled packaging, and adhered it to the balloon patterned paper panel with a bakers twine bow & a printed heart element.
I love Doodlebug Designs, so pulled out a package of printed elements and added several to the card. The main one is the layered ice cream cone, which slides in and out of the wrapped present as the card opens and closes. I added a star, purple heart, party hat and rainbow as well.
The rainbow and ice cream got some shimmer from a Wink of Stella pen, and I added a pink die cut border using Border Blends Party.
Finally, here is a side view so you can see the pop up a little better.
I've been having lots of fun with this new die by Karen Burniston, and you can expect to see it used again and again. Supplies:
Patterned paper - Let's Party, Echo Park
1116 Parcel Pop Up - Karen Burniston
Printed elements - Doodlebug Design
Pink and white card stocks
Seam binding
Recycled packaging
1087 You're Sweet - Karen Burniston
Wink of Stella
1055 Ovals Crosshatch - Karen Burniston
Circle die - Hero Arts
Word stamp - Happiest Birthday Wishes, Stampin' Up
Today is Fun Fold Friday here on my blog and I'm sharing another sneak peek of Karen Burniston's new release. This card uses the new Parcel Pop Up as a Gift Card Holder! First though, the front of the card. I chose some bright and cheerful papers from my stash, since the Disney Parks are full of fun and colour. The Howdy was cut three times; twice from kraft and once from patterned paper. When adhered together they give a nice chunky element, similar to chipboard.
Below the YouTube video, I have more still shots and a full supply list.
I used the coordinating dies to decorate my present, tying it off with bakers twine and a little tag & heart.
The 'Enjoy the Ride' is so perfect for a Disney Park Gift Card!!!
It's fun that the gift card slides in and out of view as the card is opened. The new Parcel Pop Up is lots of fun and very versatile as you can see by the projects already created by the Design Team.
I placed the Gift Card inside the mechanism, then carefully closed & opened the card to be sure I didn't have any catch points and I would know how far down to attach it. Then I added a Glue Dot to the back of the gift card and lightly tapped it onto my sweater a couple of times. It's sticky enough to hold the Gift Card, but the Gift Card can easily be removed without ripping the mechanism. Karen B also suggested a 'belly band' to hold the Gift Card so it could just slide right out.
Supplies:
1116 - Parcel Pop Up - Karen Burniston (shipping mid November 2019)
Patterned paper - All About a Boy, 6 x 6" Echo Park
I have a long post for you today, sharing just one of my ideas for Karen Burniston's new Parcel Pop Up. Honestly, I have so many ideas for this die set I never know which one to start with! I started out thinking the card interior would be a dragon spitting fire, but as you can see I went in a different direction. I have a quick YouTube video for you to see the card in action, and below the still shots I have a tutorial on how I created some of the pieces for this sssssnake card. First though, the card front. I used the new Happy Valentine's Day and added a 'snake tail' using a border die from the Tropical Scene set.
I think this card is lots of fun inside, with the snake tongue sliding in and out of his mouth and the 'love you' heart appearing when the card is fully open. That heart comes from the new Love Charms. It's like playing with a puppet, ha ha.
I added some extra S's for a snake's hiss on the ssssSweet part of the sentiment.
OK - for those that are interested, this is how I made the snake face. I would strongly recommend making a sample card with old card stock first, so you can see how everything goes together. Especially if you are new to the Parcel Pop Up! First, I took the second largest square from the crosshatch rectangles and die cut it from the green pearl card stock. Then I ran it through with the Bubbles embossing folder, and cut it with a trimmer so I had a piece that was 2-1/4". That is the piece on the left, which will become the snout. The narrower piece will be what we use for the eyes in the next step.
I took the second smallest circle from the Crosshatch Circles and traced the top half onto the narrower green rectangle as shown.
Next, add a dot in between the eyes and connect that dot with the eye tracings using your pen or pencil.
Now, use scissors to trim the top portion away and discard ... and ... tada! You have your eye piece!
After your Parcel Pop Up mechanism is finished and adhered inside your card, lay this bottom rectangle piece on top of the mechanism. Don't adhere it yet. I centred it above the two supports (which will become the fangs for our snake) and made a small dot on the back side so it wouldn't overhang on the sides. Alternatively, you could just make a dot about 3/16" in from each bottom edge (top edge in the photo). I used scissors to trim from the bottom corner up to my dot, slicing off a long narrow triangle from each side. I just noticed in the photo below that the snout piece is upside down - you want the wider part up under the eyes as you can see in the finished card photos.
There - this next photo shows that snout piece in the right direction - wider below the bottom of the eyes and the narrower end towards the open mouth of the snake.
For the snake forked tongue, I die cut the fish tail banner from the Triple Flip die set using red card stock. I trimmed it to 3" long and discarded the small fishtail end. Then I eyeballed how deep I wanted the forked tongue to be and added a dot on the back side.
Use scissors to trim from each corner up to the dot and discard the fallaway piece.
The eyes were easy, - I cut the eyeballs with the smallest Crosshatch Circle because I liked the detail it gives around the edge. The pupils? They are the Footballs from Tiny Accessories 3! I cut the fangs from white card stock (the horns from the Cow & Coat) and adhered them onto the two supports. Once they were trimmed flush with the platform I was able to adhere the snout to the top of the platform and then used foam tape to adhere the eye piece just above it. Oh, and the nostrils were cut with the small stitched circle which would be the centre of the sun from the Tropical Scene. For the snake tail on the card front, I used the sand/hill from the same die set. This card is quite bulky, because I couldn't resist adding so much foam tape. But it will still fit in an envelope for hand delivery or would require extra postage for mailing. While I made a snake, it could be a dragon or frog or other type of critter too ... you are only limited by your imagination! You can also use all different dies in your collection. I chose to only use dies by Karen Burniston, since this is a Sneak Peek of her new release. But in future cards I will be adding other dies/shapes to the Parcel Pop Up. Supplies: Green pearl card stock 1056 Squares Crosshatch - Karen Burniston Tiny Bubbles Embossing Folder - Cuttlebug 1057 Circles Crosshatch - Karen Burniston Gold pearl card stock Black, green, white, kraft and red card stocks 1095 Tiny Accessories 3 (football) - Karen Burniston 1104 Triple Flip (fishtail banner) - Karen Burniston 1116 Parcel Pop Up - Karen Burniston SHIPPING MID NOVEMBER 2019 Black Archival Ink 1038 Tropical Scene - Karen Burniston 1076 You're Sweet - Karen Burniston 1114 Happy Valentine's Day - Karen Burniston SHIPPING MID NOVEMBER 2019 1093 Cow and Goat (horns) - Karen Burniston Patterned paper - All About A Boy, Echo Park 6 x 6" pad 1083 Word Set 9 Love (S's) - Karen Burniston 1113 Love Charms - Karen Burniston SHIPPING MID NOVEMBER 2019 Sakura white gel pen Card size - Standard Tall A2 (4.25 x 5.5")
Oh My Gosh, I'm so happy with how this card turned out! Yes, it is a Valentine. But part of Karen Burniston's new release IS for Valentine's Day and I don't know about you but I am always running out of time to make enough Valentine cards. Plus, I wanted to show you a different way to make a Valentine's Day card - one that isn't all pink and filled with hearts.
The front has the NEW Happy Valentine's Day die - which cuts as a single piece which makes it easy peasy to adhere to your projects. I cut it from pink mirror card stock for some sparkle and shine. The NEW Flap and Closure is fun too ... and I used magnets here to keep the card in the closed position and prevent an accidental reveal of the inside. Note - next time I will use two magnets instead of the single one I used on this card.
I decorated the front with the Outdoor Scene dies adding the small heart that comes with the Knight and Dragon.
Inside is the NEW Parcel Pop Up, which is way more fun to see in action than still shots. So here is a YouTube video for you ...
I was crazy about this dragon when Karen B released the Knight and Dragon, and I haven't used it nearly enough. I love how CUTE this guy is - so I used three on this card. The ones on either side are stationary, but the heart-holding dragon slips in and out of the clouds as the card opens and closes.
That moving dragon is holding a pink foil heart, and the XOXO from Word Set 9 is also cut from pink mirror/foil card stock.
Once the card was done and I had the dragon where I wanted him, I noticed his bottom feet were catching on the lip of the mechanism as he slid back down behind the clouds. I adhered a piece of acetate in that spot to easily remedy that and now the dragon moves smoothly with no catch points.
I like that there is a stitching line both above and below the cutting line on the clouds from the Nature Edges and I was able to use both the positive and negative portions to build up my clouds and hide the Parcel Pop Up mechanism.
I hope you've enjoyed my card today, and that I've shown you how versatile the new Parcel Pop Up die set can be!
Supplies: 1116 Parcel Pop Up - Karen Burniston 1118 Flap & Closure - Karen Burniston Light blue and green peal (Stardream) card stock 1046 Circle Charm Pop Up (circle) - Karen Burniston 1114 - Happy Valentine's Day - Karen Burniston Blue, cream and green card stocks 1006 Nature Edges - Karen Burniston Acetate 1035 Knight & Dragon - Karen Burniston Black Sharpie Sakura white gel pen 1045 Outdoor Scene - Karen Burniston 1083 Word Set 9 Love - Karen Burniston Magnets Pink mirror card stock - Tonic Studios Card Size 5 x 4.25"