Hello my crafty friends and welcome to Karen Burniston's October Designer Challenge with the Theme: {"HALLOWEEN or FALL" - create a card with a Halloween or Fall theme.} I created a Mini Slimline for Halloween in rather untraditional colours.
The Slim Bat Pattern Plate was cut from black cardstock and layered over a background of rainbow packing tape that was attached to white card stock. I've said this many times before, but you need to go slowly and have lots of patience as the packing tape is thin and tends to stretch and buckle. Your end result is colourful, but not 'perfect'. You could also use patterned paper in stripes, or create a rainbow of coloured cardstock strips for your background. This one was cut with the Slim Crosshatch Rectangles, which is a die set I use constantly.
The Happy Halloween & shadow were added to the front, and also some sparkly bling on several of the bats.


The rest of the Design Team is linked on the right side of my blog and I hope you will check out what they came up with for the challenge. Karen Burniston will have her post tomorrow (Wednesday) on her BLOG.
This blog uses affiliate links whenever possible. This means, that at no cost to you, if you make a purchase through one of my affiliate links that I may receive a small commission from your purchase. I only link products that I own, love and use for my card making and not every link below is an affiliate one! 😊
Any supplies I'm unable to link are listed at the very bottom of my post.
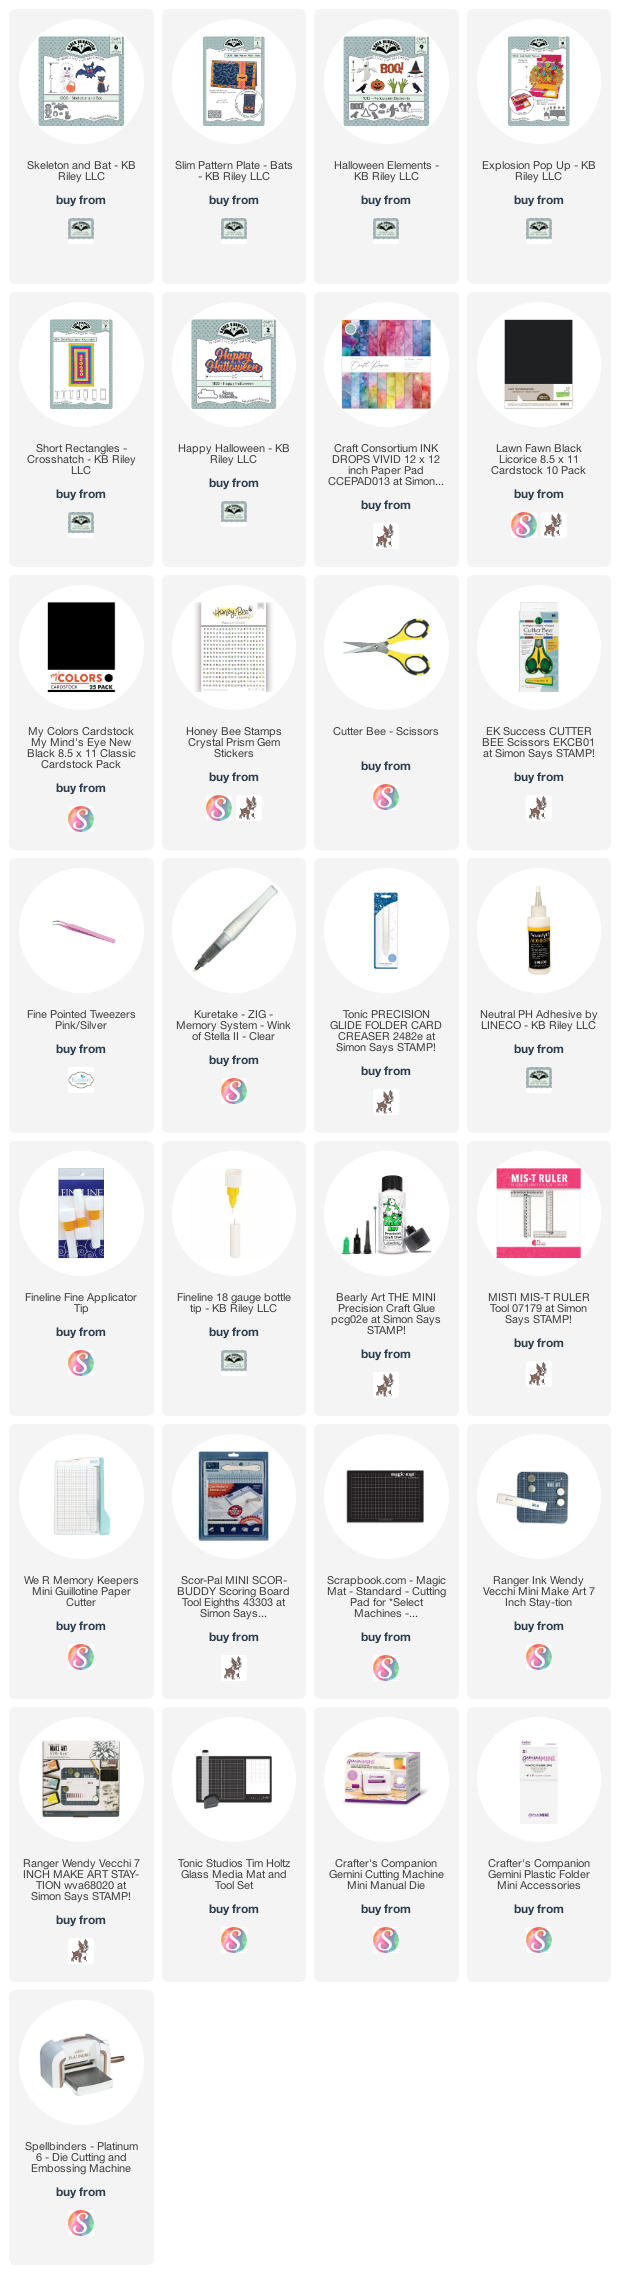
Additional Supplies:
Rainbow packing tape - Amazon.ca (several years old)
White cardstock
Rainbow packing tape - Amazon.ca (several years old)
White cardstock