Showing posts with label Frantic Stamper. Show all posts

Monday, 27 January 2025

Slimline 'New Dog' Card


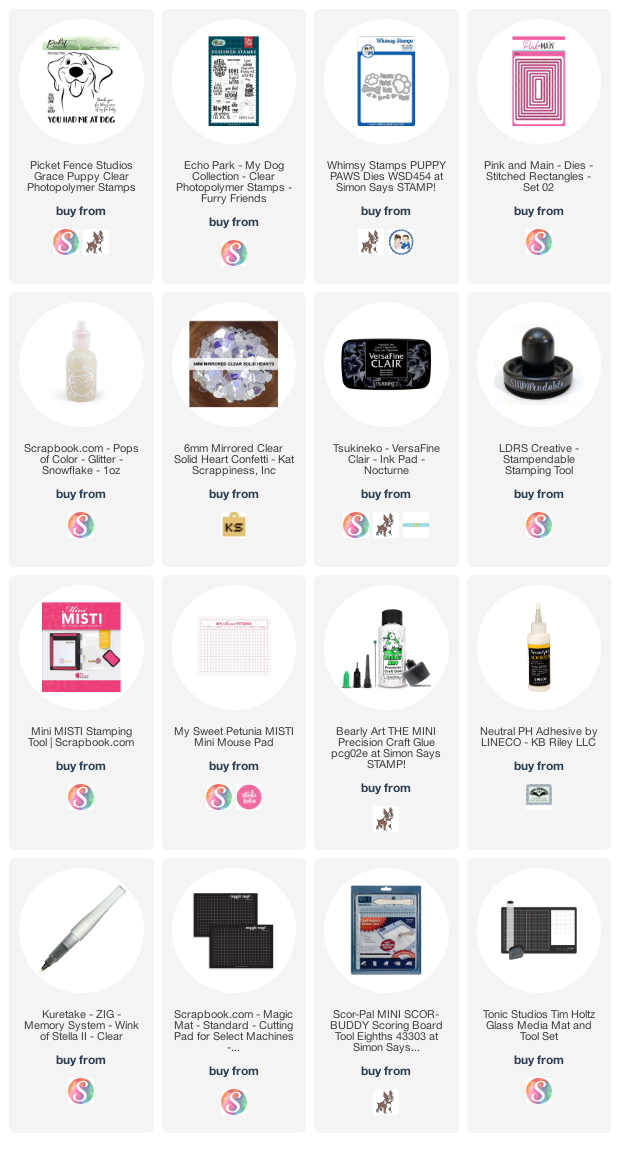
It's Masculine Card Monday here on my blog, and today I'm sharing the card I made for friends who welcomed a new dog into their family.

It was fun to pull out this bone shaped slimline die set (Whimsy Stamps) for their card. Slimline cards are hard to photograph in a normal square shape for social media, so in the photo below I inserted a pic of the inside, where we wrote our personal message.


Supplies used:
Slimline Dog Bone set - Whimsy Stamps
Patterned paper - Gilded Ink, Recollections
Words/Dog stamps - Dog Happiness, Frantic Stamper
Hearts - Hero Arts
Pops of Color - Scrapbook.com

Tuesday, 7 May 2024

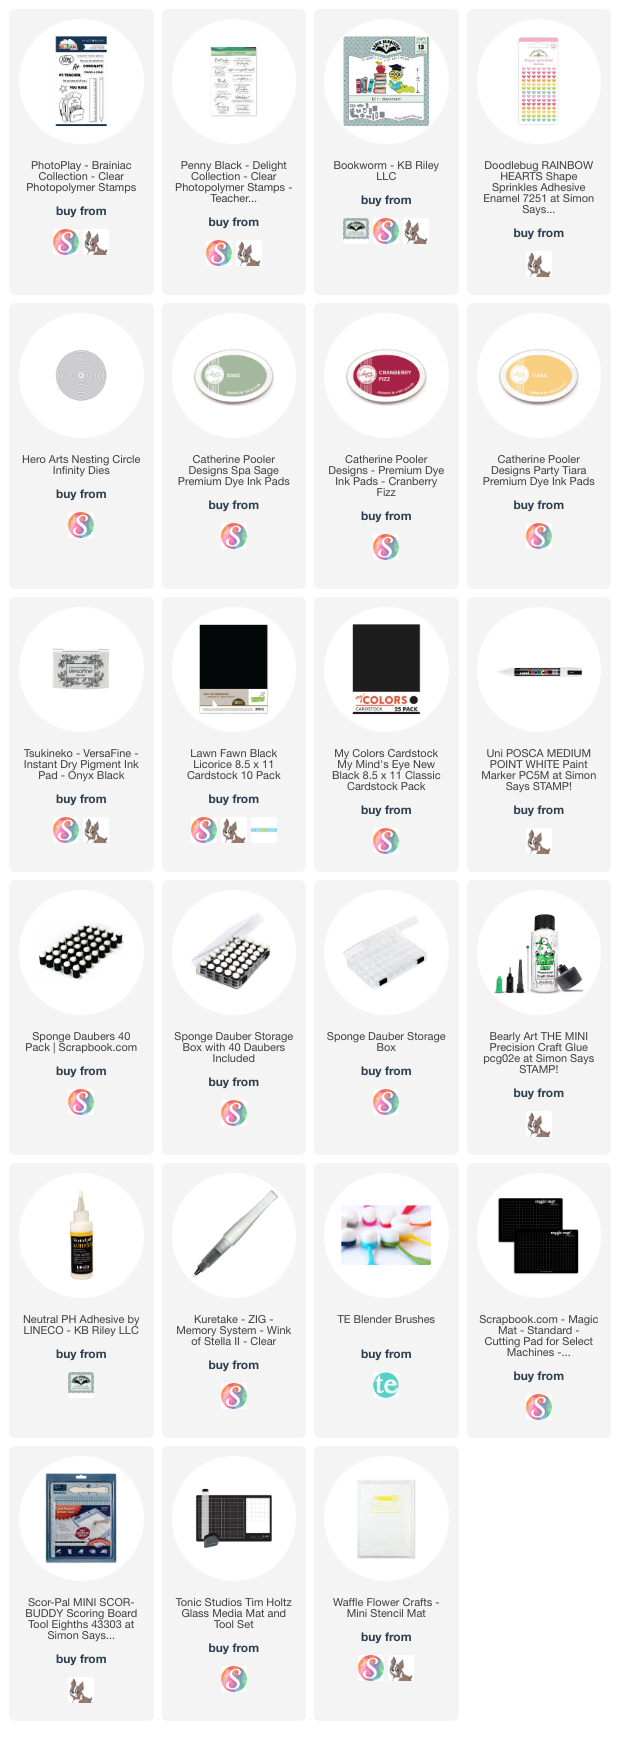
Wobbling Apple Teacher Card Duo


This pair of journal cards was in an old Project Life kit - I bought a couple of kits to use for cardmaking when they were on sale a few years ago. I thought these two would be good for 'end of school' or 'back to school' cards for the grandkids, but ended up making Teacher Appreciation cards with them instead!


I stamped 'thank you for all you do in between the pencils, matted the 4x6" journal card with black card stock and used a corner rounder punch on the corners of the black mat. Then I adhered those panels to white 5x7" top folding card blanks. 


The apples were die cut and adhered with Action Wobbles for some fun action. I stamped the sentiment directly inside the card then added washi tape to the envelopes. 


Supplies:
4 x 6" Journal Cards "This & That", Project Life
Corner Rounder punch - Creative Memories (old)
Simply Sentimental Teacher - Trinity Stamps
Teacher Apple dies - Frantic Stamper
Action Wobbles
Washi Tape - stash
5x7" card base & envelope

Sunday, 10 March 2024

Rainbow Dog Birthday Card Duo


I'm back today with a pair of cards using those rainbow dog note cards I've been playing with lately.( I have a YouTube video sharing about those note cards HERE.)  For these two I cut the front from the back of the note cards then trimmed the fronts down to 3.75 x 5". 

Those panels were popped up on some confetti printed note cards I've had for YEARS! I added stamped sentiments matted with rainbow holographic cardstock and those were also popped up with foam tape. 

I added a little Nuvo Glaze to the dogs and then a stamped panel inside.  Apparently I didn't take a photo of the insides.


Initially I made these for my nursing home donations but I think I might end up keeping them for my stash. They just make me happy!


Supplies used:
Rainbow dog note cards - Amazon .com
Confetti print note cards - DCWV (old)
outside stamps - Anything But Basic Birthday Wishes - MFT Stamps
Rainbow Holographic Cardstock - Recollections
Catherine Pooler coloured inks
Dog Happiness - Frantic Stamper
Nuvo Glaze
Stitched rectangle dies - Pink & Main
Inside stamp - Special Sentiments, Penny Black

Wednesday, 20 December 2023

Our Groomer's Christmas Card & Gift Card Holder


When I saw this sheet of cut-aparts (Photo Play) I knew I had to buy a sheet. I love the colours with the fun dog images and the 'spa day' one was just too perfect for what I had in mind.

Since Jasper had a grooming appointment last week, I wanted to bring the groomer a holiday card that included a Gift Card. They always do such a good job with Jasper and he looks totally handsome when he comes out. Not like the 'homeless Sheltie' look he has going in, ha ha.


First up is the Gift Card Holder. I used the measurements in my Gift Card Holder Tutorial (click HERE) and some patterned paper that matched the card. The purse/dog was fussy cut from another cut apart on the sheet and popped up onto the scalloped oval with foam tape. I stamped WOOF! on the oval to fill up some of the white space and the front was done.


Inside, there is the pocket for the Gift Card, and one more WOOF!. We wrote a personal message onto the inside oval.


After matting the 4 x 6" cut-apart onto pink patterned paper, I stamped a sentiment on a fishtail banner and adhered it over the words that were printed on the cut-apart. Then I created an infinity shaker with a transparency and filler that resembled bubbles from a bubble bath.


I stencilled on the card front from the upper left to the lower right corner, and also added stencilling to the envelope.


Here is a peek at the inside. The dog on the spa towel was fussy cut from one of the 3 x 4" cut-aparts on the sheet and I added Nuvo Glaze to the cucumber slices on his eyes. Too funny.


Having been asked how many cards I make I thought it would be fun to keep track this year. Many of my posts include more than a single card or project and below is my tally. 

Card Tally for 2023
January - 53 cards
February - 56 cards
March - 55 cards
April - 32 cards
May - 43 cards
June - 34 cards
July - 56 cards
August - 106 cards
September - 61 cards
October - 51 cards & 5 Tags
November - 46 cards
December so far - 19 cards (& 16 simple tags)

I decided to cancel the subscription that provided linked thumbnails to what products I used on my cards. It was costing me out of pocket each month, so I’m back to listing what I used.

Supplies:
Cut aparts - Pampered Pooch, Photo Play
Pink patterned paper - - Pampered Pooch, Photo Play
5 x 7" card blank and envelope
Outside sentiment - Encircled in Warmth, Stampin' Up
Catherine Pooler inks
Blending sponge - Ranger
Transparency
Bow Wow Stencil - Photo Play
Blending Brushes - Taylored Expressions
Snowflake peel offs - Ecstasy
Nuvo Glaze
Stitched oval dies- MFT Stamps
Scalloped stitched oval dies - MFT Stamps
Woof - Dog Happiness, Frantic Stamper
Blue patterned paper - Countdown to Christmas, MME (old!)

Friday, 26 May 2023

Gated Fun Fold Teacher Card


When I pulled out a package of school themed patterned paper, this half sheet was in the package and I knew I would make (another) Gated Fun Fold with it. I have so much fun with this fold - if you missed the video tutorial, you can find that HERE.  


On the inside panel I stamped two rulers and a sentiment, then added Karen Burniston's Bookworm holding an apple. That little worm is just SO darned cute!


Having been asked how many cards I make I thought it would be fun to keep track this year. Many of my posts include more than a single card or project and below is my tally. 

Card Tally for 2023
January - 53 cards
February - 56 cards
March - 55 Cards
April - 32 Cards
May so far - 40 Cards
 

Additional Supplies:
Patterned paper - Back To School, Echo Park
White cardstock
Red & green cardstocks
Apple die - Frantic Stamper

This blog uses affiliate links whenever possible. This means, if you make a purchase through one of my affiliate links that you pay the same amount but I may receive a small commission from your purchase. I only link products that I own, love and use for my card making and not every link below is an affiliate one! 😊

Friday, 13 January 2023

Dog Themed Gatefold Card


It's Fun Fold Friday here on my blog! This card started out as a Gatefold, but I went off the rails a bit. 😂  After creating the teal gatefold card base, I grabbed a water coloured looking notecard from my stash. I cut the front away from the solid white back with a stitched rectangle and did the stamping. Then I realized the panel was going to be pretty big for my card base.


While I could have created a 5 x 7" gatefold card instead, I decided to persevere and this is what I came up with. I love the dog image from Picket Fence Studios, and the funny sentiment is from Riley & Company - their Funny Bones line. I had ordered several Funny Bones stamps back in early November. 


Inside is where you can see the teal gatefold. I also added a magnetic closure! One magnet is on the front and the bump is hidden with a heart sequin. The corresponding magnet is under the dog bone on the right flap.


The inside center panel was adhered with a cardstock spring - these are from Sam Calcott - she uses them in several of her videos. I used a long one down the centre of the panel so it has some movement.

I hadn't kept track of which of her many video's I got it from, so spent some time yesterday morning searching through them to find a link for you. Whew - here it is!  


A couple of times last year, I was asked how many cards I make but I didn't have a clear number. Since a lot of my posts include more than a single card or project, I thought it would be fun to keep track this year.
2023 Tally:  23 Cards

Additional Supplies:
White cardstock
Water coloured looking note card - Hobby Lobby
Small Magnets - K&J Magnetics
Teal cardstock
Paw Print - Dog Happiness, Frantic Stamper
Brush Markers

This blog uses affiliate links whenever possible. This means, if you make a purchase through one of my affiliate links that you pay the same amount but I may receive a small commission from your purchase. I only link products that I own, love and use for my card making and not every link below is an affiliate one! 😊


Monday, 27 September 2021

Mini Slimline Mailbox Card

Hello! This is one of those cards that was very meaningful to the people I sent it to. They are moving to an acreage, fulfilling a long time dream of owning a farm. Thus the sentiment (which I just LOVE) on the card front. 

Why the mailbox? They had to find out how and where to collect their mail for this rural property, and once they had an actual mailing address I wanted to send them their first Happy Mail. 


The area they will be moving to is surrounded by farms, ranches and wooded areas. There are lots of wooded areas to explore right on their property ... so again - this sentiment is perfect. It's from the same set as on the card front and everything that is available is linked below.


This blog uses affiliate links whenever possible. This means, that at no cost to you, if you make a purchase through one of my affiliate links that I may receive a small commission from your purchase. I only link products that I own, love and use for my card making!

Additional Supplies:
Patterned paper - Oh So Ombre, Stampin' Up (retired)
Grey card stock
Copic marker

Thanks for stopping by

Monday, 15 March 2021

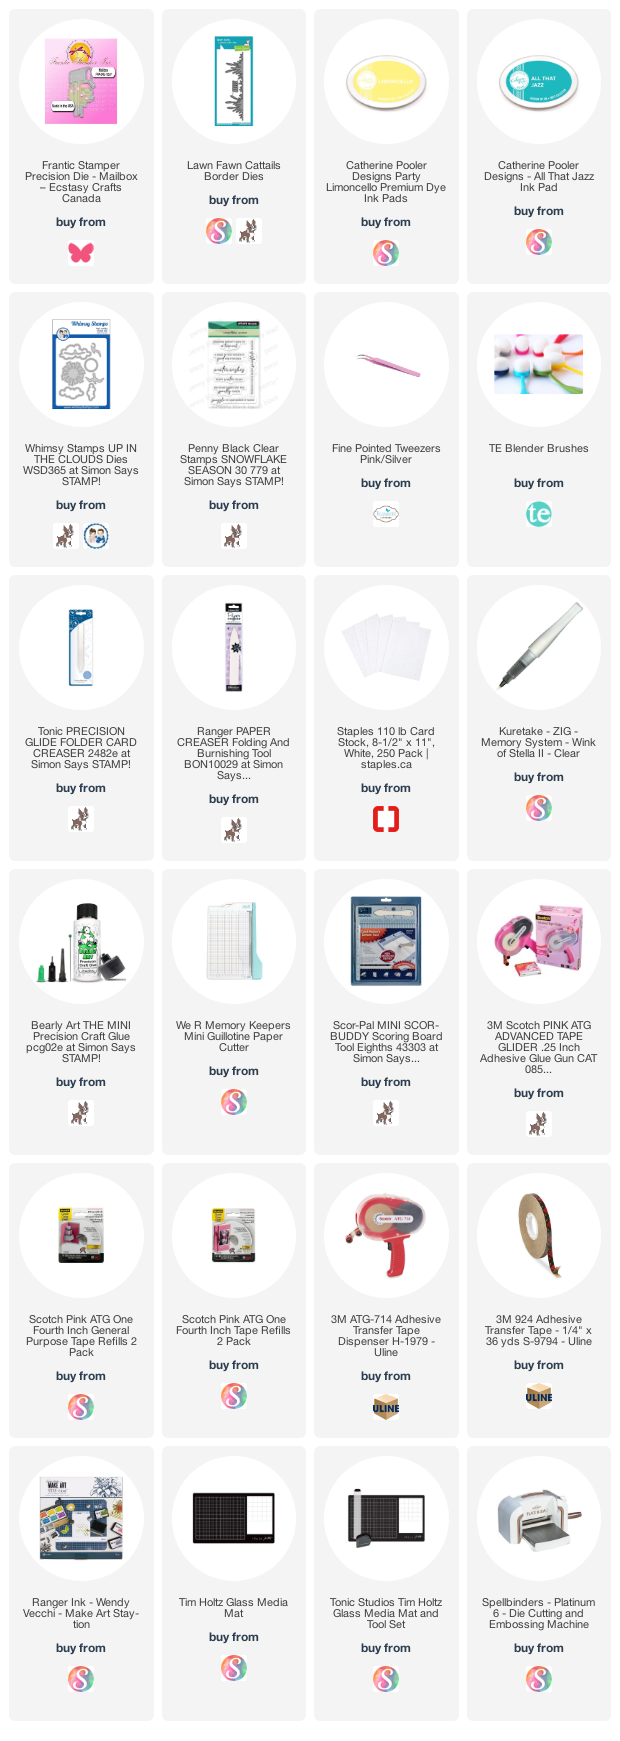
Mini Slimline Happy Mail (and Pop Up Video Tutorial!)


Hello!  Today is the day I'm sharing a quick and easy Box Pop Up Tutorial on YouTube!!! I have been wanting to share this technique for weeks and I hope you enjoy it.

I loved the printed mailbox piece that came in a recent Paper Pumpkin kit and realized I didn't have anything like it in my stash. One of my YouTube followers pointed out this cute mailbox die by Frantic Stamper and since it was available and on-sale here in Canada, I have added it to my collection!


Inside you can see the completed pop up and how the image 'lifts' or 'floats' above the background. SO fun!


If you know how to do a simple box pop up and you are more interested in the measurements of my box ... it is 5 x .75", scored at .5", 2.5" and 3".


This is a card I really enjoyed making and will be sending out for Happy Mail.


Supplies:
Patterned paper - Flower & Field, Stampin' Up
Card stocks - stash
Petite Mini Scallop Mini Slim dies - Taylored Expressions
Stitched Mini Slim Stacklets - Taylored Expressions
Patterned paper - Oh So Ombre, Stampin' Up
Sakura gold gel pen
Taylored Expressions Blending Brushes
Mailbox die - Frantic Stamper
Tasteful Label dies - Stampin' Up
Happy Mail stamp set - Gina K Designs
Iridescent Butterflies - Studio Katia
Card size - 3.5 x 6", fits in a #8 Envelope

Thanks for stopping by!