Showing posts with label Border Blends. Show all posts

Thursday, 27 April 2023

Notes of Cheer, Butterfly Card Trio


Stampin' Up has had this butterfly themed card kit in their catalogue for a couple of years and I kept 'adding it to cart', then removing it. When I found out a friend was having eye surgery and could be laid up for several weeks though - I bought the kit. She works with butterflies at our zoo so it seemed appropriate. 😊

I have a walkthrough of the first three cards on YouTube:  


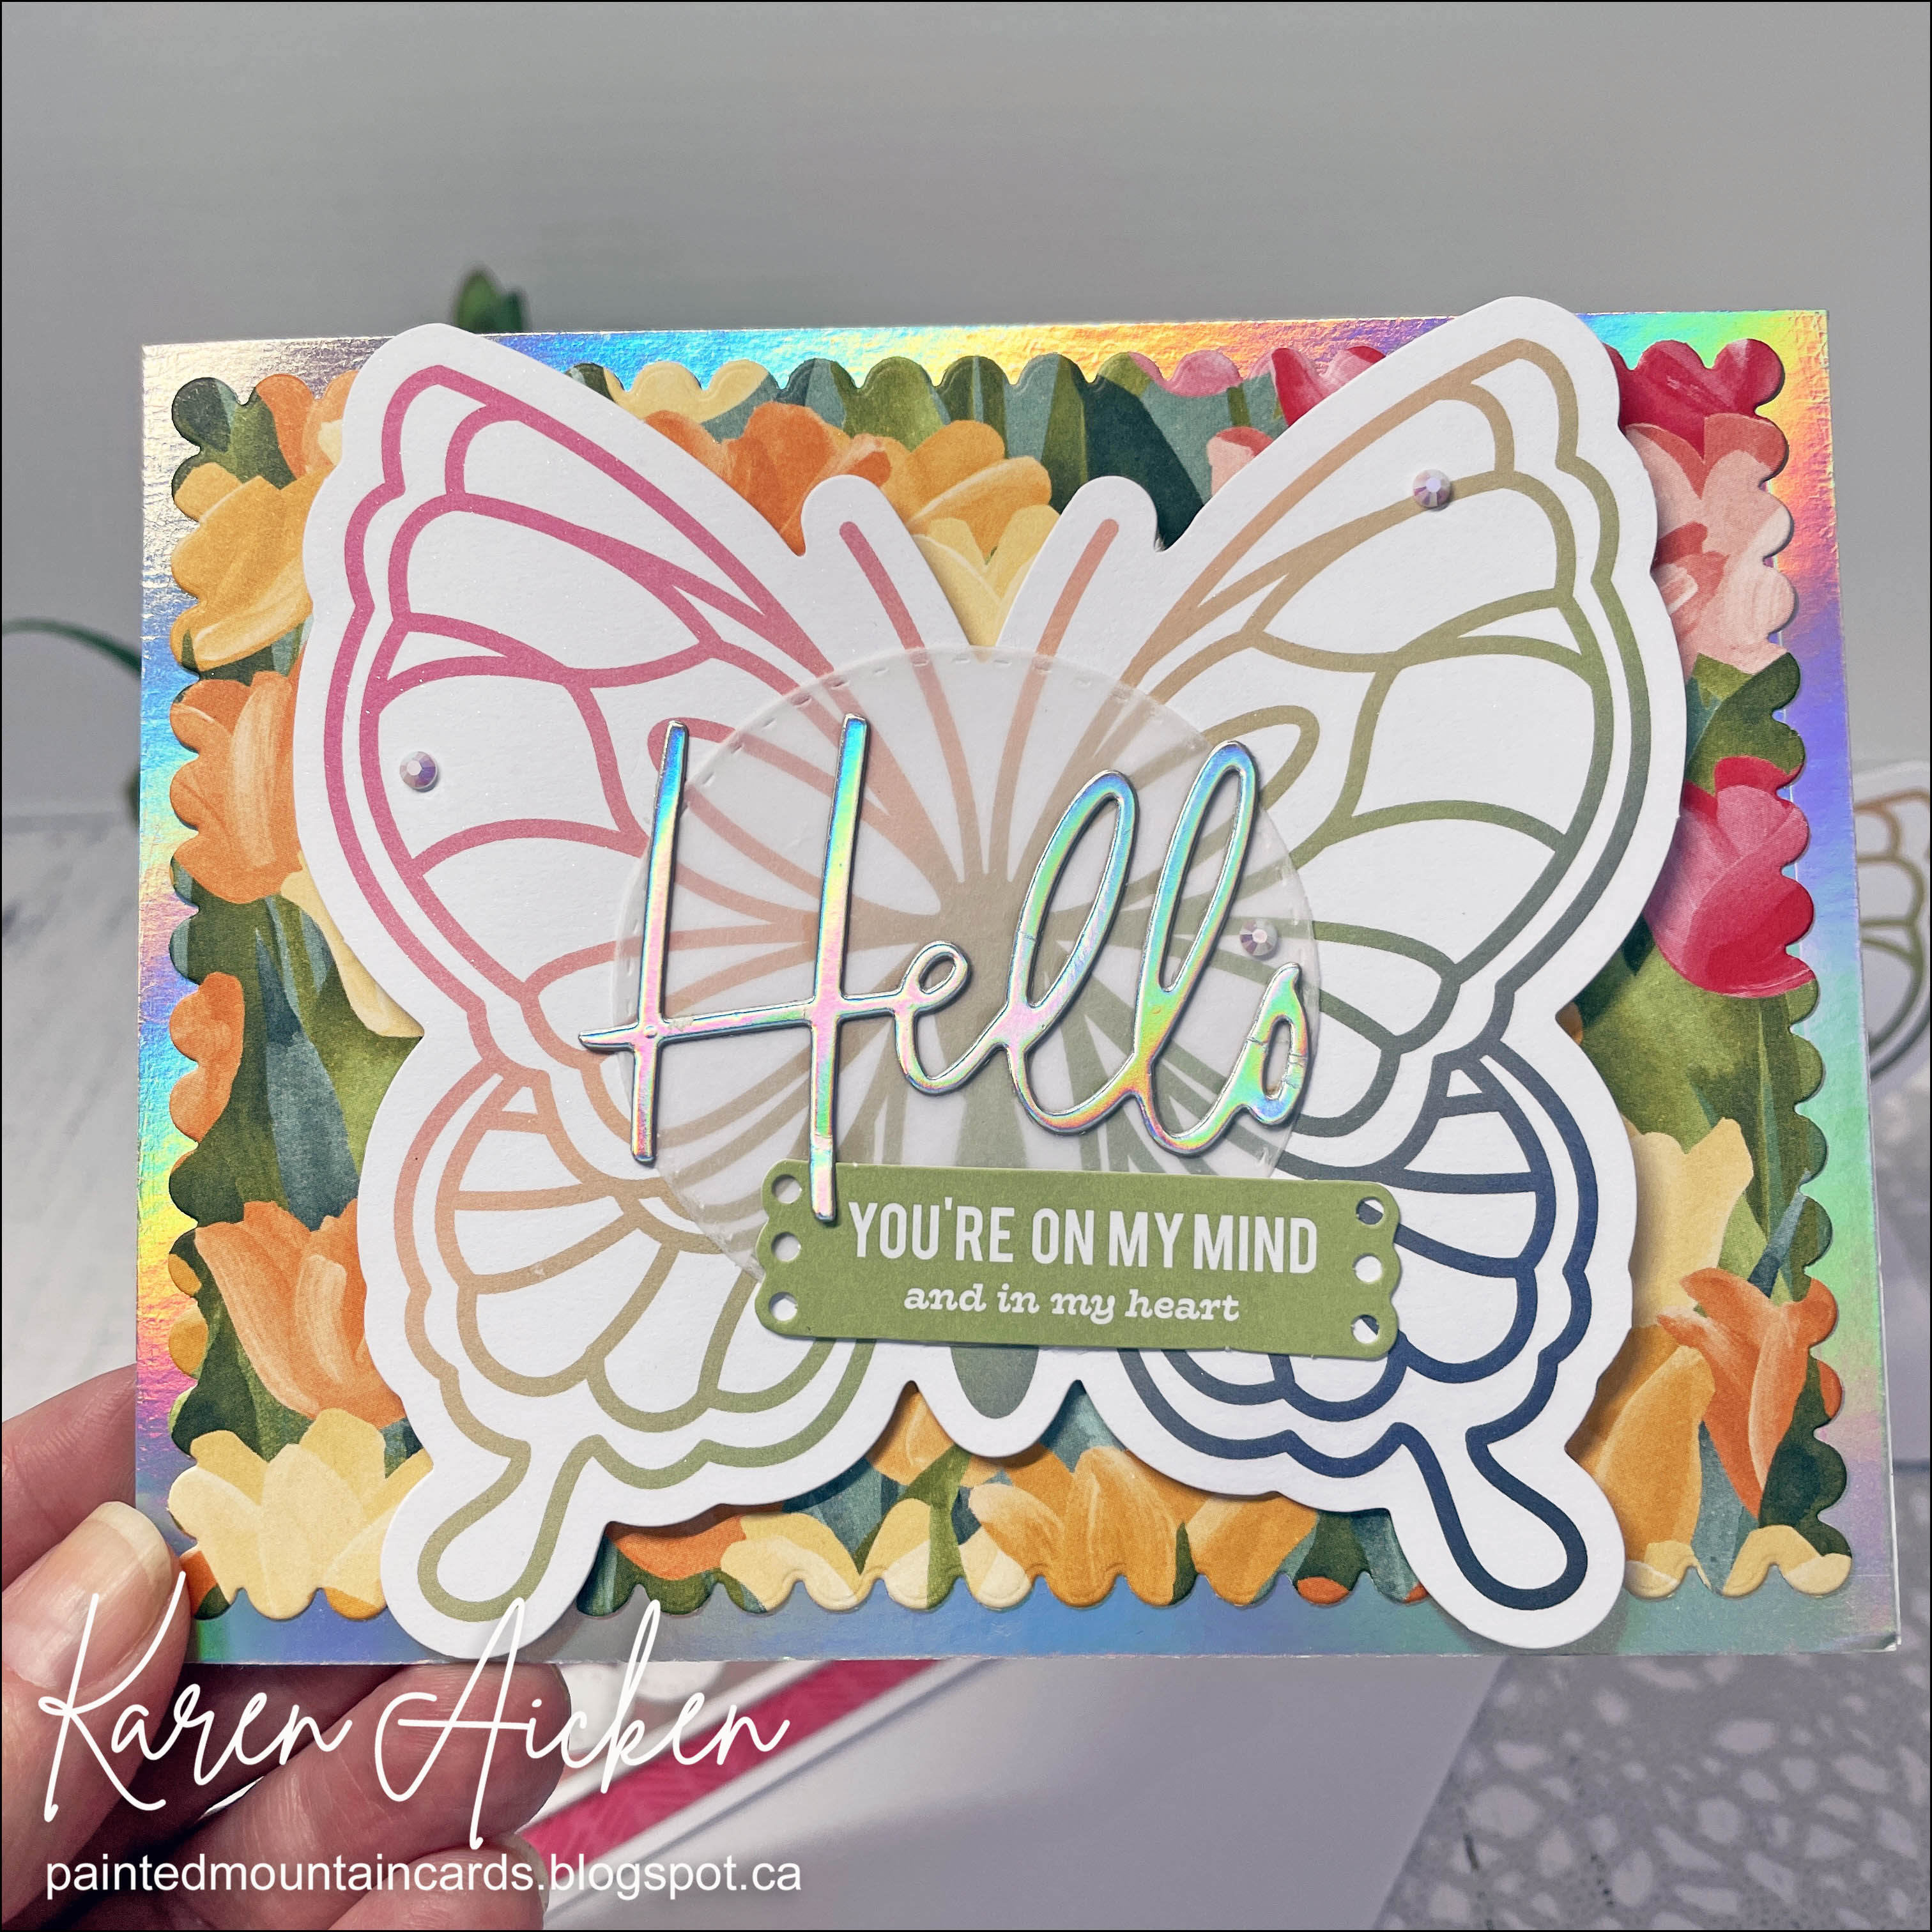
Of course the first card I made was a shaped card, and the first one I sent to my friend.


I spritzed the butterfly with shimmer spray, added a stitched vellum circle and a die cut HELLO cut from mirrored card stock.


The second card was an easel card. I cut the back off of this butterfly then adhered the back to the back of the shaped card to make it more stable.


Finally, a bright and happy card that I sent to my Mother In Law for Happy Mail. Since I added that busy patterned paper to the card base, it really didn't go with the envelopes from the kit. I pulled out a bright yellow envelope from my stash instead.


Having been asked how many cards I make I thought it would be fun to keep track this year. Many of my posts include more than a single card or project and below is my tally. 

Card Tally for 2023
January - 53 cards
February - 56 cards
March - 55 Cards
April so far - 31 Cards

Additional Supplies: 
Notes of Cheer card kit - Stampin' Up
Shimmer Spray
Rainbow Holographic cardstock - Recollections
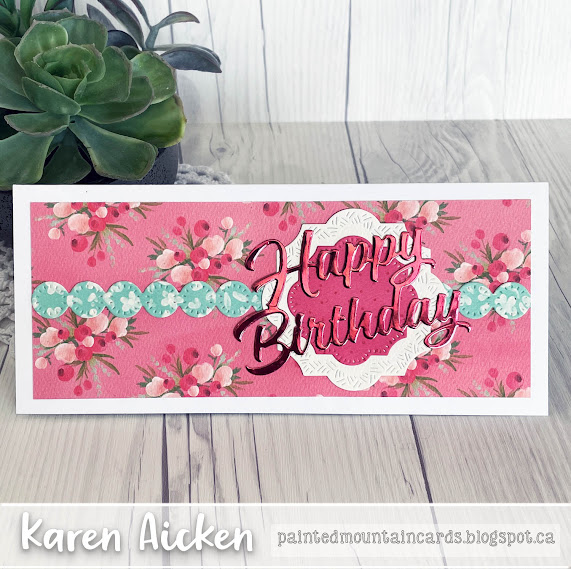
Patterned paper - Flowering Fields, Stampin' Up

This blog uses affiliate links whenever possible. This means, if you make a purchase through one of my affiliate links that you pay the same amount but I may receive a small commission from your purchase. I only link products that I own, love and use for my card making and not every link below is an affiliate one! 😊

Monday, 15 August 2022

Gold & Black Tag


Hello my crafty friends!  Today I'm sharing another gift tag using mostly supplies I bought from Pigment Craft Co when they were having their Canada Day sale. Love the size and shape of this tag - so different! I cut it from gold foiled paper (free with purchase from Stampin' Up during SALEabration).  I cut the tag again from white card stock and offset the two tags.

The gold pearl cardstock was sitting on my stamping table - it was just a partial sheet. Also close to me was the (retired) Garden Greenhouse from Stampin' Up so I cut some leaves using those dies. The stamped rectangle needed a little pop, so I die cut one of Karen Burniston's Border Blends from black card stock and tucked that up underneath for a cute scalloped look. Since I can't link the pearlized gold I used, I found others I can link for you.


The sequins & gems are from Studio Katia and there are gold gel pen highlights on the stamped sentiment.

This blog uses affiliate links whenever possible. This means, that at no cost to you, if you make a purchase through one of my affiliate links that I may receive a small commission from your purchase. I only link products that I own, love and use for my card making and not every link below is an affiliate one! 😊

Any supplies I'm unable to link are listed at the very bottom of my post.


Additional Supplies:
Patterned paper - Silver & Gold Specialty, 6 x 6" - Stampin' Up (Sale A Bration)
Gold thread - stash
Black sparkle ribbon - Stampin' Up (retired)
Garden Greenhouse dies - Stampin' Up (retired)
Black & Crystals - Studio Katia (gift with purchase)

Wednesday, 25 May 2022

Mini Slimline Pop Up Card Duo


Hello my crafty friends!  This pair of Mini Slimline cards are based on the April 2022 Sheetload of cards. I finished them in early April but couldn't share them because I used some of Karen Burniston's new release. We could't share our projects until May 9th so I hung onto the photos until now. 

First of all, I LOVED the April Sheetload, as it was for Mini Slimline cards. But when I discovered that the Pivot Panels fit inside this fold? I was SO excited. Below you can see the inside of both cards.


I used papers, cut aparts and stickers from Echo Park's 'Summer' line and this Sheetload uses 6 x 6" papers. The card front (which is shorter than the card back) has one of the prints and the inside has a coordinating print. You can see both as the card comes out of the envelope. Now that April 2022 Sheetload was hugely popular and I knew I'd make it often. But if I can make a Mini Slimline, a Fun Fold AND a Pop Up? That's just a winning combination in my books. 😊


The Flower Pivot Panel is what I used inside, as well as the Border Blends: Trims. The dragonflies are from the new Flutter Charms.


Love the dragonflies ... they have both a solid and a detail layer. 


The second card uses the same dies as above, but also the Happy Birthday and Happy Birthday Shadow.


Here is a closer look at the inside of the second card ...


Find out how to download the April 2022 SheetLoad of Cards HERE

Karen Burniston has assembly videos for all of her pop up dies including this one. If you have the die, then you have probably already checked out her video tutorial so I don't attempt do 'reinvent the wheel' by doing another assembly one. I prefer to show you different ways you can use those same dies since people love to see a variety of looks! Here is the link to the Karen Burniston website, which includes the assembly videos: Once you know how to assemble your die, the rest is card size, paper and colour choice as well as embellishments! You can change the look of your card every time you use the dies. 😊

This blog uses affiliate links whenever possible. This means, that at no cost to you, if you make a purchase through one of my affiliate links that I may receive a small commission from your purchase. I only link products that I own, love and use for my card making!

Any supplies I'm unable to link are listed at the very bottom of my post.


Additional Supplies:
April 2022 Sheetload of Cards
Hello cardstock scraps
Charcoal Stardream cardstock scraps
Shimmer Spray
White card stock - Accent Opaque Digital Super Smooth (Amazon .ca)

Monday, 4 April 2022

Pop Up Card for Passover


Hello my crafty friends. Today I'm sharing the card I made for our middle daughter and her family, who will be celebrating Passover. I have a walkthrough of this card on YouTube:  


Inside I used the Paper Frames Pop Up and Border Blends Trims. The stickers are 3-d, but I did pull them apart and replaced the foam tape with thin foam tape to cut down on the bulk. Even though I'm hand delivering the card, It was pretty chunky with all the foam tape.


This die creates such a dynamic looking card. It does take a little patience to do the folding, but remember that Karen Burniston has assembly videos for all of her pop up dies and you can always refer to those for help. The die gives you impressions for the fold lines and the packaging photo is a great reference as well.


 This card is an A2 sized, but a wide A2 - which I enjoy. Just a different look from the 'same old same old'.  Folded, the card is 5.5 x 4.25" and fits in a standard A2 envelope!.

NOTE:  I am linking a couple of different green mirror card stocks below for you. I keep most scraps and small pieces of specialty papers and just grabbed one of those for my card.

This blog uses affiliate links whenever possible. This means, that at no cost to you, if you make a purchase through one of my affiliate links that I may receive a small commission from your purchase. I only link products that I own, love and use for my card making!

Any supplies I'm unable to link are listed at the very bottom of my post.


Additional Supplies:
Patterned paper - Floral Clusters With Leaves, Hobby Lobby
Scrap of mint dot patterned paper - Hobby Lobby
Stickers - 3d Flower Clusters - Paper Studio (Hobby Lobby)
Fine Point markers - Chameleon
Tiny butterfly sticker - stash
White card stock - Accent Opaque Digital Super Smooth (Amazon .ca)

Friday, 18 February 2022

Dangling Butterfly Circle Charm Pop Up Card


Hello my crafty friends and welcome to Fun Fold Friday here on my blog. Today I'm sharing another way to use Karen Burniston's Butterfly Collage Add-On, which was designed to go with the Heart Collage Pop Up. For my card today I just used the Add-On paired with the Circle Charm Pop Up dies and sparkly patterned paper from my stash.


Whatever you add to the front circle, pivots to the inside when the card opens. I cut the centre frame in half, and added one of the expanding butterflies to the centre. The Border Blends Trims decorate each side and there is a matted rectangle to add my personal message.


In addition to the sparkle in the patterned paper, I used pink mirror card stock and added gold peel off stickers 😊.

This card folds completely flat for mailing, and will only need a single stamp!


This blog uses affiliate links whenever possible. This means, that at no cost to you, if you make a purchase through one of my affiliate links that I may receive a small commission from your purchase. I only link products that I own, love and use for my card making!

Any supplies I'm unable to link are listed at the very bottom of my post.


Additional Supplies:
Pink card stock scraps
White card stock scrap
Patterned paper - Kanbon Crafts (old, from my stash)
White twine
Circle stickers - Dazzles

Saturday, 1 January 2022

Slimline Floral Pop Up Birthday Card


Hello crafty friends, and Happy New Year!

Since I make more birthday cards than any other kind, I thought I would start the New Year off with a Birthday Card and of course I made it a Pop Up! Most of the dies I used for today's card are by Karen Burniston and I have them linked below for you. I kept the front nice and simple, since all the fun is on the inside. I did have a chuckle though - we've been wanting a shadow die for the Happy Birthday for a long time, and now that we have one I didn't use it on this card. 😂 I tried it, but found it covered up too much of the polka dotted label and it really did make a difference in how the front looked to me.

Once again I pulled out this older patterned paper/sticker package from Carta Bella (Flower Market). You will be seeing a lot of it as I've had it for a couple of years and want to USE it and not hoard it any longer. 


The pop up inside is the Little Labels Pop Up, and I used the Border Blends 'Trims' for the cute border. The butterfly is one of my new layered stencil/die combinations from Pinkfresh Studio and I used a small stitched circle die to cut the images on either side of the butterfly. They are on one of the 12 x 12" sheets in the package, printed on embroidery hoops. So cute, but if I fussy cut out the entire hoop then they wouldn't have fit on the labels.


While I really do prefer to make 'standard' card sizes, this one is 8 x 3.5" instead of 8.5 x 3.5". I'll be using a #9 envelope instead of a #10 so it still fits great in a ready made envelope, but there isn't as much space at either end as there would be with a #10. Depending on what country you live in the #9 can be harder to find.

I stamped the word celebrate then added Stickles and Wink of Stella around for some shimmer and shine.

This blog uses affiliate links whenever possible. This means, that at no cost to you, if you make a purchase through one of my affiliate links that I may receive a small commission from your purchase. I only link products that I own, love and use for my card making!

Any supplies I'm unable to link are listed at the very bottom of my post.

Additional Supplies:
Patterned paper, stickers and cut aparts - Flower Market, Carta Bella
Stitched circle dies - MFT (retired)
Shimmer spray
Fine Point grey marker

Tuesday, 2 February 2021

Pop Up Gnome Anniversary Card

Hello! Today I'm sharing my card for Karen Burniston's February Designer Challenge and I made an Anniversary Card for our middle daughter and hubby. Karen B challenged the Design Team to make a project using HEARTS! I have a walk through of my card on YouTube here:


I used several different Pop Up dies by Karen Burniston for my card today and they are all listed in the supply list below. We were so happy when she came out with the Happy Anniversary die to work with her other sentiment sets! I combined it with the Love Charms for my card front.


Inside I used the Cupcake Pop Up and disguised the cupcake shape with a rectangle from the Crosshatch Rectangles. That got decorated with these cute Gnomes and I added the Celebrate to the lower platform.


All the little hearts came from the decorator dies in the Heart Pivot Panels. They cut two at a time, so using both of them gave me 4 hearts with each pass through my die cutting machine!


More hearts, a rainbow coloured panel and an older retired stamp for the sentiment.


Finally, here is another view so you can see the pop up a little better.


I hope you will check out what the rest of the Design Team came up with for the challenge - their blogs are linked on the right. Karen Burniston will have her project on her blog tomorrow (Wednesday).

Supplies:
1008 Cupcake Pop Up - Karen Burniston
1054 Crosshatch Rectangles - Karen Burniston
1137 Word Set 12 Anniversaray - Karen Burniston
1113 Love Charms - Karen Burniston
1129 Gnome & Santa - Karen Burniston
1076 Tiny Accessories 2 - Karen Burniston
1091 Border Blends Party (for grass) - Karen Burniston
1088 Heart Pivot Panels (small hearts) - Karen Burniston
Card stocks
Patterned paper - Over the Rainbow, Recollections
Various scraps
Sakura black glaze and white gel pen
Wink of Stella
Copic markers
Stamped sentiment - One in a Million, Stampin' Up - Retired
Card size: Standard A2, 5.5 x 4.25"

Thanks for stopping by today!

Thursday, 23 July 2020

Explosion Card for Karen Burniston's Birthday Blog Hop


Hello crafty friends ...
Yes, Karen Burniston's Design Team is back with ANOTHER Blog Hop! This one has been in the works for a long time, so when Karen & Tanya decided to have a New Release Blog Hop we were so relieved that they didn't choose this date as we really wanted to surprise Karen!

I have a YouTube video that goes over some of the details of my card:


Because I like to work ahead, this was actually the first Slimline card I made with the Explosion Pop Up. Then, since I knew I wouldn't be posting it until today I did make another that I could share immediately. I was so excited at how well the Explosion Pop UP works in a Slimline card I wanted other's to know too so they can make some as well.

I used the Alpha dies for the word CELEBRATE, and again I was pleased with how well they worked on a Slimline. What a fun way to personalize a card, if you were to add someone's name! 


Here is  a peek at the inside, with the Explosion Pop Up. I also used the Border Blends, Cupcakes from the Cupcake Pop Up, and the swinging banner is from the Paper Frames Pop Up.


The words are from Word Set 2 - Birthday and I cut them from black card stock that had double sided adhesive on the back to make them easy to adhere to the card.


I didn't want the red card base to show through the opening behind the pop up piece, so I adhered a folded piece of the same patterned paper inside as shown below. 


I hope you will hop along and see the fun inspiration we have for you as we celebrate Karen Burniston's Birthday from around the globe.


Karen A  (You are here)
 next stop on the hop is Fran


Supplies:
1069 Explosion Pop Up - Karen Burniston
Polka dot patterned paper - Happy Trails Hot Dots, K & Company
Coral, white, yellow and teal card stocks
1091 Border Blends Party- Karen Burniston
1008 Cupcake Pop Up- Karen Burniston
White pearl card stock
Copic markers
1057 Circles Crosshatch- Karen Burniston
1053 Alphabet- Karen Burniston
Blending Brushes - i-crafter
Sakura White gel pen
1054 Rectangles Crosshatch- Karen Burniston
Stickles
No Hole Sequins - Cat's Pajamas
Bakers Twine
1122 Paper Frames Pop Up (Banner pieces)- Karen Burniston
Charcoal Stardream card stock
1003 Word Set 2 Birthday- Karen Burniston

Card size - 8.5 x 3.5", fits in a standard #10 Business Envelope


Thanks for stopping by today

Friday, 8 May 2020

Paper Frames Pop Up Butterfly Birthday Card

Hello crafty friends ...


It's Fun Fold Friday here on my blog, and today I'm sharing a card made using Karen Burniston's new Paper Frames Pop Up die set!

Remember you can always see my interactive cards in action on my YouTube Channel HERE


I've had the patterned paper for several years, so it was fun to get it out again. The white vertical borders are actually Peel Off stickers and I like the shine they give the card.


There are lots more butterflies inside, and I also used the Border Blends Party for the white scalloped borders.


I do find it helpful to reinforce the score lines on the centre of the frame and both edges before I adhere it into my card.


The Paper Frames Pop Up comes with lots of different sizes of labels, and some have the cutest piercing marks!


Supplies:
Card and Envelope - Michaels
Patterned paper - Momenta (old, from my stash)
White Peel Off Border Stickers - Dazzles
1122 Paper Frames Pop Up - Karen Burniston
1091 Border Blends Party - Karen Burniston
Butterfly punches - Stampin' Up
Holographic circle stickers - Dazzles
White pearl card stock
1057 Circles Crosshatch - Karen Burniston
Simple Strips Birthday - Taylored Expressions
Simple Strips  die- Taylored Expressions
Sequins - Trinity Stamps

Card size - 5 x 6.5"

Thanks for stopping by today