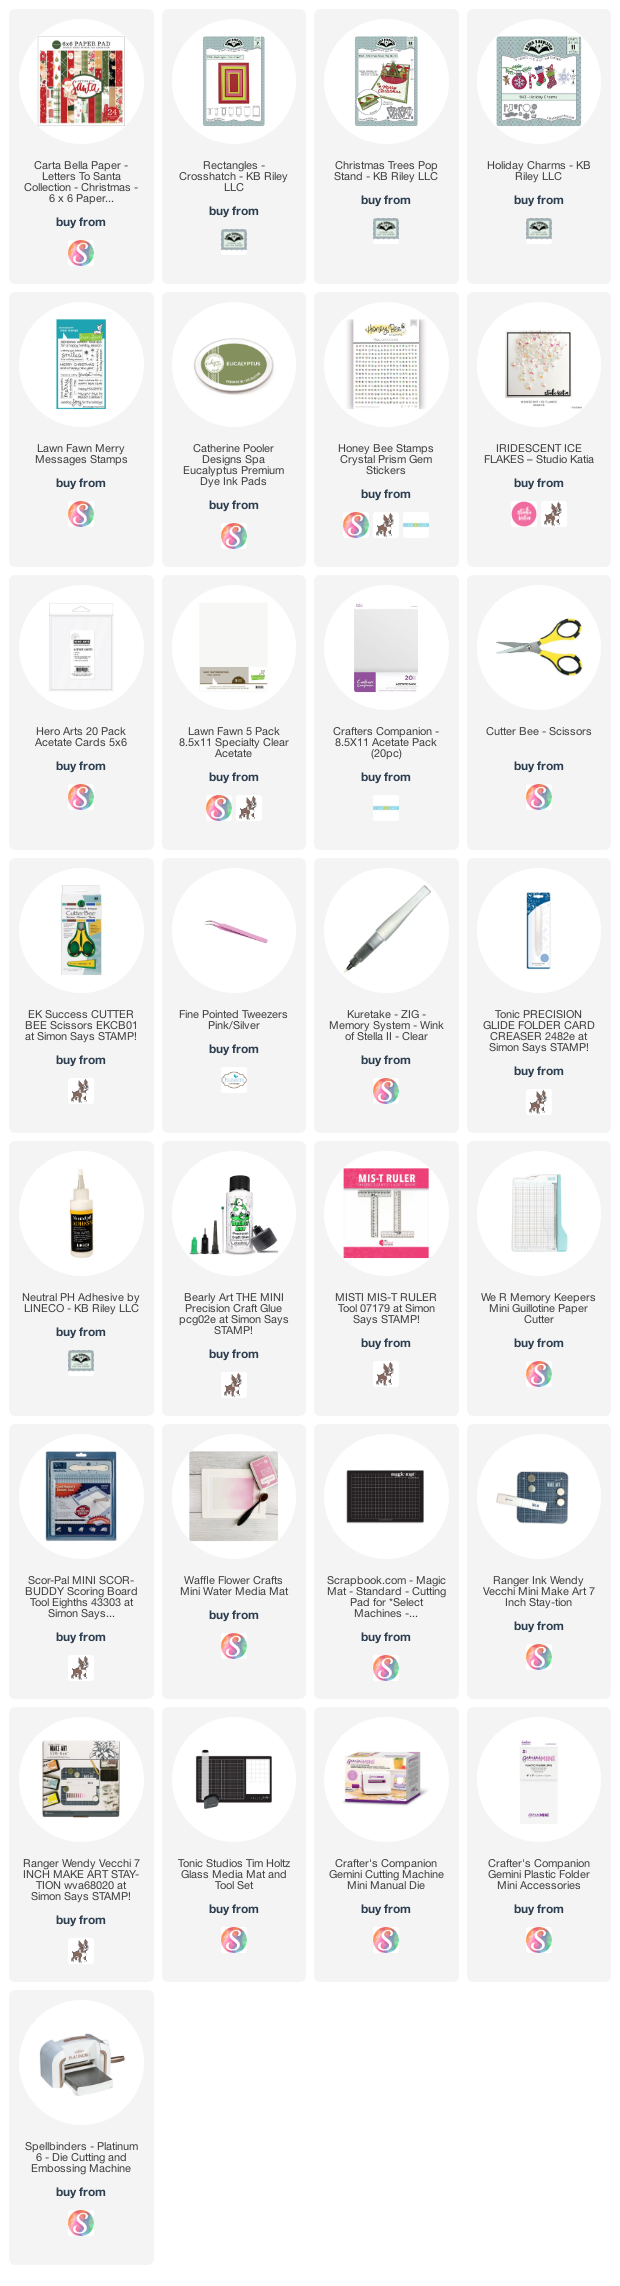
Hello my crafty friends. I'm back with another sneak peek of Karen Burniston's newest release. The Hexagons Crosshatch are the dies in the new release, and I also used the Rectangles Crosshatch and the Christmas Trees Pop Stand for the shaker card on the front.
I have a walk through of all the details for my card on YouTube:
Inside, I used one of the 6 x 6" sheets of patterned paper to create the fun fold. I did a tutorial for this type of card back in August, and HERE is the YouTube linkto that tutorial.
Below is a look at the whole new release, which will be shipping on December 12th. We will be celebrating that day with a Blog Hop (and prizes!). The team will be sharing sneak peeks leading up to the Blog Hop and there will be lots of inspiration!
This blog uses affiliate links whenever possible. This means, that at no cost to you, if you make a purchase through one of my affiliate links that I may receive a small commission from your purchase. I only link products that I own, love and use for my card making and not every link below is an affiliate one! 😊
Hello my crafty friends and welcome to the November 2022 Designer Challenge. Karen Burniston challenged her Design Team with the theme: "SNOWMAN" - create a card with any of the Snowman. (Die ideas - 1012 Snowman Twist Circle, 1017 Snowman, 1213 Snowman Add-ons)
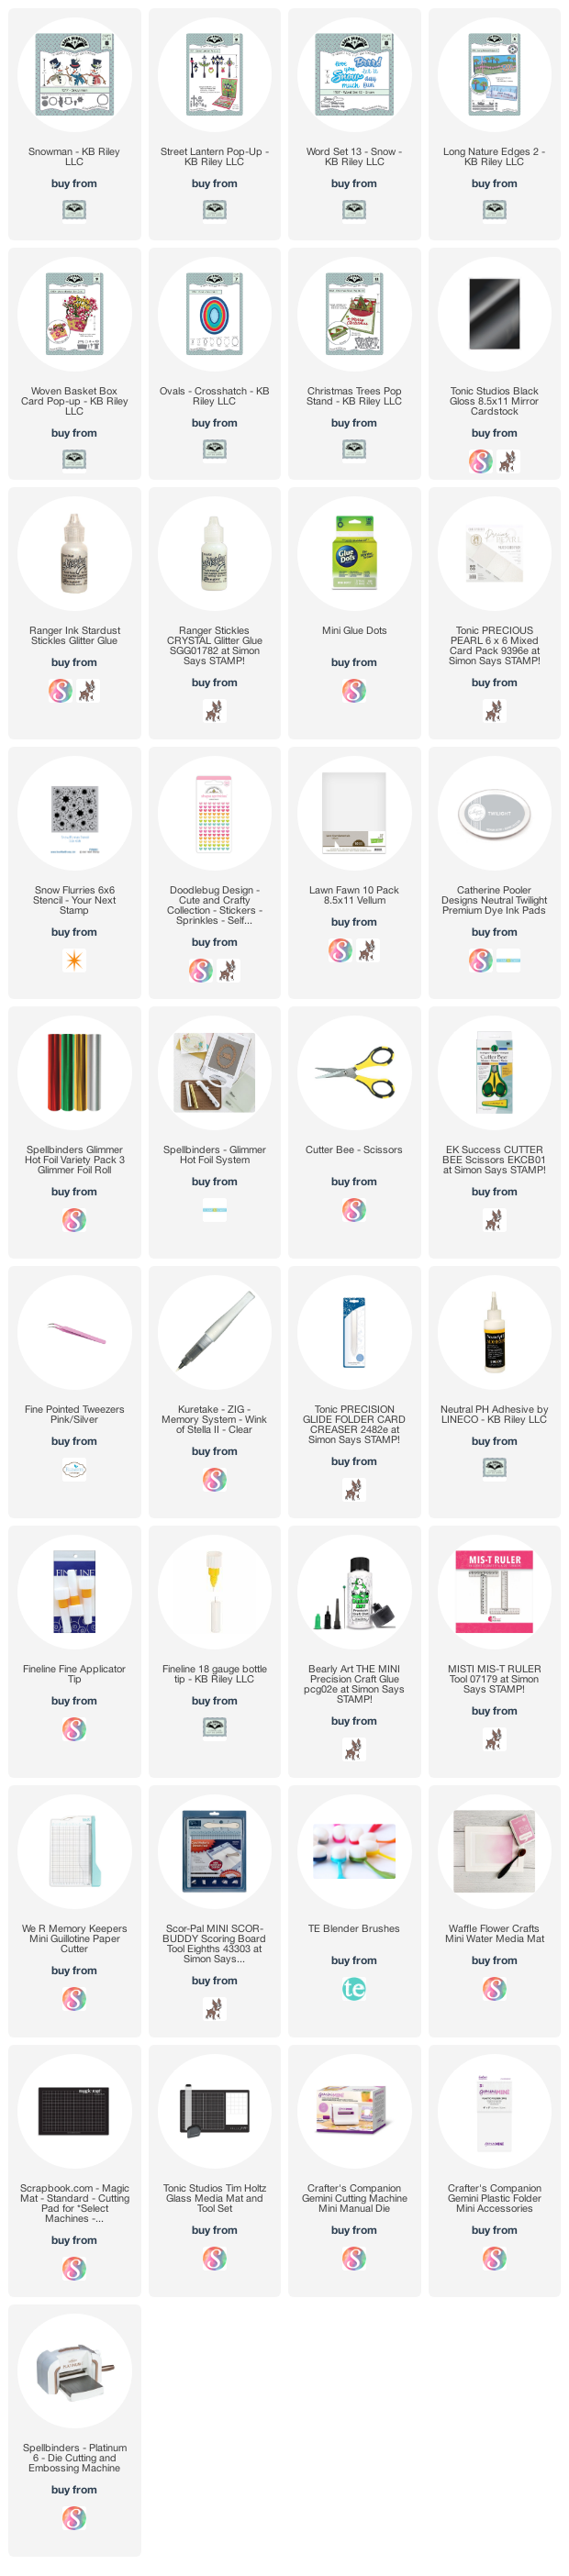
Since It had been awhile since I'd played with the Woven Basket Pop Up, I decided to use that one (and re-watched Karen B's assembly video), then I chose the Snowman die I wanted to use. I have all the details on YouTube!
I love how this card folds completely flat for mailing (photo above) but stands beautifully for display (photo below).
When I have finished glimmer foiling and die cutting, there are often useable pieces leftover around the edges and of course I save all of those. I used gold foiled scraps for the bows, hat band, star and candle flame.
On the back side, there is an oval to write our personal greeting and I went over adding a solid backing to the treee in my video. Those cute swirled snow mounds are actually the tree foliage dies from the Long Nature Edges 2. 😊
The rest of the Design Team is linked on the right side of my blog and I hope you will check out what they came up with for the challenge. Karen Burniston will have her post tomorrow (Wednesday) on her BLOG.
This blog uses affiliate links whenever possible. This means, that at no cost to you, if you make a purchase through one of my affiliate links that I may receive a small commission from your purchase. I only link products that I own, love and use for my card making and not every link below is an affiliate one! 😊
Any supplies I'm unable to link are listed at the very bottom of my post.
Additional Supplies: Gold cording White cardstock Copic markers
It's time for a Designer Challenge with Karen Burniston's team, and this month the theme is "TREE" - incorporate a tree into a card of any theme. You may choose from any of the Tree die sets (Tree, Evergreen Pivot, Christmas Tree, Christmas Trees Pop Stand, Palm Tree, Oval Frames Heart Tree, Winter Charms, etc.) I chose the Christmas Trees Pop Stand for my card today, and made a Father's Day card! Once the inside was done, I started on the front. The tree on the front is actually the fallaway piece from the centre of the largest Christmas Tree Pop Stand die. Because Pop Stands open completely flat for display, I made sure that everything on the front was nice and flat, even die cutting the word balloon die into the craft panel, then again from white card stock and inlaying it into the opening. If I were to add foam tape to any of the elements (which I love to do), then the card would not display nice and flat. I like the double stitched line on this die from Nature Edges - I was able to ink the bottom portion of the kraft panel and line it back up with the top piece, which had been inked with Distress Oxide inks & a stencil for the clouds. That give me a nice flat panel but you can see the definition between ground and sky.
Remember you can see all my interactive cards on my YouTube Channel HERE!
The patterned paper was truly the inspiration for this card, which is typically how I work. Those water coloured trees are just so pretty! I off-set the Christmas Tree Pop Stand towards the left which gave me room to add another element to the right of the tree.
The Deer from the Christmas Animals was the perfect addition to this card, which is for our eldest's daughter's hubby.
Word Set 5 Royalty makes a great sentiment for a Father's Day card, don't you think? I added the Enjoy from the Enjoy the Ride set and we will sign our name beside that.
NOTE: The fun thing about the dies by Karen Burniston, is that YOU get to choose your card size. While there are ways to make larger cards using a 'standard' sized die cutting machine, for this one I did use a larger machine. I hope I have shown you how versatile the dies can be, just because a die set is marketed as a Christmas set, it really can work all year long! The rest of the Design Team is linked on the right, be sure to check out what they came up with for the challenge. Karen Burniston will have her project & blog post tomorrow (Wednesday) HERE.
Supplies:
1003 Word Set 2 Birthday (Celebrate) - Karen Burniston
It's time for the November 2018 Karen Burniston Designer Challenge, with the theme: "CHRISTMAS TREE" - make a card that incorporates a Christmas tree. Since the Christmas Tree's Pop-Stand has been re-released, I decided to do a version of my Designer Challenge card from several years ago. This card is 4 x 9", and fits perfectly in a #10 business envelope. There are three gold 'dots' on the card front, and they are actually the fall away pieces from the little wreath's I used to decorate the house windows and tree tops inside the card.
Below is the card as it is opening ...
... and here it is fully open!
I cut a third pop-stand in the centre of the card, and two of the house shapes from white card stock. Then a house was adhered to each of the flaps similar to doing the trees - and then both house pieces were attached together at the roof peak.
Love the new Merry Christmas - such a great font and I love that it cuts as a single piece. The patterned paper I used has lovely gold foiled bits in it so this is a very sparkly card for the holidays.
Below you can see the gold wreath's that I added to each of the windows on the house. I used the stencil feature of the die and a light brown ink to add the design to the house front.
To make this card, I cut the patterned paper 8 x 9", and scored it down the centre on the 8" side. That gave me my 4 x 9" top fold card. Then I simply folded it on the score line and centred the Pop-Stand die where I wanted my trees to go with the nubs centred on the fold. It fit through my Big Shot and cut through both layers at once.
I hope you will check out what the rest of the Design Team came up with for the challenge - their blogs are linked on the right. Karen Burniston will have her post on her blog tomorrow (Wednesday November 7th).
Today's card is for the Paper Pro's Challenge. Usually we have our Karen Burniston Design Team challenge on the first Tuesday of the month, but because KB is away on a teaching cruise we swapped dates with the Paper Pros for this month.
The challenge is "Holiday Cheer".
Once Canada Post finally co-operated and I received the THIRD holiday catalogue my Stampin' Up rep sent to me, this "Signs of Santa" set and coordinating patterned paper were the first things I added to my on-line shopping cart. I was thrilled to see the paper when my order arrived, as there are lovely flocked areas. So cool, and nearly impossible to photograph.
I used this new red card stock and ink from Stampin' Up as well - Poppy Parade. Love this red! The Merry Christmas is one of Karen Burniston's newest releases and here I adhered it over a stitched fishtail banner die to separate it a bit from the fun patterned paper background. While there are dies that work with the stamps AND the patterned paper, mine were backordered and I didn't receive them in time to make my card ... so I did a bit of fussy cutting from the patterned paper. I also added two of the 'fallaway' trees from the inside onto my card front, simply die cutting two additional trunks and adding some pen stitching.
I adore the expanding trees in the new Christmas Tree Pop-Stand die set by Karen Burniston. This is a re-release of a previously retired licensed die and it's great to see it back again. I added white pen stitching around all of the interior trees, then topped off the tree with a pretty red bow instead of the traditional star.
I used more of the patterned paper for the interior and if you look closely at the photo below you can see some of the raised, white flocked snowflakes on the paper. The little elves were fussy cut from a different sheet and adhered to each end of the largest tree.
For even more fun, I added the fussy cut snowman/sleigh piece to a white die cut circle and attached it to the card with an Action Wobble. It bobs and wobbles around as the card is opened - I just love that.
The white stripes on the border papers are also raised and flocked, and I added the stamped greeting to a white crosshatch circle. Then a few more fussy cut elves were popped up below the words.
Finally, for those that like group shots for their Pinterest boards .. here you go!
The Paper Pro's challenge is a casual one with a varying number of participants each month. With an out of town guest, then babysitting two of our grandsons, then being at the farm for a couple of days (no internet there) I didn't have a chance to update my post with all who are participating.