Showing posts with label Impression Obsession. Show all posts

Thursday, 21 March 2024

Butterflies & Bunny Easter Card


I am terrible at sizes when I order online - in my mind, whatever is on the screen is the size I want it to be in my head. 😂. This Butterfly Bunny die is a perfect example - even when I read that the size was 5x5", in my head that was smaller. So I resisted playing with it, but finally decided this was a good time to actually USE it. 


I cut a 5.5 x 5.5" piece of the Rainbow Holographic card stock and die cut the Butterfly Bunny from the centre. Then I trimmed it down to 5x5", cutting a little at a time off each edge until I was happy with it. It was then backed with a same sized piece of the patterned paper. Since there wasn't a lot of contrast I went over the bunny with a blending brush and dye ink. 

To prepare my card front, I added a 2nd piece of the patterned paper cut slightly smaller than the card base so I would have a bit of the white card base showing on the outer edges. The floral borders were cut from more of the patterned paper (with double sided adhesive added) and adhered along each side, trimming to fit. Then I rubbed the borders with champagne ink for a little shine. The Butterfly Bunny piece was then adhered on the front with thin foam tape.


I had done a top folding card with the intention of adding a pop up inside, however, I liked the front so much that I let it be the feature of the card.

Here is a peek at the inside, nice and simple ...


Supplies used:
Butterfly Bunny die - Creative Expressions
Rainbow Holographic card stock - Recollections
Patterned paper - Gilded Inks, Recollections
Slimline floral border dies - Scrapbook .com
Champagne Mist Ink - Stampin' Up
Pops of Color, Snowflake - Scrapbook .com
5 x 7" Lacy Layers dies - Waffle Flower
Blending Brushes
Catherine Pooler coloured inks
Inside sentiment - Impression Obsession
Mini Strips Easter - Taylored Expressions
5 x 7" card base and envelope

Thursday, 15 June 2023

Paper Pumpkin Alternate Flip Card Duo for Spring

Each week I've been sharing my alternate cards using the March 2020 Paper Pumpkin kit called No Matter The Weather. For these ones I made two nearly identical cards using the 5 x 7" Flip Mechanism by Sam Calcott. In her assembly video she mentioned being able to use the double flip as a single, and I just had to try it out. I still made larger cards - these ones are 5 x 6.5" because I wanted to use the umbrella patterned paper and it was in a 6 x 6" paper pad. 

I have a walkthrough of my cards on YouTube:


Folding the stitched circle pieces in half (from the kit) I stamped PULL on them and added them to the side you would pull to flip the rain boot piece over. I did one that pulls to the right and one that pulls to the left and I cannot decide which one I prefer. 😊

Inside the cards I stamped the rain boots and greenery, as well as a lovely Easter sentiment that I've had for a couple of years. I love the size of it!

... one more look ...

I'll be back next week with another alternate project with this kit.

 If you would like to see Sam's assembly video, click HERE.


Having been asked how many cards I make I thought it would be fun to keep track this year. Many of my posts include more than a single card or project and below is my tally. 

Card Tally for 2023
January - 53 cards
February - 56 cards
March - 55 cards
April - 32 cards
May - 43 cards
June so far - 19 cards

Supplies: (NOTE our internet has been either intermittent or out completely, so I'm not able to add the linked thumbnails for this post. I am not even sure if it will even post  - I've been trying since the 15th! 😳 Eventually it will get sorted out though)

No Matter The Weather Paper Pumpkin kit, March 2020 (Stampin' Up)

5 x 7 Flip Mechanism - Sam Calcott, Made to Surprise

Patterned paper - Blank Canvas, 1st Edition (old, from my stash)

White cardstock

Umbrella patterned paper, 6 x 6" Spring - Echo Park

Pull stamp - Paper Pumpkin Feb 17, Many Happy Birthdays (Stampin' Up)

Spring Sentiments - Elizabeth Craft Designs

5 x 6.5" Card blank and envelope - Michaels
Alcohol markers

Slimline ATC Windows Die - Whimsy Stamps

Catherine Pooler inks: Date Night, Do Si Do, In the Park, Aquatini

Nuvo Glaze - Tonic Studios

Wink of Stella

Tuesday, 28 March 2023

Four Cheerful Easter Cards


I pulled out an older 6 x 6" Easter themed paper pad, and with the March Sheetload of Cards on my brain - I decided to use my adapted cutting guide (see my March Sheetload Video here to find out how I changed up the Sheetload) and created four cheery Easter cards.

I was also able to use up some Easter ephemera that has been hanging around my craft room for too long!


Inside I used oval dies and stamped a sentiment with Catherine Pooler Ink and my cards are ready to go. Man, I'm loving the CP colour Glitz these days!


Having been asked how many cards I make I thought it would be fun to keep track this year. Many of my posts include more than a single card or project and below is my tally. 

Card Tally for 2023
January - 53 cards
February - 56 cards
March so far - 43 Cards

Additional Supplies:
Used March 2023 Sheetload as inspiration (my version, lined above)
Patterned paper - Spring, Echo Park 6 x 6" 
Ephemra - Easter, Echo Park
White crinkle seam binding - Stampin' Up
Sentiment - Big Bold Easter - TE

This blog uses affiliate links whenever possible. This means, if you make a purchase through one of my affiliate links that you pay the same amount but I may receive a small commission from your purchase. I only link products that I own, love and use for my card making and not every link below is an affiliate one! 😊

Monday, 13 March 2023

Easy Gated Fun Fold Cards for Easter


I pulled out this 12 x 12" paper package by Authentique that has been in my stash for years. I think I pull it out every year, flip through it then sigh and wonder why I bought it. This year though - I decided I really liked some of the patterns and created three Gated Fun Fold cards to send out at Easter. 

As with a lot of paper pads, there are two sheets of each design so there are two sheets with these victorian cut-aparts. I have used several of them over the years but there are lots remaining. I cut down three more and matted them with a mirrored cardstock for lots of shine. I also added Pops of Color (like a glittery glossy accent) onto each of the cut aparts but decided to leave the sentiment off the front. It's obvious they are Easter cards, ha ha.


Last month I shared a tutorial for creating these Easy Gated Fun Fold Cards and said that I was having SO much fun with the idea and had made several more of them since filming the video. They are so quick and easy and you can get two of them from a single 12 x 12" sheet. This patterned paper was especially sturdy, which was perfect. You can find my YouTube tutorial HERE.


I also added some self adhesive gems that were leftover from a Stampin' Up card kit.


Inside I added a scalloped panel cut from the same mirrored cardstock and a stamped sentiment onto a stitched white panel. That sentiment is from Impression Obsession and if it's still available I will link it for you. I've had it for a long time though, so it won't surprise me if it's been retired.

NOTE:  Since the majority of the mirrored scalloped panel would be hidden by the white one, I actually cut the stitched rectangles for the card fronts from the centre of those inside panels. You can't tell there is a big rectangular hole in the centre of the mirrored card stock once you adhere the white one on top!


Having been asked how many cards I make I thought it would be fun to keep track this year. Many of my posts include more than a single card or project and below is my tally. 

Card Tally for 2023
January - 53 cards
February - 56 cards
March so far - 21 Cards

Additional Supplies:
Patterned paper - Springtime, Authentique (old - from my stash)
Corner rounder - Creative Memories
Rainbow holographic cardstock - Recollections
Joyful Easter - Impression Obsession
Gems - leftover from a Stampin' Up card kit

This blog uses affiliate links whenever possible. This means, if you make a purchase through one of my affiliate links that you pay the same amount but I may receive a small commission from your purchase. I only link products that I own, love and use for my card making and not every link below is an affiliate one! 😊

Tuesday, 21 December 2021

'Merry' Slimline Pop Up Card


Hello!  Today I'm sharing a shiny Slimline card I made for Christmas, using mostly older dies in my stash. I will link anything that is available (like the pretty slimline background die by Divinity Designs). I cut that background die from a variegated metallic card stock and it has such a pretty shine to it. I love that in a holiday card.

The 'Merry' and two of the poinsettia layers were die cut from red mirror card stock with the middle layer and holly leaves cut from gold. The sprig was cut from a different section of the same metallic card stock as the background and everything was layered onto a crosshatch oval by Karen Burniston. A few red and gold sequins and the front was done.


Here is a peek at the inside, where I added a simple box pop up and layered ovals with a stamped sentiment. The scalloped border dies are from Scrapbook.com ... I think I ordered those this summer and I was able to link them below. It looks like they have some new Slimline border dies that I will be adding to my collection soon. I do love border dies!

I didn't do a tutorial on this pop up, but will link my YouTube video for the last one I did for creating a simple box pop up HERE.  The strip I started with was only 1/2" wide for this one - it's a technique you can play with to make it work for your card size.


This blog uses affiliate links whenever possible. This means, that at no cost to you, if you make a purchase through one of my affiliate links that I may receive a small commission from your purchase. I only link products that I own, love and use for my card making!

Any supplies I'm unable to link are listed at the very bottom of my post.

Additional Supplies:  
Mirri - Geometric Shimmer metallic card stock, Hunky-dory
Poinsettia die - Impression Obsession (retired?)
'sprig' die - Penny Black (retired?)
Merry die - Papertrey Ink (retired?)
Sentiment - Mingle All The Way (Stampin' Up) retired
Sequins - stash

Tuesday, 14 December 2021

Christmas Sheetload of Cards


Hello!  Today I'm sharing a set of Christmas cards loosely based on the August 2021 Sheetload of Cards. That is one I have made multiple times already, and when I had this patterned paper out for a different card I thought I would make another set. 

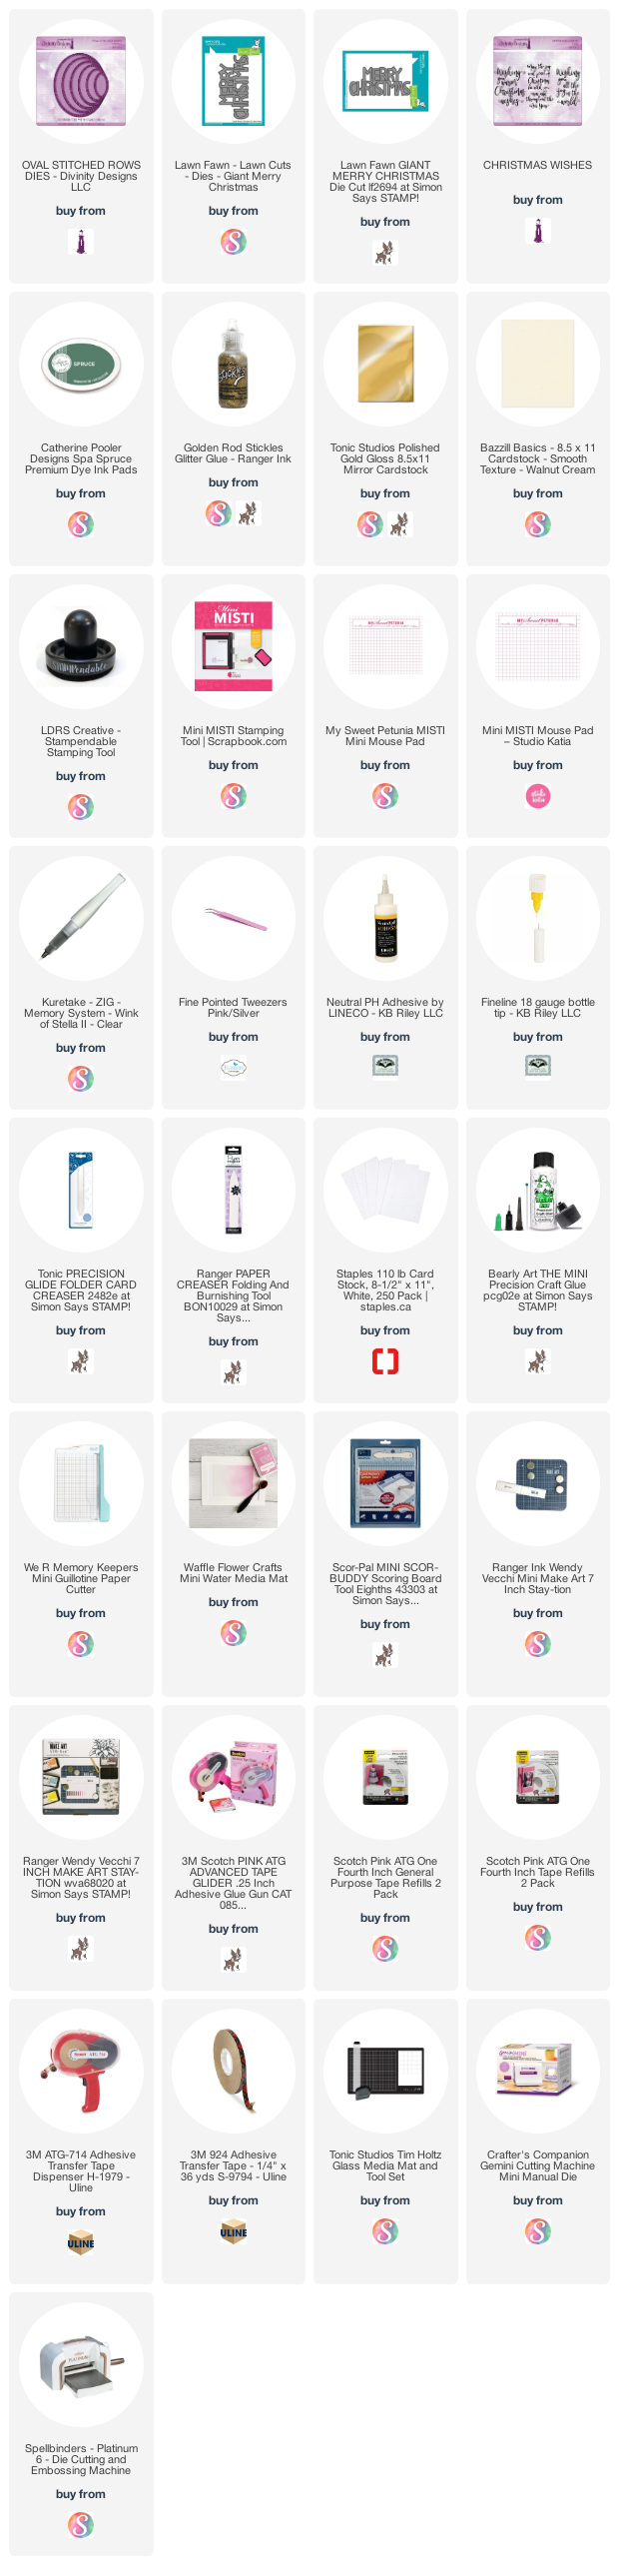
I got my pieces all cut  & matted according to Alissa's sketch & cutting guide** and when I went to add them to the card base I started playing with the arrangement. That's why I said the cards are 'loosely based' on the Sheetload. The Giant Merry Christmas die was on my stamping table when I was playing with the layouts, so I spied that and that is how the first four cards got done. (Everything that is available is linked below.)


I have really enjoyed using mirrored card stocks on my holiday cards ... both gold and silver! For these ones, the Giant Merry Christmas was cut from gold and white card stocks, then both layers were adhered together for stability. The mirrored card stock creases easily and with the different layers of the matted patterned paper I wanted them to hold up going through the mail.

Then I went rooting around in my Christmas Embellishment bin for items I could add and found these holly and poinsettia 3-d elements from K & Co. They are many years old and honestly, I hoarded them for several years before I would even consider using them sparingly. I broke out of that chain of thought for these cards, ha ha.


Here is a peek at the inside with a stamp from Divinity Designs ...


For the next four cards I pulled out the poinsettia elements from the package and then went looking for a smaller word die to use with them. The 'joy' die is one of my favourites - and sadly retired. Once again, I played with the layout of the matted patterned papers and came up with these four cards.


The poinsettias looked like they needed a little somethin' somethin' so I added some pine sprigs (Impression Obsession) die cut from green card stock.

The inside of the Joy cards were done the same as the Merry Christmas ones. 

**You can check out the Call Me Crafty Al's YouTube channel to see how you can download your own Sheetload of Cards - every month she provides a different one and the Collaboration Team shares their take on it as well. TONS of inspiration - I'm a HUGE Sheetload fan ... and was even before Alissa asked me to join the Collaboration team for 2021. I'm happy to say I will be staying on until June 2022 - the terms are 6 months long.

I was so happy with these ones, I made ANOTHER set of Christmas cards using the August Sheetload and hopefully I can share that one before Christmas.

This blog uses affiliate links whenever possible. This means, that at no cost to you, if you make a purchase through one of my affiliate links that I may receive a small commission from your purchase. I only link products that I own, love and use for my card making!

Any supplies I'm unable to link are listed at the very bottom of my post.

Additional Supplies:
Green card stock scraps
Confetti card stock - stash
3D embellishments - K & Company
Patterned paper - Deck the Halls, Stampin' Up (retired)
Burgundy card stock - stash
Joy die - MFT Stamps (retired)
Pine sprig - Impression Obsession (retired?)

Friday, 26 March 2021

March Paper Pumpkin, First Alternate Cards


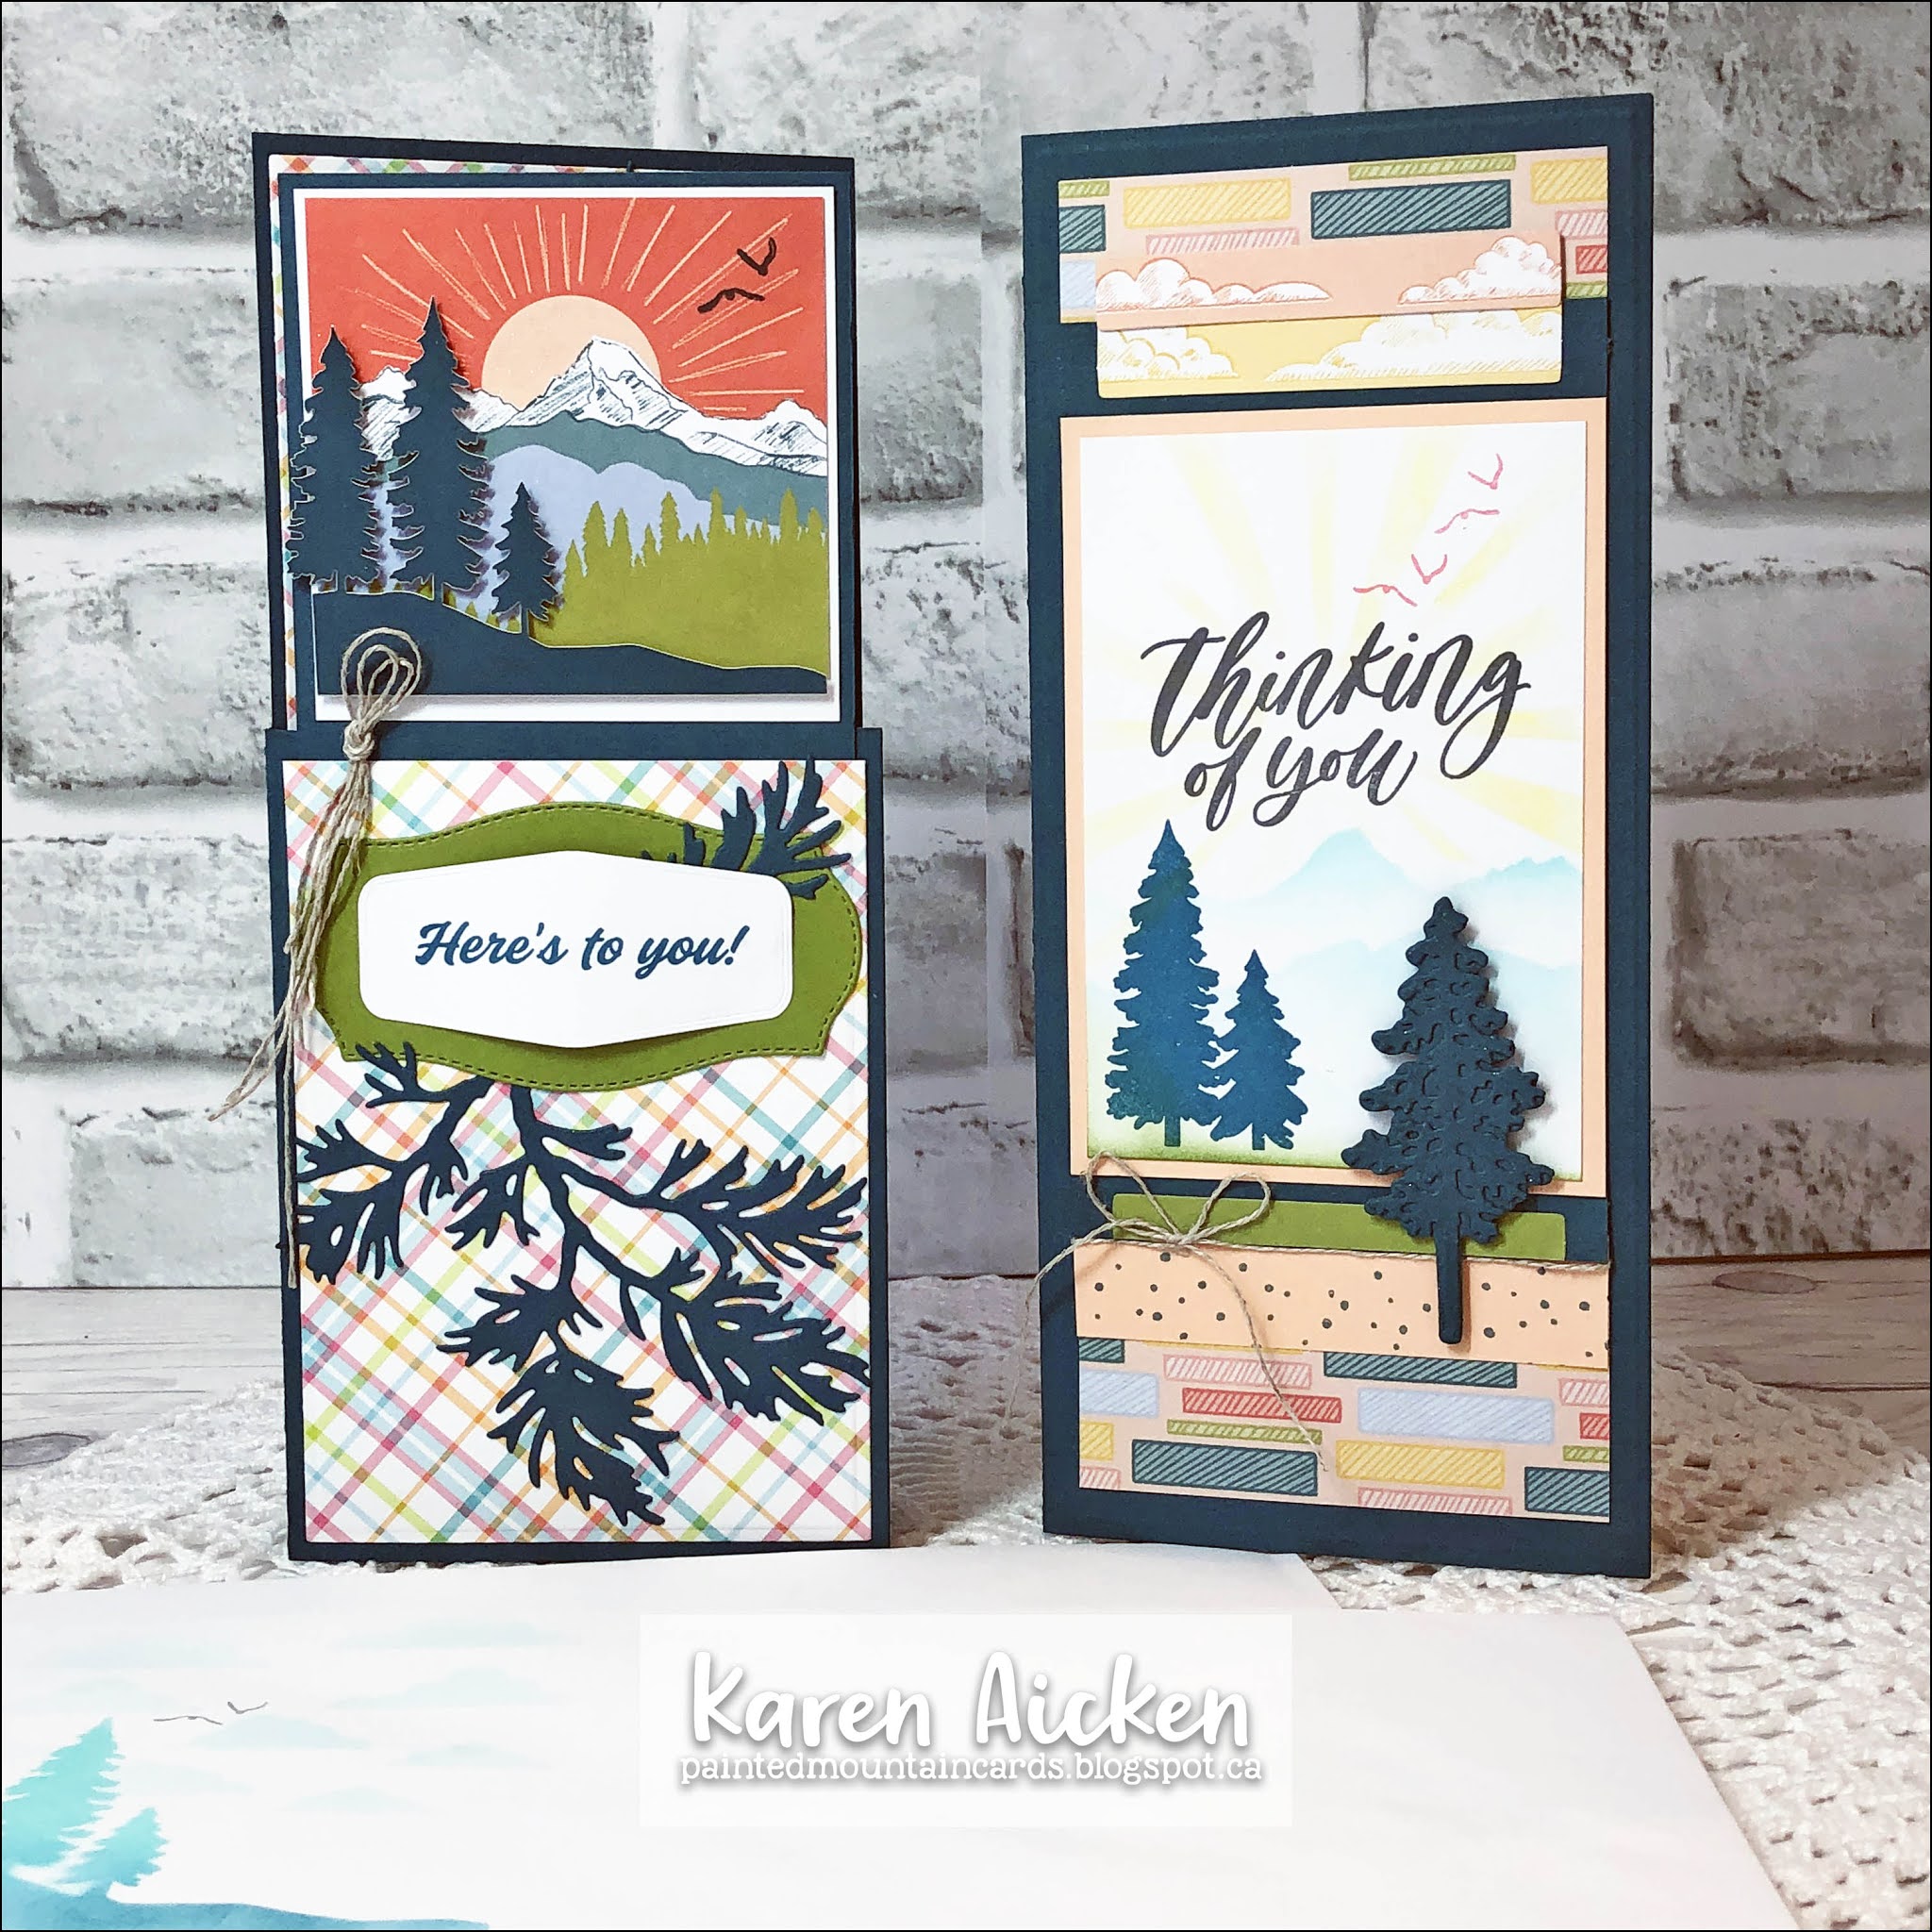
Hello! It's Fun Fold Friday here on my blog and today I'm sharing my first two alternate cards using the March 2021 Paper Pumpkin kit called "Here's To You". The First card is a Dutch Door fun fold card, and the second one has a Pop Up inside. I am going to have a lot of fun making up this kit! I have a walkthrough of my cards on YouTube

Both of my Paper Pumpkin Alternates are Slimline cards, and this first one started out as a Dutch Door Card but I had to make some adjustments as I explained in the video.

I pulled in the Peaceful Boughs for added elements, since I think they work so well with the laser cut trees that are included in the Paper Pumpkin Kit.


Here is a peek at the inside ...


I used Slimline dies by Divinity Designs for my cards, both the Slimline Card Base** and the Slimline Rectangles. Both have an embossing feature on the edges, which adds a lovely detail.

Since the March Paper Pumpkin came with stencils as a free gift, I decided to add a little scene inside my card with the stencils. On the envelope, I used a couple of the stencils as well as the negative portion of the laser cut trees as a stencil.


My second card also uses the stencils, as well as the In The Pines bundle.


The stamped sentiment is from Gina K and I added some of the printed cloud rectangles from the kit as well as pieces of one envelope liner.


Inside is the pop up, created using a simple box pop up. I will link a tutorial below for that.


I added some older patterned paper from my stash and both inner panels were die cut and embossed with the Slimline Rectangle dies by Divinity Designs. 


Click HERE to see the video on how to make a simple box pop up on YouTube.

As I said above, I am looking forward to playing more with this Paper Pumpkin kit - but have put it aside for a bit while I work on Design Team projects.

Supplies:
Everything included in the March 2021 Paper Pumpkin kit "Here's To You", plus what is listed below

Slimline Card Die** - Divinity Designs
Slimline Rectangle Dies - Divinity Designs
Card stocks - stash
Glimmer Brush Pen
Mini MISTI - My Sweet Petunia
Plaid patterned paper - Lawn Fawn
Peaceful Boughs bundle (dies) - Stampin' Up
Tasteful Label dies - Stampin' Up
Sentiment inside - Another Year Older, Taylored Expressions
Celebrate - Birthday Greetings, Studio Katia
Thinking of You stamp - Just Because, Gina K
In the Pines Bundle (dies) - Stampin' Up
Patterned paper - Studio K (old, stash)
Smile Often stamp - Impression Obsession
Stitched Mini Scallop Oval dies - MFT Stamps
Card size  (both) - ~4 x 9", fits in a #10 Business Envelope

** Requires a larger die cut machine

Sunday, 27 December 2020

Sunshine and Cactus Slimline Card


Hello crafty friends ... 

Because of COVID we didn't get to visit Arizona in November as planned so my Slimline card today is a cactus theme and I had fun using one of my Stamploration stencils and this wonderful cactus die by Paper Rose.


The inked plant pot was given a coating of Glossy Accents so it's raised and shiny and resembles a glazed pot. The pretty rainbow sequins add another touch of sparkle to the card front. Even though the banner hangs over each side, this card still fits in a #10 Business Envelope.


Finally, here is a peek at the inside:


Supplies:
Aperture Stencil - Stamplorations
Card stocks - stash
Slimline dies - Slim Ornate Banners, Pink Fresh Studio
Taylored Expressions Blending Brushes
I-crafter Blending Brushes
Slimline Stitched Dies - Trinity Stamps
Cactus die - Paper Rose
Circle die - Hero Arts
Banners Pick A Punch - Stampin' Up
Words - Home to Roost, Stampin' Up
Sunshine stamp inside - Impression Obsessions
Fineline markers
Crystal Rainbow Confetti - Studio Katia
Glossy Accents 
Card size -  3.5 x 8.5", fits in a #10 Business Envelope

Thanks for stopping by today

Saturday, 26 December 2020

Rainbow Slimline Duo

Hello crafty friends ...

I hope everyone who celebrates had a nice Christmas 😊. We have to make the best of this COVID situation with the ever changing restrictions etc, so we did what we could to make our holiday a special one.

I am done sharing Christmas cards now and ready to move onto bright, happy colours and today I'm sharing a Slimline card duo that is actually my own artwork & lettering! I was playing on my iPad and this is what I came up with. I printed two of them onto a sheet, but the spacing was off a little so I was only able to use the Crosshatch Long die on one of them.

It's a little hard to see in the photos, but I added a clear resin heart sticker to the sunshine on both cards for a little somethin' somethin'.


Inside the cards I used fun stamps because I think these cards will be perfect to send out for Happy Mail.


The clear resin hearts come in three sizes, and the largest ones are on the front. I added a small one to the right of each of the stamped sentiments as well. 

Into my stash with these two until I start back up sending Happy Mail in the New Year.

Supplies:
iPad and printer
Various card stocks - stash
1151 Crosshatch Long Rectangles - Karen Burniston
Embossed Edge Nesting Slimline Dies - Kat Scrappiness
Shimmer Spray
Clear resin heart stickers - Stampin' Up
Patterned Paper - Over the Rainbow, Recollections
Mini MISTI
Sunshine/medicine - Impression Obsession
Hug/fold - Verses

Card sizes, both - 3.5 x 8.5", and they fit in a #10 Business Envelope

Thanks for stopping by today

Saturday, 27 June 2020

Layered Mushroom House Card


Hello crafty friends ...

About the time I was looking to add some Gnomes to my stamp & die collection, I saw Tanya's video on creating these 3-D mushroom houses using the Riley & Company Mushroom Lane stamps. Since I was ordering the large Gnomes anyhow, I added this Tri-Level Mushroom House to the order. (Stamps and dies).

After stamping it in Copic friendly ink, I coloured it up then made three colour copies. This was a suggestion Tanya had in her video so I thought I'd give it a try.


The coordinating die set cuts different portions of the Mushroom House, so I cut those out from the colour copies and layered everything together with foam tape. Very similar to Paper Tole, which was popular years ago. 


Lots of fun dimension on the card, and I didn't want to add a sentiment to the front and distract from the layered look of the mushroom house. I added a fun sentiment inside though!


Supplies:
White, Kraft and tan card stocks
Mushroom Lane Tri- Level House stamp and dies - Riley & Company
Copic markers
1054 Rectangles Crosshatch - Karen Burniston
Sakura white gel pen
Nuvo Glitter Pen
Inside stamp - Impression Obsession
MISTI - My Sweet Petunia
Small mushroom stamp - You Gnome Me, MFT Stamps

Card size - Standard A2 (4.25 x 5.5")

Thanks for stopping by today

Wednesday, 22 April 2020

Slimline Easter Card with Three Eggs

Hello crafty friends ...

Today I'm sharing another Easter Card ... I used all my Easter cards this year so now I'm ahead for next year!


I used the 'Bring on Spring' Shaker Card Kit for the eggs. I love how these dies can be both shakers or non-shakers, which makes then very versatile. As you can see, I made another Slimline card and added some white pearl die cut bunnies with a stamped greeting.


Finally, here is the inside of the card ...


Into my stash for next year ...

Supplies:
Pink and white card stocks
'Bring On Spring' Shaker Card Kit - Queen & Co
Bring On Spring Outline Dies - Queen & Co
Various filler, from my stash and Queen & Co
Blue patterned paper - Recycled Packaging
Slimline Scenic Borders - Trinity Stamps
Slimline Scallops - LDRS
Blending Brushes - Taylored Expressions
Cloud mask - Heffy Doodle
Pink patterned paper - scrap from my stash
Bunny dies - Impression Obsession
White pearl card stock
Mini Strips Easter - Taylored Expressions
Mini Strips die - Taylored Expressions
Slimline Scalloped - Trinity Stamps
Spring Phrases - Lynda Kanase

Card size - 8.5 x 3.5", fits in a standard #10 Envelope

Thanks for stopping by today