Showing posts with label Series: 12 Months of Christmas. Show all posts

Friday, 1 December 2023

Pop Up Christmas Card Duo


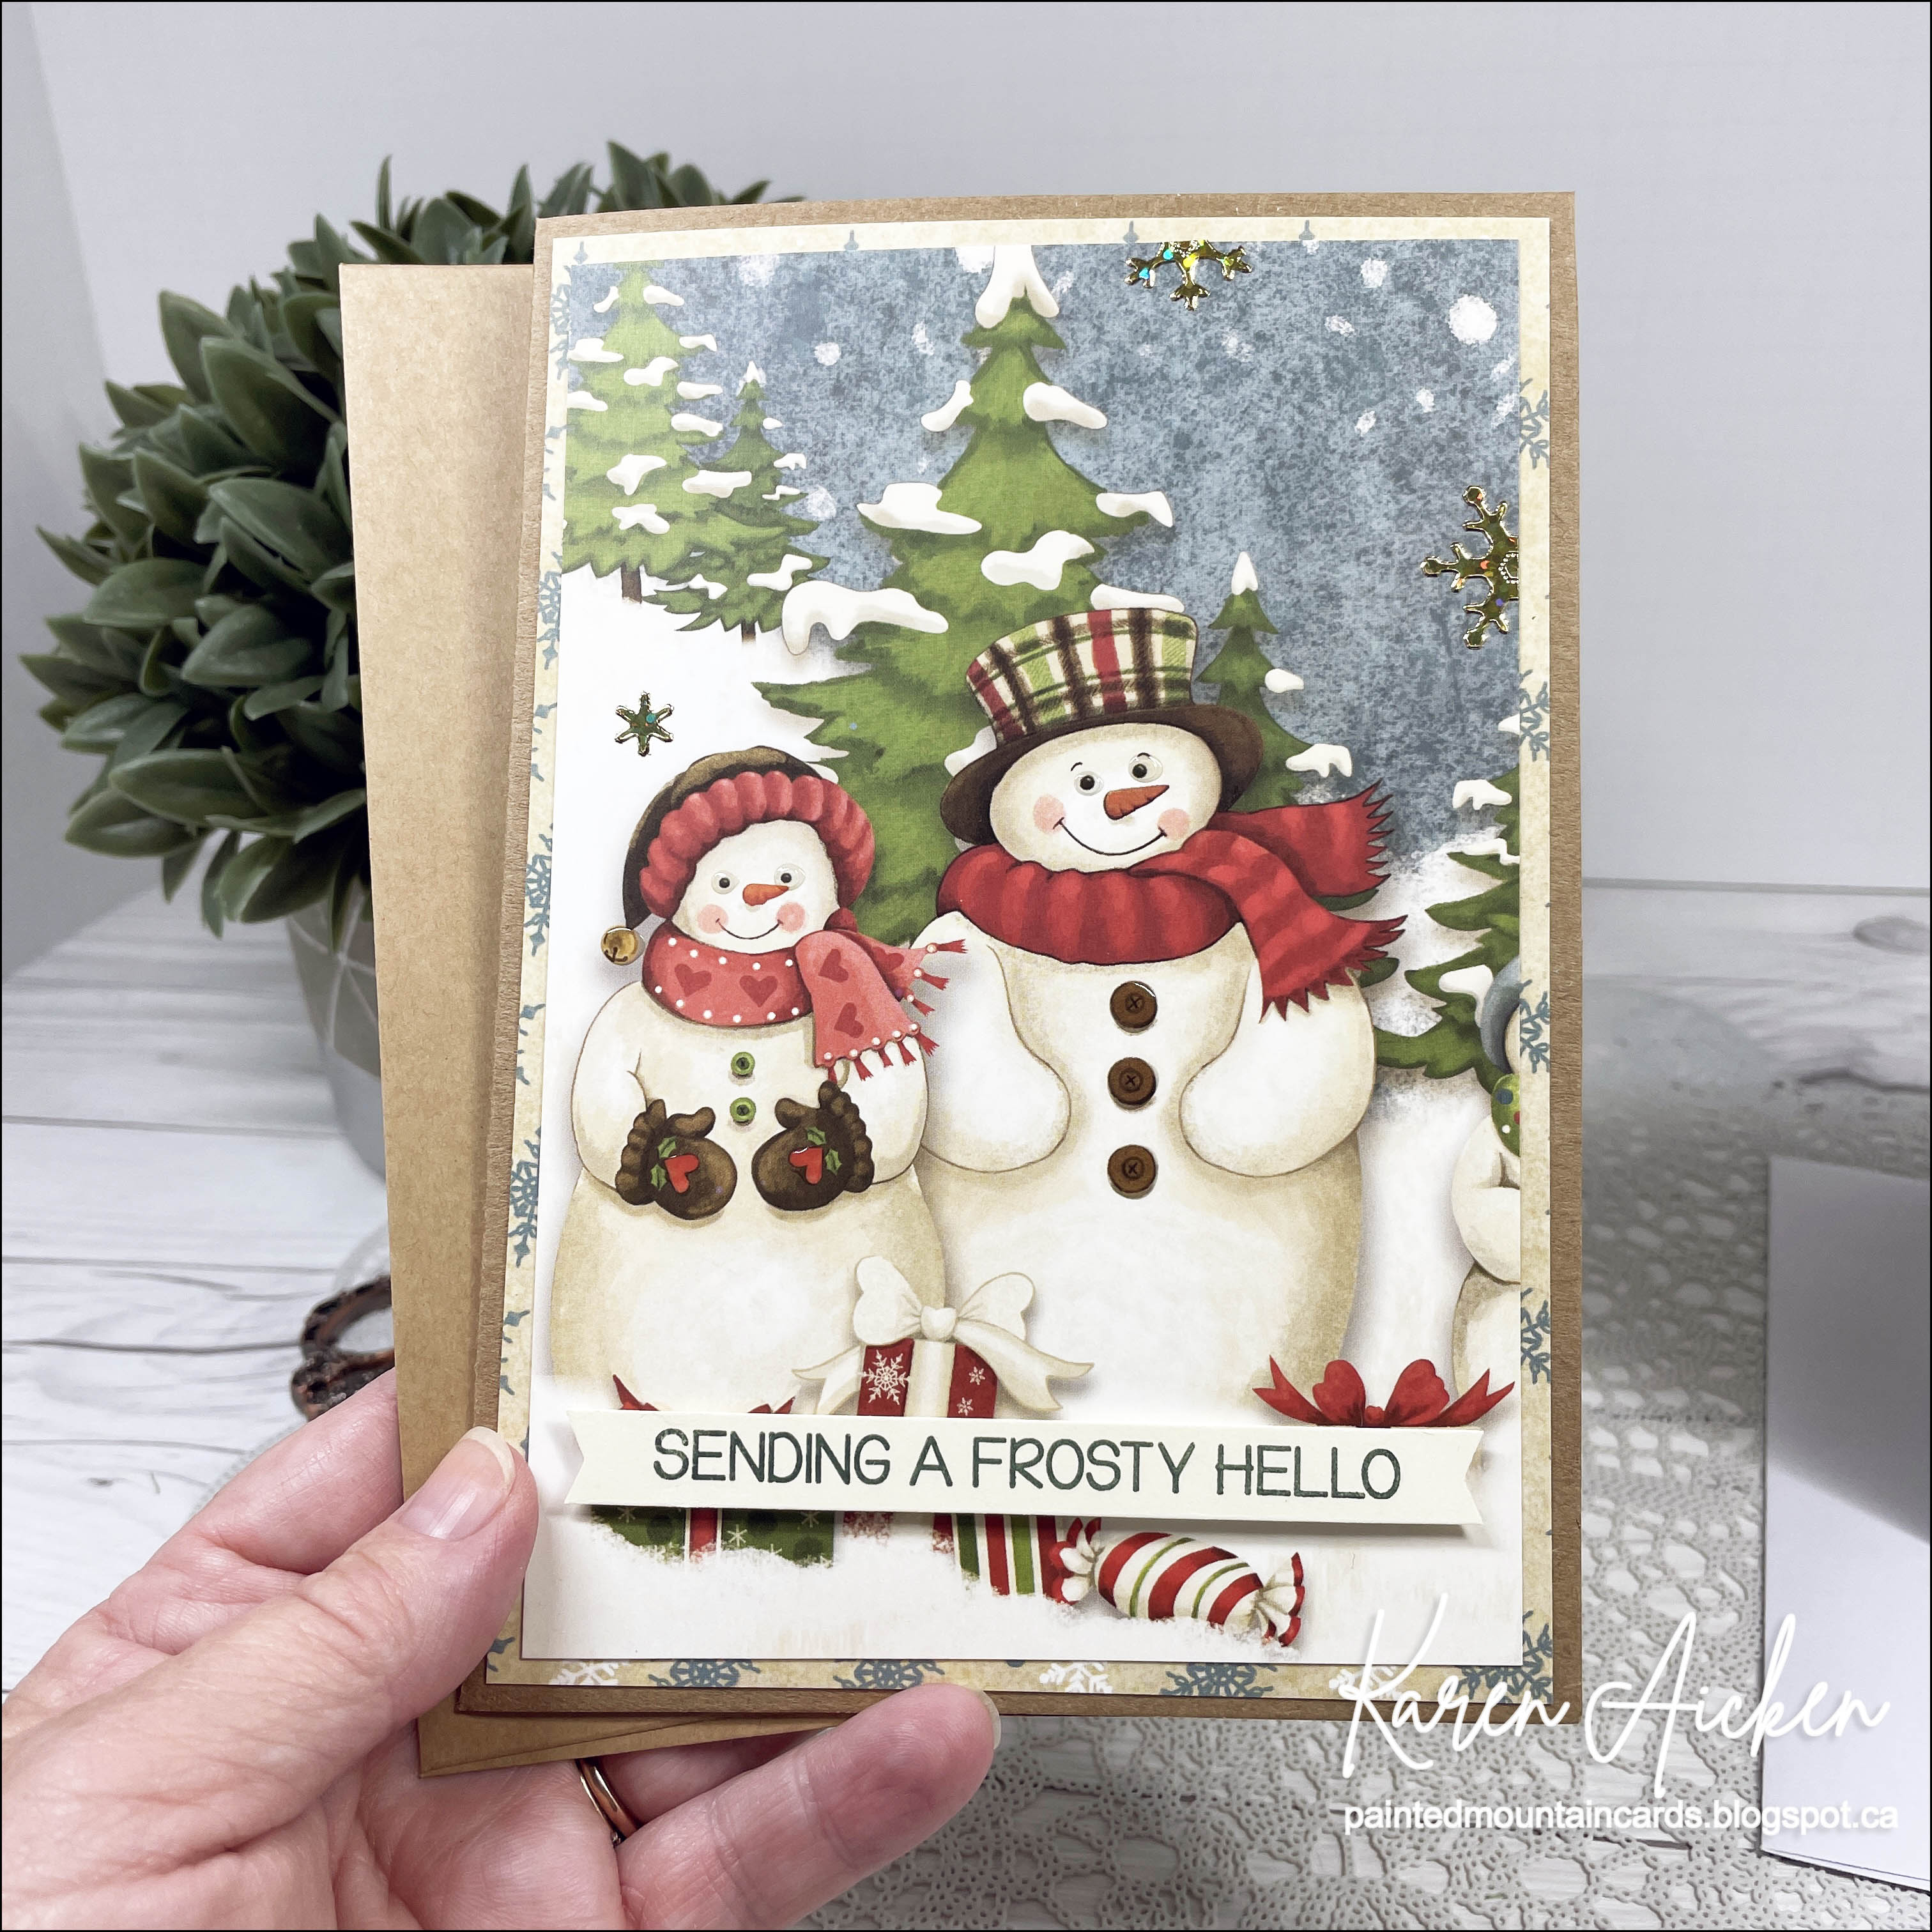
Welcome to Fun Fold Friday here on my blog, and Happy December 1st!  As I have always done in December - I'll be sharing holiday cards right up until Christmas. Still, this is my 12th and final edition to my monthly series "12 Months of Christmas".  Today I'm sharing a pair of 5 x 7" cards - one has a simple box pop up and the other uses the Paper Frames Pop Up die set by Karen Burniston.  In the photo above you can see the fronts of both cards.


In the photo below you see the insides!  (Sorry for the bad lighting - these photos were not allowing me to do much editing.)


Both cards are nice and simple on the fronts, letting that adorable patterned paper do all the work. I matted the panels with coordinating patterned paper from the same package, added some glitter and gold snowflake stickers as well as a stamped sentiment popped up with foam tape.


The first card has a simple box pop up inside. I have several tutorials on YouTube showing how to make these (Click HERE to see one) and I used a cut apart from a sheet in the package as the decorative element inside.


The second card is actually on a Kraft card base instead of a white one - both cards have matching envelopes.

I fussy cut a couple of snow people from a sheet in the package with borders of these snowmen to decorate the inside. I love all the dimension you get with the Paper Frames Pop Up!


Whenever I give someone a card that uses the Paper Frames Pop Up, they turn it over to view it from the top ... so here is a top view photo for you. 😊


Having been asked how many cards I make I thought it would be fun to keep track this year. Many of my posts include more than a single card or project and below is my tally. 

Card Tally for 2023
January - 53 cards
February - 56 cards
March - 55 cards
April - 32 cards
May - 43 cards
June - 34 cards
July - 56 cards
August - 106 cards
September - 61 cards
October - 51 cards & 5 Tags
November - 46 cards
December so far - 2 cards

I decided to cancel the subscription that provided linked thumbnails to what products I used on my cards. It was costing me out of pocket each month, so I’m back to listing what I used .

Supplies:
Patterned paper - Say Freeze, Recollections (old)
5 x 7" Kraft card blank & envelope
5 x 7" white card blank & envelope
A7 Nested Rectangle dies - Waffle Flower
Nuvo Glaze
Gold Peel Off sticker border - unknown
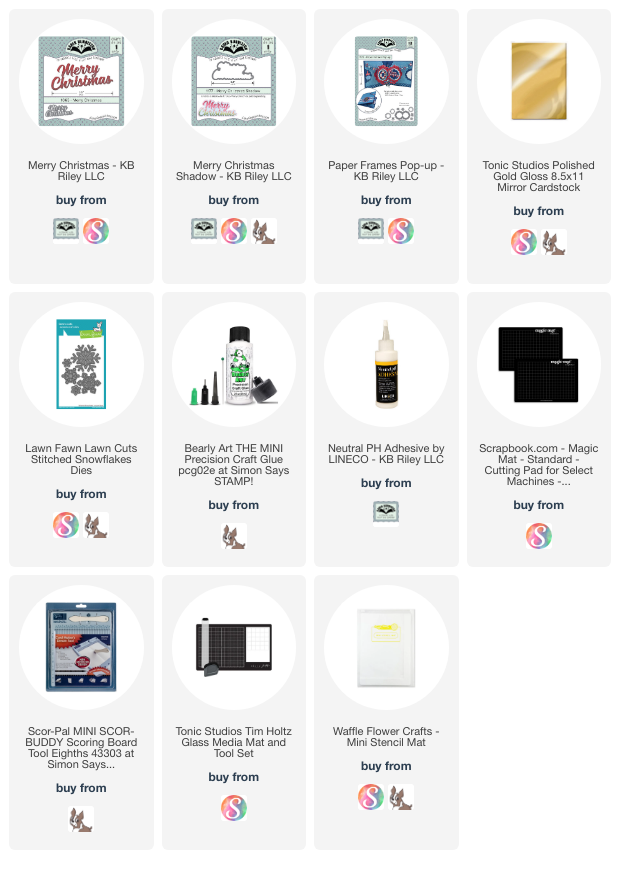
Paper Frames Pop Up - Karen Burniston
Label Crosshatch - Karen Burniston
Catherine Pooler inks
Blending brushes - Taylored Expressions
Frosty Hello - Magical Winter Wishes, Your Next Stamp
Sentiment - In & Out Christmas, Taylored Expressions
Snowflake Sticker Peel-Off's, Elizabeth Craft Designs & Stamp On It
Gold gel pen

Thursday, 23 November 2023

Two Mini Slim Trifold Cards for Christmas


Today's cards are for my monthly series "12 Months of Christmas". I'm happy with them now, but they gave me all kinds of grief when I was making them. First, they started out to be pull cards - where you open the front then pull the inside panels to the right to open the card fully. Things just would not work out, so finally I adhered panels together and decided to make them trifold cards instead. I crossed my fingers, because if this didn't work I was tossing them. 😜


These two sheets were the last of the patterned paper in the package! Well, that's not true ... there were a couple of other ones that I didn't really like and I finally decided that there was no reason for me to look at them every year then put the package back on the shelf. Into recycling with the 'ugly' prints and ... done!


I added peel off stickers and die cut deer, as well as stamped sentiments. When you open the cards you see this snowflake and sentiment.


After you open that panel you see the inside sentiment and that is where we will sign our names.


The snowflake paper is nice and sparkly but the pattern was pretty big and I hadn't found a way to use it before this year.


Having been asked how many cards I make I thought it would be fun to keep track this year. Many of my posts include more than a single card or project and below is my tally. 

Card Tally for 2023
January - 53 cards
February - 56 cards
March - 55 cards
April - 32 cards
May - 43 cards
June - 34 cards
July - 56 cards
August - 106 cards
September - 61 cards
October - 51 cards & 5 Tags
November so far - 34 cards

I decided to cancel the subscription that provided linked thumbnails to what products I used on my cards. It was costing me out of pocket each month, so I’m back to listing what I used 

Supplies:
Patterned paper - Winter Wonderland, Recollections (old & the last of it!)
White pearl cardstock
Deer - Grassy Grove dies, Stampin' Up
Snowflake Peel Off Stickers - Ecstasy Crafts
Rainbow Holographic cardstock - Hunkydory
Snowflake dies - Elizabeth Craft Designs (old)
Narrow gold tape - Amazon .ca
Gold mirror cardstock - Hunkydory
Circle dies - Hero Arts
Glitter Dots - Ecstasy Crafty
Seasons Greetings Peel Off's - Elizabeth Craft Designs
Catherine Pooler inks
Sentiments - Perfectly Plaid, Stampin' Up
Scallop Stitched Nesting Circles - Tutti Designs

Wednesday, 18 October 2023

Pop Up Christmas Card


Today I'm sharing the October edition to my monthly series "12 Months of Christmas" and I made it a Pop Up card using dies by Karen Burniston.


I kept the front fairly simple, because all the fun is on the inside. Since the patterned paper pad is one I have had for several years, there are lots of partial sheets in it. One was a 12 x 12" sheet of borders so I trimmed a strip that included two borders and decided to add it on an angle to the sparkly plaid paper. This layout is based on the August '23 Sheetload of cards, which creates A2 cards. This one is a 5 x 7" card.

I added both the Merry Christmas and Merry Christmas shadow to the front as well as some gold snowflake peel off stickers.


Inside I used more of the border pieces and the Little Label Pop Up! Using the included decorator dies I cut gold frames for the outer two labels and added a sparkly peel off snowflake sticker in the centre. Then a larger snowman element was added to the center.


Here is a side view so you can see the Pop Up a little better.


The snowman pieces were all fussy cut from different papers in the package. Even though it's an older paper pad I still love getting it out every year to make a couple of holiday cards. 


I added a space for a stamped sentiment (and where we will sign our names) using the Labels Crosshatch. Between the sparkle in the patterned paper, the gold metallic card stock, the narrow gold tape AND the gold snowflake stickers - this is a nice sparkly holiday card. 😊


Having been asked how many cards I make I thought it would be fun to keep track this year. Many of my posts include more than a single card or project and below is my tally. 

Card Tally for 2023
January - 53 cards
February - 56 cards
March - 55 cards
April - 32 cards
May - 43 cards
June - 34 cards
July - 56 cards
August - 106 cards
September - 61 cards
October so far - 34 cards

I decided to cancel the subscription that provided linked thumbnails to what products I used on my cards. It was costing me out of pocket each month, so I’m back to listing what I used with a few affiliate links included.

Supplies:
5 x 7" Kraft card blank and envelope
Patterned paper - Say Freeze, Recollections (old)
Sketch - August '23 Sheetload
Narrow Gold tape - Amazon
Gold mirror cardstock
Snowflake Peel Off's - Stamp On It and Elizabeth Craft Designs (old)
Sentiment inside - In & Out Christmas, Taylored Expressions
Catherine Pooler Inks 

Tuesday, 19 September 2023

Three Winter Cabin Holiday Cards


Today I'm sharing the 9th edition to my monthly series "12 Months of Christmas". When I had the paper out for last week's Barn Pop Up Christmas Card, I spied this winter cabin paper and knew I wanted to make cards with them. There are three of each design in the 6 x 8" paper pad (which looks to be retired). 

Trimming the panels down to fit the front of the 5 x 7" Kraft card bases, I started poking around in my holiday stamps to see what else I wanted to use.


The deer, cardinal (and bunny inside) are all from another retired stamp & die set and the sentiment is from Penny Black. The cabin, fence & fox on the envelopes are (retired) stamps from last year's Stampin' Up Christmas Mini Catalogue. 

When the front panels were cut down to fit the card base, there was a 1" strip leftover. I added that to the left side of a white panel on the inside of each card. Then I stamped the sentiment, cardinal & bunny and my cards were finished.  


I made these cards with specific friends in mind and I think they will enjoy them!

Having been asked how many cards I make I thought it would be fun to keep track this year. Many of my posts include more than a single card or project and below is my tally. 

Card Tally for 2023
January - 53 cards
February - 56 cards
March - 55 cards
April - 32 cards
May - 43 cards
June - 34 cards
July - 56 cards
August - 106 cards
September so far - 28 cards

I decided to cancel the subscription that provided linked thumbnails to what products I used on my cards. It was costing me out of pocket each month, so I’m back to listing what I used with a few affiliate links included.

Supplies:
Patterned paper - the 4 Seasons Winter - P13
Kraft cardstock bases with Envelopes 
5 x 7" nesting rectangles - Waffle Flower
Deer & Cardinal - Winter Wonderland W+9. (and dies)
Catherine Pooler Inks
Various cardstocks
Words on front - Snowflake Season, Penny Black
Inside sentiment - Encircled in Warmth - Stampin' Up
Stamps on Envelope - Peaceful Cabin - Stampin' Up

Thursday, 24 August 2023

Winter Barn Pop Up Christmas Card


This was such a quick and easy card to put together, and it's perfect for our daughter and family who live on a farm. I loved this pad of patterned paper, which I purchased last year and had saved the barn prints to use one for their holiday card this Christmas. 


The panel was cut with a stitched rectangle and added to a 5 x 7" card base. Then I added a fussy cut owl and a stamped sentiment on foam tape. Inside, I used the Katherine Label Pop Up (by Karen Burniston) and another fussy cut image which was perfect for stamping a sentiment on.


Having been asked how many cards I make I thought it would be fun to keep track this year. Many of my posts include more than a single card or project and below is my tally. 

Card Tally for 2023
January - 53 cards
February - 56 cards
March - 55 cards
April - 32 cards
May - 43 cards
June - 34 cards
July - 56 cards
August so far - 87 cards

I decided to cancel the subscription that provided linked thumbnails to what products I used on my cards. It was costing me out of pocket each month, so I’m back to listing what I used.

Supplies:
5x7" Card base and envelope
5x7" Lacy Layers die - Waffle Flower
Patterned paper - The 4 Seasons - Winter, P13
Encircled in Warmth - Stampin' Up
Red bakers twine 
Simple Strips Christmas, stamp and die - Taylored Expressions
Stamps on envelope - Peaceful Cabin, Stampin' UP

Friday, 18 August 2023

Christmas Mini Slimline Tri Shutter Card


Today I'm sharing a card that works for a couple of my monthly series ... 12 Months of Christmas, and New Fun Folds! In the past 4 months, I had purchased exactly ONE new paper crafting item ... and this is it. It's the Mini Slimline Tri Shutter Die Set by Divinity Designs. I believe it was released in May, but I didn't end up ordering it until July. I have a number of the fun fold dies by Divinity Designs and I'm always impressed with them. Like the others, this one comes with the layering dies which makes it SO much quicker to complete your card. 


The base die cuts and scores your card stock and you can put the layering dies on your patterned paper(s) to take advantage of whatever print you are working with.  I cannot wait to play with this some more. The finished card (folded) is 3.5 x 6" - which is my preferred Mini Slimline size.


One more look ...


Having been asked how many cards I make I thought it would be fun to keep track this year. Many of my posts include more than a single card or project and below is my tally. 

Card Tally for 2023
January - 53 cards
February - 56 cards
March - 55 cards
April - 32 cards
May - 43 cards
June - 34 cards
July - 56 cards
August so far - 66 cards

I decided to cancel the subscription that provided linked thumbnails to what products I used on my cards. It was costing me out of pocket each month, so I’m back to listing what I used.

Supplies:
Double Stitched Circles - Divinity Designs
Patterned paper - The Four Seasons Winter, P13
Fluted Classics Circle dies - Spellbinders
Cozy Christmas Ephemra - My Minds Eye
Cardinal die - Impressions Obsession
Catherine Pooler Inks
Various cardstocks
Red glitter cardstock

Friday, 14 July 2023

Double Z Fold Cards (and Tutorial!)


I have a video tutorial to share today, for creating these easy Double Z Fold cards. While technically this isn't a NEW to me fun fold, I haven't made one in many years, so I'm counting it as the 7th edition to my monthly series "New Fun Folds". It's also Fun Fold Friday here on my blog!  You can find the YouTube video tutorial HERE: 


This first one is one of my July Ice Cream cards. Having ice cream on a certain day in July is a generational tradition and I've also been sending the family ice cream cards to celebrate that day for the past 20 years or so. If you would like to read more about the tradition, I wrote about it in THIS blog post.


I added both Pops of Color and Nuvo Glaze to two of the ice cream layers, then a tiny enamel heart. The letters for JULY also got a coating of Nuvo Glaze for lots of shine.


When I was doing the tutorial, I wanted to show how easy it is to change up what you add to the front. So I made a holiday card using a cut apart (or journal card) instead of the ice cream panel. So that also means this post is my 7th edition to the monthly series "12 Months of Christmas". 😊. Talk about packing a lot into a single post, ha ha.


I was actually so happy with how these cards turned out, I can't wait to make a few more for the holidays. Could be a great way to use up some of the scraps, partial sheets and leftover stickers I have laying around. 🤔🤔🤔

This card features a matted cut-apart on the front, and a stitched snowflake on the inner centre panel. You can decorate this panel - or not - it's up to you!

Measurements - assemble as shown in the video tutorial.

Card Base:  11 x 4.25", scored at 2.75 and 5.5"

Patterned paper for card base:  two at 2.5 x 4", one at 5.25 x 4"


Smaller Card Base:  9.75 x 3", scored at 4.25 and 7"

Patterned paper for smaller card base:  4 x 2.75" and two at 2.5 x 2.75"


Embellish the front as desired. You can add other layers or use embossing folders and coloured cardstock instead of patterned paper. Lots of ways to change this one up!


Having been asked how many cards I make I thought it would be fun to keep track this year. Many of my posts include more than a single card or project and below is my tally. 

Card Tally for 2023
January - 53 cards
February - 56 cards
March - 55 cards
April - 32 cards
May - 43 cards
June - 34 cards
July so far - 19 cards

Additional Supplies:
Patterned paper (including peach) Neapolitan, American Crafts (old, from my stash)
White cardstock
Ocean tides cardstock - Papertrey Ink (my stash)
Plaid patterned paper - Oh Canada, Flannel Shirt (Photo Play)
Cut Apart - Winter Meadow (Photo Play)
Shimmer Spray

This blog uses affiliate links whenever possible. This means, if you make a purchase through one of my affiliate links that you pay the same amount but I may receive a small commission from your purchase. I only link products that I own, love and use for my card making and not every link below is an affiliate one! 😊

Tuesday, 13 June 2023

Wintery Faux Step Mini Slimline Card


Today I'm sharing the 6th edition to my monthly series "12 Months of Christmas". Last month I created a 5 x 7" Faux Step Card and I liked it so much I wanted to try a Mini Slimline version. I really like this one too and hope to do a tutorial for it over the summer. 

I pulled out the Magic of Winter package from Echo Park - I used it a LOT last year and still have many bits leftover for even more cards. Since I wanted to feature one of the cutaparts from the package, my measurements are a little different than they would be for a 'regular' Faux Step Mini Slimline card. I didn't even really take note of the measurements for this one - it was a 'let's see if this works' type of card.


Since I used double sided patterned paper for the accordion base, the penguins on the back were upside down. I cut a same sized piece as the back panel and added it so the penguins would be right side up on the back of the card. 😊

The sentiment is a Funnybones stamp from Riley & Company, and even though it's JUNE, I'm already tired of winter. HA - that should tell you how much I dislike winter and being cold. 

Having been asked how many cards I make I thought it would be fun to keep track this year. Many of my posts include more than a single card or project and below is my tally. 

Card Tally for 2023
January - 53 cards
February - 56 cards
March - 55 cards
April - 32 cards
May - 43 cards
June so far - 16 cards

Additional Supplies:
White cardstock
Snowflake punches - Martha Stewart

This blog uses affiliate links whenever possible. This means, if you make a purchase through one of my affiliate links that you pay the same amount but I may receive a small commission from your purchase. I only link products that I own, love and use for my card making and not every link below is an affiliate one! 😊

Tuesday, 9 May 2023

Gold Snowflakes Pop Up Card

Today I'm sharing the 5th edition to my monthly series "12 Months of Christmas". I pulled out this paper pad, which I have have for a number of years and cut down one of the sheets that had the 4 x 6" gift panel on it. That is what started the card and the rest just fell into place!

Inside I used the Paper Frames Pop Up by Karen Burniston, and decided not to add another sentiment inside the card but there is room for a short message on the signing block. Since the paper has some gold foiling on it I added snowflakes cut from a gold mirrored cardstock. I love sparkle and shine on a holiday card!

... one more look ...

Having been asked how many cards I make I thought it would be fun to keep track this year. Many of my posts include more than a single card or project and below is my tally. 

Card Tally for 2023
January - 53 cards
February - 56 cards
March - 55 Cards
April - 32 Cards
May so far - 22 Cards

Additional Supplies:
Patterned paper - Christmas Made, DCWV (old, from my stash)
5 x 7" Card blank and envelope
White cardstock
Peel Off Gem stickers - Dazzles

This blog uses affiliate links whenever possible. This means, if you make a purchase through one of my affiliate links that you pay the same amount but I may receive a small commission from your purchase. I only link products that I own, love and use for my card making and not every link below is an affiliate one! 😊

Friday, 14 April 2023

Christmas Pull Card


Today is Fun Fold Friday on my blog and I'm sharing the 4th edition to my monthly series "12 Months of Christmas". I've been having fun making these pull cards lately so had to try one with holiday papers and I also added acetate to the window. I like it and will probably do that again, as I know I will make more of these. Especially in a larger than A2 card size as this one is.


I'm not a huge fan of this paper pad, and every time I pull it out I think I'm just going to give it to the grandkids or something. Then I flip through it and some of the gold foiling catches my eye and I decided to make just 'one more card' with it. 

After the patterned paper was adhered to the card front, I used a hexagon die to cut a window in the card front. To create the frame, I simply nested two hexagon dies together held in place with Washi Tape. The smaller one was the die I used to cut the window and then a larger one. I die cut the red frame for the outside and the patterned frame inside. While the inside one isn't necessary, it does finish off the window and left side of the card. 

Using the larger die I cut a piece of acetate and adhered it over the opening on the card front with a tape runner. Then I added the frame on top! Since I didn't feel like hauling out all my Christmas stuff and rummaging through it, I added a bow using a tulip bouquet die that was a recent purchase.


The tag was one of the cut aparts included in the paper pad and the decorations on the left were fussy cut from some of the paper scraps in the package. You pull the piece with the tag to the right, and the sentiment inside is revealed. That is also where we will sign our name when we go to send the card.


I haven't done a tutorial for this size of card, but here are the measurements I used.
Card base - 5 x 6.5" (folded) card. If you are using card stock, a 10 x 6.5" sheet scored in the centre at 5" will give you the card base and it will fit in an 5 x 7" envelope.
For the pull card piece, the patterned paper was cut at 9 x 6" and scored at 4.5 and 6.75".

Having been asked how many cards I make I thought it would be fun to keep track this year. Many of my posts include more than a single card or project and below is my tally. 

Card Tally for 2023
January - 53 cards
February - 56 cards
March - 55 Cards
April so far - 17 Cards


Additional Supplies;
5 x 6.5" card base and envelope - Michaels
Patterned paper - Christmas Made, DCWV (old, from my stash)
Bakers twine - leftover from a Stampin' Up kit
Word stamp - Classic Christmas, from an old magazine
Peel Off gem stickers - Dazzles

This blog uses affiliate links whenever possible. This means, if you make a purchase through one of my affiliate links that you pay the same amount but I may receive a small commission from your purchase. I only link products that I own, love and use for my card making and not every link below is an affiliate one! 😊

Friday, 31 March 2023

Snowman Pop Up Christmas Card


Today's card is both for Fun Fold Friday and the 3rd edition to my monthly series "12 Months of Christmas".  I pulled out an older patterned paper package for my card and I was determined to use some of it, especially since it also has some coordinating solid cardstocks included. While it's hard to see in the photos - the front panel has embossed and glittery bits which really adds to the front of the card.

I have a walkthrough of my card on YouTube:   


Karen Burniston's Merry Christmas was cut from black glossy cardstock for even more shimmer and shine.


Inside I used the Snowman Pop Up (also by Karen Burniston) and every time I make one of these cards I am AMAZED at how completely flat it folds down for mailing! I also used the new Rectangle and Labels Crosshatch, for my decorative papers and labels. In the video I show how I cut down three different panels for the inside.

Karen Burniston has assembly videos for all of her pop up dies including this one. If you have the die, then you have probably already checked out her video tutorial so I don't attempt do 'reinvent the wheel' by doing another assembly one. I prefer to show you different ways you can use those same dies since people love to see a variety of looks!
HERE is the link to the Karen Burniston website, which includes the assembly videos, or click on the product link below.


His hat and eyes were also cut from the black glossy cardstock, as was the Brrrrrr in the top left corner.


Even though I kept the front of the card nice and simple, the card felt unbalanced in my hand when it was opening. So I added a slightly smaller than 5 x 7" panel of white cardstock to the back of the card as well. Note, I didn't use any dimension or foam tape on the card front as you want these cards to open flat so the snowman can display.


Having been asked how many cards I make I thought it would be fun to keep track this year. Many of my posts include more than a single card or project and below is my tally. 

Card Tally for 2023
January - 53 cards
February - 56 cards
March - 55 Cards

Additional Supplies:
5 x 7" card base and envelope
Patterned paper & coloured card stock - Alpine Frost, sei (old, from my stash)
White cardstock
Black marker

This blog uses affiliate links whenever possible. This means, if you make a purchase through one of my affiliate links that you pay the same amount but I may receive a small commission from your purchase. I only link products that I own, love and use for my card making and not every link below is an affiliate one! 😊