Showing posts with label Avery Elle. Show all posts

Thursday, 22 August 2024

Trio of Back To School Cards


It's time to get these cards in the mail, as Back To School time is fast approaching for our grandkids! I shared two of the cards back when I did the May Sheetload of Cards, and here are the remaining three. 

I was able to use some smaller strips &  leftover pieces from the paper package for the layouts, and the word dies were die cut 3x and stacked together for a fun chipboard look. Since I didn't have the words I wanted in a stamp set, I used my label maker for the sentiments on the card fronts. The apple stickers were added to white card stock and fussy cut so I could pop them up with foam tape.

When I did the school themed cards using May's Sheetload of Cards (see HERE) I really liked the stack of washi tape with the apple sticker. I did it again on these cards to give a pop of colour inside while still leaving me lots of room to write a personal note to the grandkids.


Supplies used:
Apple Stickers - Amazon .ca
Washi Tape - Doodlebug 
Hooray die - Avery Elle
Hip Hip Hooray die - Kaisercraft
Label Maker
Patterned Paper - School Days, Miss Kate Cutables


Wednesday, 6 March 2024

Rainbow Dog Card Trio


Last week I shared a pop up card using one of these rainbow dog note cards and I liked the teal & black matting so much I used them again for these three 5x7" cards. I am having so much fun with these note cards by cutting them down and adding stamping etc. 

I have a YouTube video sharing more about these note cards HERE


This first card has a humorous sentiment on the front and on the inside. I added plaid washi tape for some colour on the inside too.


The other two cards have a more traditional verse inside...


Supplies used:
Rainbow dog note cards - Amazon .com
Plaid Washi tape - Doodlebug
One Year Older stamp - Anything But Basic Birthday, MFT Stamps
5 x 7" Nesting dies - Waffle Flower
Narrow washi tape - unknown
Inside sentiments - Better With Age, Penny Black
Hope Your Birthday stamp - Inside Birthday Greetings, Avery Elle
Paw stamp - Critter Condolences - MFT Stamps
Catherine Pooler dye inks
5 x 7" Card blanks and envelopes

Thursday, 1 December 2022

Christmas Cocktails Diamond Z Fold Card


Hello my crafty friends and Happy December! December 1st is always the start of the Christmas season for our family, so of course I had to start the month by sharing a Christmas card.

I have a walkthrough of my card on YouTube


I made several of these Diamond Z Fold holiday cards to send out - I love how easily they work up but how much dimension you get from them. This one is 5 x 7" - I prefer either this size or a Slimline sized one.  The cocktails themselves were made using Karen Burniston's Happy Hour Charms.

I do have a tutorial for creating a Slimline version of this type of fun fold card, and you can find that HERE


The patterned paper I have had in my stash for a couple of years and I was able to make a number of cards using it this year. Still, it didn't seem to make a dent in the pad. 😊  The iridescent snowflake is also an older embellishment, but the sentiment is new to my craft room. It was sent to me by Scrap 'n Stamp Canada and is by Picket Fence Studios. This one was just too perfect with this patterned paper.


The sentiment inside is one I've had a few years so I'm not able to link it for you. The stitched circles are the fallaway pieces from when I make a Magic Iris card.


There are a lot of tutorials online for this type of card, but I really liked the 5 x 7" version as then the diamonds are a nice size for decorating. I found a tutorial to link for you, but of course, she doesn't refer to it as a Diamond Z-Fold. 😂  I always find it funny when stampers come up with their own names for a popular fun fold, not realizing it makes it hard for people to find your blog or YouTube video when searching. Anyhow, her finished card is BEAUTIFUL, which is why I chose to share her tutorial.  NOTE:  I didn't add all the layering panels that are often shown in these cards, as they are heavy enough and with even more layers the card would require extra postage. Click HERE to see Heather's tutorial and card.

This blog uses affiliate links whenever possible. This means, that at no cost to you, if you make a purchase through one of my affiliate links that I may receive a small commission from your purchase. I only link products that I own, love and use for my card making and not every link below is an affiliate one! 😊

Additional Supplies:
Patterned paper - Holiday Bash, Recollections (old)
Cheers - Avery Elle (inside sentiment)
5 x 7" Card and envelope
White cardstock
Shimmer Spray
Alcohol markers
Wonderful Snowflakes - Stampin' Up (retired)
Adhesive backed snowflakes - Stampin' Up (retired)

Tuesday, 10 March 2020

Shark Birthday Card Duo

Hello crafty friends ...

I have to say how much I like this shark stamp from Avery Elle. It's been on the market for awhile, but all of a sudden it was one that I couldn't resist and I'm so glad I got it. What fun birthday cards it will make for kids AND for the nursing home.

I used water based markers scribbled on my glass mat, picking up the colour with a water brush and painting the shark. Talk about easy peasy colouring! I chose to make the crown/party hat in shades of blue and green because I was making boy cards. The YNS Wave Panel Die was cut from the lightly patterned paper, and after inking the edges of the inside panels I inlaid them back into the frame. The shark was added into one of the waves and the whole panel was adhered to the front of a white card.


For the inside, I used a stencil for the background then stamped two greetings and the small fish from the same stamp set as the shark.


I liked the card so much, I made a second one! The clear sparkly Gumdrops were the perfect 'bubbles' for my party sharks.


Adding double sided adhesive to the back of the red card stock before die cutting the Happy Birthday made the letters easy peasy to adhere to the card.


Into my stash for now, but I think these two will go to our daughters for when the grandkids go to Birthday Parties.

Supplies:
Sea-Prise Stamp set - Avery Elle
Wave Panel Die - Your Next Stamp
White and red card stocks
MISTI - My Sweet Petunia
Arteza Real Brush Pens
Water Brush
Sakura white gel and black glaze pens
Patterned paper - Ocean Blue Water Colour, Ella & Viv
Spectrum Noir Glitter Pen
Bold Happy Birthday Word Die - Your Next Stamp
Crystal Clear & Sparkle Gumdrops - Your Next Stamp
Sentiment - Make a Fish, Waffle Flower
Stencil - Carabelle Studio
Big Beautiful Blending Brush - the Cat's Pajamas

Card sizes - both, standard A2, 4.25 x 5.5"

Thanks for stopping by today

Monday, 17 February 2020

Birthday and Sympathy Cards

Hello crafty friends ...

Sadly, I went through my entire stash of sympathy cards in December, and wanted to make a couple to have on hand. This 12 x 12" patterned paper sheet was in my stash and it looked like it had a couple of printed areas that would work for cards. I pulled it out and got to work.


I was able to make three sympathy cards with parts of that printed sheet, adding additional colour with other papers from the paper pad and darker coloured card stocks.


The cards were done the same inside with no oopses because I used the MISTI for perfect placement and stamping.


I was able to make three sympathy cards, then realized that the remaining piece of patterned paper would work for masculine birthday cards to donate to my Mom's old nursing home.


Supplies:
Stitched Scalloped Rectangle die set - Your Next Stamp
Stitched Rectangle die set - Your Next Stamp
Birthday Wishes - Washi Tape Sentiments and die set - Your Next Stamp
Stitched fishtail banner - MFT Stamps
Rose, kraft, green and white card stocks
Fishtail banner - MFT Stamps
Word stamps- With Sympathy, Avery Elle
MISTI - My Sweet Petunia
Stickles
Nuvo Drops
Birthday Words - the Inside Scoop-Birthday, Taylored Expressions

Card sizes - all, standard A2 (4.25 x 5.5")

Thanks for stopping by today

Saturday, 25 January 2020

Pop Up Butterflies Sympathy Card

Hello crafty friends ...

Today I'm sharing the sympathy card I made for friends ...


The videos are quite small on Blogger, so if you'd like to see it larger, please check out my YouTube channel HERE.


The white card stock used is pearlized and shimmery ... so pretty! Inside I used the Train Pivot Panel and decorated the bump outs with punched butterflies.


The die cut With Sympathy fit just perfectly on the area where the train engine and first train car would normally go.


Whenever I give someone one of these cards, they turn it over to look at it from the top. So I'm adding a top view photo for you.


Supplies:
Blue card stock
White shimmer card stock
1106 Train Pivot Panel - Karen Burniston
Butterfly Punches - Stampin' UP
Rounded rectangle dies - Hero Arts
With Sympathy stamps and die - Avery Elle
Scalloped border die - Simon Says Stamps
Sorry for your loss stamp - Sorry For Your Loss, Stephanie Barnard - the Stamps of Life
Stitched Fishtail Banner die - Your Next Stamp

Card size: Wide A2 (5.5 x 4.25")

Thanks for stopping by today

Wednesday, 4 September 2019

Birthday Balloon Diagonal 3 Panel Card

Hello my crafty friends

I haven't been buying very much the past four months, instead using the supplies I already have for my card making. I'm weary of being bombarded every single month with new releases from dozens of companies. You barely get to use what you may have purchased last month before they have all new goodies for you. AARRGGHH - enough!  However in August there were a couple of items that really appealed to me and this 'Z Fold Card" from Divinity Designs was one. I have been just deleting all the 'new release' emails that come in and not even going to look at my favourite companies to see what they have coming out. My teammate Frances Byrne is on the Divinity Designs Design Team, so I noticed her use the Z-Fold card on her blog and that made me sit up and take notice. I like to purchase dies that I can use for multiple occasions and this one certainly fits the bill.

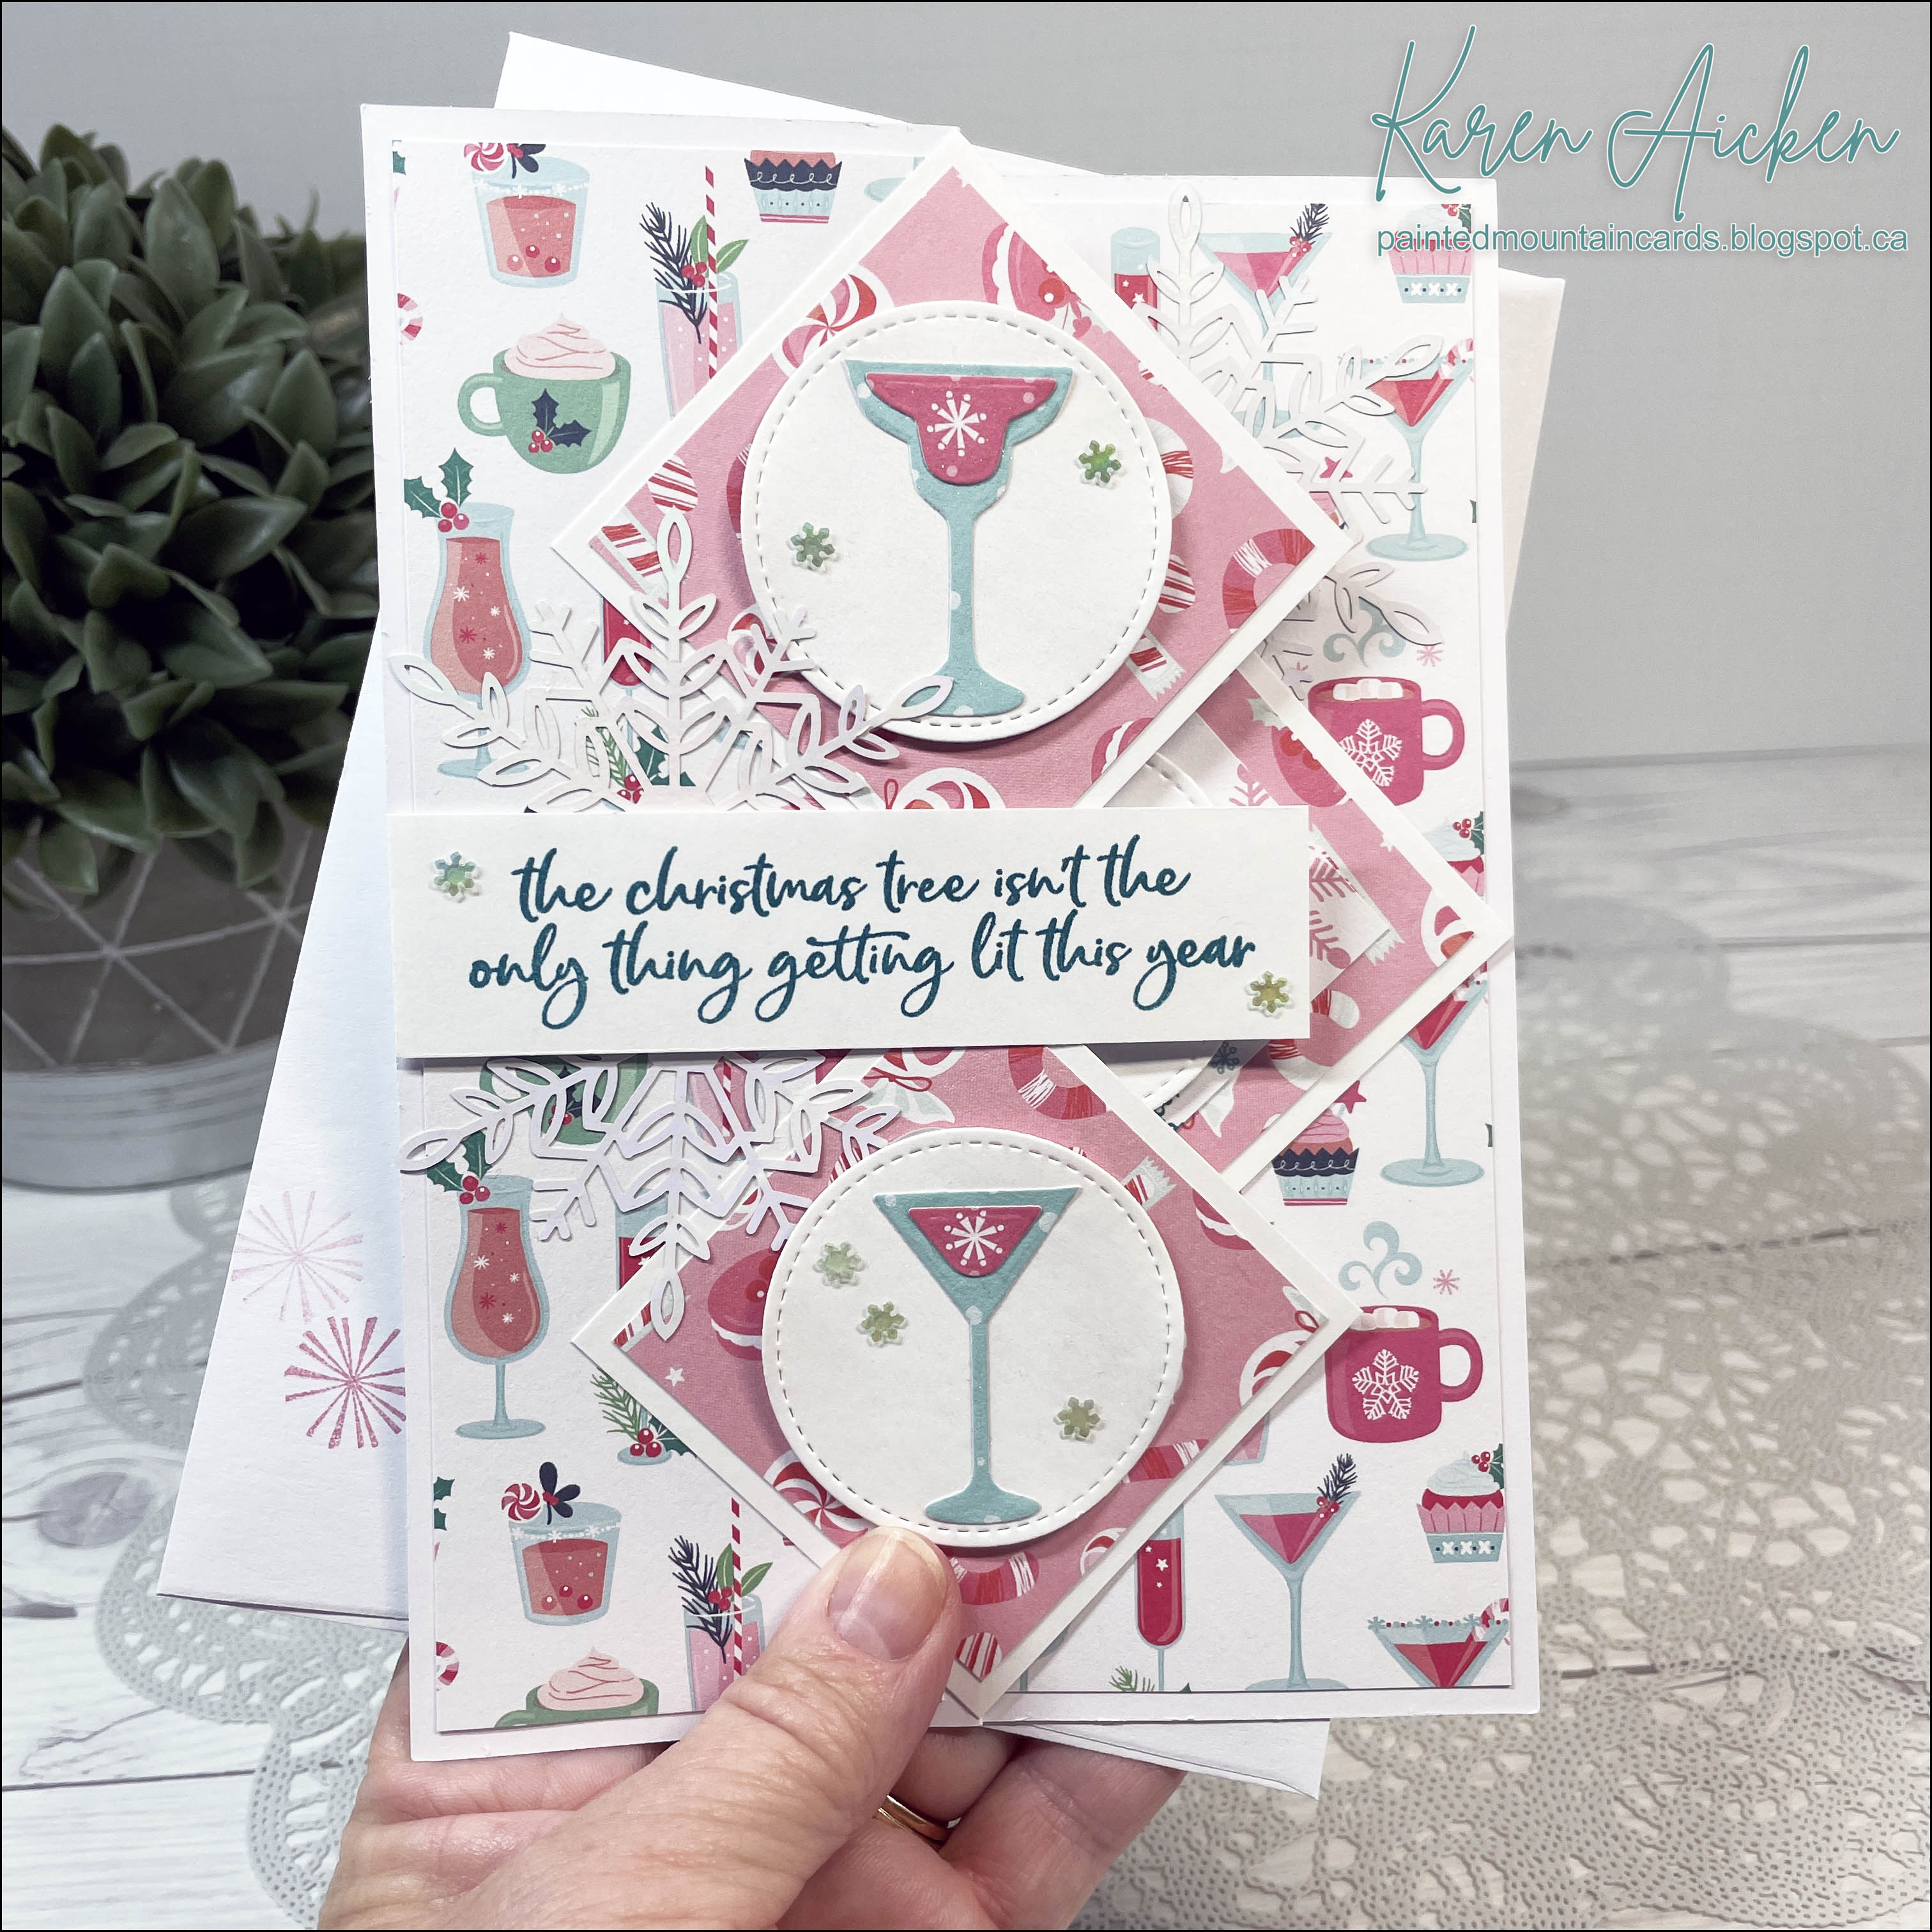
It is not a typical Z Fold to me though, so I'm calling it a Diagonal Trifold Card. It could also be called a Zig Zag card! Either way, I am going to get a ton of use out of this die set and I especially like that they included the layering dies. Truth be told, that is the only reason I purchased the die set - I could have easily made the card base on my own.

This is the first card I made using the die set, and it was fun choosing paper scraps from this older patterned paper stack to use for the layers. Below is what the card would look like when it comes out of the envelope.


It is nice and stable when it stands for display, another one of my requirements. Which is why I rarely make top fold cards - I hate that they won't stand nicely for display!


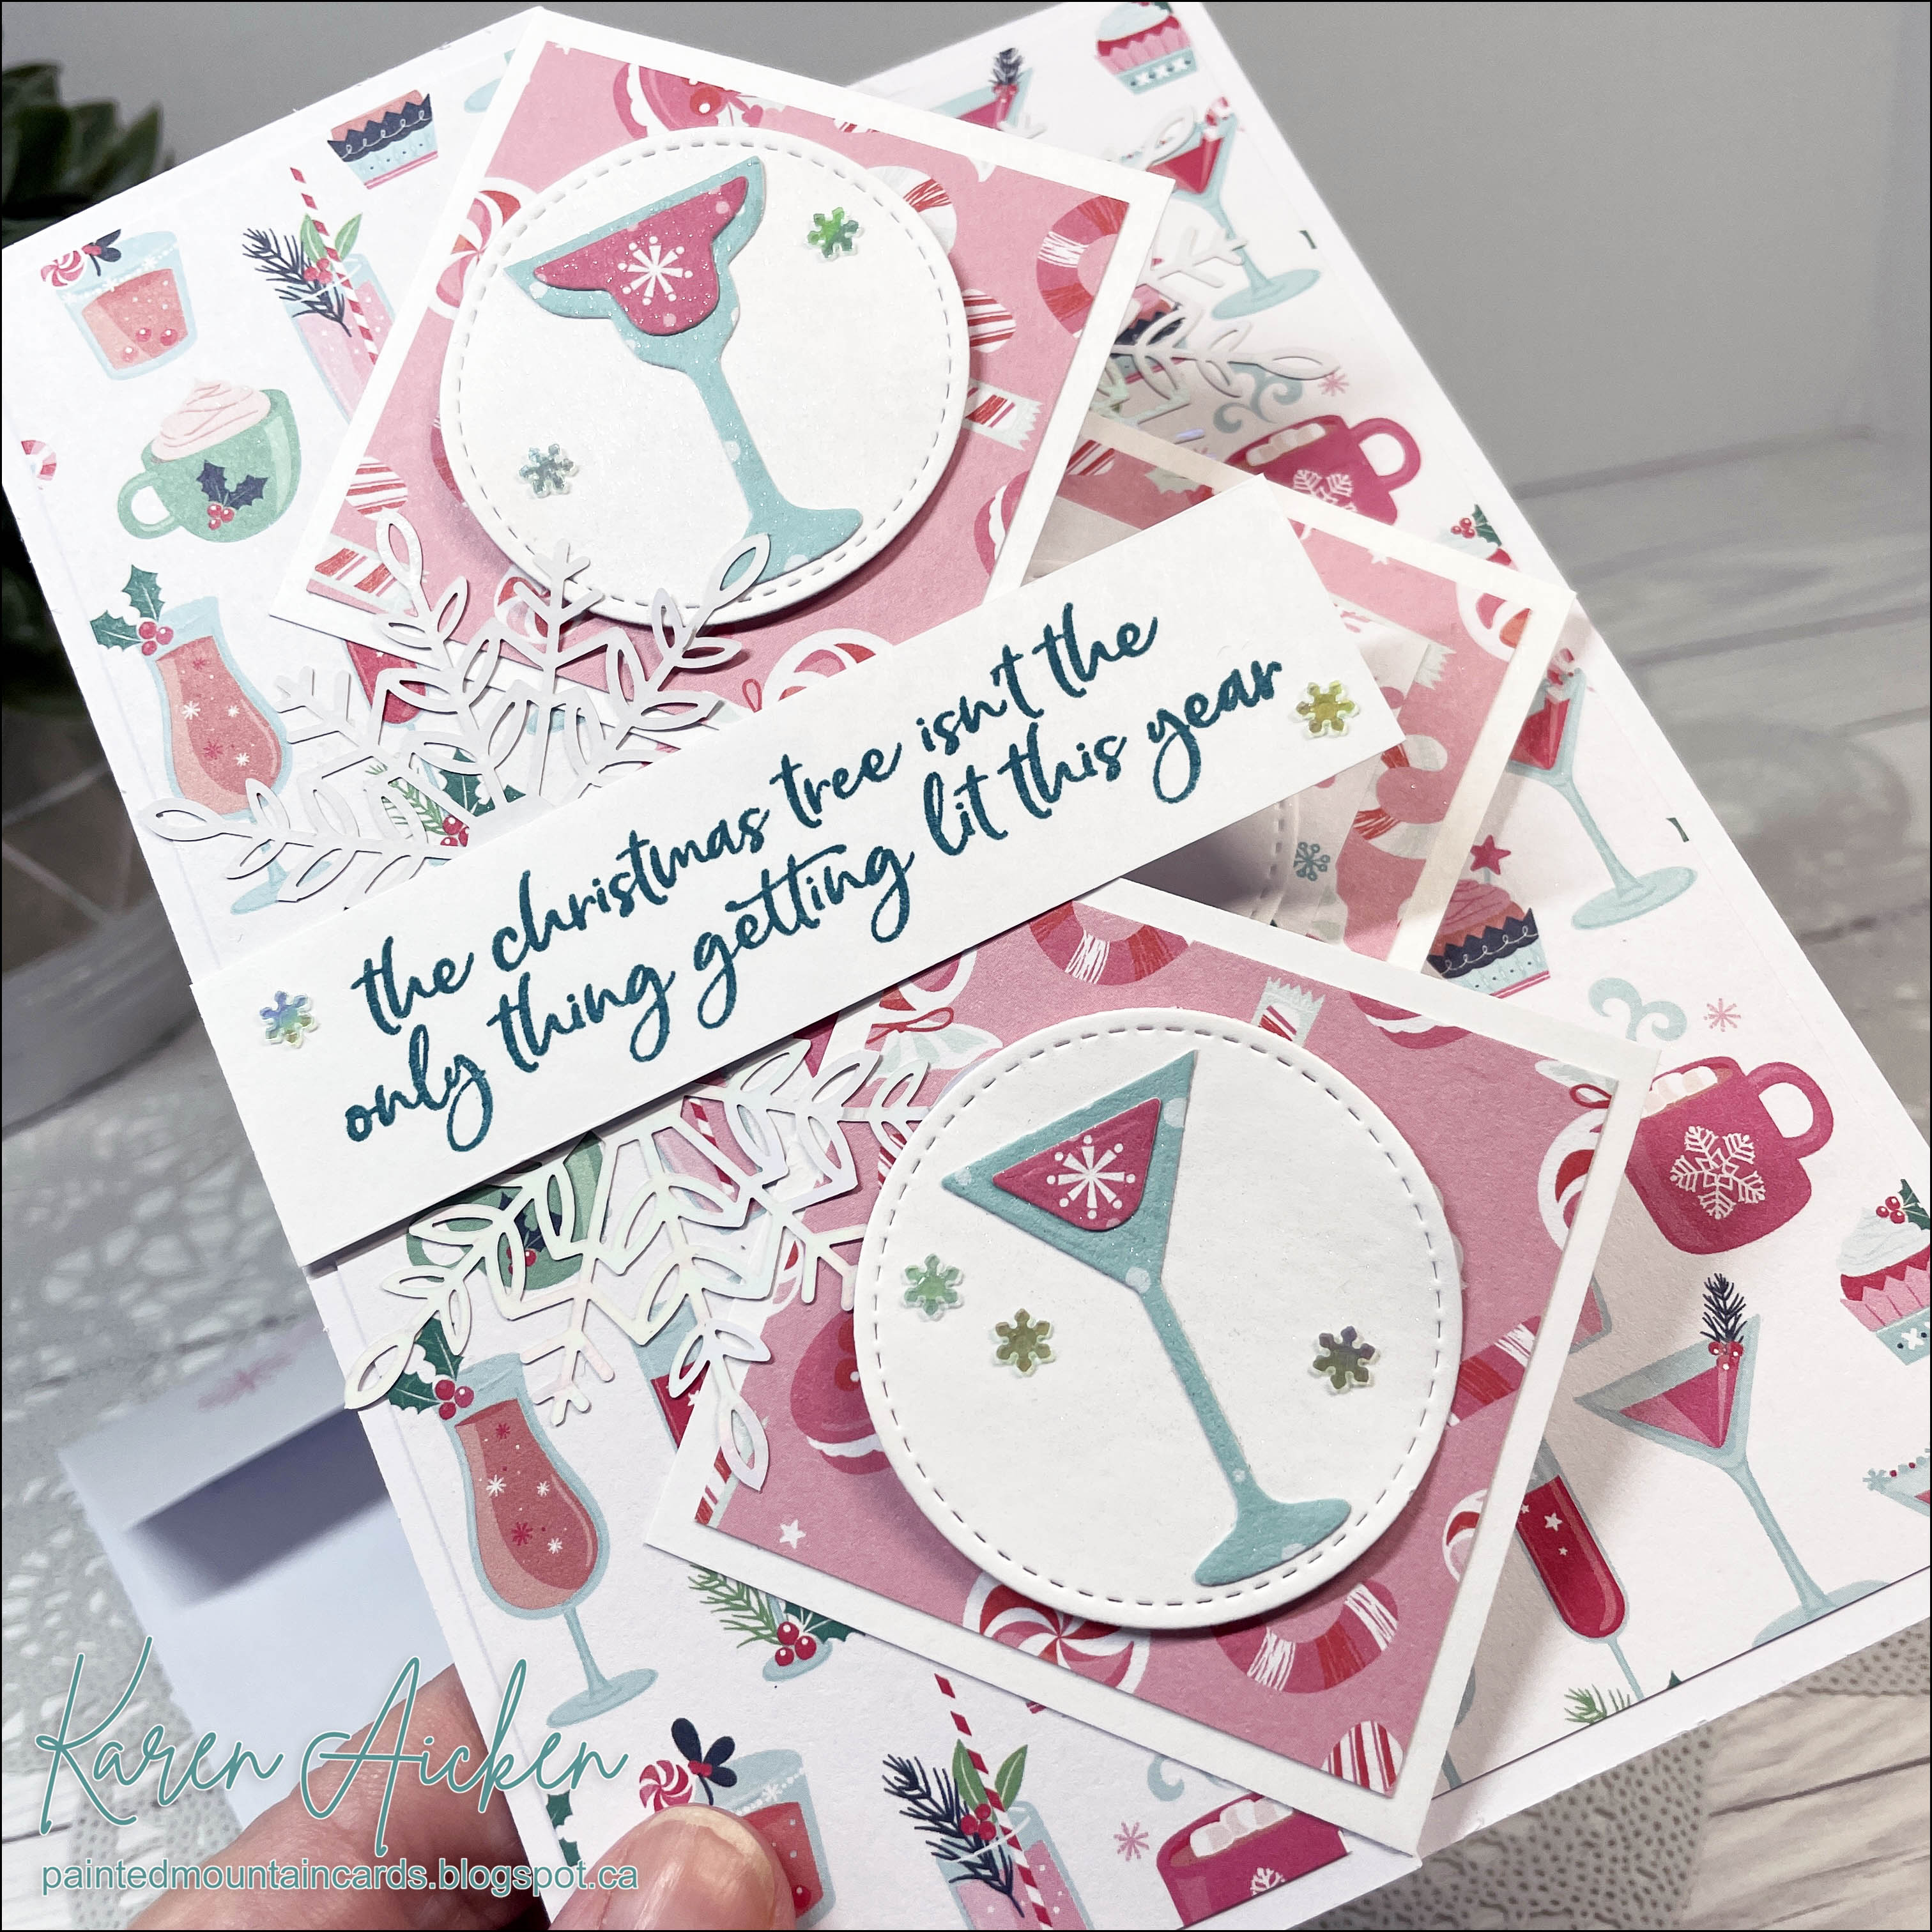
Of course you can decorate all the panels if you choose but I kept this one fairly simple since the patterned paper has shiny embossed bits to it.


The greeting was stamped on a white stitched circle then popped up with foam tape.


It's hard to capture in photos, but below you can see how raised and shiny the patterned paper is.


The back of the card has a stamped verse, a layered balloon and lots of room to sign our names.


The dotted/string patterned paper is also embossed and shiny, as well as the pink dots on the balloons.


I have so many ideas for this die set!
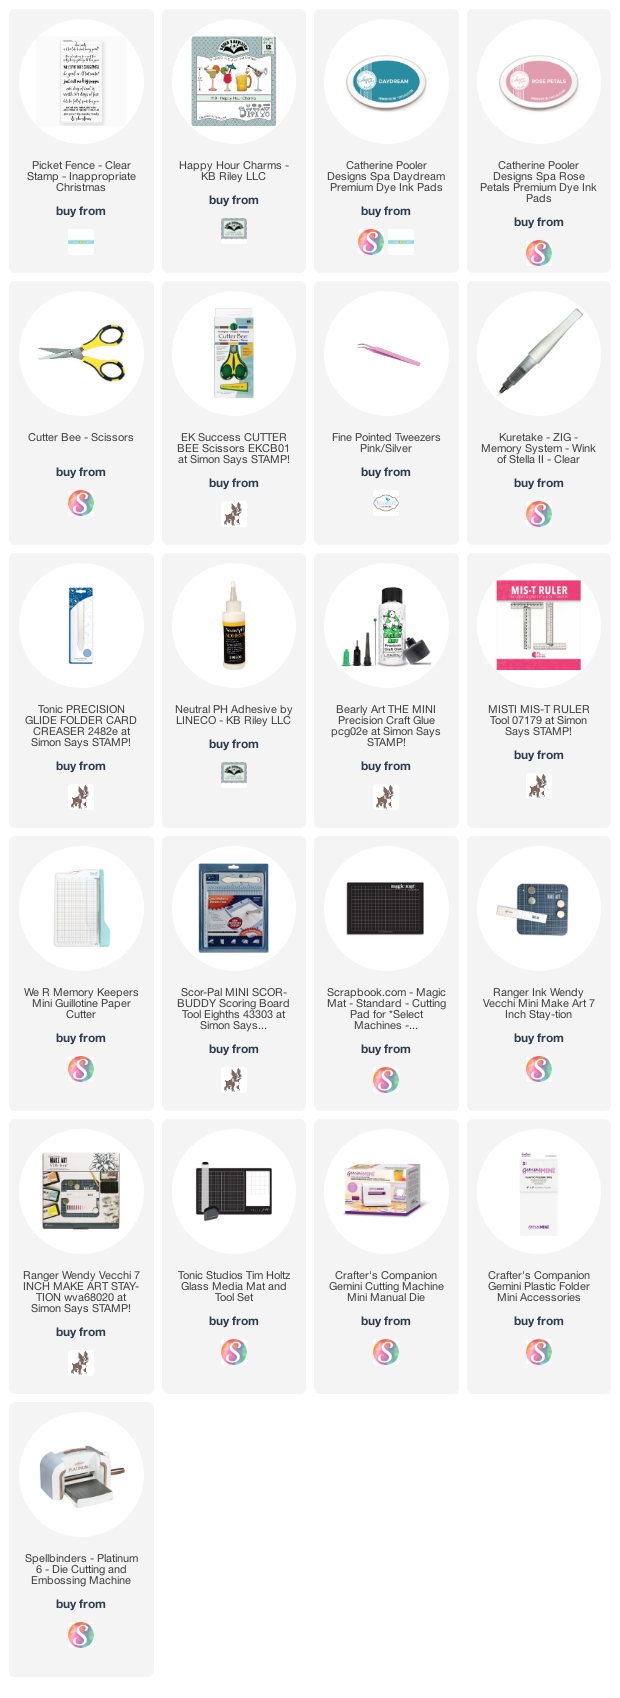
Supplies:
Z Fold Card with layers - Divinity Designs
Black, yellow and white card stocks
Patterned paper - Little Miss, DCWV (Old, from my stash)
3D Pop Up Drop Ins (balloons) - Stephanie Barnard, the Stamps of Life
1067 Celebrate - Karen Burniston
Stamps - Cake & Candles, Avery Elle
Staedtler Fineliners

Thanks for stopping by today

Tuesday, 11 June 2019

Four Ice Cream Cone Birthday Cards

Hello my crafty friends

I decided to pull out this Ice Cream Cone die set by Joset at Elizabeth Craft Designs for my card share today.


I also grabbed one of my Color Burst/Magical Shaker pieces that I did awhile ago and cut several of the ice cream scoops from that. There wasn't enough to do all four ice cream cones the same, so ...


... two of them have a chocolate scoop on top!


The inside of each card is the same.


The cards will be donated to my Mom's nursing home and I think the residents will enjoy them.

Supplies:
Patterned paper - Pink and Main
Stitched Rectangle dies - Your Next Stamp
Ice Cream Cone die set - Elizabeth Craft Designs
Kraft, white, brown, red and orange card stocks
Color Burst and Magical Shakers
Sakura white gel pen
Sakura sparkle gel pen
Oval dies - Hero Arts
Stitched Fishtail Banner die - Your Next Stamp
Stamp on the card fronts - Twice the Wishes, MFT Stamps
MISTI - My Sweet Petunia
Stamps inside - Avery Elle
Nuvo Crystal Drops

Thanks for stopping by today

Saturday, 25 May 2019

C4C485 Wine Themed Pop-Up Card

Hello my crafty friends

It's Saturday and that means a new challenge at the Crazy4Challenges BlogNicky Foden is joining us as our Guest Designer this month - you can find Nicky's blog here:  My Messy Craftroom. Nicky will actually be joining us each week now, as part of our Design Team! And I have to mention that she is not only a fellow Canadian - but lives here in Alberta as I do.  


Maryann Einam is our hostess for May and this is Maryann's challenge: 

According to the days of the year calendar it is wine day, create a card with this in mind.

I used several dies by Karen Burniston for my wine themed card today, and will be saving this for a friend who enjoys a nice wine. Her birthday is coming up!


The Wine Charms make sweet embellishments simply by snipping off the hanging hole. I used both glass shapes on the front.


The Circle Charm Pop-Up is a fun die set to use. It's hard to see in the photo, but the centre circle is open and there is a bunch of grapes hanging in the centre by linen thread. I used both wine bottle shapes as well, and added colour and gold marker to the labels.


Below is a look at the folding mechanism with the Circle Charm Pop-Up. The image that shows on the card front pivots to the inside when the card is opened.


Finally, for those that like to pin card fronts and insides at the same time - here you go!


Check out the C4C blog to see how the Crazies have been inspired by the challenge. We'd  love to see your take on it, so be sure to stop by the Crazy 4 Challenges blog and link up your creations. If you are uploading to an online gallery, please use the keyword C4C485.

Supplies:
Green, Beige Astroparche, and light burgundy card stocks
Patterned paper - K & Company (OLD, from my stash)
1054 Rectangles Crosshatch - Karen Burniston
1046 Circle Charm Pop-Up - Karen Burniston
1073 Wine Charms - Karen Burniston
Sakura gold gel pen
Sakura white gel pen
Twine - Stampin' Up
Chameleon Color Tone markers
Nuvo Glimmer pen
Gumdrops, Pixie Dust - Your Next Stamp
MISTI - My Sweet Petunia
Barrel of fun stamp, Uncorked - MFT Stamps
Cheers die - MFT Stamps
Clink to you, Happy Hour - Avery Elle
Stitched rectangle die - Your Next Stamp


Thanks for stopping by today

Tuesday, 29 January 2019

Yellow and Teal Birthday Card Trio

Hello my crafty friends

Today's share is a trio of Birthday Cards that I am donating to my Mom's nursing home.


I adore this patterned paper from Stampin' Up, but I've had it for years and I really wanted to finally use it up.


I used an MFT Blueprints die set for the first two cards...


... and the inside of all three are identical.


I get SO much use out of Karen Burniston's bold Happy Birthday die. It cuts as a single piece and the wider font makes it easy peasy to adhere to your project.


This final card uses one of my favourite sketches from 2018 - C4C452.


They turned out bright and cheery and I know the residents will enjoy them.

Supplies:
White, yellow and teal card stocks
1030 Happy Birthday - Karen Burniston
Balloon dies - Lawn Fawn
Balloon string dies - Papertrey Ink
Sakura white gel pen
Stamp inside - Avery Elle
Blueprints #29 - MFT Stamps

Thanks for stopping by today