Showing posts with label Shakers. Show all posts

Sunday, 16 June 2024

Ice Cream Shaker Card


Every July (on a certain day) my Grandpa would take my Mom to the Soda Shop in their little town for an Ice Cream Sundae. She continued the tradition with my brother and I even once we were living on our own!  When my Dad could no longer drive, we would make sure my Mom got her ice cream sundae on that day. Now that she is in heaven, we keep that tradition going with our children and grandchildren. It's a happy way to honour her memory!  I also send them an ice-cream themed card.


Today I'm sharing the first ice cream card that I'll be sending this year and I couldn't resist making this one a shaker card. Or Faux Shaker.  Or Edge to Edge Shaker.  Or one of the other names these go by 😂.  

I cut the patterned paper to 4 x 5.25" and cut a piece of transparency 5 x 6.25" (1" bigger all around). Scoring the transparency to fit around the decorated piece of patterned paper, I mitred the corners and attached it to the back of the patterned paper on 3 sides. After pouring in the sequins on the front side, I attached that one transparency edge on the back and my 'faux shaker was finished. The ice cream element, gem stickers & word die were added on top of the transparency and the whole piece was adhered to the front of my card.


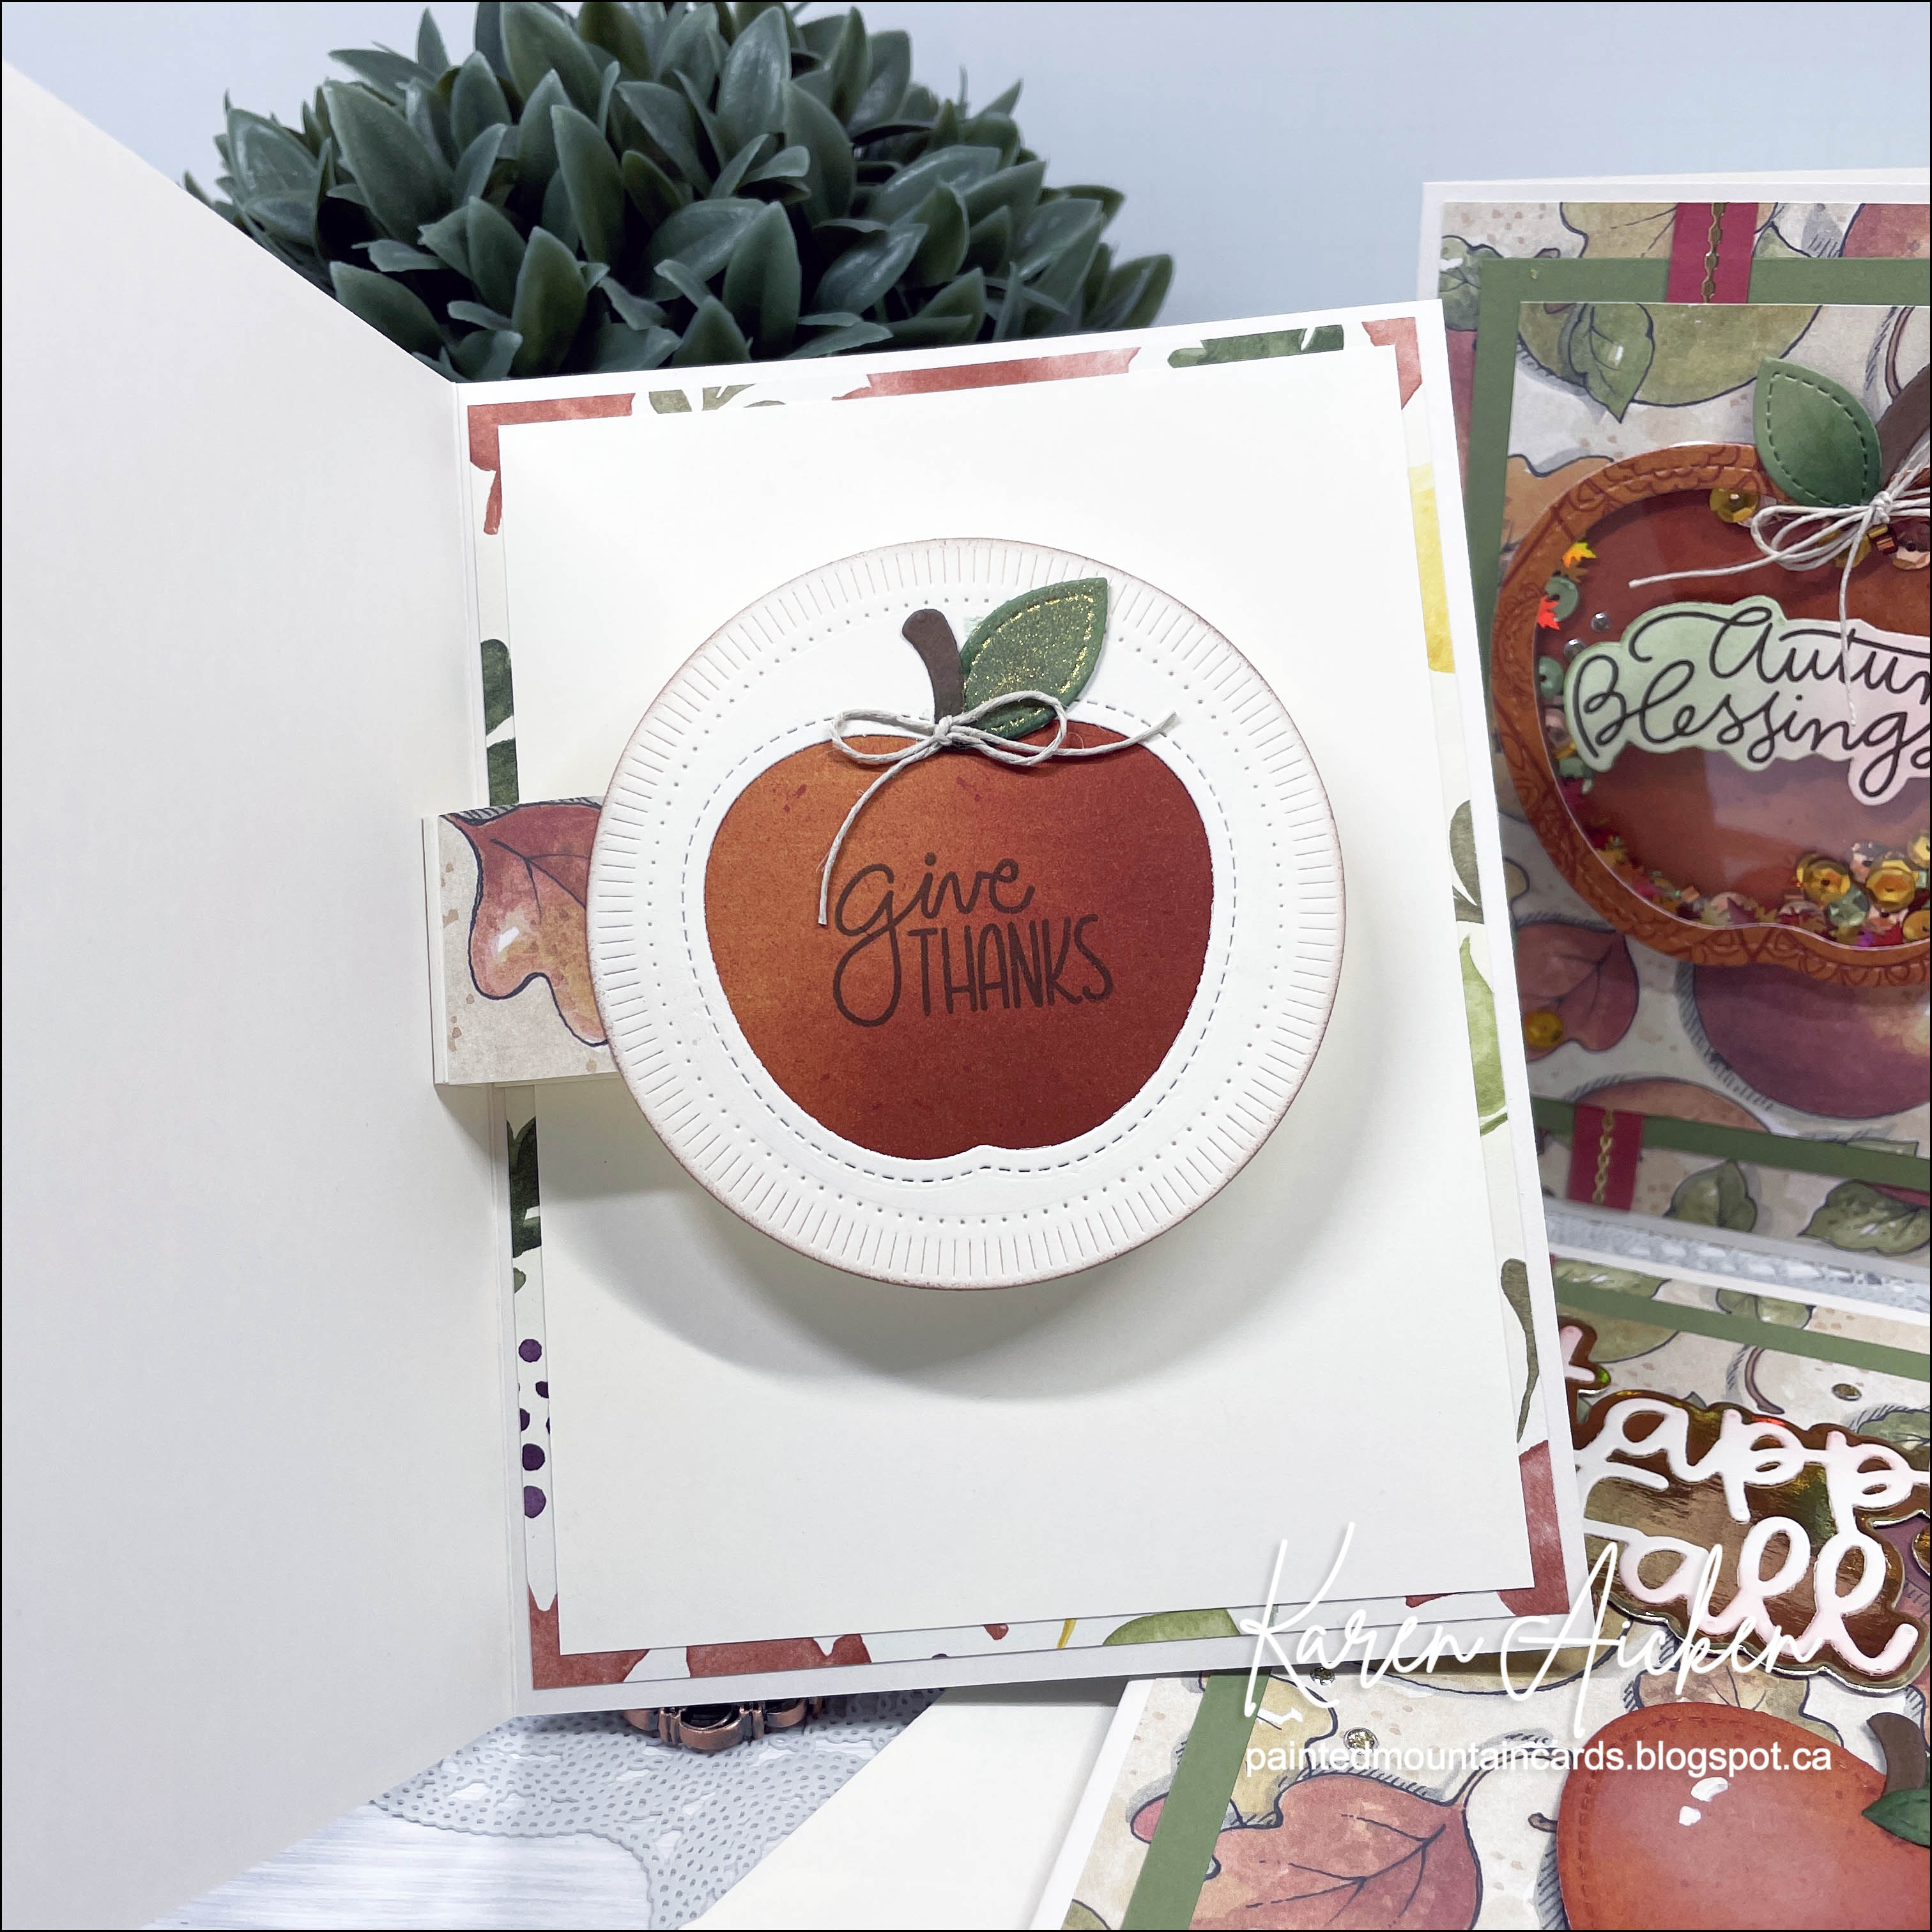
Inside I added some scalloped circles, die cut phrase and gem stickers - which were attached with a folded paper spring.


Supplies used:
Patterned paper - Neapolitan, Dear Lizzy (old)
Transparency
Peel Off gem stickers - Dazzles
Sequins - Stash
Scallop Stitched Nesting Circle dies - Tutti Designs
Blending Brushes - Taylored Expessions
Washi Tape - possibility Doodlebug Designs
Big Scripty Words - Lawn Fawn
Rainbow patterned paper - JJ's Rainbows, Waffle Flower
YAY die - the Stamps of Life
Mini Alpha & Numbers - Karen Burniston

Thursday, 11 April 2024

Rainbow Dog Shaker Card


Today I'm sharing a birthday shaker card for my stash. I haven't made a square card in awhile, so that is what I went with today. This one is 4-1/4" square and will fit in an A2 envelope for mailing.


I started by cutting down one of those rainbow dog note cards to fit inside the die cut frame, then added some filler from my stash. (I have a YouTube video sharing about those note cards HERE.)  

Speaking of dogs - here is a photo of Willow who celebrated her 4th birthday this week! She got some new toys and the birthday treat was wet dog food topped with whipped cream. 😂


Supplies used:
Rainbow dog note card - Amazon .com
Essential Blanket Stitched Squares - Pinkfresh Studios
Acetate
Various filler etc - my stash
Plaid washi - Doodlebug Deisgns
LJD Birthday Greetings - MFT Stamps
Happy Birthday - Little Something Sentiments, Catherine Pooler

Wednesday, 24 January 2024

Faux Shaker Cards for Twins


Our Great Nieces are celebrating their 2nd birthday and here are their cards. I made the cards almost the same since they are twins, but made sure they weren't identical. I also added an A and an E to the front of their cards for their initials.

I created faux shakers by wrapping a transparency around the smaller panel, adhering the edges down on the back after the confetti and acetate ephemera was added. The papers & ephemera are from Doodlebug - I always love the cheerful colours and images. 


Below you can see the inside of one of the cards - the other one has a different sentiment from the same set.


Supplies used:
Patterned paper - Lets Party, Doodlebug
Ephemera - Hey Cupcake, Odds & Ends - Doodlebug
Transparency
Mirrored heart confetti - Kat Scrappiness
Rainbow holographic cardstock - Recollections
Small Happy Birthday - LJD Birthday Greetings, MFT Stamps
Cloud punch - Stampin' Up
Pops of Color - Icicle
Inside stamps - Everybody Says Happy, Catherine Pooler
Catherine Pooler coloured inks
Carly Alpha - i-Crafter
Glitter Dots

Wednesday, 20 December 2023

Our Groomer's Christmas Card & Gift Card Holder


When I saw this sheet of cut-aparts (Photo Play) I knew I had to buy a sheet. I love the colours with the fun dog images and the 'spa day' one was just too perfect for what I had in mind.

Since Jasper had a grooming appointment last week, I wanted to bring the groomer a holiday card that included a Gift Card. They always do such a good job with Jasper and he looks totally handsome when he comes out. Not like the 'homeless Sheltie' look he has going in, ha ha.


First up is the Gift Card Holder. I used the measurements in my Gift Card Holder Tutorial (click HERE) and some patterned paper that matched the card. The purse/dog was fussy cut from another cut apart on the sheet and popped up onto the scalloped oval with foam tape. I stamped WOOF! on the oval to fill up some of the white space and the front was done.


Inside, there is the pocket for the Gift Card, and one more WOOF!. We wrote a personal message onto the inside oval.


After matting the 4 x 6" cut-apart onto pink patterned paper, I stamped a sentiment on a fishtail banner and adhered it over the words that were printed on the cut-apart. Then I created an infinity shaker with a transparency and filler that resembled bubbles from a bubble bath.


I stencilled on the card front from the upper left to the lower right corner, and also added stencilling to the envelope.


Here is a peek at the inside. The dog on the spa towel was fussy cut from one of the 3 x 4" cut-aparts on the sheet and I added Nuvo Glaze to the cucumber slices on his eyes. Too funny.


Having been asked how many cards I make I thought it would be fun to keep track this year. Many of my posts include more than a single card or project and below is my tally. 

Card Tally for 2023
January - 53 cards
February - 56 cards
March - 55 cards
April - 32 cards
May - 43 cards
June - 34 cards
July - 56 cards
August - 106 cards
September - 61 cards
October - 51 cards & 5 Tags
November - 46 cards
December so far - 19 cards (& 16 simple tags)

I decided to cancel the subscription that provided linked thumbnails to what products I used on my cards. It was costing me out of pocket each month, so I’m back to listing what I used.

Supplies:
Cut aparts - Pampered Pooch, Photo Play
Pink patterned paper - - Pampered Pooch, Photo Play
5 x 7" card blank and envelope
Outside sentiment - Encircled in Warmth, Stampin' Up
Catherine Pooler inks
Blending sponge - Ranger
Transparency
Bow Wow Stencil - Photo Play
Blending Brushes - Taylored Expressions
Snowflake peel offs - Ecstasy
Nuvo Glaze
Stitched oval dies- MFT Stamps
Scalloped stitched oval dies - MFT Stamps
Woof - Dog Happiness, Frantic Stamper
Blue patterned paper - Countdown to Christmas, MME (old!)

Friday, 15 December 2023

Circle Gatefold Shaker


Welcome to Fun Fold Friday here on my blog. Today I'm sharing the 12th and final edition of my Monthly Series "New Fun Folds" and I used a new die set by Studio Light for this one. It's called Circle Shutter Card Essentials and I bought it in the fall from Ecstasy Crafts when I was ordering some Glitter Dots. I must have been in a shopping mood that day, as I ended up ordering a couple of card die sets! This was my first play with using one and I knew I wanted to use more of that pretty wintery scene patterned paper for my card.


I had also ordered the coordinating circle shaker blisters so decided to break those out too. This card took a little bit more thought and preparation than I am used to - I'm a craft-by-the-seat-of-my-pants type of card maker. It was worth it though and I knew just who I was making the card for.


This type of card - where you see the inside even when the card is closed - is truly outside of my comfort zone but now that I have one under my belt I will have fun playing with this die set in the New Year.


I added a panel to the back side which is where we wrote our personal greeting. 


... one more look ...


Having been asked how many cards I make I thought it would be fun to keep track this year. Many of my posts include more than a single card or project and below is my tally. 

Card Tally for 2023
January - 53 cards
February - 56 cards
March - 55 cards
April - 32 cards
May - 43 cards
June - 34 cards
July - 56 cards
August - 106 cards
September - 61 cards
October - 51 cards & 5 Tags
November - 46 cards
December so far - 15 cards (& 16 simple tags)

I decided to cancel the subscription that provided linked thumbnails to what products I used on my cards. It was costing me out of pocket each month, so I’m back to listing what I used with a few affiliate links included.

Supplies:
Circle Shutter Card Essentials - Studio Light
Frosted Christmas Solids
Peel Off's - Ecstasy Crafts
Shaker Blisters - Studio Light
Various shaker filler - stash
In & Out Christmas stamps - Taylored Expressions
Catherine Pooler Inks

Monday, 11 December 2023

Vellum Infinity Shaker Card


I make a lot of Infinity Shakers (also called Edge to Edge Shakers) and have wanted to try one using vellum for awhile. Using the beautiful Fragrant Forest background stamp, I made my first one for this card. And went 'meh'. Ha. So now I have tried it but I'll be going back to using transparency's or clear stamp packaging instead of the vellum.


I stamped a sentiment on the vellum before adhering it over the filler and stamped background and added gold peel off stickers as well. The pretty washi tape has gold foiling on it and the panel was matted with gold foil card stock. Now that I look at the photos though - using an embossing folder on the gold panel might have been a nice touch but in real life the card is very sparkly and shiny.


Here is a peek at the inside ...


Having been asked how many cards I make I thought it would be fun to keep track this year. Many of my posts include more than a single card or project and below is my tally. 

Card Tally for 2023
January - 53 cards
February - 56 cards
March - 55 cards
April - 32 cards
May - 43 cards
June - 34 cards
July - 56 cards
August - 106 cards
September - 61 cards
October - 51 cards & 5 Tags
November - 46 cards
December so far - 11 cards (& 16 simple tags)

I decided to cancel the subscription that provided linked thumbnails to what products I used on my cards. It was costing me out of pocket each month, so I’m back to listing what I used. 

Supplies:
Fragrant Forest background stamp, Stampin' Up
Catherine Pooler Inks
Blending Brushes - Taylored Expressions
MISTI stamping platform
Dashing Rectangle dies - Elizabeth Craft Designs (old)
Vellum
Joy to You - Stampin' Up
Catherine Pooler Inks
Various filler and glitter - stash
Snowflake Peel Off's - Ecstasy Crafts
Gold mirror card stock - Hunky Dory
Tree washi tape - Lawn Fawn
Glitter Dots - Ecstasy Crafts
A7 Double Stitched Frames - Honey Bee

Wednesday, 15 November 2023

Bee Anniversary Card


Months ago I purchased 'The Little Book of Bees' ... which is a thick booklet of bee printed panels along the same lines of 'The Little Book of Muddy Paws' which I use a lot for dog themed cards. The bee images are just SO cute, and this is the first card I made using it. I adhered the panel to brown cardstock, then created an infinity shaker with a transparency and sequins/filler from my stash. 


I cut the transparency to 5 x 7" and scored the outer edges so the matted panel would fit inside it. Then I mitred the corners of the transparency and adhered it to the back of the bee panel on three sides. I poured the filler inside then adhered that final side, and mounted the whole thing onto the card base. Oh, and I lightly stencilled the card front and envelope as well.


Here is a peek at the inside with a stamped greeting and some cute little bees.


Having been asked how many cards I make I thought it would be fun to keep track this year. Many of my posts include more than a single card or project and below is my tally. 

Card Tally for 2023
January - 53 cards
February - 56 cards
March - 55 cards
April - 32 cards
May - 43 cards
June - 34 cards
July - 56 cards
August - 106 cards
September - 61 cards
October - 51 cards & 5 Tags
November so far - 17 cards

I decided to cancel the subscription that provided linked thumbnails to what products I used on my cards. It was costing me out of pocket each month, so I’m back to listing what I used. 

Supplies:
Little Book of Bees - Hunkydory
Stickles
Transparency
Sequins - my stash
5 x 7" Card blank and envelope
The Inside Scoop Anniversary - Taylored Expressions
Catherine Pooler Inks
Stencil - Clear Scraps
Blending Brushes - Taylored Expressions
A7 Lacy Layers - Waffle Flower
Patterned Paper inside - K & Co
Bee Mine - Lawn Fawn

Saturday, 28 October 2023

Halloween Infinity Shaker (with Pop Up)


I was putting away this patterned paper and spied a partial sheet with those crazy eyed pumpkins in the package. That was all it took to put the package back on my stamping table and make one more Halloween card. 😂


There was a 4 x 6" cut apart in the package as well, so I created an Infinity Shaker (also called Faux Shakers or Edge To Edge Shakers) using a transparency. The confetti inside the shaker is MANY years old and I added a cute Doodlebug enamel spider on top of the transparency for a fun touch.


Inside, I used one of the dies from Karen Burniston's Mini Pops and added a pumpkin to it. The pumpkin pops up as the card opens and just adds a little something extra to the card.


Having been asked how many cards I make I thought it would be fun to keep track this year. Many of my posts include more than a single card or project and below is my tally. 

Card Tally for 2023
January - 53 cards
February - 56 cards
March - 55 cards
April - 32 cards
May - 43 cards
June - 34 cards
July - 56 cards
August - 106 cards
September - 61 cards
October so far - 50 cards & 5 Tags

I decided to cancel the subscription that provided linked thumbnails to what products I used on my cards. It was costing me out of pocket each month, so I’m back to listing what I used.

Supplies:
Patterned paper & cut apart - Doodlebug Designs
Mini Pops Pop Up - Karen Burniston
Transparency
Black Pen
Confetti - stash
5 x 6.5" Card blank and envelope - Michaels
Spider - Spider Celebration Shape Sprinkles, Doodlebug Designs
Pumpkin inside - Ghost Town Odds & Ends, Doodlebug Designs
Greeting - Inside Greetings, Halloween (Papertrey Ink)
Wink of Stella


Wednesday, 18 October 2023

Spider Web Shaker Card


When I was looking through my Halloween stamps/dies I came across this spider web die from Queen & Company. Since I had the jewelled spider stickers on my stamping table from an earlier search through the embellishment bin I had an AH-HAH moment. Ha.

But when I pulled out the spider web die, I realized it had actually been a card kit from Q&Co and there was the foam frame and transparency in there - enough for two cards! The kit had originally included enough for three cards and obviously I had made one up the year I bought it. Now I have one left that I can make next year. 😊


The spider shows up in real life because of the sparkle, but I still like how subtle it is in the photos ... extra creepy (NOT a spider fan). After cutting the web from black cardstock, I added some shimmer with Wink of Stella. 


Inside I added an ink blended panel under a white one, which was decorated with a couple of punch outs from an older Doodlebug patterned paper package. I hand wrote the 'happy' with a black pen and my card was done.


NOTE:  While the card easily fits into the envelope and isn't all that heavy - it IS bulky from the foam tape and gems. I was hand delivering it though, so all good.


Having been asked how many cards I make I thought it would be fun to keep track this year. Many of my posts include more than a single card or project and below is my tally. 

Card Tally for 2023
January - 53 cards
February - 56 cards
March - 55 cards
April - 32 cards
May - 43 cards
June - 34 cards
July - 56 cards
August - 106 cards
September - 61 cards
October so far - 33 cards

I decided to cancel the subscription that provided linked thumbnails to what products I used on my cards. It was costing me out of pocket each month, so I’m back to listing what I used.

Supplies:
Black 5 x 6.5" card base & envelope (stash)
Spider Web die etc - kit from Q & CO (old)
Jewelled spider - Recollections (old)
Black Sharpie
Various sequins & confetti - stash
Wink of Stella
Patterned paper - Doodlebug
Ephemera punch outs - Doodlebug
Catherine Pooler Inks
Blending Brushes - Taylored Expressions
Glitter Dots - Ecstasy Crafts
Mini Strips Halloween (stamp and die) - Taylored Expressions

Thursday, 14 September 2023

Three Interactive Thanksgiving Cards with Apples


I found these three card bases and the already-cut patterned paper &. mats in the "In Progress" bin. Who knows what happened that I didn't get to finish the cards, or why they've been in that bin for YEARS. But when I saw them in there I decided to finish them off. Since the apple print would match my new apple dies, I was off & running.

I have a walkthrough of my cards on YouTube


Since all the patterned paper was already trimmed and I couldn't remember my original plan I just added some narrow gold tape and gold peel off border stickers to the mix. It was fun to use my new Thanksgiving stamps as well.


This card has a simple box pop up inside for a little something extra.


Using the Stitched Apple Frames, I created a sweet shaker for another card.


I enjoyed the soft colours in this patterned paper and I'm happy to have the cards finished and ready to send!


The third card has a pop up inside using Karen Burniston's new Twist Flower Pop Up. I'm going to have so much fun with that one!


One more look ...


Having been asked how many cards I make I thought it would be fun to keep track this year. Many of my posts include more than a single card or project and below is my tally. 

Card Tally for 2023
January - 53 cards
February - 56 cards
March - 55 cards
April - 32 cards
May - 43 cards
June - 34 cards
July - 56 cards
August - 106 cards
September so far - 23 cards

I decided to cancel the subscription that provided linked thumbnails to what products I used on my cards. It was costing me out of pocket each month, so I’m back to listing what I used with a few affiliate links included.

Supplies:
5 x 6.5" ivory card blanks/envelopes - Michaels
Orange patterned paper - Basic Grey (old)
Patterned paper - Frances Meyer, from my stash
Outside In Stitched Apples - Lawn Fawn
Stitched Apple Frames - Lawn Fawn
Give Thanks Sentiments - Catherine Pooler
Truly Thankful - Colorado Craft Co
Fluted Classic Circle Dies - Spellbinders
Stitched Sentiment Strips - Kat Scrappiness
Narrow gold tape - Amazon
Happy Fall - Pink & Main
Gold mirror cardstock
Blending brushes - Taylored Expressions
Catherine Pooler Inks
Gold thread - stash
Dot stamp (my favourite!!) - Stamps by Judith
Gold Peel Off border stickers - Ecstasy Crafts and/or Elizabeth Craft Designs
White paint pen
Glitter Dots - Ecstasy Crafts
Transparency
Shimmering Fallen Leaves confetti - Kat Scrappiness
Other sequins - stash
Alcohol markers
Autumn Greetings - Simon Says Stamp
Twine
Nuvo Aqua Shimmer pen 

Thursday, 7 September 2023

Second Rosh Hashanah Card


I didn't need another Rosh Hashana card as I made one for our daughter and family already. But after MONTHS of not purchasing any new paper crafting supplies I placed a couple of orders. One of my new goodies is the 'Little Book of Bees' - a thick pad of ~4x6" printed panels with different bee scenes. I think there are four of each design - it's the same as the 'Little Book of Muddy Paws' that I use all the time to make dog themed cards. I thought this panel would make a cute Rosh Hashanah (Jewish New Year) card and this is what I came up with. I've decided to give this one to our daughter and hang onto the previous one for next year. 😊

I trimmed the bee panel slightly then matted it with brown cardstock so the panel measured 4 x 6". Then I cut a 5 x 7" piece of transparency and scored approx 1/2" from each edge. I mitred the corners then added strong double sided adhesive to each of the transparency edges. Those edges were wrapped around to the back side of the bee panel and three sides adhered down securely.  I added some sequins to the front, turned it over and stuck down that remaining side. Ta Da ... an infinity shaker (also called edge to edge shaker). 


Using a hexagon stencil and distress oxide inks, I added some colour to the top left and bottom right corners of a Kraft card base before adhering down the shaker. I have these gold foiled bee stickers so added them to the envelope and also onto the front of the shaker. They almost disappear but catch the light when you turn the card. 


Below is a peek at the inside, using an older stamp set from Papertrey Ink.


Having been asked how many cards I make I thought it would be fun to keep track this year. Many of my posts include more than a single card or project and below is my tally. 

Card Tally for 2023
January - 53 cards
February - 56 cards
March - 55 cards
April - 32 cards
May - 43 cards
June - 34 cards
July - 56 cards
August - 106 cards
September so far - 8 cards

I decided to cancel the subscription that provided linked thumbnails to what products I used on my cards. It was costing me out of pocket each month, so I’m back to listing what I used with a few affiliate links included.

Supplies:
Little Book of Bees - Hunkydory 
(purchased online at R&R Scrapbooking in Edmonton Alberta)
Transparency 
Sequins - stash
5 x 7" card blank and envelope
Gold foiled bee stickers - stash
Stencil - Clear Scraps
Blending Brushes - Taylored Expressions
Spiced Marmalade Distress Oxide Ink
Mazel Tov - Papertrey Ink
5 x 7" Lacy Layers - Waffle Flower


Wednesday, 30 August 2023

Pop Up Wedding Card


When we heard the daughter of very good friends was getting married, I offered to make their  wedding card for the happy couple.  It was a very small wedding, on a beach in Tofino which is on the northern shores of Vancouver Island. It's truly a magical place so I pulled out a bunch of things from my craft room for this card. I have listed them at the end of my post.


I started with a white panel stamped with a scenic stamp with ocean and trees. Perfect for the backdrop of their wedding! The panel was lightly coloured with inks and blending brushes. The golden panel on the front is actually embossed with leaves ... also perfect for the wedding setting. The bride and groom are nature lovers, who spend a lot of time outside hiking, biking etc. I have had this embossed cardstock for YEARS (hoarding it, ha ha) and this was the perfect opportunity to crack into the package.  


Since I finally have some new goodies in my craft room I wanted to use my new Forest Window which gave me the trees for the front of my panel and then I added some acetate behind the window and created a shaker that was mounted to the card front.  I also wanted to use this truck die set, which I've had since 2018. 😊  I had also purchased the add on, which is where the Mr & Mrs came from on the back of the truck. The engagement & wedding ring were tucked inside the back of the truck for a bit of whimsy.


Inside I used the Paper Frames Pop Up and more from the Wedding Charms dies (both by Karen Burniston) along with some creamy pearl cardstock and more of the embossed leaves. The sentiment stamps are long retired but they worked perfectly on the little labels in the centre of the pop up.


My friend is a master seamstress, and she made her daughters wedding dress. It was just exquisite with hand sewn lace all down the gown. I loved that the wedding dress charm has the emboss feature so I could make it look 'lacy'.


Finally, champagne glasses to toast the newlyweds!


Whenever I give someone a card made with the Paper Frames Pop Up, they turn it over to view it from the top or bottom ... so here is a top view for you.


It's always nice to create a card that will be hand delivered and not worry about bulk or extra postage.

Having been asked how many cards I make I thought it would be fun to keep track this year. Many of my posts include more than a single card or project and below is my tally. 

Card Tally for 2023
January - 53 cards
February - 56 cards
March - 55 cards
April - 32 cards
May - 43 cards
June - 34 cards
July - 56 cards
August so far - 104 cards

I decided to cancel the subscription that provided linked thumbnails to what products I used on my cards. It was costing me out of pocket each month, so I’m back to listing what I used with the linked supplies being affiliate links.

Supplies:
5 x 7" Card blank and envelope
Truck dies - October 2018 Large Die of the Month & Add On - Spellbinders
A7 Double Stitched Frame dies - Honey Bee Stamps
Pearlized cardstocks - from my stash
Golden Leaves A4 Embossed Cardstock - Tonic Studios (old)
Gold and Silver mirrored cardstock - Stampin' Up and Hunkydory
Black glossy cardstock - Tonic Studios
Acetate
Blending Brushes - Taylored Expressions
Stamps inside - Petite Pairs, Stampin' Up (old)
Various sequins and beads from my stash