Showing posts with label Series: Shaped Cards. Show all posts

Thursday, 14 December 2023

Stocking Shaped Card


Today I'm sharing the 12th edition to my monthly series "Shaped Cards".  This was a fun series and I will be making more shaped cards in 2024 as well!

For this one I used the Stocking Fold-its dies from The Stamps of Life, which I have had for several years. In fact, when I bought it, Stephanie was still designing for Sizzix ... now it's available on her own website TSOL.  I used an embossing folder on the burgundy piece to give it some texture, and rainbow holographic card stock behind the bow. The sentiment is one of the Simple Strips from Taylored Expressions and there is glittery washi tape (also old) on the envelope flap.


Below you can see the sentiment stamped inside. The candy cane die was included with the Stocking Fold-Its set.


Having been asked how many cards I make I thought it would be fun to keep track this year. Many of my posts include more than a single card or project and below is my tally. 

Card Tally for 2023
January - 53 cards
February - 56 cards
March - 55 cards
April - 32 cards
May - 43 cards
June - 34 cards
July - 56 cards
August - 106 cards
September - 61 cards
October - 51 cards & 5 Tags
November - 46 cards
December so far - 14 cards (& 16 simple tags)

I decided to cancel the subscription that provided linked thumbnails to what products I used on my cards. It was costing me out of pocket each month, so I’m back to listing what I used.

Supplies:
Stocking Fold-Its - the Stamps of Life
Sizzix/Stampin' Up embossing folder
Plaid patterned paper - Flannel Shirt, Photo Play
Stardust Glitter Pen - Sakura
Stylish Sentiments Holiday - Papertrey Ink
Simple Strips Christmas - Taylored Expressions
Simple Strips die - Taylored Expressions
Washi tape - stash

Thursday, 16 November 2023

Snowman Shaped Card


Today I'm sharing the 11th edition to my monthly series "Shaped Cards". I used the Snowman Fold-Its which is from the Stamps of Life. I've had it for many years, so I don't know if it is still available but I do know they have a LOT of Fold-Its dies available and also a monthly club if you love making shaped cards. 

For this one I cut the base twice from white cardstock and scored a horizontal line about 1/2" down from the top hat on the back piece. Adding adhesive ABOVE that score line gave me a card that opens but also stands nicely for display.  I just attached the front and back pieces together above that score line and the card base was done. The layers for the body were cut from white pearl cardstock and I added Wink of Stella to the coal pieces for a little more shimmer.

I positioned the arms so the card would fit in the envelope and added some punched snowflakes along with one mirrored heart sequin.


I stamped a sentiment inside along with a few snowflakes.


Having been asked how many cards I make I thought it would be fun to keep track this year. Many of my posts include more than a single card or project and below is my tally. 

Card Tally for 2023
January - 53 cards
February - 56 cards
March - 55 cards
April - 32 cards
May - 43 cards
June - 34 cards
July - 56 cards
August - 106 cards
September - 61 cards
October - 51 cards & 5 Tags
November so far - 18 cards

I decided to cancel the subscription that provided linked thumbnails to what products I used on my cards. It was costing me out of pocket each month, so I’m back to listing what I used with a few affiliate links included.

Supplies:
Fold-its from the Stamps of Life
White pearl cardstock
Copic markers
Wink of Stella
White gel pen - Sakura
Scraps of cardstock
Stickles
Punched Snowflakes - stash
Heart Sequin - Kat Scrappiness
I believe I chose an A4 or A6 envelope and added some VERY 
OLD patterned Scotch Tape along the envelope flap. 

Thursday, 12 October 2023

Mountain Scene Shaped Card


Today I'm sharing the October edition to my monthly series "Shaped Cards". I haven't used this die set from Honey Bee Stamps in ages, so it was fun to get it out again. All the pieces were cut from white cardstock and inked with blending sponges & brushes.


The tree stamp is from Catherine Pooler - as are the inks and the sentiment on the mountain panel. The cloud is from a SU punch & I used a white gel pen to add a little snow to the mountain tops.

Below you can see the card fully open with a sentiment (Honey Bee Stamps) stamped on a rectangle which is also where we will sign the card.


Having been asked how many cards I make I thought it would be fun to keep track this year. Many of my posts include more than a single card or project and below is my tally. 

Card Tally for 2023
January - 53 cards
February - 56 cards
March - 55 cards
April - 32 cards
May - 43 cards
June - 34 cards
July - 56 cards
August - 106 cards
September - 61 cards
October so far - 19 cards

I decided to cancel the subscription that provided linked thumbnails to what products I used on my cards. It was costing me out of pocket each month, so I’m back to listing what I used. 

Supplies:
Mountain Z Fold dies - Honey Bee Stamps (retired)
Catherine Pooler Inks
Blending brushes - Taylored Expressions
Wonky Stitched Rectangle dies - MFT Stamps
White paint pen
Happy Birthday Many Ways - Catherine Pooler
Cloud punch - Stampin' Up
Tree stamp - O Canada - Catherine Pooler
Alcohol markers
Inside - Birthday Wishes, Honey Bee Stamps

Wednesday, 6 September 2023

Leaf Shaped Card


Today I'm sharing the 9th edition to my monthly series "Shaped Cards". I pulled out a very old kit - it's from 2018 - because a couple of the leaf dies in it are quite large and work well for a shaped card. The patterned paper is also old and has been in my stash for years. I pull it out every fall and use a little bit of it so it's taking forever to finish off the pad.

The stickers and sentiment were in my Fall bin, and who knows how long they have been in there. I believe I used my Scan 'N Cut to cut them out back when I first got the machine.


Here is a peek at the inside ...

I cut a second large leaf and scored it about 1/2" down from the top of the leaf and added adhesive above that score line. Then I lined up the front with the back and held them down together until the adhesive set. I also trimmed off a little bit from the bottom edge so it would be straight and that way the card stands for display.


I had thought this would fit in a 5 x 7" envelope, but it was a little too big. However, I have some envelopes from Hallmark cards as they used to sell packages of their leftover envelopes. It fit perfectly in one of those or I would have just made an envelope for the card.

Having been asked how many cards I make I thought it would be fun to keep track this year. Many of my posts include more than a single card or project and below is my tally. 

Card Tally for 2023
January - 53 cards
February - 56 cards
March - 55 cards
April - 32 cards
May - 43 cards
June - 34 cards
July - 56 cards
August - 106 cards
September so far - 7 cards

I decided to cancel the subscription that provided linked thumbnails to what products I used on my cards. It was costing me out of pocket each month, so I’m back to listing what I used with a few affiliate links included.

Supplies:
Patterned paper - Spiced Cider Stack, DCWV (old)
Leaf dies - Tonic Studio's Kit #12, 2018
Autumn stamp - unknown, cut with Scan & Cut
Stickers - stash
May the Bounty stamp - possibly Hero Arts (old)
Gold Mix Gems - Spellbinders


Thursday, 10 August 2023

Ice Cream Shaped Slimline Card


For the 8th edition to my monthly series Shaped Cards, I created a Slimline sized Ice Cream Sundae card! I will be putting this one away until next July when I send the family their ice cream cards - this year I was scrambling as Summer can get busy. So now I will be ahead of the game!I have had these two ice cream sets (Stamps of Life) for years, and I'm still getting good use out of them. This is the first time I've created a shaped card with them though!

I took a 4-1/4" folded card base, and lined up the sundae dish on the top fold. Then I slid that top edge just over the fold, so everything would cut but that top edge which would remain as a fold. That gave me a top folding sundae dish shaped card. 😊


Then I stamped another sundae dish on rainbow striped paper and die cut it out, adhering it to the shaped card base. Because I used dies for this - they lined up perfectly! The ice cream scoops were stamped and die cut from some patterned paper and I inked the edges for definition. Once they were glued on top of each other, I added some sequins.

Finally, after the card was done I decided to add a spoon from Karen Burniston's Ice Cream die set. That was cut from silver mirror card stock. The sentiment inside was hand written with coloured pens.

Thinking it would help the card stand better, I trimmed off a narrow strip from the inside bottom edge as you can see in the photo. Not sure if that really was necessary but the card does stand for display!


Having been asked how many cards I make I thought it would be fun to keep track this year. Many of my posts include more than a single card or project and below is my tally. 

Card Tally for 2023
January - 53 cards
February - 56 cards
March - 55 cards
April - 32 cards
May - 43 cards
June - 34 cards
July - 56 cards
August so far - 39 cards

I decided to cancel the subscription that provided linked thumbnails to what products I used on my cards. It was costing me out of pocket each month, so I’m back to listing what I used.

Supplies:
Patterned paper - Over the Rainbow, Michaels
Cone2Dish and Scream4IceCream - the Stamps of Life
Catherine Pooler Inks
Shimmer Spray
Sequins - Rainbow Fusion, Studio Katia
Itty Bitty Summer stamps - MFT Stamps
Stitched Sentiment Block - Kat Scrappiness
White Pain Pen
Coloured pens
Distress Oxide Inks
Spoon die - Ice Cream Pop Up, Karen Burniston
Silver Mirror cardstock

Wednesday, 12 July 2023

Circle Shaped Card


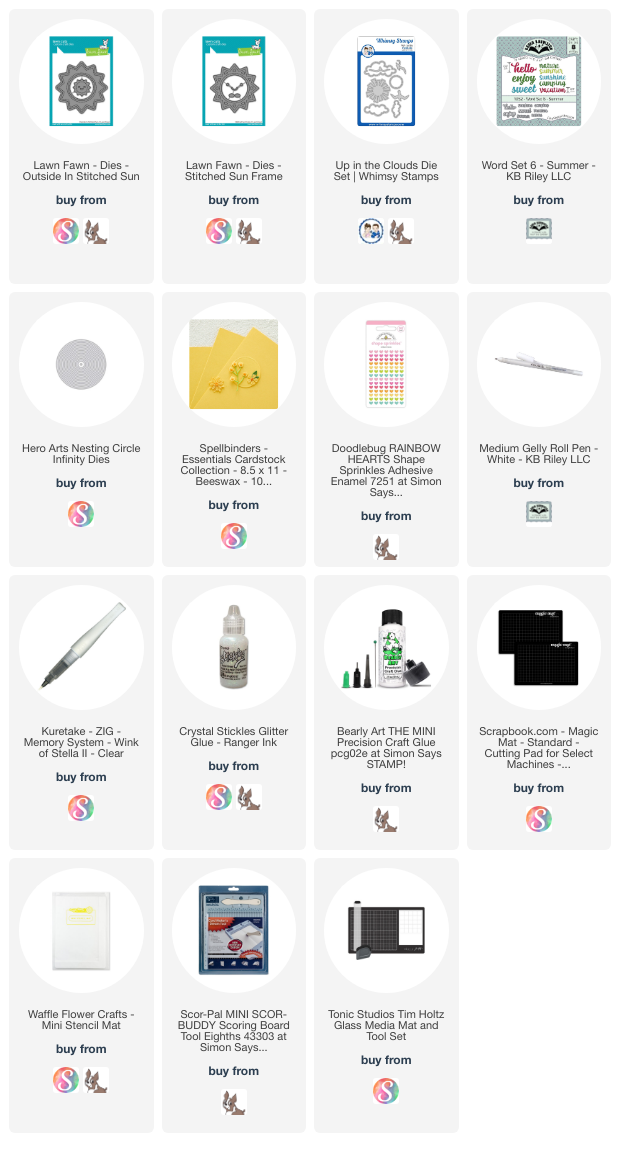
This is the 7th edition to my monthly series 'Shaped Cards'. This time I made a simple circle shaped card, decorated with a cheerful sun and some clouds. 

Below you can see that I trimmed off a small strip from the bottom edge - that allows the card to stand for display. The words inside are from Karen Burniston's Word Set 6 Summer and I added the tiny enamel heart. This card was for our youngest grandchild to celebrate the end of the school year! Thus, the extra glitter and sparkle 😊


To make the card base, I used a 3-3/4" circle die, with the 4x4" folded card base just under the edge of the die. That meant that the fold remained after I cut the circle ... thus a simple shaped circle card!


Having been asked how many cards I make I thought it would be fun to keep track this year. Many of my posts include more than a single card or project and below is my tally. 

Card Tally for 2023
January - 53 cards
February - 56 cards
March - 55 cards
April - 32 cards
May - 43 cards
June - 34 cards
July so far - 15 cards

Additional Supplies:
Bright yellow cardstock - stash
Yellow cardstock - stash
White cardstock - stash
Turquoise cardstock - stash
Scrap of yellow patterned paper - unknown

This blog uses affiliate links whenever possible. This means, if you make a purchase through one of my affiliate links that you pay the same amount but I may receive a small commission from your purchase. I only link products that I own, love and use for my card making and not every link below is an affiliate one! 😊 


Wednesday, 14 June 2023

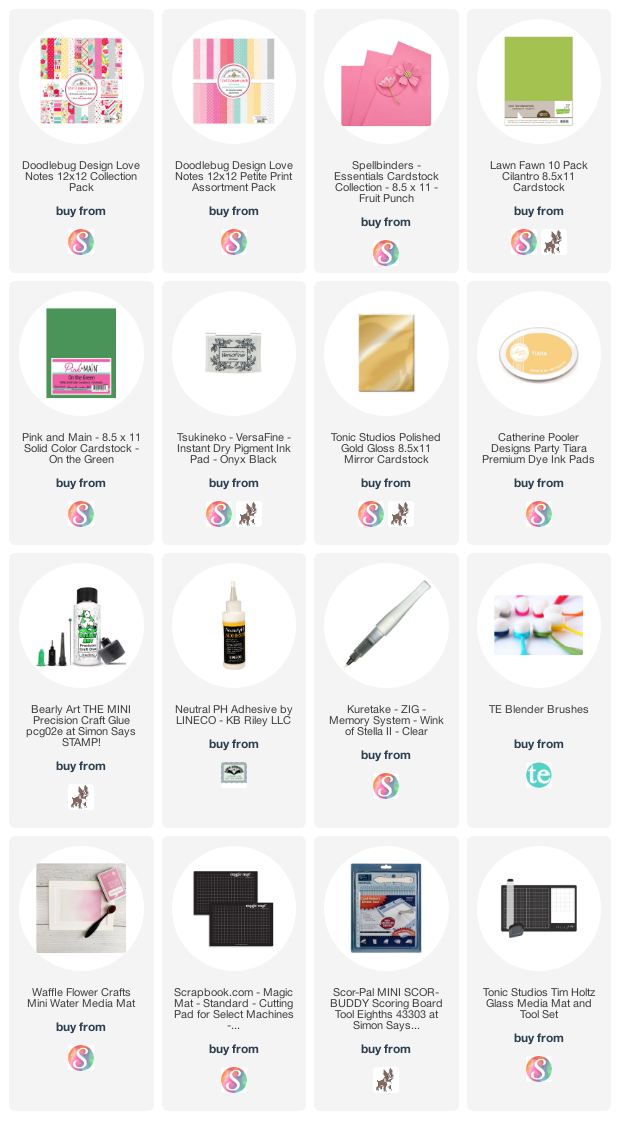
Watering Can Sympathy Card


For the 6th edition of my monthly series "Shaped Cards" I pulled out the Watering Can Fold-Its from the Stamps of Life and created a sympathy card. I knew I wanted to use this polka dot patterned paper in grey, and the rest of the card came together quickly. 

I have always loved the daisy punches from Stampin' Up (two sizes) and the coordinating stamp set. Here I stamped them in Catherine Pooler's Twilight ink and punched them out.

You can see I added Nuvo Glaze to the flower centres so they are raised and shiny, then I pulled out some greenery dies and scraps of green cardstock for the leaves. A stamped sentiment & a little bling and the card front was finished.


I trimmed off the inside back - just a sliver - along the bottom edge so the card will stand for display.


Having been asked how many cards I make I thought it would be fun to keep track this year. Many of my posts include more than a single card or project and below is my tally. 

Card Tally for 2023
January - 53 cards
February - 56 cards
March - 55 cards
April - 32 cards
May - 43 cards
June so far - 17 cards

Additional Supplies:
White cardstock
Daisy stamps - Daisy Lane, Stampin' Up
Small Daisy Punch - Stampin' Up
Wild Greenery dies - MFT Stamps (Retired)
Green cardstock scraps

This blog uses affiliate links whenever possible. This means, if you make a purchase through one of my affiliate links that you pay the same amount but I may receive a small commission from your purchase. I only link products that I own, love and use for my card making and not every link below is an affiliate one! 😊

Wednesday, 24 May 2023

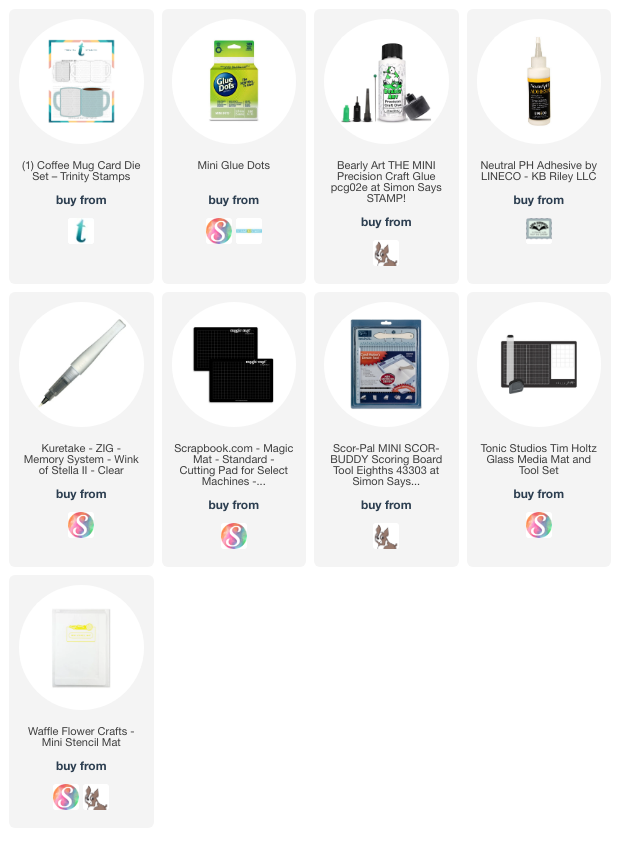
Mug Gift Card Holder

Today I'm sharing the 5th edition to my monthly series "Shaped Cards". This mug shaped card die is from Trinity Stamps and I have had it for quite awhile. The card fits in a standard A2 envelope, and also comes with a gift card insert. 

One of our daughters asked for a Gift Card for Mother's Day, so this is the one I made for her. Since it was going to be hand delivered I was able to add the ribbon bow and chipboard elements without worrying about bulk and extra postage.


NOTE:  I cut a slit in the fold of the card, and that is where I threaded the ribbon through to tie onto the front panel. That way it would decorate the front AND the inside!

Having been asked how many cards I make I thought it would be fun to keep track this year. Many of my posts include more than a single card or project and below is my tally. 

Card Tally for 2023
January - 53 cards
February - 56 cards
March - 55 Cards
April - 32 Cards
May so far - 38 Cards

Additional Supplies:
Patterned paper - Patio Party, American Crafts (my stash)
Scrap of brown cardstock
Stitched heart die - Elizabeth Craft Designs
Sheer ribbon - stash
White cardstock
Chipboard elements - Stamperia (stash)

This blog uses affiliate links whenever possible. This means, if you make a purchase through one of my affiliate links that you pay the same amount but I may receive a small commission from your purchase. I only link products that I own, love and use for my card making and not every link below is an affiliate one! 😊
Thursday, 13 April 2023

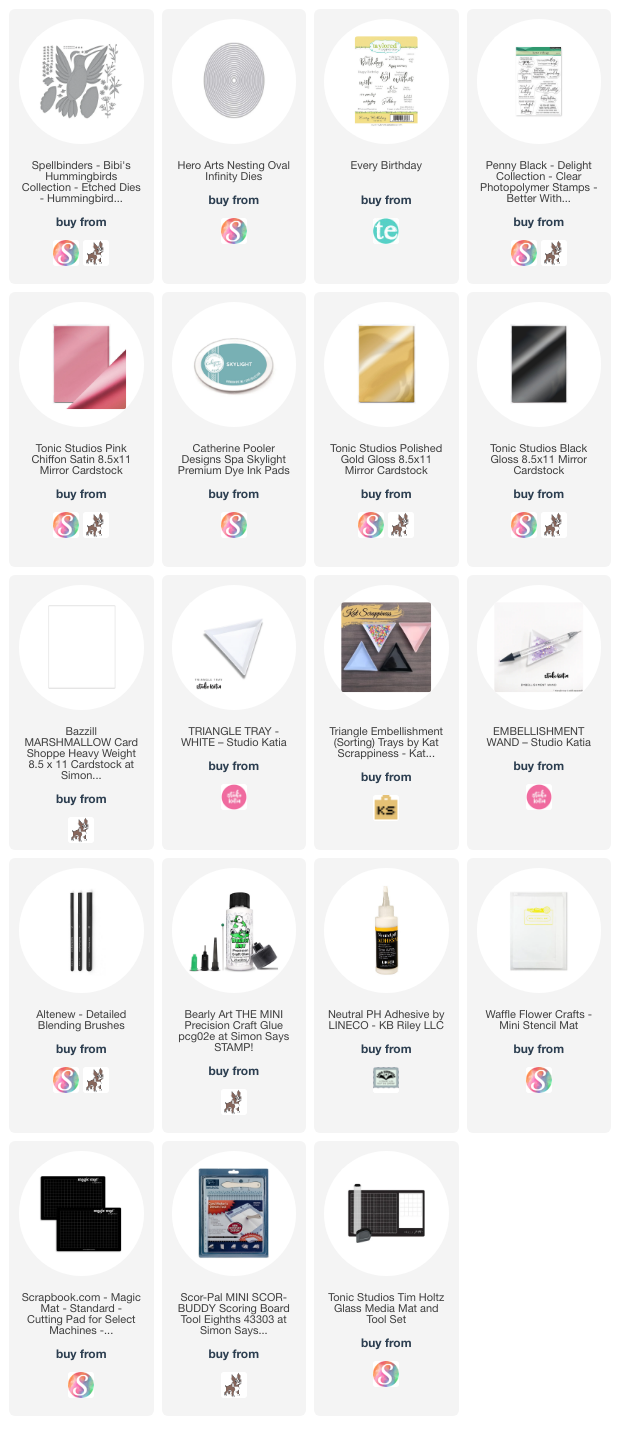
Hummingbird Shaped Card


Hummingbirds remind me of my Mom. So do lambs and pansies, but I have managed not to purchase any of the lovely pansy stamps & dies that have been released the past year or so. But when I saw this 5 x 7" shaped hummingbird die from Spellbinders? I might have actually gasped before I grabbed it. In fact, the designer has several dies in this line including a smaller hummer with lily's and that ended up in my cart too. What can I say - sometimes I'm weak. 😂

I wanted to play with it right away to make a birthday card for a friend, so I grabbed some of my Mirri cardstock (Hunkydory) and this is what I came up with. This card is also the 4th edition to my monthly series Shaped Cards

I just love how it looks with the mirrored and metallic card stocks! 


Inside I added an oval to stamp the sentiment on, since the die also embosses the details and it's too bumpy to stamp directly onto.

NOTE:  I cut the large outline shape three times. Once from the green/blue mirrored card stock and twice from white. The green/blue layer was adhered to one of the white ones then I proceeded to decorate it with the rest of the pieces in the set, fitting them like a jigsaw puzzle. The die embossed the lines so it's easy to see where they all fit. That second white hummer was used as the card back.


To make the hinge to attach the back of the card, I scored a line straight across as shown below, then added glue ABOVE the score line. Then I attached the back hummingbird shape to the front. When it was dry, I had a shaped card that will stand on it's own for display. Oh, and I also trimmed off some of the bottom feathers on the inside back (shown below) to help it stand.


Below is the card opened slightly and standing, and it just makes me HAPPY!!!  I am going to have to make a few more as I know several people who also love hummingbirds. This die will also fit on the front of a 5 x 7" card if I choose not to make it a shaped card. ❤️


Having been asked how many cards I make I thought it would be fun to keep track this year. Many of my posts include more than a single card or project and below is my tally. 

Card Tally for 2023
January - 53 cards
February - 56 cards
March - 55 Cards
April so far - 16 Cards

Additional Supplies:
Mirri Damask cardstock - Hunky Dory 
White cardstock

This blog uses affiliate links whenever possible. This means, if you make a purchase through one of my affiliate links that you pay the same amount but I may receive a small commission from your purchase. I only link products that I own, love and use for my card making and not every link below is an affiliate one! 😊


Tuesday, 21 March 2023

Teacup Shaped Card


Today I'm sharing the third card in my monthly series "Shaped Card". I enjoy making shaped cards but I find I am so busy using the other goodies in my craft room and making pop ups ... that I forget to make shaped cards. This series should allow me to make at least twelve shaped cards by the end of 2023. 😊

I started with this cute teacup die from Trinity Stamps and some older patterned paper from my stash. At first I made the card from white card stock but it didn't feel sturdy enough for me. I cut the shapes again using patterned paper and added them over the white card base. You can see in the photo below I trimmed away the fold on the patterned paper pieces so there would be no extra folds in the crease.


NOTE:  I trimmed a tiny bit from the bottom edge of the inside, which helps the card to stand nicely for display.

This card fits perfectly into a standard A2 envelope for mailing. 😊


Having been asked how many cards I make I thought it would be fun to keep track this year. Many of my posts include more than a single card or project and below is my tally. 

Card Tally for 2023
January - 53 cards
February - 56 cards
March so far - 34 Cards

Additional Supplies:
Pink cardstock
Kraft cardstock
White cardstock
Patterned paper - Blank Canvas, 1st Edition
Floral sticker - K & Company

This blog uses affiliate links whenever possible. This means, if you make a purchase through one of my affiliate links that you pay the same amount but I may receive a small commission from your purchase. I only link products that I own, love and use for my card making and not every link below is an affiliate one! 😊

Thursday, 9 February 2023

Cupcake Shaped Card Duo


For the second instalment in my Monthly Series with Shaped Cards, I am sharing a cupcake shaped card duo today. One is a Birthday card that will be donated to my Mom's old nursing home. 


I stepped up the second one and turned it into a Valentine card! I have had this Cupcake Fold-It's die set for many years and it creates a card that fits into an A2 envelope.


One more look ...


I have been asked how many cards I make but I didn't have a clear number. Since many of my posts include more than a single card or project, I thought it would be fun to keep track this year. 

Card Tally for 2023
January - 53 cards
February so far - 26 cards

Additional Supplies:
Cupcake Fold Its - the Stamps of Life
Birthday sentiment inside- Lots of Birthday2Stamp (the Stamps of Life)
White cardstock
Green alcohol marker
Sentiment - MFT Stamps
Nuvo Drops -  Carnation pink

This blog uses affiliate links whenever possible. This means, if you make a purchase through one of my affiliate links that you pay the same amount but I may receive a small commission from your purchase. I only link products that I own, love and use for my card making and not every link below is an affiliate one! 😊

Saturday, 28 January 2023

Cheerful Flower Shaped Card


Today I'm sharing a shaped card, which is the first one in my new series "Shaped Cards". If you would like to know more about my new monthly series click ***HERE***.  This one could also qualify for the series Throwback Fun Fold Cards, as it uses an older die set from The Stamps of Life.

I got it a few years ago, when we were travelling and away from my Mom. I sent her lots of cards for Happy Mail and made a number of them with this Flower Fold-Its. By the time we got home, she had a whole bouquet of flower cards on her sofa table and it looked so cheerful. It's been far too long since I've used this die set, and that is part of the reason I started these different series.


My Mother In Law has recently moved into assisted living, and I know she will be missing her garden. I will be sending this to her to brighten her day. The sentiment is a VERY old one from Stampin' Up.


A couple of times recently, I was asked how many cards I make but I didn't have a clear number. Since a lot of my posts include more than a single card or project, I thought it would be fun to keep track this year. 
2023 Tally:  51 Cards

Additional Supplies:
Flower Fold-Its - the Stamps of Life
White cardstock
Whimsical Words - Stampin' Up (long retired)

This blog uses affiliate links whenever possible. This means, if you make a purchase through one of my affiliate links that you pay the same amount but I may receive a small commission from your purchase. I only link products that I own, love and use for my card making and not every link below is an affiliate one! 😊