Showing posts with label Photo Frames. Show all posts

Sunday, 9 June 2019

Travellers Journal Page

Hello my crafty friends

Today I'm sharing a fun project that I did for Chameleon Art Products ... a Travel Journal page! I used a pile of different projects for this one, starting with the fun planner dies and stamps by Elizabeth Craft Designs.
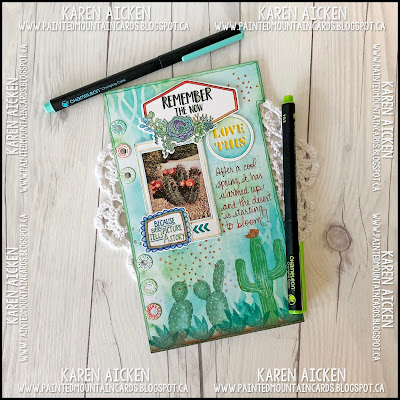

I die cut the page from heavy weight card stock then did some stencilling and inking. The COMING SOON Chameleon Fineliners are really cool - I used them to colour the succulent image. A single marker can write in up to 4 colours that blend into each other, simply by swapping the tops.


I love the desert, so used an Instax photo on my page with a frame die by Lynda Kanase. I also adore this stamp set by Stampin' Up with all the different cacti you can make.


The fineliners work really well to colour in detailed images like the succulent on the label, and of course for journaling.


I stamped the 'Because every picture' image with pale ink and went over it with a green finliner that I swapped the top for a blue one for a few seconds. See how the colour changes from blue into green?


The Chameleon Fineliner has a Kickstarter Campaign that goes until June 13. They met their goals within hours (!!!) but there are some good discounts if you are interested in these cool new fineline markers.

Supplies:
Chameleon Color Tone Pencils
Chameleon Fineliner markers
White card stock
Planner Essentials 1 - Elizabeth Craft Designs
Stencil - Clarity Stamps
Photo Frame, Celebrate - Lynda Kanase
Photo Banner (heart border inside photo frame) - Lynda Kanase
Words (remember) - Elizabeth Craft Designs
Succulent Stamps and dies - Lynda Kanase
Cactus stamps - Flowering Desert, Stampin' Up
Patterns 1 - Elizabeth Craft Designs

Thanks for stopping by today

Saturday, 11 May 2019

Lynda Kanase Design Team Challenge and C4C483

Hello my crafty friends

It's time for Lynda Kanase's Design Team Challenge, and Lynda asked us to use her Flower Basket, Card In A Box for our projects today. I used several different die sets by Lynda for my Mother's Day Card, and since it tied in with the Crazy4Challenges theme today I'm rolling them both into a single blog post.

On the Crazy4Challenges Blog, our hostess for May is Maryann Einam. Nicky Foden is joining us as our Guest Designer this month - you can find Nicky's blog here:  My Messy Craftroom


Maryann'e Challenge this week is:  Tomorrow is Mother's Day in Australia, USA, Canada and many other parts of the world. Create a card with flowers.

This pretty card is for my Mom for Mother's Day. I assembled the Flower Basket, Card in a Box using older patterned paper from my stash. Lynda has a post with a tutorial on assembling this die set HERE.  You have an option to cut a 'basket weave' from the front of your Card in a Box if you want, but I wanted to try something different so my Card in a Box front was solid. 


I've said before how much I like Lynda's Spring Things die set, so I used some of those dies along with the flowers and greenery from the Card in a Box set and cut a bunch of flowers and flower centres from the same patterned paper and was able to use up a bunch of the scraps! I mixed and matched the flowers and flower centres, then adhered them into my Card in a Box as shown in the tutorial.

I couldn't resist tying a pretty ribbon around the basket handle. I used Lynda's Photo Frame, Lovely to die cut a frame with the 'I Heart You' sentiment (included with the die set) and adhered the frame to an Instax photo of my Mom and I. That was matted and adhered to the front of my Card in a Box and I added one of the leftover flower blooms to the upper left corner.


See the side squares? This is where I changed up the project a little bit. Since I used patterned paper instead of card stock, my basket was a little 'wussy' and didn't display as straight as I'd like.  So I die cut squares from a different piece of patterned paper in the pack and adhered them onto each side. Worked like a charm - it's nice and sturdy now.  Adding those squares to the sides changes how the card folds up for mailing though, and will now require a larger envelope and extra postage.

Another option would be to score these squares along the fold line that is underneath it on the basket die and continue the way Lynda designed the die.  I expect it will get a lot of handling by the care staff etc and I just wanted it to be nice and sturdy. Of course if I had used card stock instead of patterned paper this would have not been an issue at all!


I added a stamped 'Happy Mother's Day' to the back side and that is where we will sign our name. Since the flowers are also visible from the back, I die cut an additional three large blooms and glued them to the back of the flowers, sandwiching the flower stem in between for a clean look.


I added dimensional sparkly enamel dots to each of the flower centres, and a small gold pearl to the butterfly, which is attached to the basket with an acetate strip. Since I am hand delivering this card to my Mom, I didn't need to worry about bulk and extra postage.


I chose a 6" square envelope and wanted to show that the card indeed folds completely flat for mailing.


One more look at my dimensional Flower Basket, Card in a Box. I can't wait to give it to my Mom tomorrow! It will look so pretty on the table in her room.


I have linked my fellow Lynda Kanase Design Team members on the right; be sure to check out their blogs to see what they came up with for this challenge. Lynda will have her group post HERE  later this morning.

Also, check out the C4C blog to see how the Crazies have been inspired by the challenge. We'd  love to see your take on it, so be sure to stop by the Crazy 4 Challenges blog and link up your creations. If you are uploading to an online gallery, please use the keyword C4C483.

Supplies:

Flower Basket, Card In A Box - Lynda Kanase
Photo Frame, Lovely - Lynda Kanase
Spring Things die set - Lynda Kanase
Patterned paper (very old, from my stash) - K & Company
White card stock
Bling - Recollections
Gold pearls - Stampin' Up
Instax SHARE Printer
1056 Squares Crosshatch - Karen Burniston
Seam Binding
Acetate scrap
Happy Mother's Day stamp - Taylored Expressions


Thanks for stopping by today

Friday, 24 August 2018

New House Pop-Up Card & Gift Card Holder

Good morning friends

Our son and partner purchased a new house in the same town as our eldest daughter, and this is the card we gave them. I had so much fun creating the front of the card, using a photo they sent us when the SOLD sign went up and some Photo Frames by Lynda Kanase. I printed the photo with my Instax SHARE printer, and cut the frames from some Colorburst backgrounds I had in my stash. All of the words & borders in the different Photo Frame sets work with each other so I paired a HAPPY with the ADVENTURE and cut some of the included arrows and a heart too. The Home Sweet Home is a Wild Whisper stamp.


Inside, I made it a Pop-Up using Karen Burniston's House & Fence Pop-Up. I just love the floating floor that comes with that die set.


I used more of my Colorburst backgrounds for the shrub and tree foliage, and also below our signing block. a bunch of stitched clouds form a shrub and there are white gel pen accents on the fence.


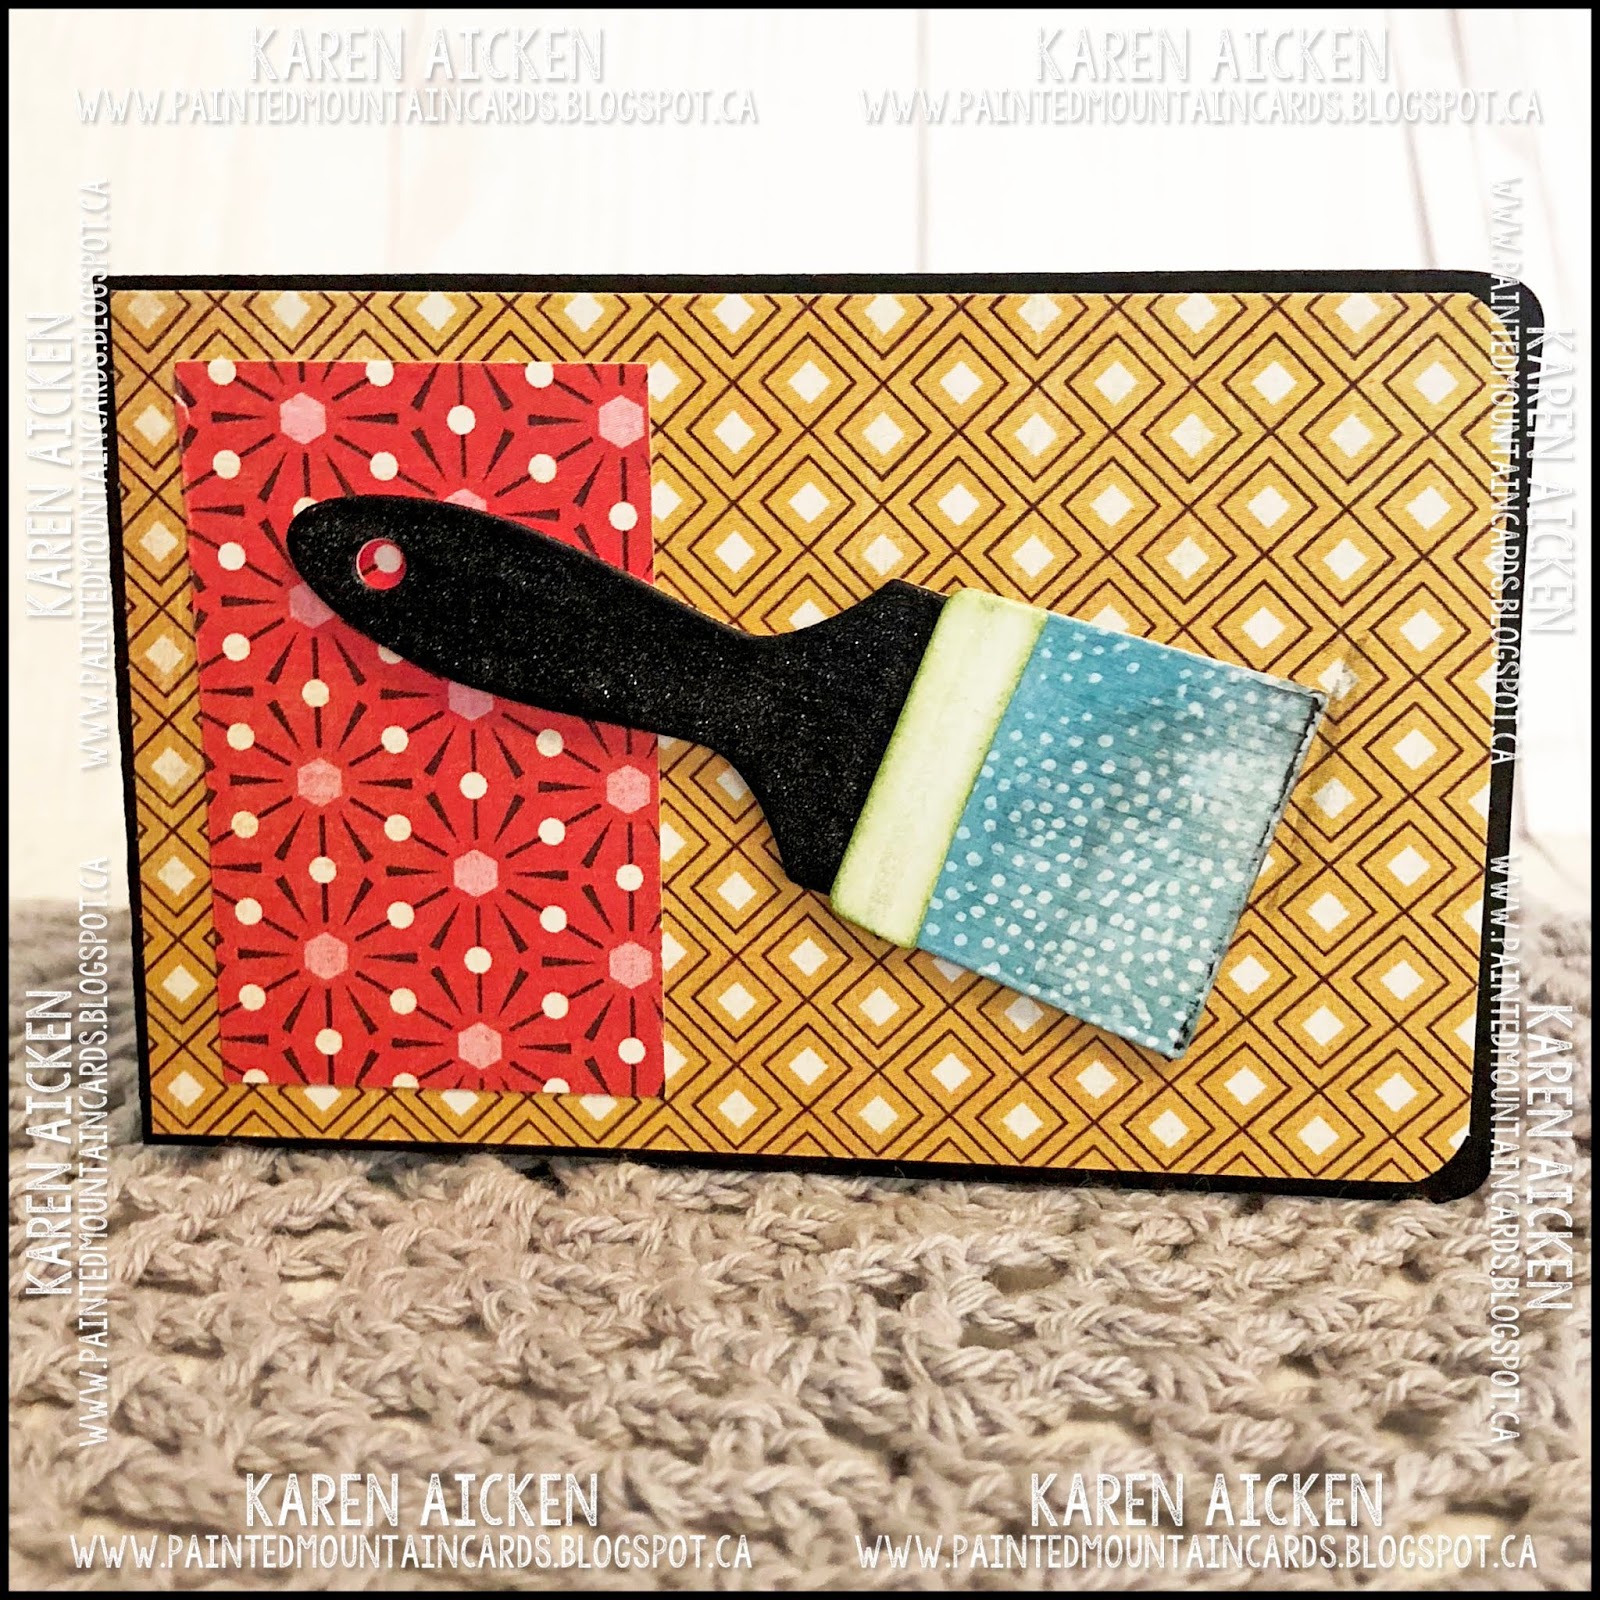
We gave them a gift card to a home improvement store as a housewarming gift. They had a big 'to do list' so we thought it might come in handy to pick up some shrubs or a tree of their choice. Their new back yard is HUGE! And bare. I used Lynda Kanase's Slider Card die for the Gift Card Holder, and added a paintbrush die cut to the front.


The ENJOY is from Karen Burniston's Word Set 6 Summer - another die I get a lot of use out of.


I have several used/empty gift cards that I use as photo props, this is not the actual card we gave them. 

Supplies:
1015 House & Fence Pop-Up - Karen Burniston
Kraft, yellow, black, brown, red, blue, grey card stocks
Woodgrain packaging
Black marker
1005 Tree Pop-Up - Karen Burniston
1006 Nature Edges - Karen Burniston
1054 Rectangles Crosshatch - Karen Burniston
1002 Word set 1 Greetings - Karen Burniston
Stamps - Wild Whisper
Photo Frame, Travel - Lynda Kanase (Sizzix)
Photo Frame & Words - Lynda Kanase (Sizzix)
Instax SHARE printer
1019 Gift Card Label (hearts) - Karen Burniston
Copic marker
Wink of stella
Card, Slider - BigZ die - Lynda Kanase (Sizzix)
Patterned paper - Basic Grey
Corner Rounder - We R Memory Keepers
Paintbrush die - MFT Stamps
1052 Word Set 6 Summer - Karen Burniston

Thanks for stopping by today

Saturday, 28 July 2018

C4C445 - Double Display Photo Card

Good morning friends

It's Saturday so that means a new challenge at the Crazy 4 Challenges Blog! For July, our hostess is Rebecca Ednie and our Guest Designer is the amazing Teresa Kline of Paperie Blooms.

Rebecca's Challenge this week is "Make a Sympathy or Support/Hope card. By support/hope card I mean for someone with a very serious illness or who likely isn't going to survive their illness. Or for the family of that person. These are sad, serious cards to have to make but they are good to have in your stash. It's unfortunate but you  never know when you might need it."


Circumstances helped make my card choice easy, as I'd been talking to a far-away friend who's Grandma had fallen and was in Hospice. She and her Grandma had always been very close, and I knew how much she was hurting.


I used the Double Display die set for my card today, and added a die cut scribble heart and the word 'love' to the card front. 


During our conversation she had texted me a photo of she and her Grandma before the fall, so I knew it would be perfect to add to her card. I printed out the photo on my Instax SHARE printer, and used Lynda Kanase's Photo Frame and Borders to cut a matching frame for the photo. I love how perfectly these photos work with this card type!


I like the butterfly that comes with Karen Burniston's Circle Charm Pop-Up so added a pair of them to the card with gold gel pen highlights.


A few vine die cuts were tucked in behind the photo and they also have gold gel pen highlights.


I adhered magnets to the back side of the card, before I added the decorative panel, and the opposite magnets to the back of the photo. That way when she is done with the card, my friend can keep the photo.


It was so good to actually get to visit with my friend last month, give her a hug and this card. Unfortunately her Grandma passed the week after I gave it to her, but I know she will have many happy memories of her Grandma to carry her through.

Check out the C4C blog to see how the Crazies have been inspired by the challenge. We'd  love to see your take on it, so be sure to stop by the Crazy 4 Challenges blog and link up your creations. If you are uploading to an online gallery, please use the keyword C4C445.

Supplies:
Instax SHARE printer
White and burgundy card stocks
Patterned paper - K & Company
Photo Frame & Borders - Lynda Kanase (Sizzix)
Double Display, base and layer dies - Our Daily Bread
Magnets - Basic Grey
Love & Scribble Heart dies - Stampin' Up
1046 Circle Charm Pop-Up (butterfly)- Karen Burniston
Sakura gold gel pen
Gold metallic circle stickers - Stampendous
1026 Flowers & Bee- Karen Burniston


Thanks for stopping by today

Wednesday, 23 May 2018

Birthday Photo Banner

Good morning friends

One of the die sets that was on my Wish List was the Photo Banner die by Lynda Kanase. I was able to purchase it this Spring, and used it here to make a photo banner for our Grandson Zachary's birthday.


The die set is so cool - it cuts the slits that fit an Instax Photo perfectly, and there are also slits to tuck your twine or ribbon into so you don't have to try to thread it. For my banner here I also die cut words from Lynda's Photo Frame, Celebrate and Photo Frame, I AM Phrases in both the banner and the die cut frames.

This first one says BRAVE, because Zachary actually let go of his dad, or the side of the pool and floated on his own. He was wearing a life jacket anyhow, but was too terrified to believe it would hold him up. When he finally realized it would, he was so happy and really enjoyed the pool then. It took a lot for him to 'let go' - and we told him how brave he was.


Whenever I take a photo of Zachary, he always asks to see it right away. He liked this one so I thought it would be perfect for the centre of his little banner. I cut the bottom left corner of the frame again from green, then inlaid the green stars into the coordinating openings on the black frame, then added the stamped and die cut banner with foam tape.


Below is Zachary at the playground - he is like a little mountain goat and so strong!


I loved being able to personalize each of the banner pieces just for him, using special photos and his favourite colours (black and green).

Tips and Tricks:
I backed each banner piece with another banner die cut from green card stock, which made it nice and sturdy.

I chose not to add many decorations to the two non photo banners, since the patterned paper had nice foiled bits that caught the light. The stitched squares were sitting on my stamping table, leftover from a different project so I added the numbers to them then layered them onto the banner with foam tape.

The photos in their frames are removable from the banner, when Zachary is done with it, so he can have these photos to enjoy.

All the words and designs from all of Lynda Kanase's Picture This Collection work well together and are interchangeable. That makes it so easy to customize your frames!


Remember to leave me a comment on my Blog Hop collaboration card (see HERE) for a chance to win a Cupcake Pop-Up die! I'll be drawing a name for the prize on May 24th.

Supplies:
Patterned paper - Me & My Big Ideas
Instax SHARE printer - Fujifilm
Photo Banner die- Lynda Kanase
Photo Frame, Celebrate - Lynda Kanase
Photo Frame, IAM Phrases - Lynda Kanase
Green, black and white card stocks
Double sided adhesive tape 
Xyron
Bakers Twine

Thanks for stopping by today

Thursday, 10 May 2018

Fancy Fold Anniversary Card

Good morning friends

I found this cool die set at the Mesa Rubber Stamp Show, called the Double Display. I hadn't seen these cards before so I was excited to try it. My family gave me money for my birthday because I knew I'd be going to the stamp convention and wanted to be able to purchase some goodies there. So this set was actually a gift from my Mother-in Law for my birthday!

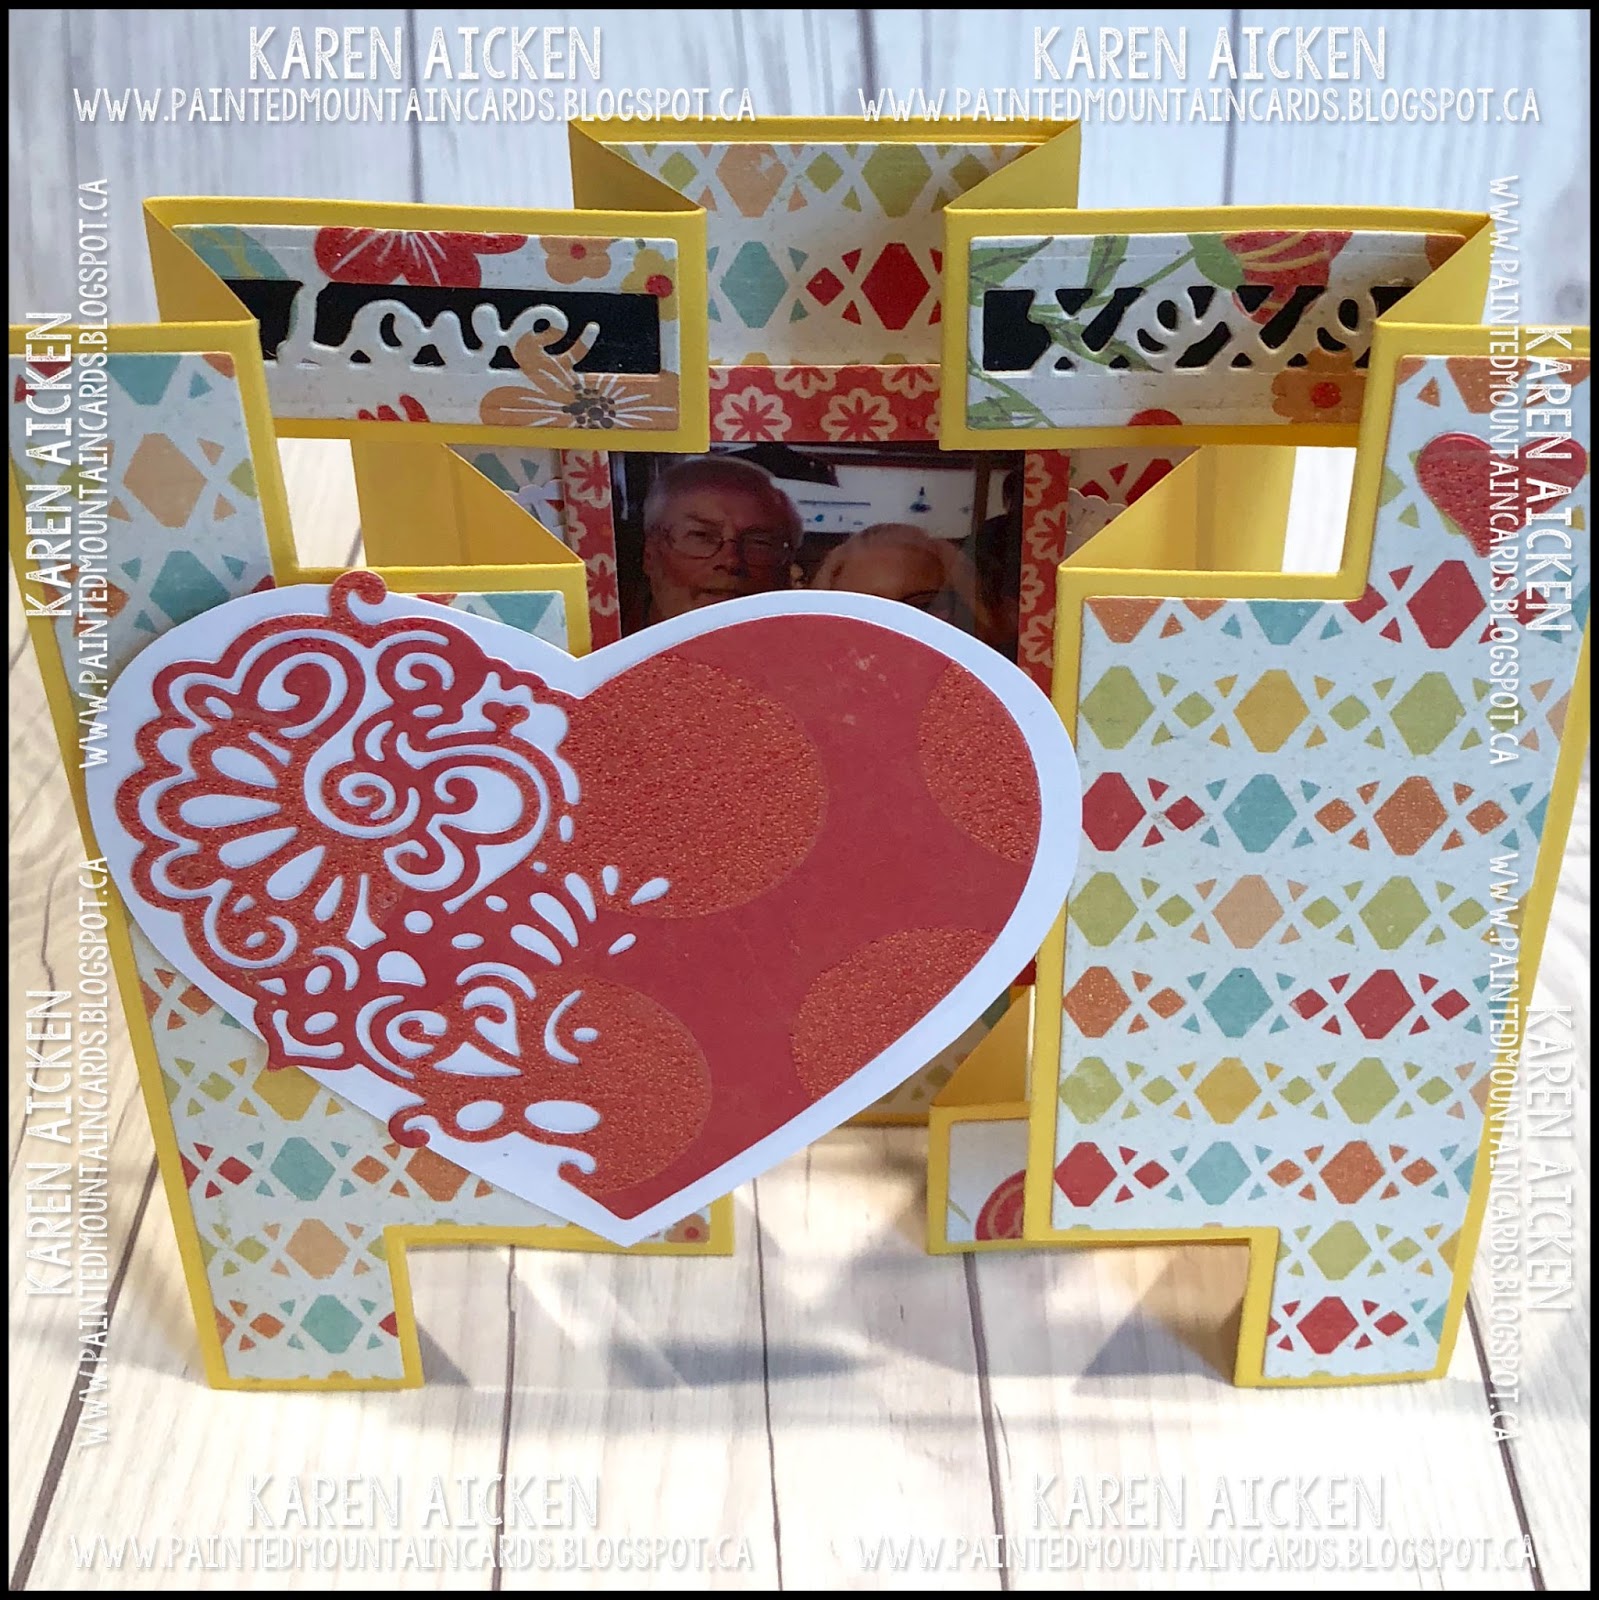
This is the first time I used the die and I made an Anniversary card for my hubby. The front features a pretty die cut heart from Elizabeth Craft Designs cut from sparkly paper.


Look at all those folds!


For the inside I used some dies by Lynda Kanase of Sizzix. I printed a photo of us using my Instax SHARE printer, then used one of Lynda's Photo Frames to cut the frame from coordinating patterned paper. I love how easy it is to customize the Photo Frames!

I also used the words LOVE and the XOXO from a different Photo Frame set and cut away the words from the decorator panels. After backing them with black to make them stand out, I adhered the panels and photo to the card.


I will say that hubby really liked his card, and put it on his work area as it stands up so well on it's own. Yay!

Supplies:
White, black and yellow card stocks
Patterned paper - DCWV
Fancy Heart die - Elizabeth Craft Designs
Photo Frame, I AM Phrases - Lynda Kanase 
Photo Frame and Words - Lynda Kanase
Photo Frame, Celebrate - Lynda Kanasse
Doily - Stampin' Up
Double Display Die set (and the layer set) - Our Daily Bread
1019 Gift Card Label (hearts) - Karen Burniston

Thanks for stopping by today

Tuesday, 24 April 2018

Photo Card For A Friend

Good morning friends

My friend Kay and I celebrate February birthday's, and the last couple of years we have been able to get together with our hubby's for a nice dinner. This February we went to a fancy schmancy steak house where we enjoyed a fabulous meal. Then the waiter brought us free desserts, so that was a fun surprise.

This photo was taken at the restaurant, and the next morning I printed it off with my Instax SHARE printer and rather than just send her the photo I made it into a card.


I die cut one of Lynda Kanase's photo frames with the word 'friends' from gold foil card stock, then backed the word area with white card stock so it would stand out. Then I adhered the photo in behind the frame and added it to a die cut white mat. I love how you can customize these frames by cutting them from card stock, patterned paper, corrugated card stock, old maps etc etc.


The gold rimmed and enamel stickers were in my stash (you know how much I love stickers) and the stamp set was a fairly new purchase so it all came together easily.


What a fun piece of Happy Mail to send to a friend - another reason I love this hobby so much. 

Supplies:
Instax SHARE printer
gold foil card stock - Stampin' Up
Photo frame and words - Lynda Kanase (Sizzix) - Picture This Collection
White glossy card stock
Dashing Rectangle - Elizabeth Craft Designs
Patterned paper - Pebbles
Word stamps - MFT Stamps
Yellow soft finish card stock - Elizabeth Craft Designs
Stickers - Paper House
White card stock
Sequins

Thanks for stopping by today

Tuesday, 27 March 2018

Sunset Photo Fold-a-Long Card

Good morning friends

Today I'd like to share another Instax Photo card, this time I used the Cactus Fold-a-Long for the card base, and Lynda Kanase's Succulent Serenity paper pad. I waited so long to be able to buy this paper pad that now I'd like to buy another and it's hard to find.


I have used the Bakers Twine to hold the Fold-a-Long cards closed before, and it works well. Easy peasy for the recipient to untie to open the card but the card stays closed util it is untied.


When the card is opened, there is a photo of one of our amazing Arizona sunsets.


I used brown card stock and Lynda's Photo Frame, Seasonal Props for the frame. The word 'beautiful' is from the Photo Frame, I AM Phrases. Inking the edges with Distress Oxide inks works well as this ink shows up on dark card stocks. I added some sequins as well and the card is done and ready to send.


The blooms on the cactus card base were also blended with the Distress Oxide Inks. Oh, and the cactus pot on the card front was made with the new Easter Basket at Elizabeth Craft Designs, I just trimmed off the handle and bottom so it would fit.

Supplies:
Patterned paper - Succulent Serenity -  Lynda Kanase (Sizzix)
Cactus Fold-a-Long - Jen Long (Sizzix)
Photo Frame, Seasonal Props - Lynda Kanase (Sizzix)
Distress Oxide Inks
Photo Frame, I AM Phrases (beautiful) - Lynda Kanase (Sizzix)
Spring Basket (trimmed) - Elizabeth Craft Designs
Woodgrain Patterned paper - My Minds Eye
Sequins
Stickles

Thanks for stopping by today

Wednesday, 21 March 2018

Cactus Card Trio

Good morning friends

I have had this cactus stamp & die set for a couple of years, and I wanted to use it with the Succulent Serenity patterned papers by Lynda Kanase. I made this card trio for my stash.


This first card uses one of Lynda's Instax Photo Frames but with a little stamped scene instead of a photo. Howdy was white embossed on the included label, the frame was matted with white and wrapped with twine before adhering to the card front with fun foam.


Since I enjoy making Gatefold cards, the second card uses more of the pretty patterned paper and a 2D cactus as the front embellishment.


I use my ScorePal on almost every card I make, and have for years. With the markings for an A2 card right on the board Gatefold cards are easy peasy! This one is held closed with a belly band.


Once again I had fun dipping and dragging the Saguro cactus piece through puddles of Distress Oxide inks. I added water colour to each of the 'spines', which were lifted forward with a craft pick for added dimension on the card. I also did some pen work to outline the cactus.


Since I kept the front nice and simple so the cactus would be the focus, I added some fun to the inside.


Finally, since the stamps were out I thought I'd try a 'no patterned paper' card (gasp!).


Below is a peek at the inside. Actually, yesterday morning I was looking at this card and decided to add a black die cut HAPPY inside,similar to the 'because' on the front, and penned Mother's Day under that. Now it is one of six Mother's Day cards I will need in May.


I love the desert, so these cards just make me happy.

Supplies:

Howdy Cactus Card
Photo Frame, I AM Phrases - I AM Phrases, Lynda Kanase (Sizzix)
Succulent Serenity Paper Pad - Lynda Kanase (Sizzix)
Matte glossy card stock
Green card stock
Cactus stamps - Lawn Fawn
Wonky stitched rectangle dies - MFT Stamps
Dashing rectangle dies - Elizabeth Craft Designs
1009 Twist Panel Pop-Up (stitched edge) - Karen Burniston
Twine - Stampin' Up
Fun foam
Sun stamp - Recollections
White embossing powder

Cactus Gatefold Card
Succulent Serenity Paper Pad - Lynda Kanase (Sizzix)
Score Pal
Succulents 2D and 3D - Lynda Kanase (Sizzix)
Distress Oxide inks
Woodgrain patterned paper - My Minds Eye
Arrow dies - Elizabeth Craft Designs
MISTI - My Sweet Petunia
White card stock
Arrow border stamp - Lawn Fawn
Word stamp - MFT Stamps
Cactus and heart - Lawn Fawn
Blueprints #29 (banner) - MFT Stamps
Black fine point marker
Marvy LePlume II markers
Water Brush

Row of Cactus Card
Matte glossy card stock
White, black and green card stocks
Wonky stitched rectangle dies - MFT Stamps
Stamps - Lawn Fawn
Marvy LePlume II markers
'because' stamps and dies - MFT Stamps
Blueprints #21 (stitched banner die) - MFT Stamps
Sequins

Thanks for stopping by today