Showing posts with label Heffy Doodle. Show all posts

Monday, 24 April 2023

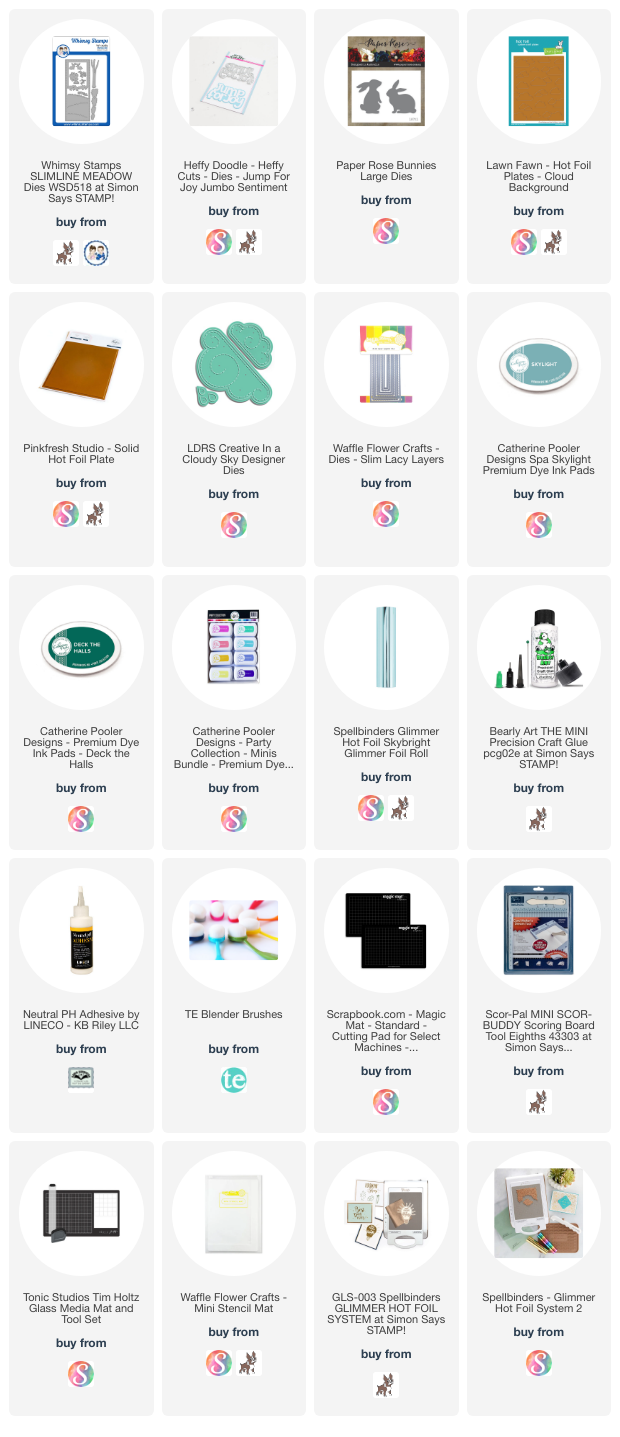
'Jump for Joy' Slimline Card


This is one of those cards that I wish I'd taken a short video of, as the foiling looks so pretty in person. To my eye, the photos look rather lifeless as compared to how it looks in real life! I know Easter is behind us, but I had this idea and didn't get a chance to make it to send out for Easter 2023. So now I'm ahead for next year 😂.  This whole card started with Lawn Fawn's cloud hot foil plate and Spellbinders reverse foil plate. I am going to really enjoy the foiled clouds ... just need some more time to play with it.

The Slimline background is a die set by Whimsy stamps, and as I was creating the scene I just kept pulling things out to add to it. The Jump For Joy seemed to be perfect to use with those bunnies. It comes with a shadow die, but I didn't use this time. It was cut from a leftover piece of mirrored card stock for additional shine.


Inside I used a scalloped die to cut white cardstock, inked the edges and stamped a sentiment. Then I added a few more die cuts to dress it up a little and my card was done.


Having been asked how many cards I make I thought it would be fun to keep track this year. Many of my posts include more than a single card or project and below is my tally. 

Card Tally for 2023
January - 53 cards
February - 56 cards
March - 55 Cards
April so far - 26 Cards

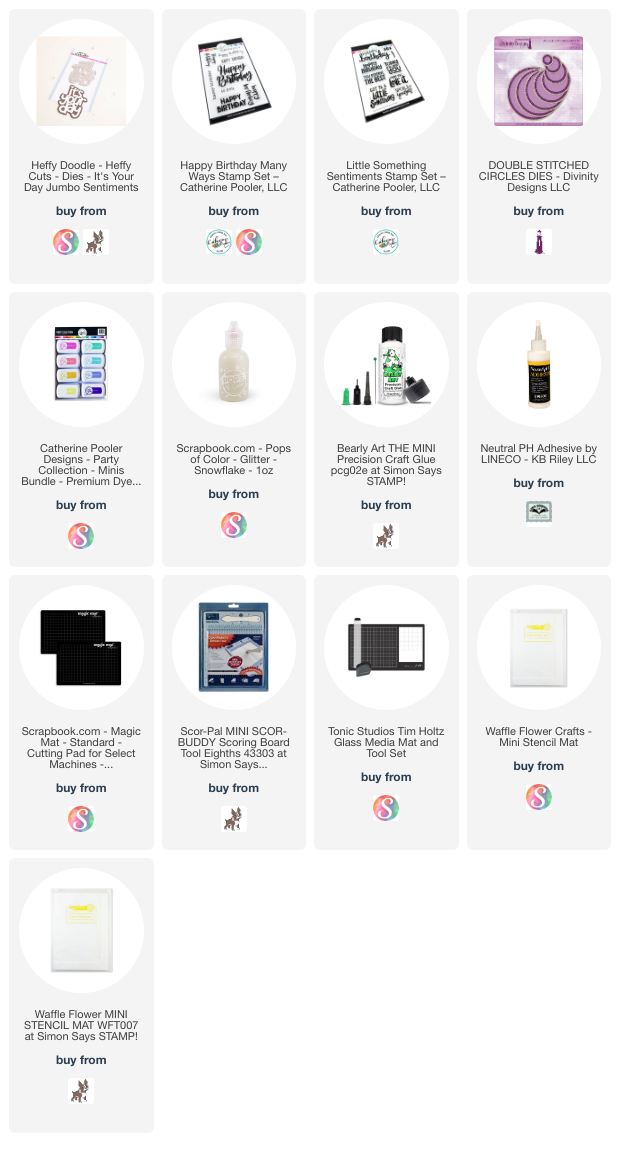
Additional Supplies:
Shimmer Spray
Mirrored card stock - Mirri Damask, Hunky Dory
White cardstock
Easter sentiment - Verses Stamps

This blog uses affiliate links whenever possible. This means, if you make a purchase through one of my affiliate links that you pay the same amount but I may receive a small commission from your purchase. I only link products that I own, love and use for my card making and not every link below is an affiliate one! 😊
Thursday, 20 April 2023

'All About You' Diamond Flap Front Fold


Today I'm sharing another card made with one of the die sets I received for my Birthday. This one has the dies to cut the angled card side & layer - you cut it and attach it to a 5 x 7" panel which then becomes the back of your card. This was my first play with it and I was happy enough with my card until it was finished and I went to stand it up for display. It fell right over!  

So I will have to figure out a different way to use this set, maybe by adding a second angled panel on the right edge so it would open like an angled gatefold card? Or flip it around so the largest edge is on the bottom - opposite to what I have here?  I'm not at all disappointed in the purchase though as I know there are lots of options with it once I play with it a little more.


I added the stamped sentiment onto a stitched circle which is lifted up with one of the cardstock springs that I have been using SO much lately. I will link Sam Calcott's video below if you are interested in learning how she makes them. 


Here is a link to Sam Calcotts video where she shows her paper springs. 

Having been asked how many cards I make I thought it would be fun to keep track this year. Many of my posts include more than a single card or project and below is my tally. 

Card Tally for 2023
January - 53 cards
February - 56 cards
March - 55 Cards
April so far - 24 Cards

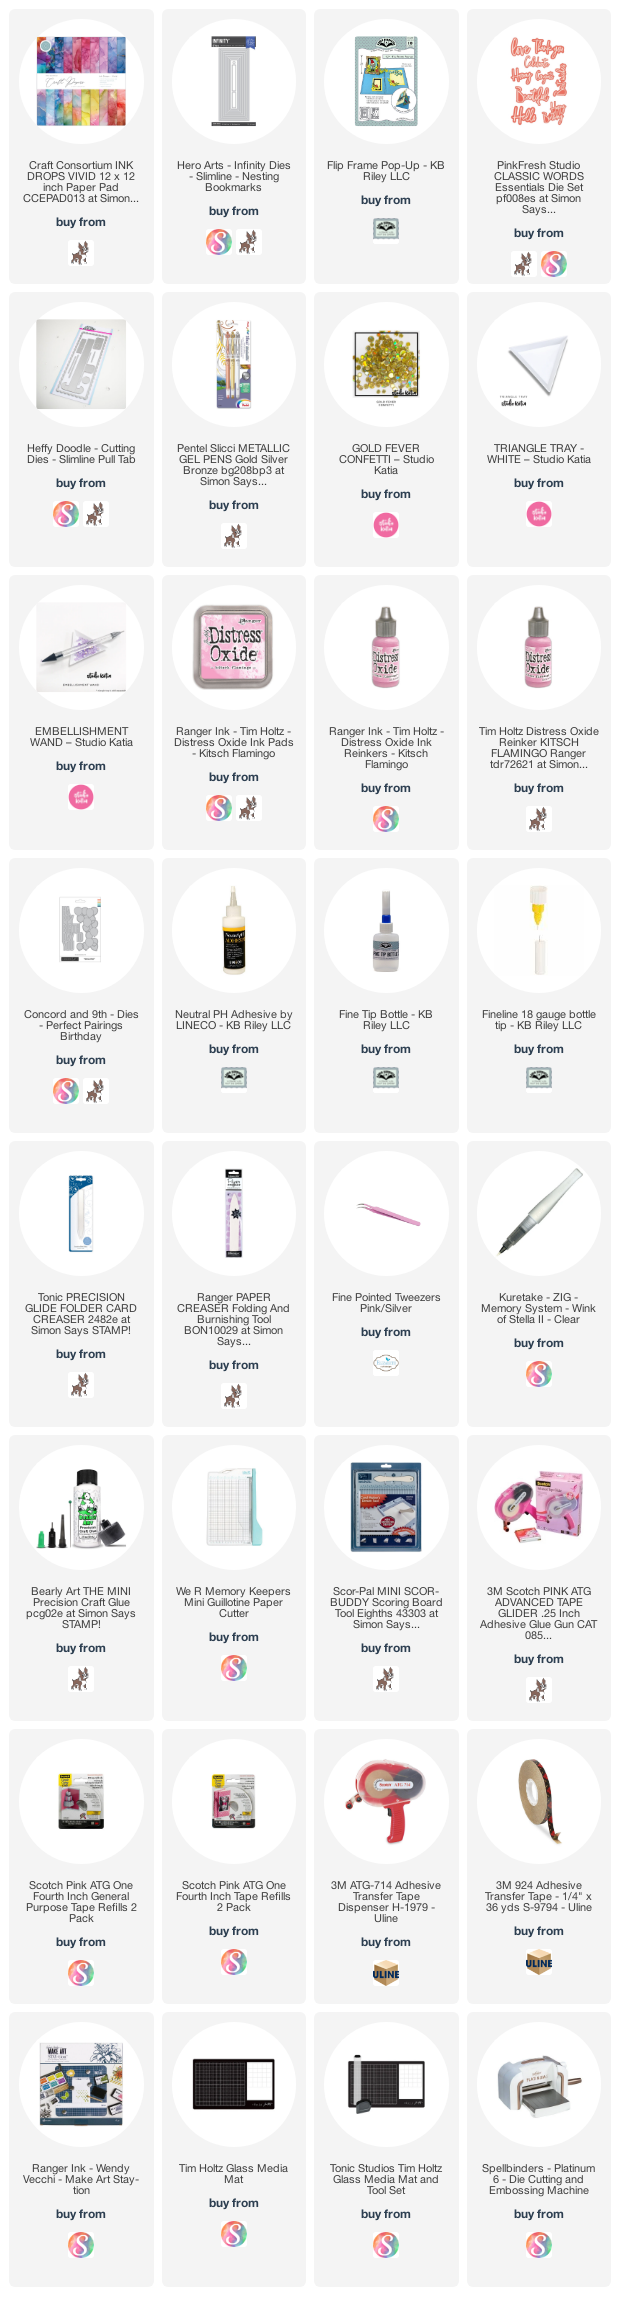
Additional Supplies:
Creative Craft Easy Folds 5 x 7" Diamond Fold - Craft Stash US
White cardstock
Patterned paper - Enjoy the Journal, Stampin' Up
Purple fine liner marker

This blog uses affiliate links whenever possible. This means, if you make a purchase through one of my affiliate links that you pay the same amount but I may receive a small commission from your purchase. I only link products that I own, love and use for my card making and not every link below is an affiliate one! 😊

Sunday, 22 August 2021

Six Cream and Black Birthday Cards

Hello!  I have a box filled with odds and sods of card bits to pull out items to make birthday cards for donating to my Mom's old nursing home. This time poking in the box I found these black and cream printed panels - already cut to size - and the cream large label dies. If you have been doing this as long as I have, you will recognize those labels as the 'Top Note' BigZ die from Stampin' Up. It was VERY popular back in the day! 

I decided to make some cream card bases and finish off these cards, which didn't take very long at all. I stamped the sentiment and face onto each label, popped them up with foam tape onto the patterned paper and adhered everything to the card front.


Here is a peek at the inside ...


This blog uses affiliate links whenever possible. This means, that at no cost to you, if you make a purchase through one of my affiliate links that I receive a small commission from your purchase. I only link products that I own, love and use for my card making!

Additional Supplies:
Cream card stock
Patterned paper - unknown
Top Note Die - Stampin' Up (long retired)
Sentiment inside - Big Bold Sentiments, MFT Stamps (retired)

Thanks for stopping by

Saturday, 14 August 2021

Slimline Birthday Card with Paper Pumpkin Sprigs


Today I'm sharing the Slimline Birthday Card I sent to a friend. I used more of that alcohol inked patterned paper as well as the last of the sprigs from the June Paper Pumpkin kit.  The Celebrate was adhered to a gold foil shadow, and I added some sparkly sequins and gold gel pen highlights as well. Everything that is available is linked below.


Here is a peek at the inside ... 


I've been watching for larger, tall sentiments to use for my Slimline cards so picked this set up in late June. This card has been done since then, but I didn't want to post it until my friend received it. The flowers and leaves are from Karen Burniston's Flip Frame Pop Up and I cut them from scraps of the same patterned paper as on the card front and inner panel. I had been adding several floral clusters on a lot of my Guest Designer posts for Divinity Designs, and now I really like the look!

This blog uses affiliate links whenever possible. This means, that at no cost to you, if you make a purchase through one of my affiliate links that I receive a small commission from your purchase. I only link products that I own, love and use for my card making!

Additional Supplies:
June Paper Pumpkin Kit, Expressions in Colour - Stampin' Up
Purple card stock - stash
Gold foil card stock - Stampin' Up

Thanks for stopping by

Thursday, 1 July 2021

Canada Day Video Hop + Over $1300 in Giveaways!


Hello! Today I’m joining a group of Crafty Canadian YouTubers and we’re celebrating by featuring Canadian craft products and shops. A total of 16 shops and 2 Canadian papercraft magazines have generously sponsored today’s event and we’re giving away over $1300 in prizes! We have over 40 individual gift certificates ranging from $25 to $100, a one-year subscription to Creative Scrapbooker Magazine, and a grand prize package worth $150 from Scrapbook & Cards Today.  There will be a full list of the prizes on Emily's Blog: I'm featuring products from several of our sponsors (Scrap 'N Stamp, Your Next Stamp, Studio Katia and Angie Blom Digital Designs), to show you four different cards! After you’ve finished watching my video, please leave a comment for your chance to win, and then click on the link in the description below for the next person in the hop. More details on that lower down in my post.


Below are the three cards I made using the Party Palooza kit, (linked in the supplies) which Scrap 'N Stamp kindly sent me to use for the Canada Day Video Hop. 😊


There is a LOT to cover so I will keep my card details to a minimum here on my blog. I did go over everything in the video!  The first card is a 'faker shaker' with a Pop Up inside. I have a video link for tutorials on both the 'faux shaker' and the simple box pop up in the description box of the video.


Card #2 is a clear card, and the birthday sentiment and signing area is hidden when the card is closed.


Card #3 has a stencilled background, a fun shaker on the front and inside is a place to insert a Gift Card.


Finally, since this is Canada Day, I created a Mini Slimline Fold Flap card using a sweet digital stamp by Angie Blom Digital Designs (also linked in the supplies). I used the white and the black card stocks that were included in the Party Palooza Card Kit as well.


If you get lost along the way, please head to Emily’s blog for the full list of participants and for shop coupons as well (yay!!)

https://leiphartonart.blogspot.com/2021/07/2nd-annual-canada-day-video-hop.html

Comments close at 11:59pm EST on Sunday, July 11, 2021 and all winners will be announced on Saturday, July 17, 2021 on Emily's blog!


Video Hop list:


start here - Emily Leiphart


Ardyth Percy-Robb


Karen Boyce


Karen Aicken - you are here!


head here next - Candice Richardson


Sandy Boone


Marie-Pierre Capistran


Mari Clarke


Thanh Vo


Tracey McNeely


Rachel Tallman


Jenn Bena


Jessica McAfee


For your convenience I have linked many of the products used below. Some may be affiliate links which means if you use these links to purchase I may earn a small commission at NO extra cost to you.


Additional Supplies:
Clear bag or stamp packaging (for shaker)
10 ml Clear Report Covers (for clear card)
Copic markers
Seam binding
Printer (for digital stamp)
Red card stock

 
Thanks for stopping by

Tuesday, 23 March 2021

Owl Love Slimline Card


Hello! I'm back today with my weekly Design Team Post and today's card is a Slimline featuring the cute owls from Owl Yours. I started my card by cutting a white card base 7 x 8.5" and scoring it down the centre at 3.5". I set that aside then cut the 3 Room Studio Slimline Die from Kraft card stock and stamped the words "owl you need is love" on an angle over the entire panel. Inking the edges with brown ink finished that off.

I then turned it over and adhered a same size piece of transparency across the back and set the panel aside. A same sized white card stock panel was dipped into puddles of diluted blue water colour marker and that was set aside to dry. I stamped and coloured the images from Owl Yours then the card was ready to be assembled!

The (now dry) white inked panel was adhered behind the Kraft window panel so the blue areas showed through the windows. The transparency gives the card lots of shine as it catches the light! After adhering this to my folded white card base I added the stamped images as shown.

The sentiment comes from  Essential Sentiments by MFT Stamps and I added sequins for additional sparkle and shine.


Since I like to decorate the insides of my cards as well, I added a stitched scalloped panel from the Slimline Pull Tab Dies by Heffy Doodle and another white panel. Finally, I stamped a single owl, used a water brush & diluted dye ink to add some blue behind him then added two more sequins.


One more look ...


"Crafty Meraki is a tribe of women who are all creators but more importantly, love helping others in any way we can! 

Meraki (may-rah-kee) a verb, or adverb, a Modern Greek word, derived from the Turkish “Merak” (Labor of love, to do something with pleasure), is applied to tasks, usually, creative or artistic tasks, but can be applied to any task at all. Meraki means to do something with passion, with absolute devotion, with undivided attention.

Crafty Meraki was born out of a vision to help creators do what they love doing the most- to create!"


Supplies:
3 Room Studio Slimline Die - Crafty Meraki
Owl Yours - Crafty Meraki
Scalloped rectangle inside - Slimline Pull Tab Dies - Heffy Doodle
Essential Sentiments - MFT Stamps
Card stocks
Water Brush
Shimmer Spray
Jane Davenport Water Colour Markers
Copic markers
White gel pen
Transparency 
Wink of Stella
Sequins
Card Size - 3.5 x 8.5", fits in a #9 or #10 Business Envelope

Thanks for stopping by today

Tuesday, 9 March 2021

To-Tail-Ly Awesome Slimline Card


Hello! I'm on the Crafty Meraki Blog today with this To-tail-Ly Awesome Slimline Card. I just adore these cute foxes in Crafty Meraki's To-Tail-Ly Awesome stamp set and used one with the included tree stump for my card today. The colouring was done with Prismacolor pencils and blended with mineral spirits and a blending stump. 


Once I had my fox & stump coloured and adhered to the ink blended circles, I needed something to fill all the empty space on the Slimline card front. The Crafty Hive Slimline Die was the perfect die to accessorize my card! I lay a few different colours of card stock scraps over the die and ran it through my die cutter, which gave me these cute rainbow coloured hexagons! After inking the edges, I popped them up on my card with foam tape and added shimmer with a Wink of Stella Pen. 

The sentiment was stamped onto white card stock, matted with turquoise and snipped apart to adhere as shown.


Finally, here is a peek at the inside. I die cut the Crafty Hive Slimline Die from white card stock to use as a stencil and lightly brushed colour onto the white panel inside. I'm storing that piece with the die, as I can use it multiple times before the card stock breaks down from the inks. Lots of room to write a note to whoever I send this card to for Happy Mail and it's sure to make someone smile with all the happy colours.


"Crafty Meraki is a tribe of women who are all creators but more importantly, love helping others in any way we can! 

Meraki (may-rah-kee) a verb, or adverb, a Modern Greek word, derived from the Turkish “Merak” (Labor of love, to do something with pleasure), is applied to tasks, usually, creative or artistic tasks, but can be applied to any task at all. Meraki means to do something with passion, with absolute devotion, with undivided attention.

Crafty Meraki was born out of a vision to help creators do what they love doing the most- to create!"


Supplies:
To-Tail-Ly Awesome - Crafty Meraki
Crafty Hive Slimline Die - Crafty Meraki
Circles - Hero Arts
Prismacolour Pencil crayons
Gamsol
Blending Stump
Card stocks - stash
Black glaze pen - Sakura
Wink of Stella
Taylored Expressions Blending Brushes
Cloud mask - Heffy Doodle
Wink of Stella
Card size - 3.5 x 8.5", fits in a #9 or #10 Business Envelope

Thanks for stopping by today

Thursday, 4 March 2021

Heart Balloon Mini Slimline Card

Hello! It's time for another Fun Friday Challenge at Your Next Stamp and #159 is "What do you consider lucky? Include it on your creation and make a note of the lucky item you included when you post your creation." 

I am lucky (and always grateful) to have the unconditional love and support of my family. To represent that love, I added a heart to my card!


This is a Mini Slimline Card and I used the new Happy Cat for the fun image. I think this is one of my favourite sets from the new release, and I'm not even a cat person! I have left the inside blank so I can write a personal note when I go to send this card.


NOTE:  You may recognize the glittered heart ... I made three of them for the August 2020 New Release video and used one on THIS CARD.  The other two have been sitting on my stamping table waiting to get used. I still have one left, but will have to get that on a card soon too. Oh, and I also went around the edges of the heart on this card, with a grey Copic marker which gives it a rounded look.

Our challenges always come with 2 ways to win:

#1 - Would you like the chance to win a YNS stamp set? Leave a comment on the Your Next Stamp BLOG by March 10 2021 at midnight EST to be entered in the random drawing. Want more entries in the drawing? Leave comments on the YNS Instagram and Facebook pages too!

#2 – Would you like the chance to win a YNS store e-gift card? Play along with the challenge! Link up your creation on the Your Next Stamp Blog challenge by March 18 2021 at midnight EST to be entered in the random drawing to win a $15.00 YNS gift certificate. If your creation contains YNS products and you are the random winner then you receive an extra $5!

Supplies:
Black Olive Ink - Your Next Stamp
Happy Cat - Your Next Stamp
Happy Cat die  - Your Next Stamp
Grass Tuft die - Your Next Stamp
Rainbow Heart die set - Your Next Stamp
Whatnot Sentiments 4 - Your Next Stamp
Tropical Paradise Gumdrops - Your Next Stamp
Photo Booth (stamping on envelope) - Your Next Stamp
Karin Water Colour Markers
Water Brush
Water colour paper
Mini MISTI - My Sweet Petunia
Glitter card stocks - Stampin' Up
Cloud mask - Heffy Doodle
Taylored Expressions Blending Brush
String
Black fine point marker
Wink of Stella
Black glaze pen - Sakura
Copic marker
White embossing powder
Patterned paper - Oh So Ombre, Stampin' Up

Card size - 3.5 x 6", fits in a #8 envelope

Monday, 9 November 2020

Slimline Fall Coffee Pop Up Card


Hello crafty friends ...

I'm back today with another card for the Coffee Lover's Blog Hop, and I have a walk through of my pop up card on YouTube


I had so much fun making this card and the front uses a stencilled background, a sticker and a digital stamp. 


Here is a peek at the pop up inside, with a stamped sentiment, a Stamploration Coffee word die at the top of the white panel, and a to-go cup on one of the pop up arms from the Upsy Daisy Pop Up by Karen Burniston. I also added a little more stencilling using a Slimline Stencil from Stamplorations. That is where the fun clear sticker on the card front came from too.


This 'to go' cup by Stampin' Up is long retired but I still love it and continue to use it. I really like all the height and dimension you get with the Upsy Daisy Pop Up and I'm having fun using it with Slimline cards these days. 


I will be back tomorrow with another coffee themed card for the Blog Hop.  ðŸ˜Š

Supplies:
Stencil (Flair) - STAMPlorations
Taylored Expressions Blending Brushes
Shimmer Mist
Card stocks - stash
Slimline Pull Tab Dies - Heffy Doodle
Ohuhu markers
Copic markers
Clear sticker - Coffee Heaven, STAMPplorations
Coffee rings - Java Spills, Stamping Bella
Glossy Accents
1/2 Vellum Doily - Stampin' Up
Stitched Mini Scalloped Ovals - MFT Stamps
Wink of Stella
Coffee Digital stamp - Coffee & Love, Graciellie Designs
Coffee Cafe - Stampin' Up (retired)
1047 Upsy Daisy Pop Up - Karen Burniston
Hot Coffee - CAS-ual Fridays
Coffee Die - STAMPlorations
1150 Slim Frames (heart) - Karen Burniston
Majestic Confetti - Studio Katia
Card size: 3.5 x 8.5", fits in a #10 Business Envelope

Thanks for stopping by today

Thursday, 15 October 2020

Dog Slimline Friendship Card


Hello crafty friends ...

I had fun making this card for a friend! The dog is part of a set by Marianne Designs that cuts different pieces that you can assemble to create many different dog breeds. I had wanted it for a long time and I'm thrilled that I was able to find it.

NOTE - this new Blogger format has caused a couple of issues, and I somehow hit PUBLISH on this post for September 15th instead of October 15th. As soon as I realized it I changed the date, but you may have seen this briefly on the 15th. Oops! 

The sentiment is from the Simple Strips Woof by Taylored Expressions.


The Slimline dies are from Trinity Stamps - another set that I waited a long time for!  I left lots of room inside the card to write a note in.


Supplies:
Dog die - Eline's Puppy, Marianne Designs
Card stocks - stash
The Great Outdoors Borders & Builders - Trinity Stamps
Slimline Stitched die - Trinity Stamps
Cloud mask - Heffy Doodle
Simple Strips Woof - Taylored Expressions
Simple Strips die - Taylored Expressions
Stitched Puffy Cloud die - Your Next Stamp
Wink of Stella
Sakura White Gel Pen
Alcohol marker, grey
Paw Prints - MFT Stamps
Patterned paper - Where the Heart Is, My Minds Eye (old, from my stash)

Card size -  8.5 x 3.5", fits in a #10 Business Envelope

Thanks for stopping by today