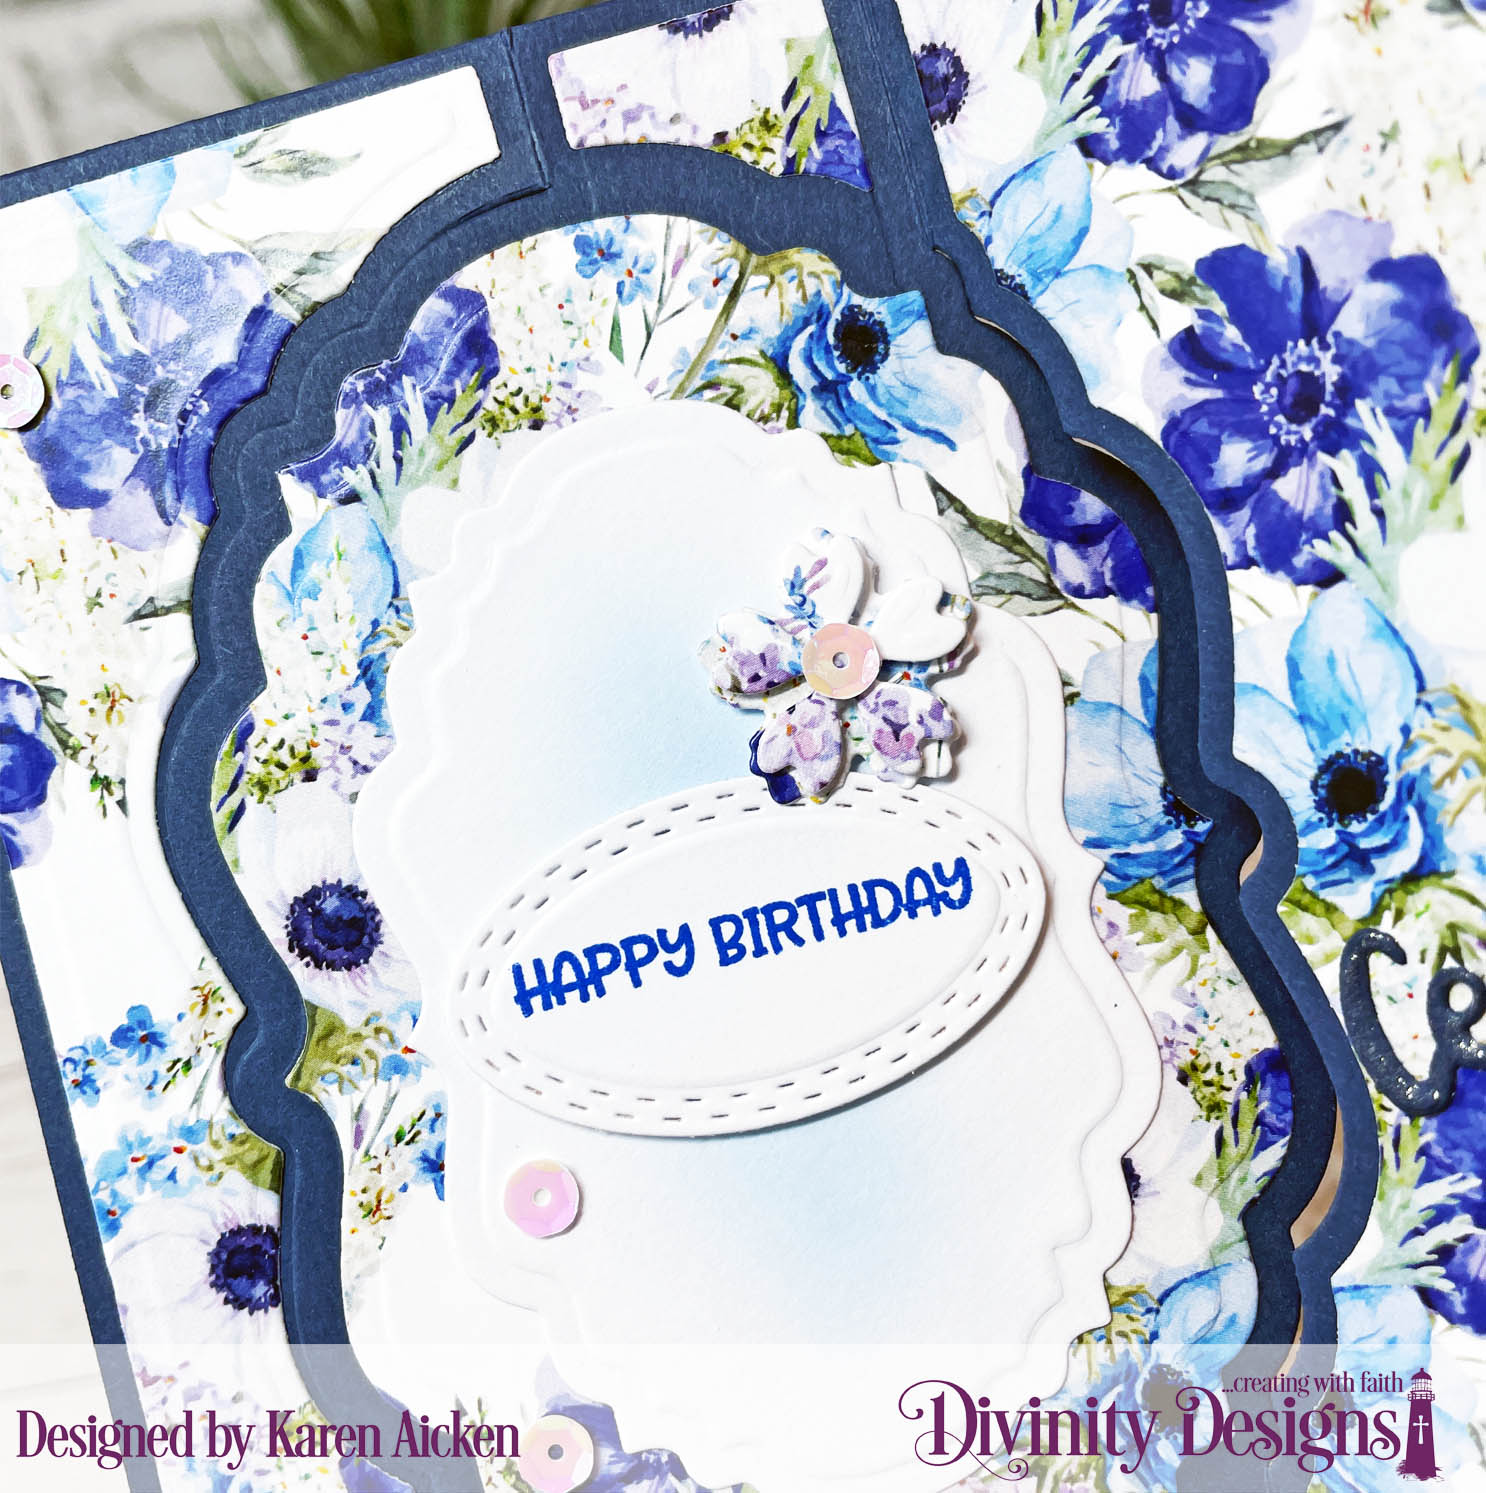
I had bought the Z Fold With Layers die set (Divinity Designs) as soon as it came out several years ago, and love to get it out. While it's probably easy enough to create this type of card BASE without the dies - this one comes with the layering dies so all the patterned paper pieces fit perfectly. No math or measuring required and that makes it fairly quick and easy to put a finished card together.
The only thing I am not crazy about is the name ... while it IS technically a Z Fold card, it's very distinctive with that Diagonal cut line, so I always refer to it as a Diagonal Z Fold, or Diagonal Trifold card. 😊
Our grandson has a birthday coming up and since he is getting older, 'cute' images aren't really appropriate for him right now. I mean - he is taller than I am! I got this Game Controller die last year knowing it would work for 'boy' birthday cards, so I pulled it out for his card. Then I flipped through a 'boy' themed 6x6" paper pad and saw the game controller print in it. Woo hoo!
There is just enough room for hubby and I to sign our names on the inner circle piece. Oh, and the sentiment is one of the leftover sentiment strips from Paper Roses' BEE HAPPY cardmaking kit. There are a lot of them left - they were very generous with the sentiments in the kit.
When my card was done, I got flipping through the remaining sheets & scraps in the (old) pad and decided it wouldn't take much to actually use it up! So I have been busy making birthday cards to share in the coming weeks. (And I did finish off that paper pad, since there were only a few sheets left 👏🏻👏🏻👏🏻)
Supplies used:
A-2, Z-Fold With Layers die set - Divinity Designs
Patterned paper - Boy Oh Boy, Carta Bella (6x6") - OLD!
Game controller die - Marianne Designs
Pops of Color - Scrapbook .com
Stardust Glitter Pen - Sakura
Stitched circle die - MFT Stamps
Happy Birthday strip - Bee Happy Cardmaking Kit, Paper Rose
I was excited to see these gourd dies in one of Lawn Fawn's recent releases - so fun to see something different than just pumpkin dies. I have been hoarding saving this patterned paper for YEARS and thought it was time to use some of it for this card. This Slimline card is a trifold, and has an aperture cut in the front using dies from Picket Fence Studios. Above is what the card looks like coming out of the envelope.
Below you can see the first side opened and the remaining little scene is revealed. I lined up the gourds on that panel so they are hidden by the ones on the front panel when the card is closed.
Finally, here is the card fully opened.
NOTE: I do have a larger die cutting machine so I was able to create the card base in one piece. I cut a 12 x 8.5" piece of green cardstock, then scored down the 12" side at 4" and 8" for the trifold base. Then I cut the window from the first panel since the machine can handle the 8.5" width.
If I didn't have a larger machine, I would have made the card base in two pieces. The front could be cut at 4.5 x 8.5" scoring it at 4" and giving you a 1/2" tab to attach to the second piece. The window would be cut from that piece then the tab attached to the remaining base. The second base would be 8 x 8.5" scored at 4". Then just decorate it as desired!
Having been asked how many cards I make I thought it would be fun to keep track this year. Many of my posts include more than a single card or project and below is my tally.
Card Tally for 2023 January - 53 cards February - 56 cards
March - 55 cards
April - 32 cards
May - 43 cards
June - 34 cards
July - 56 cards
August - 106 cards
September - 61 cards
October so far - 18 cards
I decided to cancel the subscription that provided linked thumbnails to what products I used on my cards. It was costing me out of pocket each month, so I’m back to listing what I used. affiliate links included.
Supplies:
Patterned paper - K & Co (OLD, from my stash)
Slimline Die Cutting System dies - Picket Fence Studios
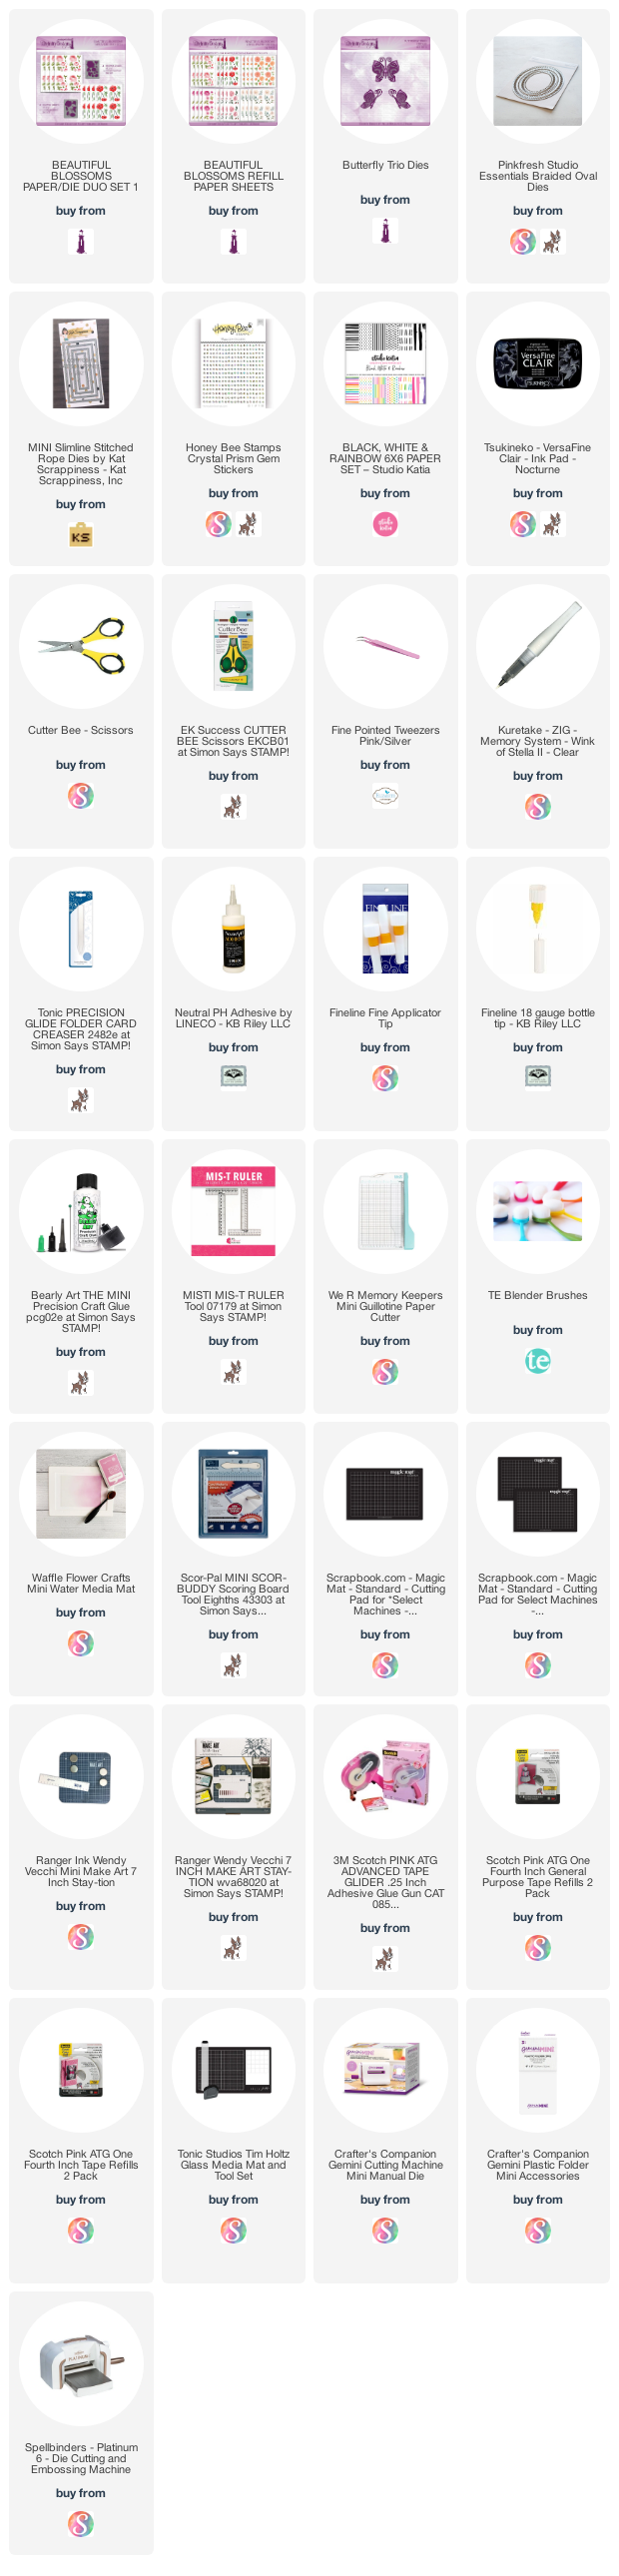
Hello my crafty friends. This card has been in my head for awhile, so I'm glad to finally get it made. I started with a card base measuring 10.5 x 6", scoring it on the long side at 3.5 and 7". That gave me the trifold base and then I pulled out a 6 x 6" paper pad from Studio Katia for the black and white strips.
I did add a thumb notch on the far right panel but that isn't necessary - I just like the look.
The beautiful poppies are from Divinity Designs, as are the butterflies. I like to have a couple of Thank You Cards in my stash, so that is where this one is heading.
One more look ...
This blog uses affiliate links whenever possible. This means, that at no cost to you, if you make a purchase through one of my affiliate links that I may receive a small commission from your purchase. I only link products that I own, love and use for my card making!
Any supplies I'm unable to link are listed at the very bottom of my post.
Additional Supplies: Shimmer Spray White card stock Glitter Dots - Ecstasy Seam binding - stash 1" circle punch - Stampin' Up Thank You stamp - Honey Bee, Stampin Up (retired)
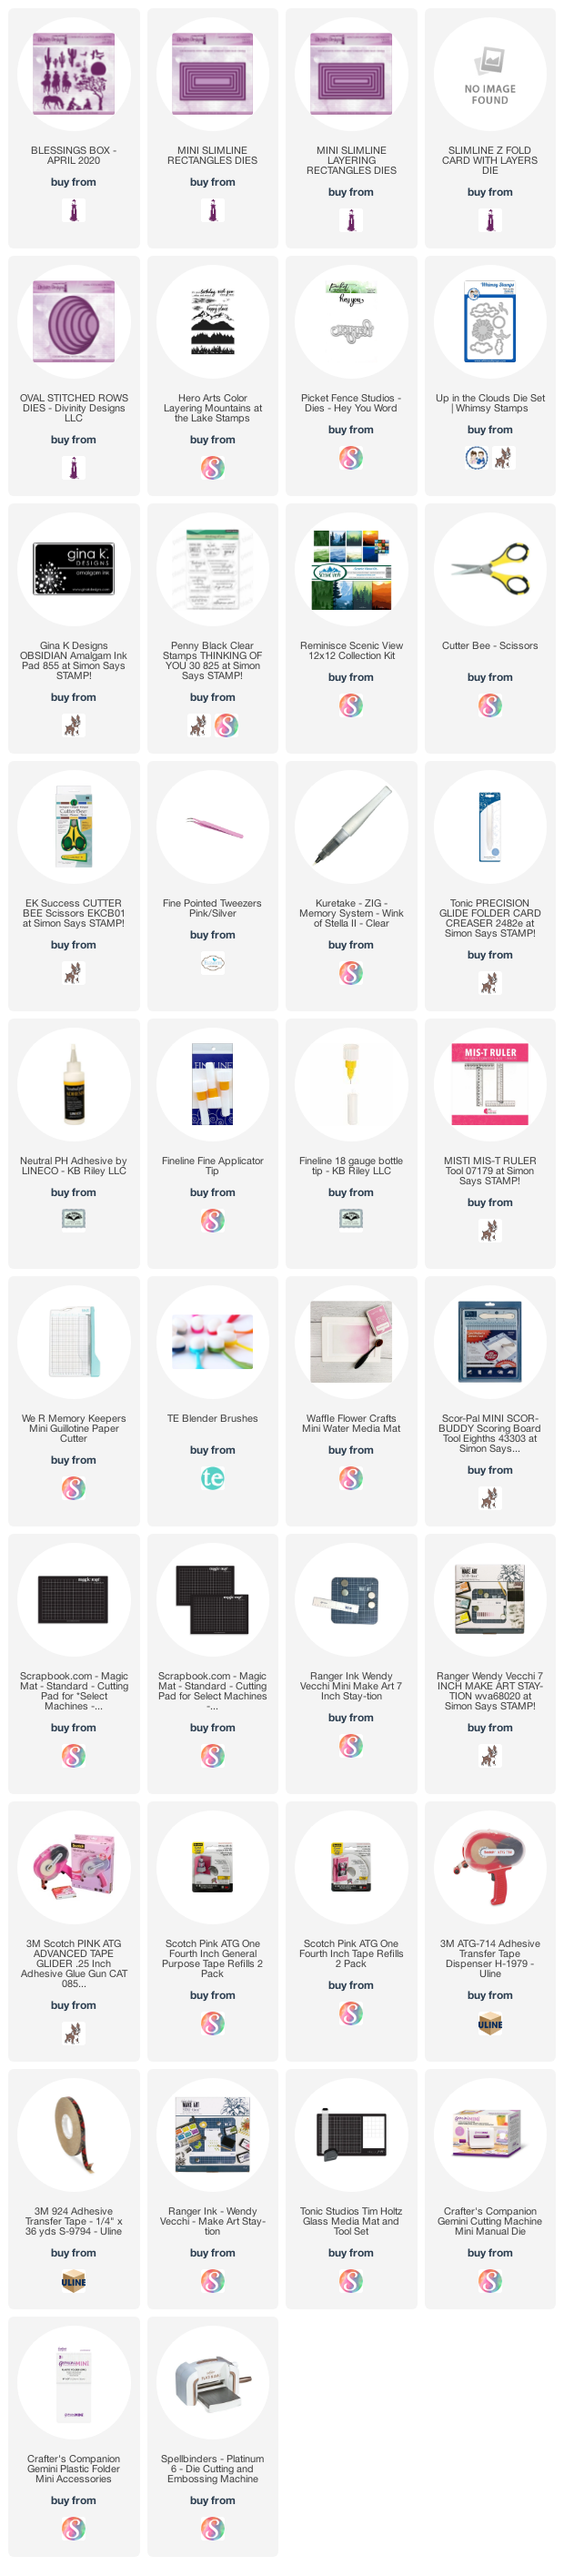
Hello my crafty friends and welcome to Masculine Card Monday here on my blog. Today's Birthday Card uses dies from Divinity Designs with some scenic patterned paper. The photo above shows what the card would look like coming out of the envelope, and below shows it fully open.
I used all but the smallest piece of this 12 x 12" patterned paper sheet! Since I felt that the papers needed a little contrast, I added the hawks cut from black card stock.
The Hey You & shadow dies are from Picket Fence Studios and they fit perfectly across the card front.
Since you can see the middle section when the card is closed, I used one of the patterned paper panels on it, but also decorated the back side of the front flap with a stamped and matted oval.
This blog uses affiliate links whenever possible. This means, that at no cost to you, if you make a purchase through one of my affiliate links that I may receive a small commission from your purchase. I only link products that I own, love and use for my card making! NOTE: for some reason the thumbnail image of the Slimline Z Fold Card With Layers will NOT show up, even with several edits but the link should still work and the photos are fine on the DD website.
Any supplies I'm unable to link are listed at the very bottom of my post.
Additional Supplies: Rust, brown and yellow card stocks - stash White card stock - Accent Opaque Digital Super Smooth (Amazon .ca)
Hello my crafty friends ... today I'm sharing the Birthday Card I made for my Brother In Law - it's a trifold card from the Adventure Begins Paper Pumpkin Kit. I think this was the last kit I purchased, then I cancelled my subscription,
There are a couple of Paper Pumpkin Facebook groups where I would share my creations, and after the last couple of kits I grew weary of the 'odd' comments from demonstrators who it seemed didn't think I should be posting since I didn't actually SELL the product or annoyed that I combined other products with my kits. What the?? These are supposed to be INSPIRATION groups! Some were even surprised that I was 'allowed' to purchase these kits, which really had me thinking about what kind of education Stampin' Up was providing - or NOT providing - to their demonstrators! Please note, you do NOT have to be a Stampin' Up demonstrator to use or purchase their products, at least not in Canada or the USA. You do have to purchase THROUGH a demonstrator, and there seems to be lots of incentives to 'join the team' throughout the year. I've been a Stampin' Up Customer for more years than they have officially been in Canada, but lately I'm just weary of drama. After I had cancelled my Paper Pumpkin Subscription I was once again thankful I had never joined up to actually SELL Stampin' Up.
I really enjoyed the kits I did purchase - and still have several to work through as I was lucky enough to find some un-used older kits online. So I'll still be sharing my Paper Pumpkin cards ... and I'll be using whatever products I want to on those cards. I won't bother sharing the inspiration with the Paper Pumpkin groups.
This kit was one of my favourites - I loved the colours and the fun fold cards and coordinating envelopes, but of course I had to make it it into an Alternative rather than just follow the directions.
When the card is fully open, there are stamped greetings, some patterned paper and still lots of room to write a personal message.
This blog uses affiliate links whenever possible. This means, that at no cost to you, if you make a purchase through one of my affiliate links that I may receive a small commission from your purchase. I only link products that I own, love and use for my card making!
Any supplies I'm unable to link are listed at the very bottom of my post.
Additional Supplies: Paper Pumpkin - Adventure Begins (Stampin' Up) Tree stamp - Peaceful Christmas, October Paper Pumpkin - Stampin' Up Patterned paper - Artistry Blooms, Stampin' Up (retired)
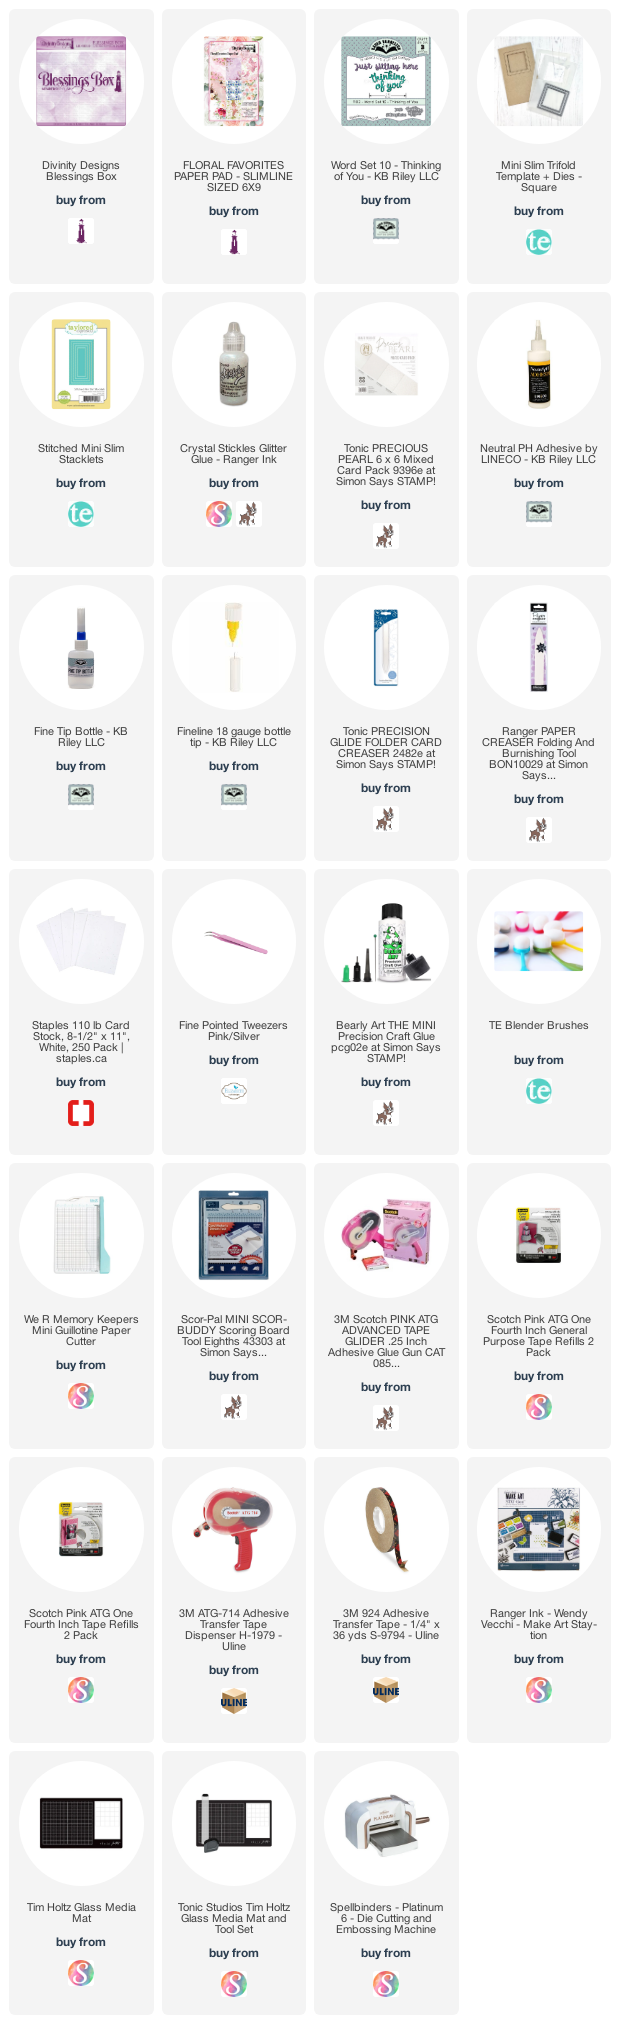
Hello! I am still really enjoying the floral images from The April Blessings Box at Divinity Designs. You just die cut and use - no stamping or colouring required! Today's card uses them in a Mini Slimline Trifold card that I can send for Happy Mail. The photo above shows what the card would look like coming out of the envelope.
While I didn't do a YouTube video, I did film the card opening and closing for you:
The Mini Slimline Trifold template/dies are from Taylored Expressions and I linked them below for you. I got them for my February birthday, and finally got to use them. The papers in Divinity Designs' Floral Favourites paper pad are soooo pretty. They make me happy just to look a them in the package! 😊 Karen Burniston's Word Set 10 has the 'Thinking of You' die and it fits perfectly on a Mini Slimline.
The photo above shows the card partially open, and the one below shows it fully open. You can see there is room for me to write a personal message when I go to send the card.
The roses & buds each got some sparkle using Stickles, and the butterflies were punched from scraps of white pearl card stock.
This blog uses affiliate links whenever possible. This means, that at no cost to you, if you make a purchase through one of my affiliate links that I receive a small commission from your purchase. I only link products that I own, love and use for my card making!
Additional Supplies: Rose Card Stock Martha Stewart Butterfly Punch
Hello! Last month I saw this die set on clearance - and I was like "What? A Fun Fold Card with mountains and trees? HOW did I not see this before?". Then, I clicked 'add to cart'. Ha.
I did do it a little differently than it was designed, as the tree portion is supposed to also fold out. I chose to pop up a double layer of them directly onto the mountains and have that flap be a single unit. After lightly sponging the clouds & mountains with dye inks & blending brushes, I added some die cut clouds and a stamped sentiment. Everything that is available is linked below.
I didn't do a YouTube video, but I did film a quick clip so you can see the card opening and closing:
There is a stamped sentiment behind the first flap ...
Here is the card fully open ... with a few more die cut clouds, another stamped sentiment and a stamped sun. Everything got some shimmer as well. In addition to the shimmer, the mountain tops are shiny because of Glossy Accents. The card folds down to a standard A2 size!
... one more look ...
This blog uses affiliate links whenever possible. This means, that at no cost to you, if you make a purchase through one of my affiliate links that I receive a small commission from your purchase. I only link products that I own, love and use for my card making!
Additional Supplies: Green card stock Paper Pumpkin - the Adventure Begins Copic markers Happy Thoughts - Stampin Up Black marker
Hello and welcome to Fun Fold Friday here on my blog. The July Paper Pumpkin kit marks the end of my first year as a Paper Pumpkin subscriber. I have really enjoyed these kits, and have managed to build up a nice stash of cards! I put my August subscription on hold while I decide whether or not I will continue subscribing - for no other reason as I don't need even MORE cards in my craft room. I send out Happy Mail regularly and give handmade cards as gifts to friends and family so I certainly don't HOARD the cards I make but I still have quite a stash now. I think I'm ready for a break from monthly kits. I guess we will see how I feel when they release sneaks of the September kit.
I can't even tell you how happy I was with this month's kit though. There may have been oooooh's and awwwwwwww's as I opened it and went through the contents. Here are the first three cards I made, simple alternate cards and I will have a lot of fun making up the rest of them as well. This month you can make 12 trifold cards and the printed envelopes are just as beautiful as the rest of the kit.
First up is the camper card. The only changes I made were to swap out the sentiments using stamps from my collection and I added an acetate panel behind the camper. I like the way the sequins seem to float on the acetate.
For the second card, I cut the card into three panels and saved the centre white portion to use for layering on other cards. After trimming down the remaining two panels, I assembled them into a shaker card and added them to a teal card base.
The third card is on it's way to a friend for Happy Mail!
I love that these are trifold (or tri-panel cards, depending on what you like to call them).
Below is the third card fully open and where I signed my name.
I still have a number of unopened, older Paper Pumpkin kits I found online so I'll be playing with Paper Pumpkin for a long time yet. Would I recommend it to crafters? Absolutely - even though I have used up almost all of the consumables in each month's kit, I still have the ink cubes they send each month as well as the stamps!
For your convenience I have linked many of the products I used below. Some may be affiliate links which means if you use these links to purchase I may earn a small commission but there is NO extra cost to you.
Additional Supplies: July Paper Pumpkin Kit - the Adventure Begins, Stampin' Up Patterned paper - Artistry Blooms, Stampin' Up (retired) Crayola markers Happiest of Birthday's - Stampin' Up Teal card stock Sequins
Birthday - Darkroom Door Stamps Happy Thoughts - Stampin' Up
Hello! Today I'm sharing two cards made with the Simon Says Stamp kit called "Rainbow Is My Favourite Colour". I have a walkthrough of my video on YouTube as well:
As I said in the video, this was a total impulse purchase but I am really having fun with it! The first card is a Mini Slimline and also a Trifold card.
I also used a new cloud stencil/mask from A Colourful Life for my pretty clouds. I completely forgot to open the domed blending sponges and ink cubes that were in this kit, and instead used blending brushes and dye inks on this card. I did remember and open them up for the second one!
When you open the left panel, this first sentiment is revealed ...
... and when you open the right panel there is another sentiment.
My next card is a Flip-Its card using a very OLD Flip-It's die set by Stephanie Barnard. While it is no longer available, she does have a new one with lots of different accessory dies which I have linked below.
The clouds on the right are where I can sign my name, and it is hidden until you open the card.
Hello! I'm on the Divinity Designs Blog today, with these two Fun Fold Cards. I have a walkthrough on YouTube as well if you are interested in more details or want to see the cards in action:
This first card uses the Vintage Label Flip Fold with Layers and beautiful paper from the Floral Favorites Paper Pad. The adorable bear is from the new Hog Wild Stamp/Die Duo and I added a couple of flowers from the Bitty Blossoms too.
Here is the card partially open ...
There is room to sign below the sentiment, which comes included in the Hog Wild Stamp/Die Duo set. The Celebrate comes in the Celebration Word dies and after adhering it I went over the letters with a Wink of Stella for additional shimmer.
Next up is the Z Fold Card along with the new Happy Mail Stamp/Die Duo set and the same patterned paper as above.
Below is the card open ...
This is the back view, with a sentiment stamp from the My World stamp set and lots of room to write a message. The pierced strips use the smallest dies from the Slimline Pierced Rectangles and Slimline Pierced Layering Rectangle die sets.
The list below contains some affiliate links. If you use these links to purchase I may earn a small commission at NO extra cost to you.
Additional Supplies: Ohuhu markers 12 x 12" card stock - stash Card sizes: Vintage Label Flip Fold Card is 4.25 x 5.5" Z Fold Card is 4 x 5.5"