Showing posts with label Hand Lettering. Show all posts

Thursday, 10 August 2023

Ice Cream Shaped Slimline Card


For the 8th edition to my monthly series Shaped Cards, I created a Slimline sized Ice Cream Sundae card! I will be putting this one away until next July when I send the family their ice cream cards - this year I was scrambling as Summer can get busy. So now I will be ahead of the game!I have had these two ice cream sets (Stamps of Life) for years, and I'm still getting good use out of them. This is the first time I've created a shaped card with them though!

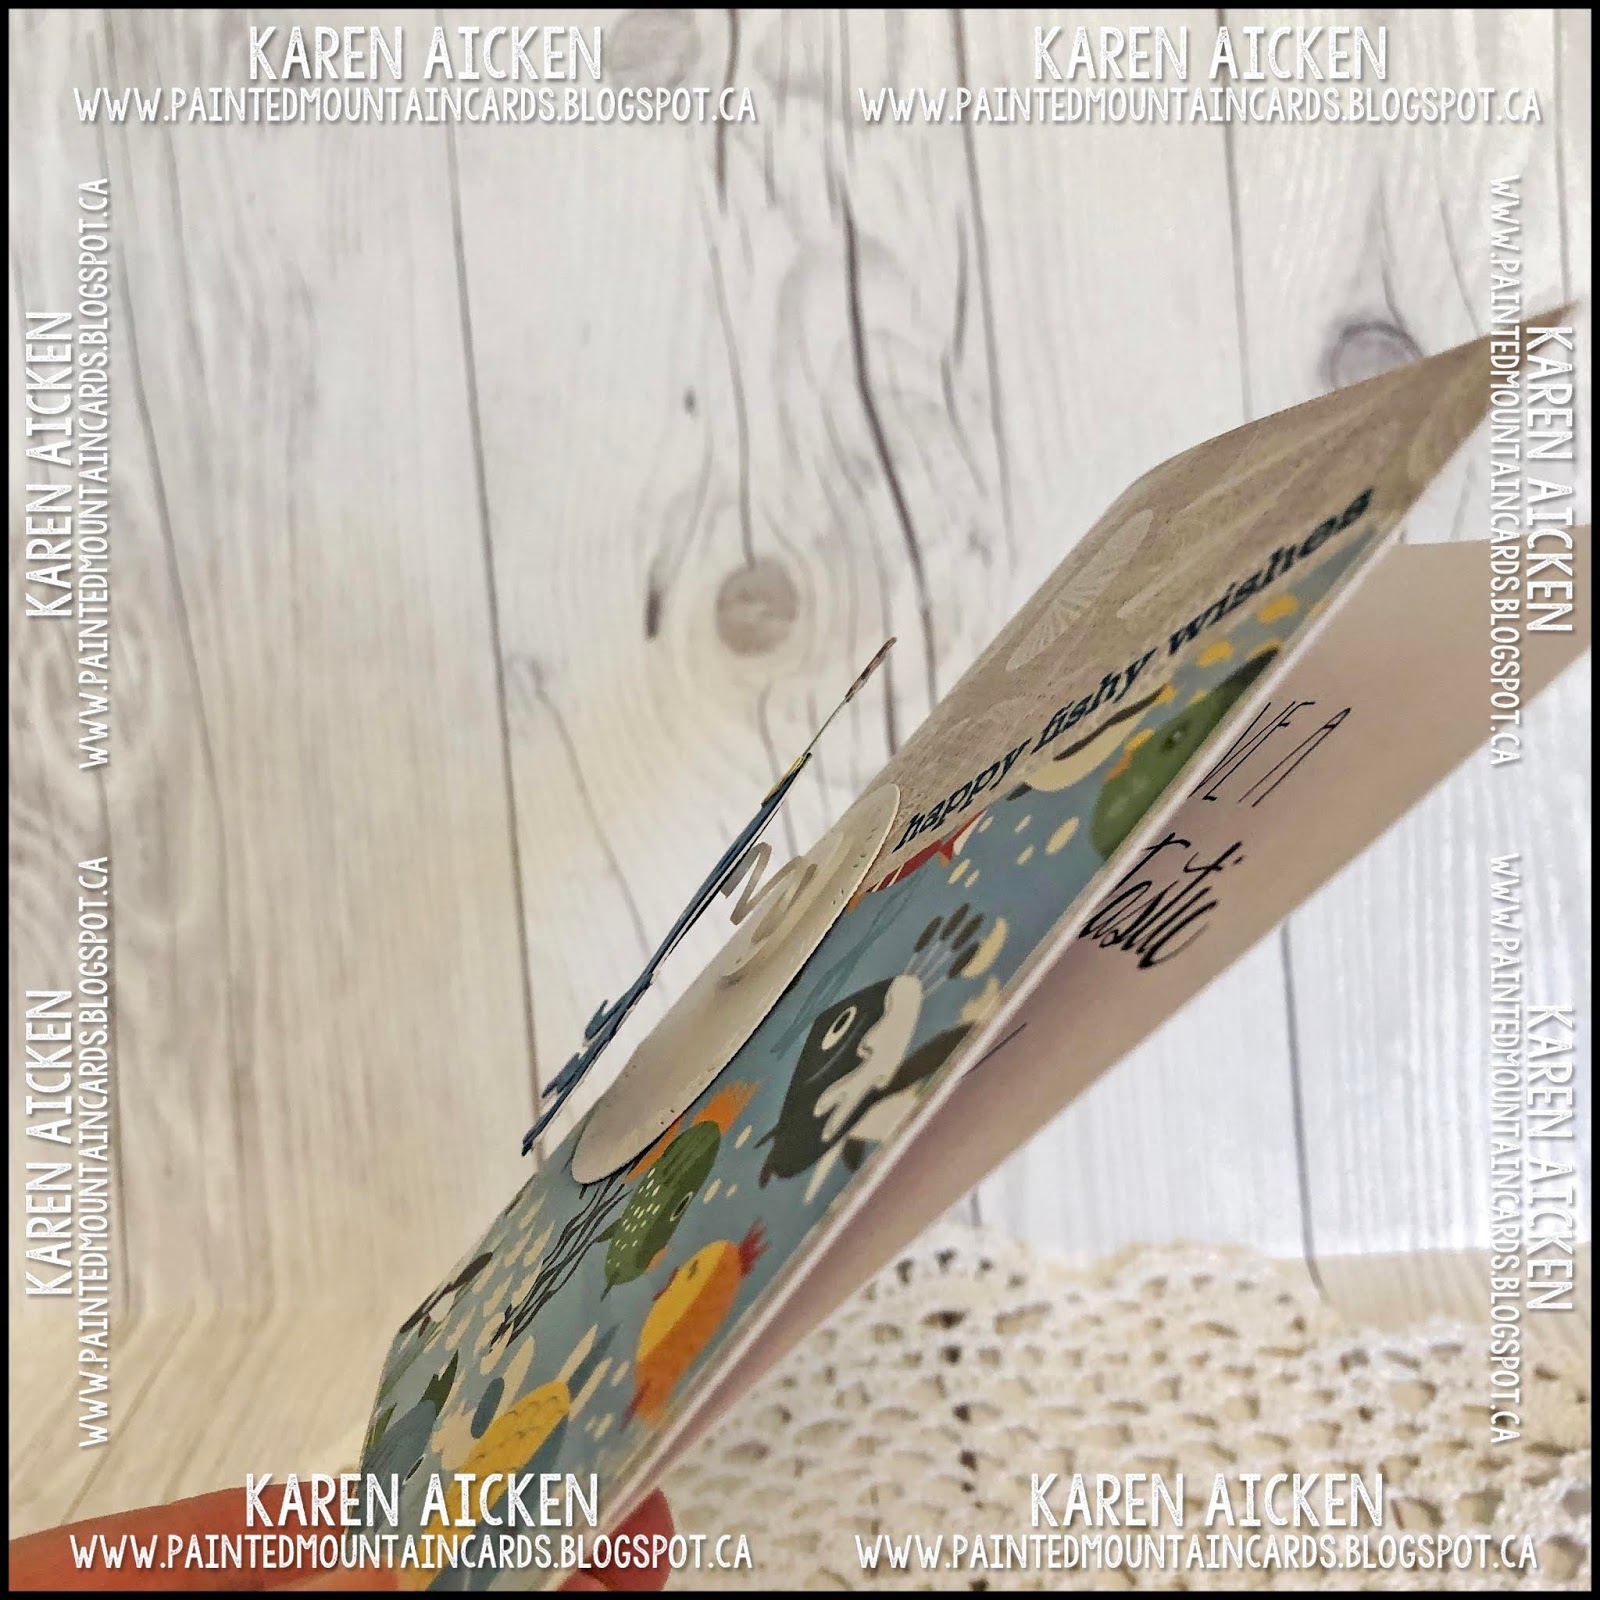
I took a 4-1/4" folded card base, and lined up the sundae dish on the top fold. Then I slid that top edge just over the fold, so everything would cut but that top edge which would remain as a fold. That gave me a top folding sundae dish shaped card. 😊


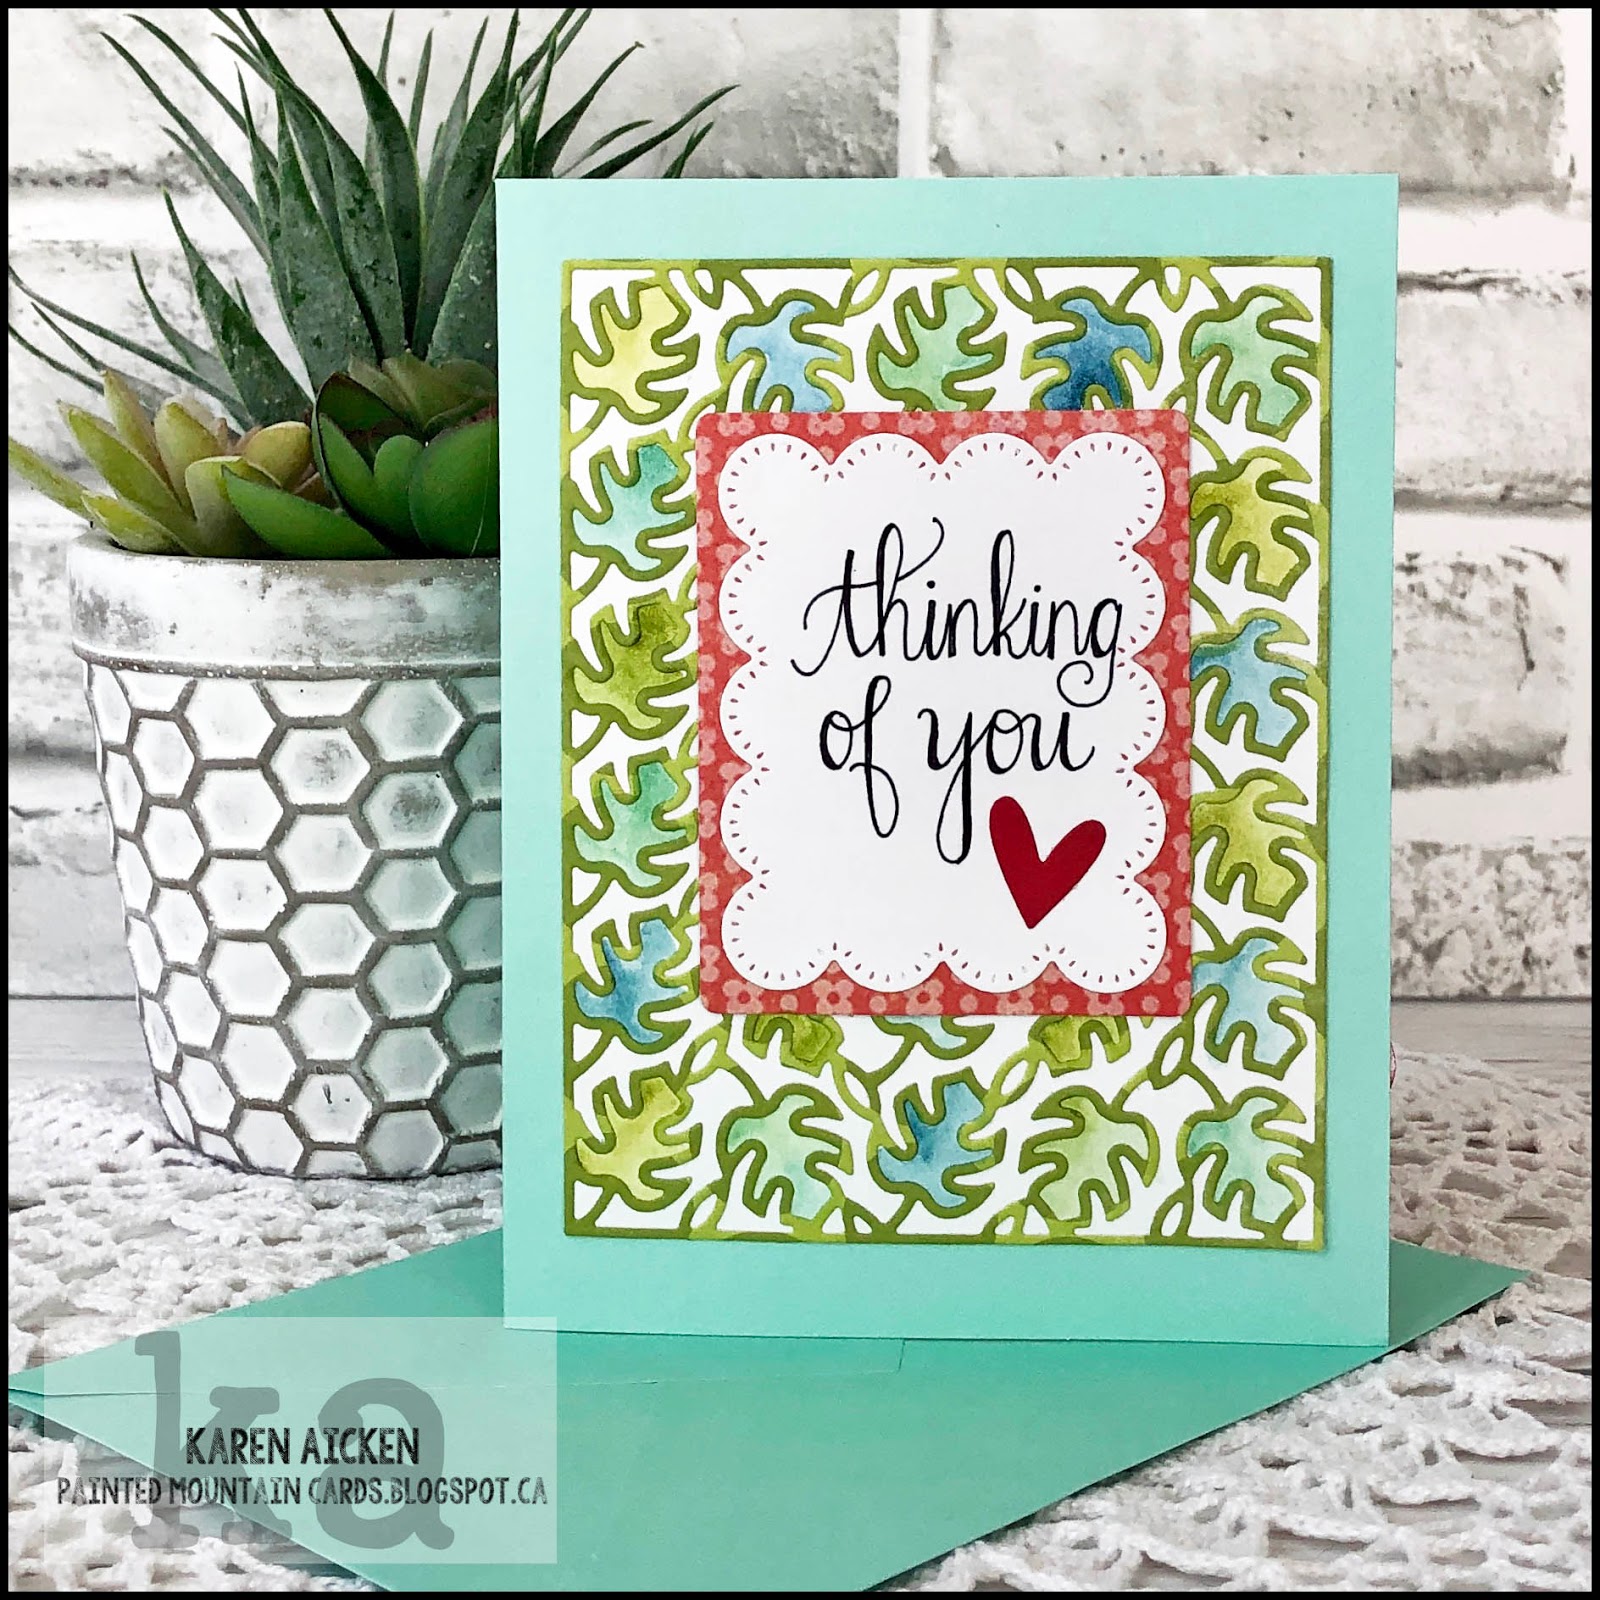
Then I stamped another sundae dish on rainbow striped paper and die cut it out, adhering it to the shaped card base. Because I used dies for this - they lined up perfectly! The ice cream scoops were stamped and die cut from some patterned paper and I inked the edges for definition. Once they were glued on top of each other, I added some sequins.

Finally, after the card was done I decided to add a spoon from Karen Burniston's Ice Cream die set. That was cut from silver mirror card stock. The sentiment inside was hand written with coloured pens.

Thinking it would help the card stand better, I trimmed off a narrow strip from the inside bottom edge as you can see in the photo. Not sure if that really was necessary but the card does stand for display!


Having been asked how many cards I make I thought it would be fun to keep track this year. Many of my posts include more than a single card or project and below is my tally. 

Card Tally for 2023
January - 53 cards
February - 56 cards
March - 55 cards
April - 32 cards
May - 43 cards
June - 34 cards
July - 56 cards
August so far - 39 cards

I decided to cancel the subscription that provided linked thumbnails to what products I used on my cards. It was costing me out of pocket each month, so I’m back to listing what I used.

Supplies:
Patterned paper - Over the Rainbow, Michaels
Cone2Dish and Scream4IceCream - the Stamps of Life
Catherine Pooler Inks
Shimmer Spray
Sequins - Rainbow Fusion, Studio Katia
Itty Bitty Summer stamps - MFT Stamps
Stitched Sentiment Block - Kat Scrappiness
White Pain Pen
Coloured pens
Distress Oxide Inks
Spoon die - Ice Cream Pop Up, Karen Burniston
Silver Mirror cardstock

Monday, 4 July 2022

Rainbow Ice Cream Card


Hello my crafty friends.  In keeping with our families tradition to have ice cream on a certain day in July ... here is my second ice cream card!  If you'd like to read more about this tradition, I will add the details below the photos.

This card started with a printed card & coordinating envelope set that I got on the clearance rack at Stampin' Up. I added some rainbow strips and a die cut ice cream cone, as well as a little bling.


Here is a look at the inside where I used fine point markers to write the sentiment. 


When my Mom was a little girl, there was always a July parade in their town. Afterwards her dad, my Grampa, would take her to the drugstore for an ice cream soda. She continued the tradition with my brother and I, on a special day in July she would take us for ice cream. And I did that with our kids too - bringing my Mom along. We always made sure she had ice cream on that day. 

Now that she has passed, we continue the tradition - raising an ice cream cone to her in a toast and our grandkids think it's a great tradition! I also send my family ice cream themed cards to celebrate.

This blog uses affiliate links whenever possible. This means, that at no cost to you, if you make a purchase through one of my affiliate links that I may receive a small commission from your purchase. I only link products that I own, love and use for my card making!

Any supplies I'm unable to link are listed at the very bottom of my post.

Since pretty much everything I used is from my stash & either retired or discontinued I'll only be linking the basic supplies!


Additional Supplies:
Card & Envelope - Flowers for Every Season, Stampin' Up
Ice Cream Cone set - MFT (retired)
St Nested Labels - Stampin' Up (retired)
White card stock - Accent Opaque Digital Super Smooth (Amazon .ca)
Rainbow packing tape - Amazon.ca
Brown cardstock scrap
Black fineline marker

Thursday, 19 August 2021

'Back To School' Pop Up Card


Hello!  This Back To School card was quick and easy to put together and features school themed patterned papers and stickers from my stash. Everything that is still available is either linked below or I found similar items for you. I have a short YouTube video for you with all the details:


The Wink of Stella on the school bus windows actually shows up in the photo below!


Inside, I used dies by Karen Burniston including the Katherine Label Pop Up to animate the lettered sentiment circle.


I like all the height and dimension you get with the Katherine Label Pop Up and it's deceivingly simple to put together.

This blog uses affiliate links whenever possible. This means, that at no cost to you, if you make a purchase through one of my affiliate links that I receive a small commission from your purchase. I only link products that I own, love and use for my card making!

Additional Supplies:
Red, yellow and black card stocks - stash
Black, red, yellow fine point pens

Thanks for stopping by

Saturday, 26 December 2020

Rainbow Slimline Duo

Hello crafty friends ...

I hope everyone who celebrates had a nice Christmas 😊. We have to make the best of this COVID situation with the ever changing restrictions etc, so we did what we could to make our holiday a special one.

I am done sharing Christmas cards now and ready to move onto bright, happy colours and today I'm sharing a Slimline card duo that is actually my own artwork & lettering! I was playing on my iPad and this is what I came up with. I printed two of them onto a sheet, but the spacing was off a little so I was only able to use the Crosshatch Long die on one of them.

It's a little hard to see in the photos, but I added a clear resin heart sticker to the sunshine on both cards for a little somethin' somethin'.


Inside the cards I used fun stamps because I think these cards will be perfect to send out for Happy Mail.


The clear resin hearts come in three sizes, and the largest ones are on the front. I added a small one to the right of each of the stamped sentiments as well. 

Into my stash with these two until I start back up sending Happy Mail in the New Year.

Supplies:
iPad and printer
Various card stocks - stash
1151 Crosshatch Long Rectangles - Karen Burniston
Embossed Edge Nesting Slimline Dies - Kat Scrappiness
Shimmer Spray
Clear resin heart stickers - Stampin' Up
Patterned Paper - Over the Rainbow, Recollections
Mini MISTI
Sunshine/medicine - Impression Obsession
Hug/fold - Verses

Card sizes, both - 3.5 x 8.5", and they fit in a #10 Business Envelope

Thanks for stopping by today

Monday, 3 August 2020

Gnome Oval Frames Pop Up


Hello crafty friends ...

Today I'm sharing a card made with several die sets from Karen Burniston's NEW RELEASE, which will be shipping this week. This is one of those cards that is much better to see in a video (or in real life!) so I have a YouTube video for you:


I really like the new Pattern Plate Fronds, so added it to a white panel and lightly water coloured the leaves. Then the panel was adhered to a larger aqua folded card. The smaller rectangles on the card front are from the new Pop 'n Swap die set - I love the size of them and I'm getting lots of use out of them! I added some handwriting and a die cut heart, and the front of my card was done.


Inside, I used the Oval Frames Pop Up - so fun.


The border across the top was made with the flap from the new Purse Pop Up. The greeting was created with the 'love' from the Pop 'n Swap combined with 'From The Garden' from the Garden Charms.


I LOVE the Gnome/Santa character - it's going to be lots of fun to customize. Glittery fairies are on the centre panels, which have an acetate backing so the fairy's 'float'.


Here is another view of the Oval Frame Pop Up and you can see the title scenes on the back to ovals created with the new Backyard Charms. The Oval Frame Pop Up allows you to do either a 'drop down' or a 'pop-up' and I intended on doing a pop up, but decorated the ovals before adhering the mechanism inside the card, and realized my mistake. Then, because of the height of the Gnome hats, I had to move it down so they would remain hidden when the card was closed. That is why I decorated the top with the large 'scalloped' border.


One more view for you ...


Supplies:
Aqua card and envelope - Michaels
Patterned paper - Lime Twist, My Minds Eye
1079 Oval Frames Pop Up - Karen Burniston
Aqua and green card stocks
i-crafter Blending Brushes
Acetate
1142 Pattern Plate Fronds - Karen Burniston (***New Release)
1130 Backyard Charms - Karen Burniston (***New Release)
1141 Landscape Scene (clouds) - Karen Burniston (***New Release)
1132 Purse Pop Up (border pieces) - Karen Burniston (***New Release)
1133 Pop 'n Swap  - Karen Burniston (***New Release)
1085 Garden Charms - Karen Burniston
White pearl card stock
Black pen
Water Brush
Distress Stickles

Card size - 5 x 6.5"

Thanks for stopping by today

Sunday, 5 April 2020

Egg In Chick Swing Card for Easter

Hello crafty friends ...

I have had this fun Easter stamp set for months but honestly forgot about it! When I saw it in my stash recently, I wanted to use it for one more Easter Card and this is what I came up with. I created a Slimline card base and used bright & cheerful striped rainbow patterned paper.


Remember you can always see my interactive card videos HERE on YouTube.


I already had a card for Ethan, but I know he is going to get a big kick out of this one so I'm saving the other one for next year.


I will have used up almost all of my Easter Cards this year, so I think I will have a play with this stamp set again and get a jump on next years cards.

Supplies:
On a Hinge Chick - Taylored Expressions
On a Hinge die - Taylored Expressions
White card stock
MISTI - My Sweet Petunia
Chameleon Color Tone and Color Top markers
Rainbow Striped paper - Paper Studio
Sakura White Gel Pen
Stitched Slimline die - Trinity Stamps
Stitched Square - Foundation Die #5 - Queen & Company
Enamel Dots - Paper Studio
Dot Stencil - MFT Stamps
Blender Brusher - Taylored Expressions
Black marker
Slider Disks - Taylored Expressions

Card size - 3.5 x 8.5", fits in a standard #10 Business Envelope

Thanks for stopping by today

Thursday, 2 April 2020

Two Interactive Spring Cards

Hello crafty friends ...

Today I'm sharing TWO interactive cards with TWO videos! The first one is a 'swing' card, and the second is a 'pull tab' - both are for the two grandkids who celebrate Passover.


Remember you can always see my interactive card videos HERE on YouTube. The second video today is grouped with the card below this one.


Using the i-crafter Haley Alphabet die set, I personalized the card front with his name, and used a puffy cloud die for the greenery at the top. The inside is fairly simple, with some inked clouds and lettering that he will likely be able to read himself this year.


I think he will enjoy moving the swinging boy to the right ...


... and to the left by tilting the card.  I don't have a stamp with this phrase and my printer is out of ink, so I used a label maker to create the 'swinging by to wish you' greeting.


Now for Miss Alma's card. Once again I personalized it with an i-crafter alphabet die set - this one is the new Carly Alpha. I like that it comes with both capital AND small letters, as well as symbols and numbers. Plus, the font is pretty cute.


Remember you can always see my interactive card videos HERE on YouTube


I am SUCH a huge fan of Doodlebug Designs. I picked a couple of their 'odds and sods' printed elements for both cards, and on Alma's card the frog moves out from behind the daffodils when you slide the tab.


As usual,, the eyes all got a shiny treatment with a black glaze pen. And I added white details with a gel pen too.


Finally, here is the inside of Alma's card.


Supplies
On a Hinge Die - Taylored Expressions
Printed elements - Simply Spring Odds & Sods, Doodlebug Designs
Patterned paper - Simply Spring - Doodlebug Designs
Sakura black glaze pen
White, green, kraft and blue card stocks
1006 Nature Edges - Karen Burniston
Copic marker
Let's Toast Pull Tab Add On die set - Lawn Fawn
Circle dies - Hero Arts
Catherine Pooler Inks
Makeup Brush
Cloud template - MFT Stamps
Brother labeller
222016 Alphabet, Haley (Ilai's card)
222009 Alphabet, Carly (Alma's Card)
Black marker
Fine markers
Nuvo Drops
Stitched rectangle die set - Your Next Stamp

Card size - Standard A2, 4.25 x 5.5"

Thanks for stopping by today

Wednesday, 12 June 2019

Teacher Appreciation Lever Card

Hello my crafty friends

Today I'm sharing another Teacher Thank You card. I've been busy making them for our grandkids teachers and aids. This one uses the Lever Card and Lever Card Layering die sets from Divinity Designs. I hand lettered the banner for something different.


A paper spring animates the pencil jar and it wobbles on the card front which is always fun.


I love making these Lever Cards! When you use patterned papers from the same line everything coordinates really well.


I added a stitched white rectangle and a few stickers to decorate the inside and the grand kids can sign their names on the white panel.


Supplies:
Lever Card and Lever Card layering dies - Divinity Designs
Red and white card stocks
Patterned paper, cut apart and stickers - Echo Park
Stitched fishtail banner - MFT Stamps
Black Sharpie marker
Chameleon Color Tone Markers
Sakura white gel pen
1046 Circle Charm Pop-Up (circles) - Karen Burniston
Stitched rectangle - Honey Bee
Nuvo Drops
Fuzzy apple sticker - Sandy Lion (old, from my stash)

Thanks for stopping by today

Monday, 18 March 2019

Octopus Birthday Card

Hello my crafty friends

It's Masculine Card Monday here on my blog, and today I'm sharing a Birthday Card that I will give to our daughter for one of the grandkids to take to a birthday party. I used up the last little bit of this patterned fishy paper, and used Sketch SC730 at Split Coast Stampers.  Diagonal backgrounds seem to be very popular with card makers right now!


The Octopus is from Karen Burniston's Ocean Animals. He is wearing a party hat, and is adhered to the white circle with an Action Wobble so he bobs and wobbles around on the card front. Always fun for a kids Birthday Card.


Inside I wrote the greeting and added two small scraps cut into Fish Tail Banners.


Supplies:
1068 Ocean Animals - Karen Burniston
1004 Birthday Charms - Karen Burniston
Fish patterned paper - Photo Play
Seashell patterned paper - Recollections
White, black and blue card stocks
Sakura white gel pen
Mini Action Wobble
Words on front - Your Next Stamp
1057 Circles Crosshatch - Karen Burniston
Black pen


Thanks for stopping by today


Wednesday, 13 March 2019

St. Patrick's Day Card Trio

Hello my crafty friends

This is my second post of the day!  I didn't want to interrupt my Easter Week posts but I did want to share my St. Patrick's Day cards before the 17th.  Scroll down to see the Easter Card I posted earlier.

I made these three cards using journal cards & 'cut aparts' from Doodlebug Design. One for our grandson Ilai, our granddaughter Alma and one for my Mom.


First up is Ilai's card ... this one is a 4 x 6" card because I have a box full of envelopes to use with this size of card. I added some of the trimmed word strips from one of the 'cut apart' sheets and a green enamel dot.


The face and hat got a glaze pen treatment for a little shine.


Inside I lettered the words and added his name. Ilai likes it when there are the serif's on his name and I aim to please.


This is the card I sent to my Mom. I really like the pop of colour from the rainbow striped paper scrap.


I used the smallest rounded rectangle in my nesting die set to cut the shamrock from another word strip and added it with foam tape.


Inside is a word strip, a colourful journal card and a small rainbow fishtail banner and another curved shamrock.


Finally, here is Alma's St. Patrick's Day card.


I fussy cut rainbow from a different 'cut apart' and popped it up with foam tape.


Inside is a journal card and another word strip. I wrote a note to her on the white area below the journal card.


Supplies:
Cut aparts and patterned paper - Doodlebug Designs
Stitched rectangle dies - Waffle Flower
Rounded corner rectangle dies - Hero Arts
Spectrum Noir glitter pen
Sakura black glaze pen
Corner Rounder - We R Memory Keepers
Enamel Dots

Thanks for stopping by today