Today's card was made to coordinate with the Anniversary Gift Card Holder I shared yesterday. I started with a card & envelope from Stampin' Up that has these gold brush marks which are really pretty. I love that the envelopes also have the touches of gold.
Since the cards are printed front and back, I cut one apart to give me two panels and die cut them with a stitched rectangle. For the front panel I also embossed it with a textured embossing folder. The scribble heart and love dies are ones I've had for years and are long retired - but I still love and use them.
The sentiment inside is a two part stamp from Verve, again - long retired. Verve isn't even around anymore but I still have a great collection of their images. I always loved their stuff and would have bought more if I lived in the US where shipping costs are reasonable. 😊
One more look ...
Having been asked how many cards I make I thought it would be fun to keep track this year. Many of my posts include more than a single card or project and below is my tally.
Card Tally for 2023 January - 53 cards February - 56 cards
March - 55 cards
April - 32 cards
May - 43 cards
June - 34 cards
July - 56 cards
August - 106 cards
September - 61 cards
October - 51 cards & 5 Tags
November so far - 43 cards
I decided to cancel the subscription that provided linked thumbnails to what products I used on my cards. It was costing me out of pocket each month, so I’m back to listing what I used
Supplies:
Gold foiled A2 card base & envelope - Brushed Gold Cards, Stampin' Up
Hello! One of the die sets in Karen Burniston's new release is this Waterfall Card set and it even has different edges you can cut on the sides of the flap. I used the bracket edge for my card today and have a walkthrough on YouTube:
As with my other new release cards, I created a Mini Slimline card! Pulling out some pretty stickers from my stash, I kept everything nice and flat to show that these cards really can be mailable.
As you pull the tab, the panels flip over to reveal the next sentiment and image.
While you could stamp a sentiment or write a message to be revealed on the decorator panel of the tab, I added another sicker as I have room for signing on the back of the card.
The flowers and sprig are from the Flowers and Bee die set.
The stickers got some glitter on them as well using Stickles.
When I do a card like this, I usually make it a post card style to keep the back nice and flat. In keeping with that, I used the shadow die for the new Happy Mother's Day to inlay into the back panel.
Here is a link to Karen Burniston's assembly video for the Waterfall Card:
This list contains affiliate links. If you use these links to buy something I may earn a small commission at NO extra cost to you. Thank you for your support!
Supplies: Card stocks and scrap of patterned paper - stash Stickers - Violette Stickers Gold foil card stock scrap Ribbon "Hugs & Smiles" - Verve Stickles Wink of Stella Card size - 6 x 3.5", fits in a #8 Envelope
Mail between the US and Canada is still moving slowly, but I finally received my Trinity Stamps order with this beautiful Foliage Frame Slimline Die and I wanted to play with it right away. While I can't wait to make a bright and colourful card with this pretty die, my first one is done in a soft, soothing colour palette. The 'With Sympathy' is one of the new dies by Karen Burniston that will be shipping this week. I like the combination of fonts and the size is a perfect for a Slimline card!
I added a few white gel pen dots, and some marks with a grey Copic marker so the foliage wasn't quite so 'flat'. Then I added a few more of these gorgeous Iridescent Butterflies from Studio Katia.
Inside I stamped the greeting and leaves in grey ink on a matted panel.
Supplies: Foliage Frame Slimline die - Trinity Stamps Various card stocks 1138 With Sympathy - Karen Burniston (shipping soon) Iridescent Butterflies - Studio Katia Copic Markers Sakura white gel pen Stamps inside - Verve (retired) Card size - 8.5 x 3.5", fits in a #10 Business Envelope
It's been awhile since I made a Book Card, so that is what I'm sharing today. I have several different sheets of Llama stickers, because - well, I have no good reason other than I love Llama stickers! Ha. But I am trying to USE them and not just hoard them, so these cute puffy stickers were what inspired the theme.
I had one sheet of this 12 x 12" patterned paper - so again, instead of hoarding it I cut into it! I have enough left to make a second card as well.
Below is a different view of the inside ...
The cute puffy stickers were attached to stitched fishtail banners and I added the ground dots with a marker. The HOLA was die cut with the i-crafter Carly Alpha die set ... so cute!
There isn't much room to write a note or even sign a name on this one, so I added a stitched rectangle to the back with a pretty water coloured sticker as well. This will be one of the cards I send out for Happy Mail!
Supplies:
Blue, Green, White and black card stocks
Patterned paper - Chasing Adventures, American Crafts
Book Fold Card with Layers die set - Divinity Designs
Large Fishtail Banner dies - Pink & Main
Puffy Llama stickers - the Paper Studio
Carly Alpha - i-Crafter
Just because & Swirl stamps - Sweet Labels, Verve (retired)
Today for Masculine Card Monday here on my blog, I'm sharing a card I made to show the versatility of the Chameleon Fineline markers. These things are sooo cool! For example, you take the lid off the yellow marker and add the orange marker lid for a few seconds. Then you add the red marker lid for a few seconds When you go to write, the colour flows from the red through orange before returning to the original colour. I had just received this fun record die set from MFT so that is pretty much what inspired my card. Note, I made this card in the Spring of 2019 but didn't get it posted so am sharing it now.
I used the markers to write 'you rock' on one stitched card stock strip, and then drew a plaid on a second one. The Fineline markers coordinate with the Chameleon Color Tone and Color Tops so I used those to colour the record label and banner.
Inside I added a stitched panel with marker colour outside the stitched line and a die cut word. The other words were done with the Chameleon Fineline markers!
Supplies: Sketch - C4C 475, Crazy4Challenges.
The Bee Paper Company, marker paper
Stitched vertical stitched strip dies - MFT Stamps
Your Next Stamp is one of the sponsors for the Coffee Lover's Blog Hop so I wanted to make a card to share using YNS products. As you can see, I ended up making two! I have more information on how to be entered to win a YNS prize at the end of my post!!
{{{I have a YouTube Video showing more details on the cards, which you can also find HERE.}}}
I've had this coffee themed paper for a couple of years - it's a retired pattern from SU. While I tend to hoard special papers like this that I know I can't get any more of - this time I didn't hoard and actually used some of it to line the envelope flap. That adds such a nice touch to a card, don't you think?
I started out by cutting the YNS Photo Booth Panel Die from a woodgrain paper and decided to make a shaker card. The mugs and to-go cups were fussy cut from a different patterned paper in the package, and I thought it would be fun to add a different face stamp from the Oh Shiitake stamp set to each of the 4 squares. Some sequins and filler and my shaker element was finished.
The fun sentiment is from the Washi Tape Sentiments, a YNS stamp set that is always on my stamping table because of the great sentiments included. I die cut the caffeine sentiment with the Washi Tape Sentiments die, and adhered it over the centre section of the Photo Booth Panel.
Here is a peek at the inside with a Funny Bones stamp, more fussy cut elements and one more stamped face.
When I was finished the card, I had the woodgrain fallaway pieces from the Photo Booth Panel Die on my stamping table. Hmmmmm - then I turned them over (the patterned paper is double sided) and the brown and white coffee print seemed like the perfect print to make a second card. I simply die cut one more Photo Booth Panel from white card stock and inlay at the print pieces into the openings.
I added some YNS Gumdrops, then pulled out a couple of (non YNS) coffee themed sets from my stash to finish it off.
The Scalloped oval was adhered to the card panel with an Action Wobble so it bobs and wobbles around. So fun!
Finally, here is a peek at the inside of the second card:
I hope you will check out the Coffee Lover's Blog Hop. There is a TON of inspiration and lots of prizes to be won as well! Since Your Next Stamp is a sponsor, leave a comment on their blog post for a chance to win the fun Coffee Cart stamp set! You can find the Your Next Stamp Blog HERE.
I had this paper pad out for a different project, and had a quick flip through before I put it away. This blue foiled blue patterned paper caught my eye and I thought it would make a pretty sympathy card.
I ended up using the whole 12 x 12" sheet, and made two sympathy cards for my sadly depleted stash.
The pearlized 3-d Flowers have been in my embellishment bin for several years, but combined with the Oyster Grey Nuvo Drops, I think they made a nice addition.
Inside, I stamped a verse and a leaf sprig and also added a large scalloped border to bring some of the pretty paper inside as well.
I still want to have several more sympathy cards made ahead so you will be seeing more in the upcoming weeks.
Supplies:
White card stock
Patterned paper - K & Company
Scallop with Gifts 3D Drop Ins - Stephanie Barnard
Hello my crafty friends Today is Fun Fold Friday here on my blog and today I'm sharing the card I made for our Vet's office. Our dogs are both due for vaccinations right before Christmas each year, so I always bring the office a yummy treat and hand made card.
I added a stamped and die cut Bulldog wearing a Santa Hat inside the Parcel Pop Up.
The scallops, bow and border strip were cut from white glitter paper so there is lots of shimmer and shine on the card. Note - the Scallops are actually the dies from the Cake Trims!
It's so cute the way the dog slides in and out of the package when you open and close the card.
Supplies:
Dog stamps and coordinating die - Recollections
Bristol Smooth Card Stock
MISTI
Tombo Markers
Tombow Blender
1116 Parcel Pop Up - Karen Burniston Nuvo Drops
Sakura black glaze pen
Green and white card stocks
Patterned paper - Recollections
White glitter card stock, Opal White - Best Creations
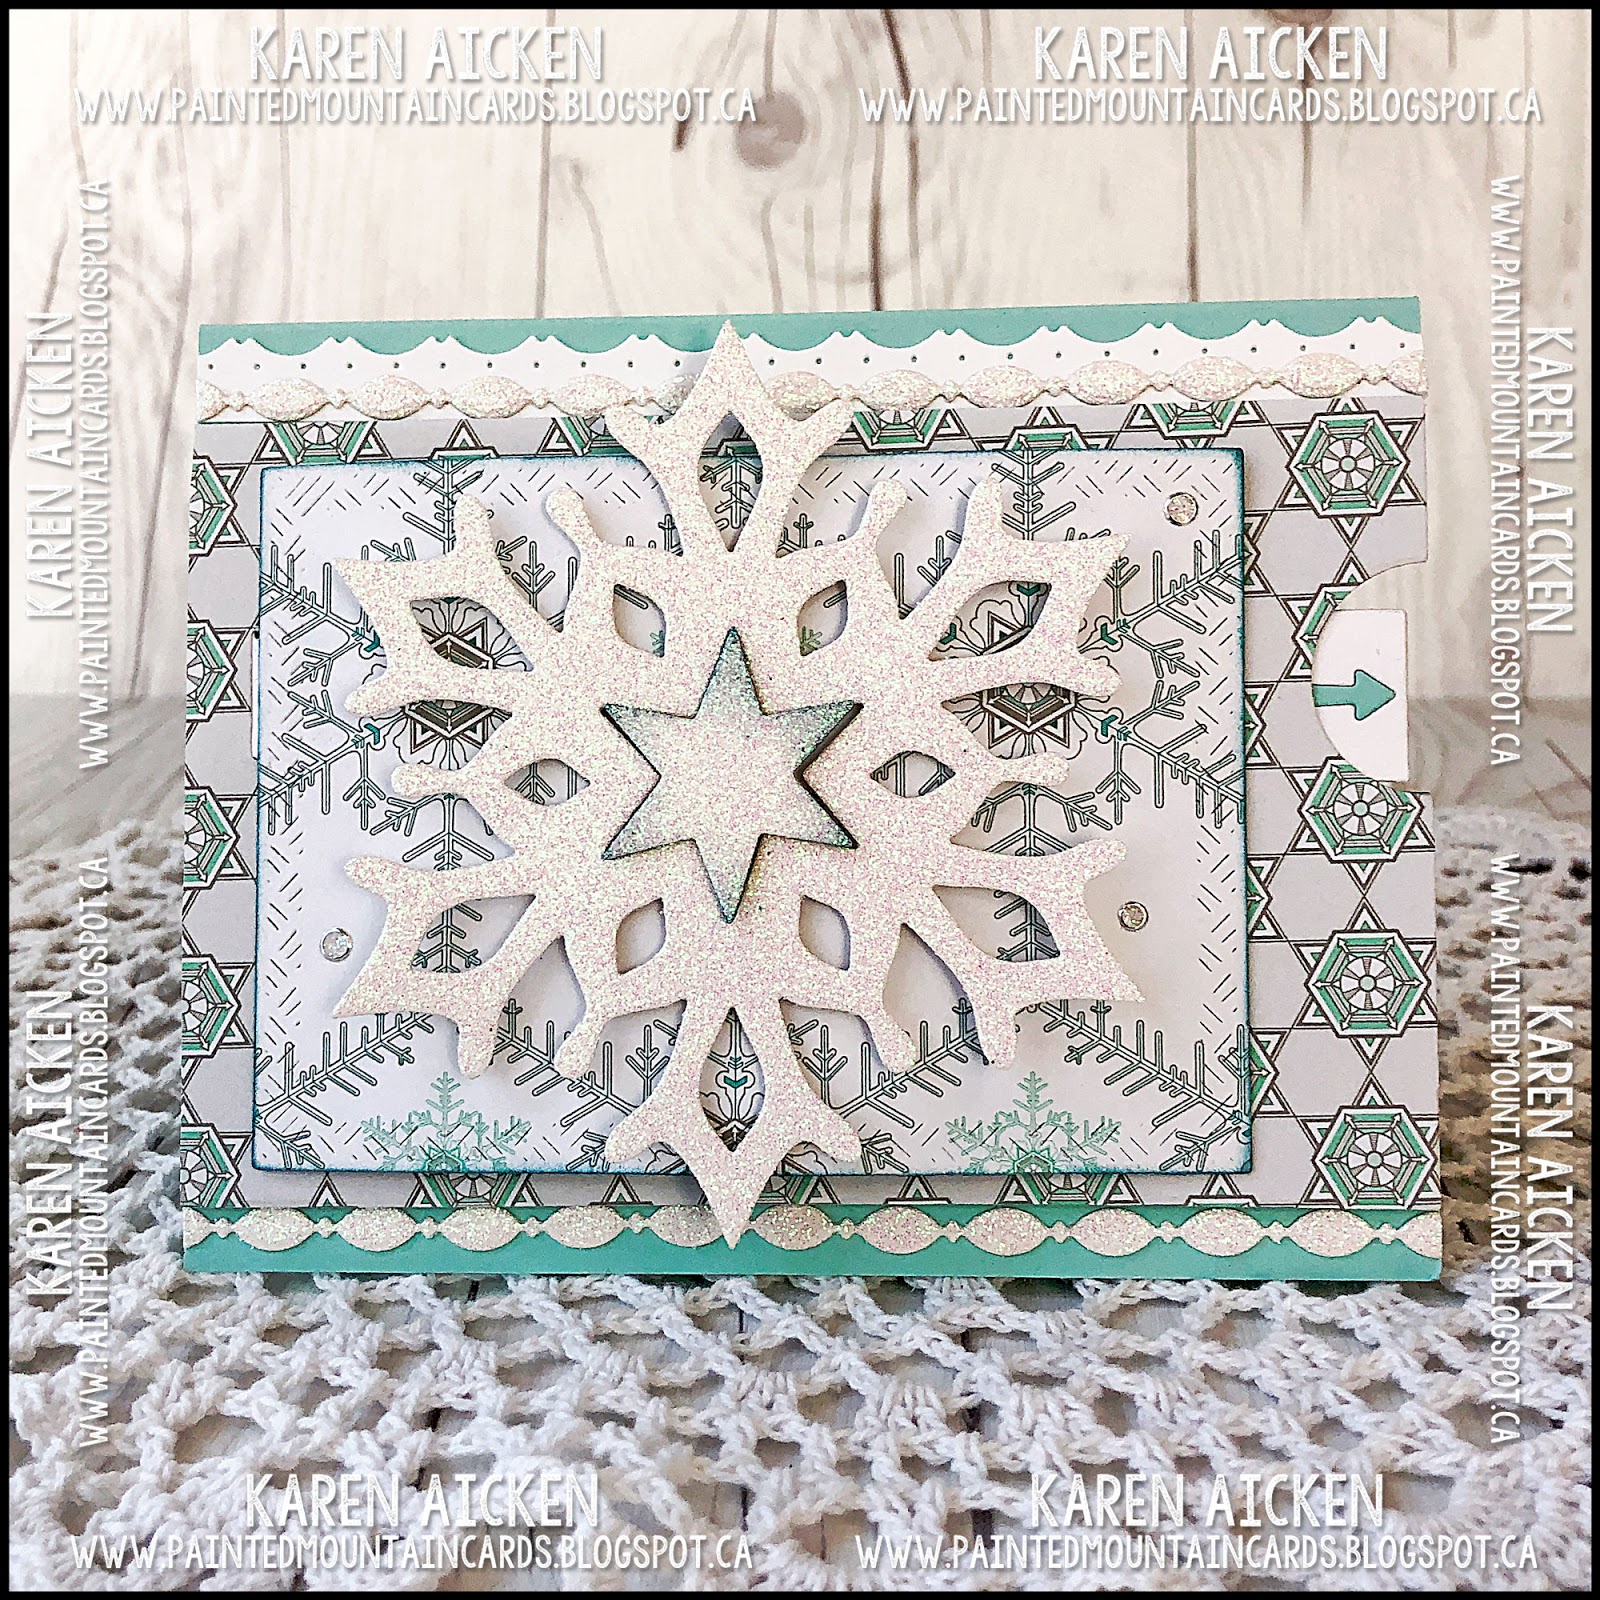
I was SO excited when this idea worked. I had been busy doing paperwork and paying bills, dealing with my Mom's estate etc when BOOM this idea popped into my head. Well actually, the first idea was to use an acetate hinge and have just the snowflake be the flipper but I went with a rectangle under the snowflake and a card stock hinge for the first one.
The new Triple Flip die set is proving to be a fan favourite, and I'm thrilled to be able to share another way for you to use your dies! I have a lot of ideas for this technique - more ideas than days, haha. Since it is still July, I can call this my 'Christmas in July' post! I have seen some pretty wonderful holiday cards this month, which is always fun.
I adapted the Triple Flip and only used one 'flipper' - the one on the far left - and attached a decorated crosshatch rectangle to that arm.
I have had these snowflake dies for many years - and I'm not even sure who made them. I die cut the largest one from really sparkly card stock and adhered it to the flipping rectangle with foam tape. I also added some sparkly borders using Karen Burniston's Border Blends dies.
When you pull the tab, the rectangle flips over to reveal a sentiment and another die cut snowflake. The sentiment rectangle covers up the remaining slots that cut with the Triple Flip die, since we only needed the one on the left.
Because the pull tab arm has to extend all the way across the width without the additional two flipper arms, there is some wobble to it and it tends to sag below the notches a little. To remedy this, I added a narrow 1/2" long piece of foam tape above and below the pull tab about where the far right slot is. That keeps the pull tab arm where it needs to be!
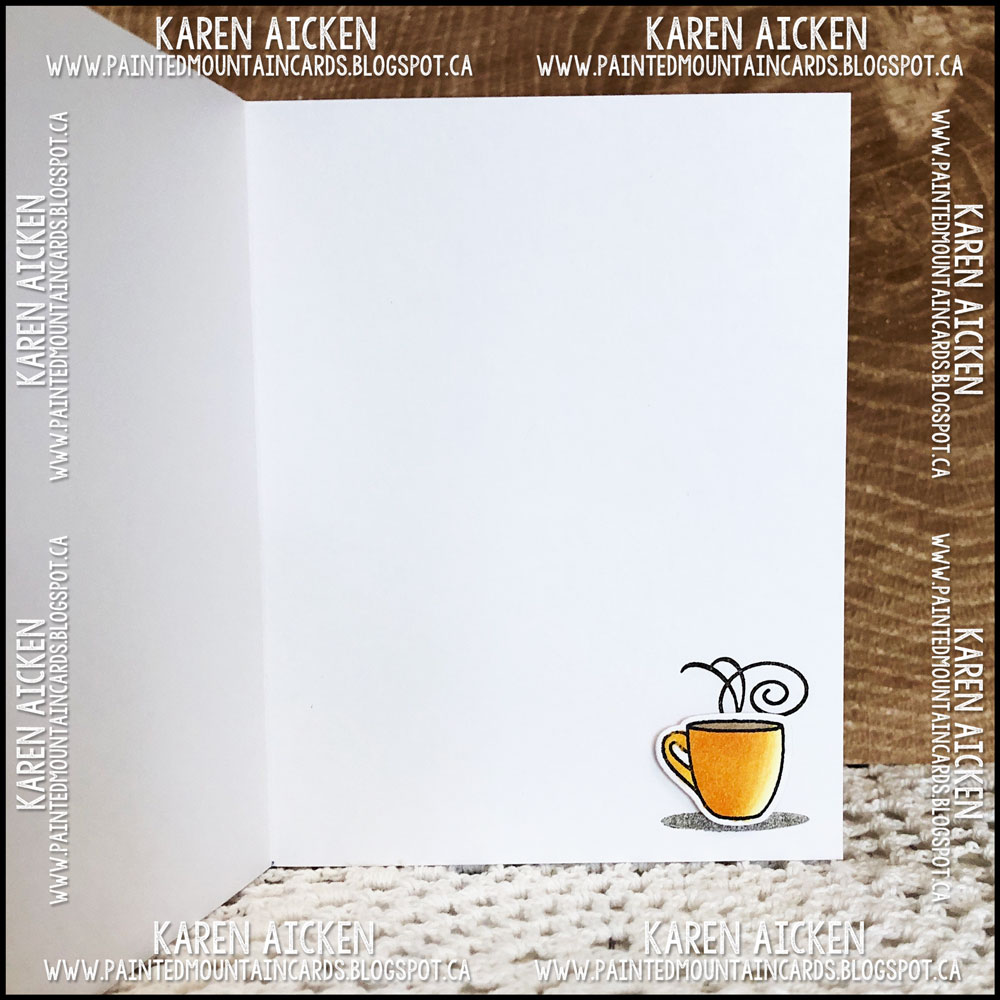
The card is a top folding A2, and there is another stamped greeting inside.
I also have a little YouTube Video so you can see the card in action:
I have another idea for a Triple Flip adaptation that I will share in a couple of days. So fun!
Supplies: Blue and white card stocks Patterned paper - Winter Frost, Stampin' Up (retired) 1104 Triple Flip - Karen Burniston 1054 Rectangles Crosshatch - Karen Burniston Glitter card stock - AC Moore 1091 Border Blends Party - Karen Burniston Large Snowflake dies - unknown, older from my stash Stamps on front - Verve (retired) Water brush Inside stamps - Hero Arts Glitter Dots - Elizabeth Craft Designs
I want to share both Mother's Day cards and Design Team cards this week, but it's also the 2019 Spring & Summer Coffee Lovers Blog Hop. In order to get everything posted, I will have to double up on a couple of posts! This is my second post today - and I'm sharing two coffee themed cards for the hop.
First up is a Wiper Card. This is my first time making one of these but it won't be my last. I was surprised at how easy they are to make! Well, easy, once I figured out the wiper arm inside. The first time I was so happy and a little proud of myself then realized I had it backwards or upside down because the surprise inside showed when the card was closed, then hid when the card was opened. Ha. I also planned on adding the 'Happiness Is' banner in the centre, but it created a catch point for the coffee cup so moved it over to the far right. Below is the card opened, and how it would be displayed.
This is what the card looks like when it comes out of the envelope...
The Coffee Cup Pop-Up die set by Karen Burniston has these wonderful coffee bean dies - the perfect touch for any coffee themed card!
When you pull on the sides of the card, this cute coffee cup pops up! So fun.
I added some extra stamping and a few more coffee beans to the back. This card will go to our middle daughter for some happy mail. It suits her perfectly.
Since I had everything out anyhow, I made a second card to add to my stash.
I love all the sparkle on this patterned paper.
Look at the highlights you get with a single Chameleon Color Tone marker! I am really enjoying using them.
I am not sure if I will get any more cards made for the Coffee Lovers Spring & Summer Blog Hop, but here's hoping I'm more organized for it next year! Supplies: White and brown card stocks Patterned paper - My Minds Eye (OLD paper stack from my stash) 1040 Coffee Cup Pop-Up (coffee bean die) - Karen Burniston Coffee stamps, (One Cup, Happiness Is, and Better With You) - Verve (retired) Bling - Queen & Company Nested Dome dies - Waffle Flower Chameleon Color Tone Markers Chameleon Color Top markers Stitched Fishtail Banners - Your Next Stamp Oval Dies - Hero Arts Black Olive Ink - Your Next Stamp Rectangle dies - Hero Arts Wink of Stella 1006 Nature Edges (scalloped border) - Karen Burnsiton Stitched Fishtail Banner - MFT STamps Stitched rectangle dies - Your Next Stamp Crayola Markers