Today's card uses a bunch of bits and pieces and scraps from the Love Notes paper package & I created a Z-Fold card with a couple of older stamp sets from my stash.
I love this scalloped heart die from Studio Katia. When I laid it out with the different print papers, I decided I liked the coordinating grey print. But looking at it in the photos, I wish I'd chosen something with a bit more contrast. Ahh well.
I combined the stamp sets on the clipboard ephemera and added glitter to the bees' wings. The envelope got some pretty red & gold washi tape on the flap.
I have had these 6x6" Valentine papers for years - but I won't buy any new pads until I use these ones up. There are quite a few smaller bits and paper strips in the packages as well from previous years cards so it will be a few years before I can call them done. Today I am sharing four Pop Up cards made with a bunch of older product from my Valentine's bin.
The ephemera packages still have some cute images in them and of course a package of doily's lasts FOREVER. I pulled out both for the front of this card as well as the little Happy Valentine's Day banner. I bought a package of those at Michaels about 10 years ago, ha ha and I'm still using them every year.
Inside is a simple box pop up using more ephemera and a cute banner piece. The Sweet Valentines stamp was from the $1 bins at Michaels many years ago.
The second card uses a similar layout to the one above, another doily from a different package, enamel hearts and more ephemera from the packages. The sentiment is from MFT - their Essential Sentiments. Another stamp set I have got a lot of use out of over the years.
Inside this one is a double box pop up...
I loved these little sloth images, so used them for the next two cards. Both are explosion cards. I loved using up a full sheet of paper for each of them. 😊
I do have a couple of YouTube videos showing different ways to fold the papers for these. Explosion Cards (which I have been making for over 30 years!!!) so I will line one HERE for you.
These cards also use lots of foam tape so ended up being fairly bulky. But I will be hand delivering them to our grandkids tomorrow when they come to visit.
Supplies used:
Patterned paper - Be Mine, Pebbles
Ephemera - old, unknown
Doily's - from my stash
Lacy Circle dies - Waffle Flower
Happy Valentine's Day fishtail flag - old, Recollections
The Topper Tags die set was in Karen Burniston's December release and I couldn't wait to play with them. I love making tags and there is a great variety of sizes in this set. This pair is decorated for Valentine Gift Bags and I was able to add some bulky embellishments from my stash.
The last card I made with this heart flip die set was a Thanksgiving card (see that one HERE) so with Valentine's Day coming up I decided to bring it out again. Because those cute little bees are paper pieced and I wanted to pop them up with foam tape, I have a YouTube video showing my process.
Of course the card started with the patterned paper, which is an older one by Doodlebug.
The holographic cardstock for the bee wings give the card so much shine! ❤️
Supplies used:
SL Heart Essential die set - Studio Light
Patterned paper - Sweet Things - Doodlebug
Rainbow Holographic cardstock - Recollections
Honey Bees Paper Piecing - Honey Bee Stamps
Circle - Tasteful Label Dies, Stampin' Up
Happy Valentine's Day - Sending Love, Waffle Flower
I'm sharing a Mini Slimline Valentine card today - that I actually made for my hubby. 🥰. I kept the front fairly simple, cutting the sunburst from heart patterned paper then adding some foiled stickers to the centre heart. I figure since I'm giving this to him on Valentine's Day, I didn't also need to add a Happy Valentine's Day to the card front. I'll be saying it to him as I give him the card anyway.
Inside I used ephemera from my stash, that I've had for so long I have no idea when or where I got it, or who makes it! But there is really only one person I could use this 'I'm Yours' piece for, and it's what actually inspired the whole card. I have it popped up on Karen Burniston's Twist Flower Pop Up, which I have really been enjoying since I got it a few months ago.
I really like all the dimension you get with this easy-to-assemble die set, and that it works in so many different card sizes. I'll write him a personal message on the white heart on the lower right.
Yep - I'm his, and he has to keep me. No refunds or returns, right? 😂
Supplies used:
Heart Sunburst Mini Slimline die - Kat Scrappiness
Patterned paper on front - Love Notes, Echo Park
Patterned paper inside - unknown (old, from my stash)
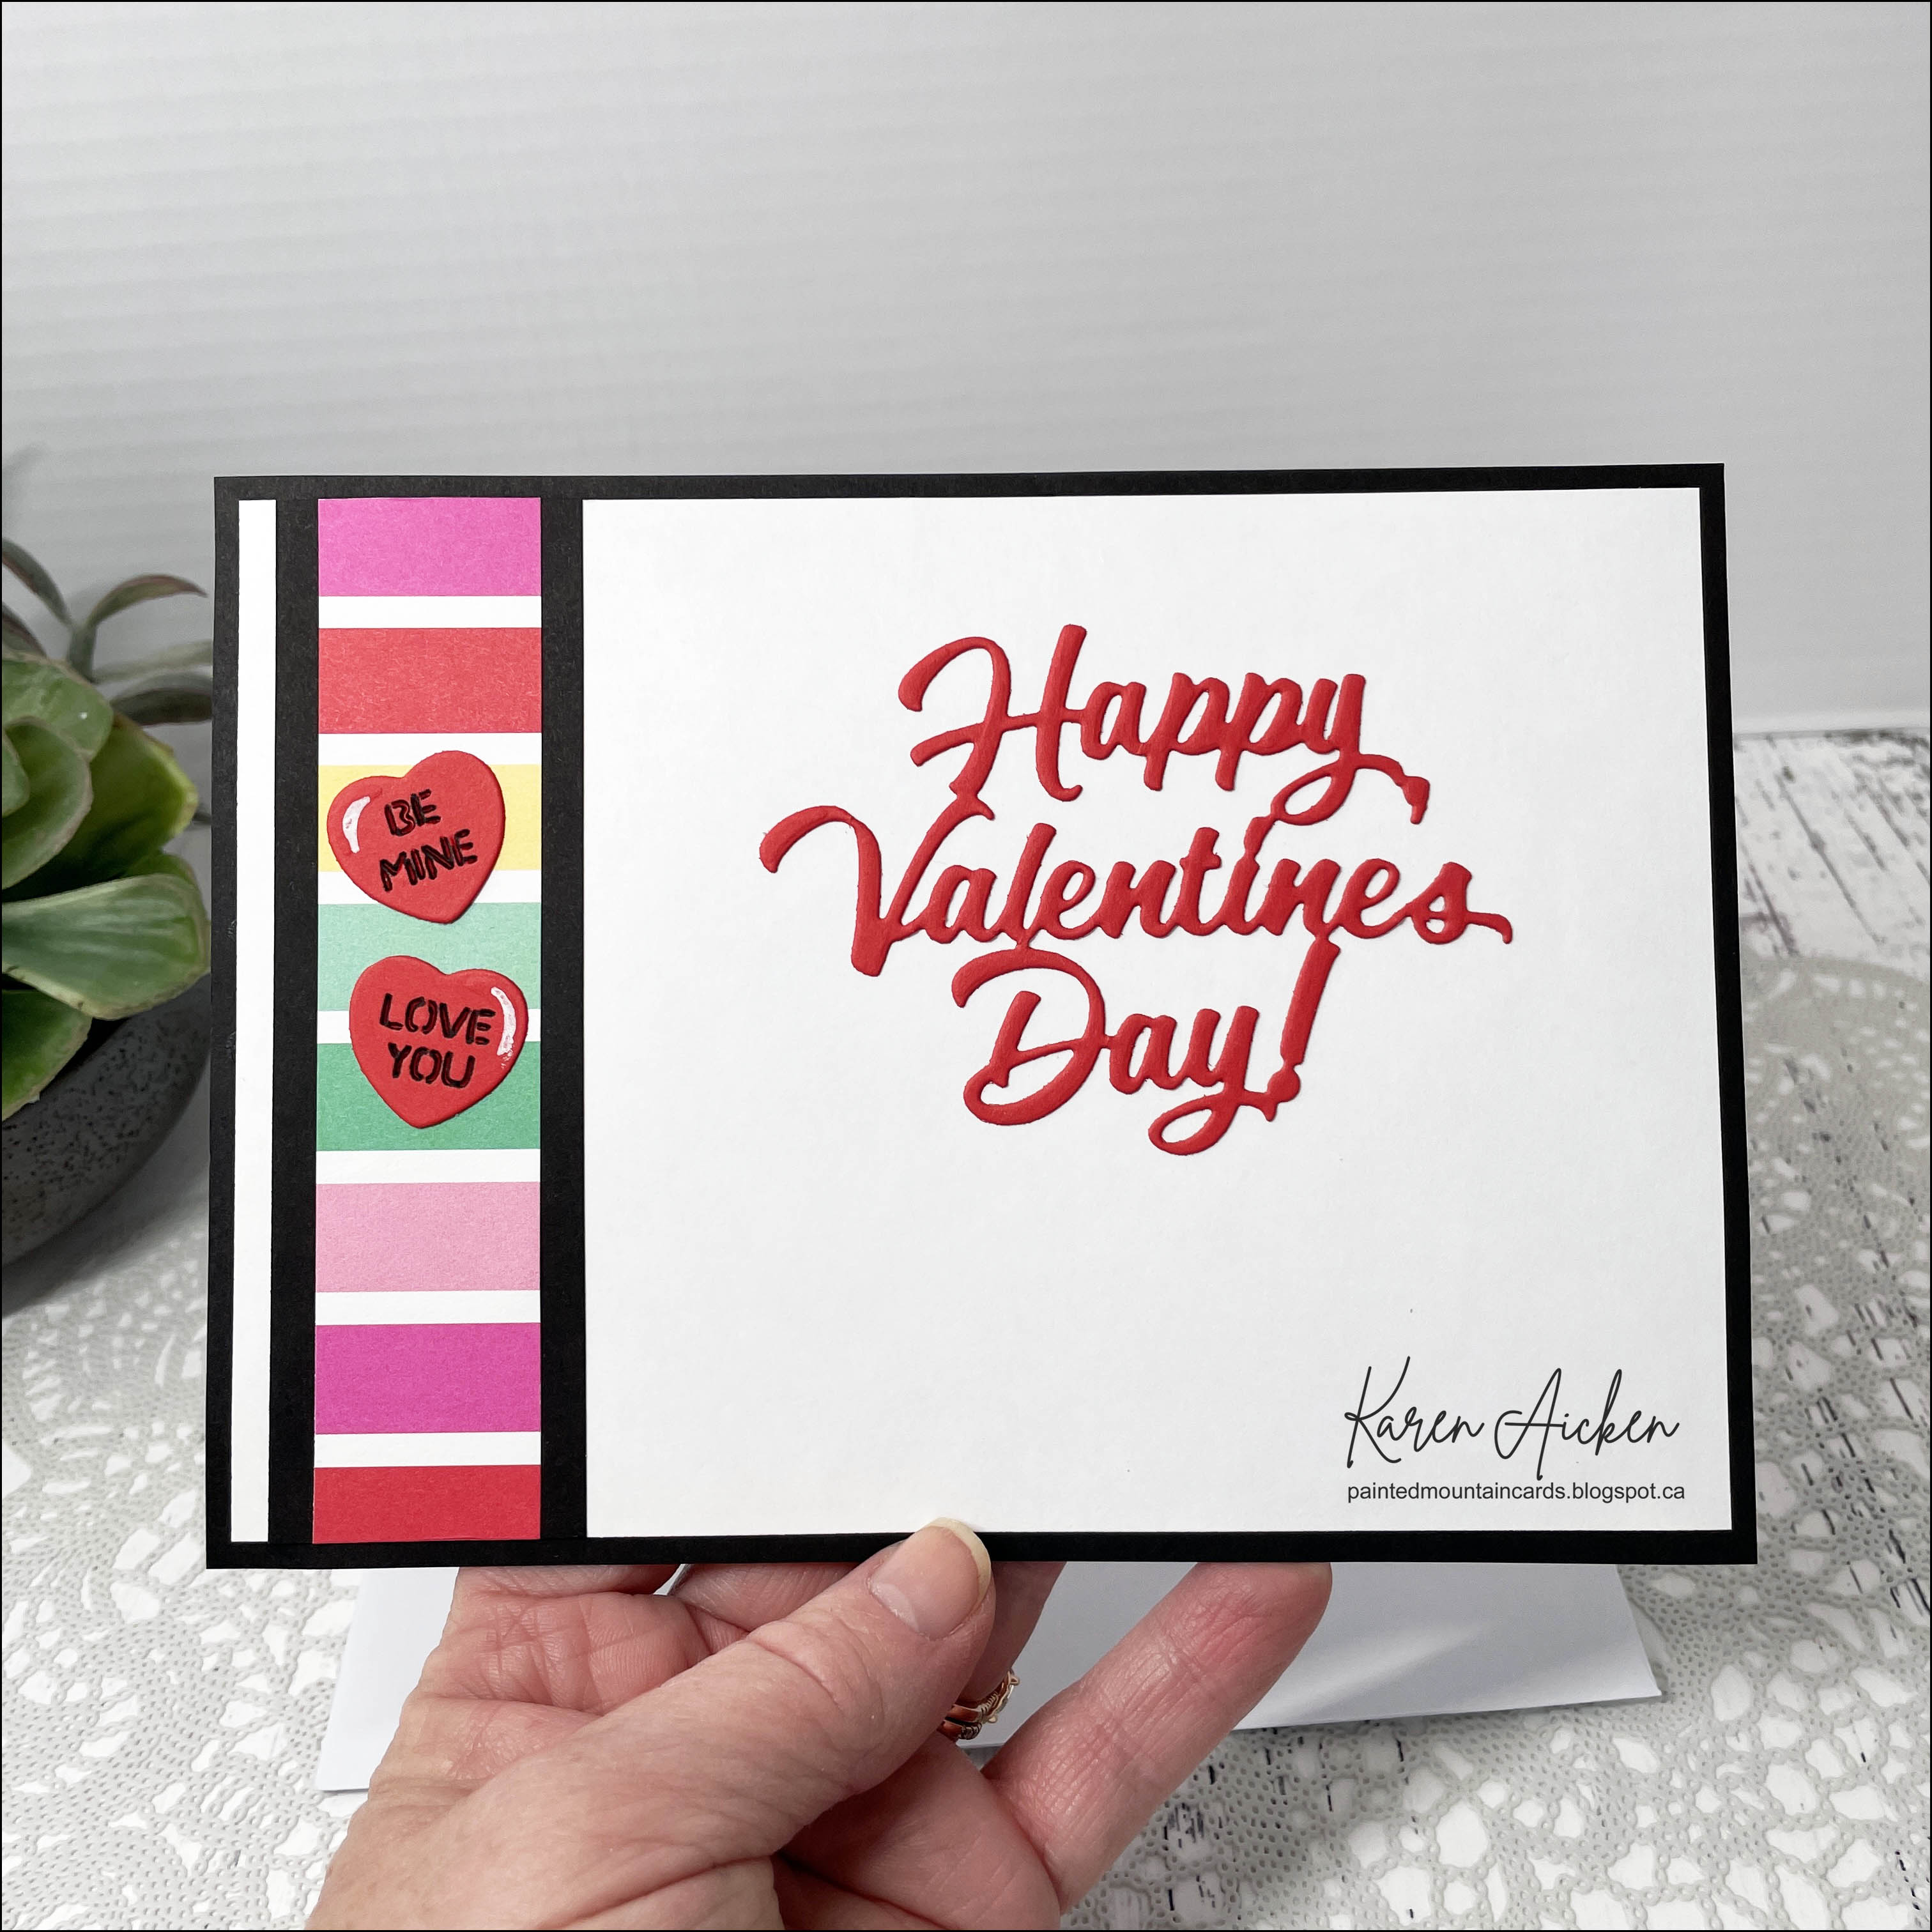
It's really hard to tell in the photos, but the red cardstock isn't just regular cardstock - it's VELVET! And quite heavyweight. While the cards look quite simple in the photos - they just beg to be touched in real life. I decided to let the heart sunburst background and the velvet cardstock be the star of the show.
The first card uses the Heart Sunburst Mini Slimline die (Kat Scrappiness) and the second one uses all of those fallaway pieces from the first one. No way I was going to just toss all those velvety scraps!
Inside the first card is a fox ephemera piece from my stash, mounted on a paper spring for movement.
When I was finished with the photos, however, I decided to add two more elements to the second card. A heart shaped enamel dot and a second ephemera piece.
Here is the inside of the second card. That stamp is a VERY old wood mounted one from what used to be the dollar bins at Michaels.
I have been asked how many cards I make but I didn't have a clear number. Since many of my posts include more than a single card or project, I thought it would be fun to keep track this year.
Card Tally for 2023 January - 53 cards February so far - 34 cards
This blog uses affiliate links whenever possible. This means, if you make a purchase through one of my affiliate links that you pay the same amount but I may receive a small commission from your purchase. I only link products that I own, love and use for my card making and not every link below is an affiliate one! 😊
Last May I had an idea to use three coordinating 6 x 6" patterned papers to make three Mini Slimline cards that also had a simple fun fold... with NO SCRAPS or leftover patterned paper. I was really happy with how it worked, and it's one of mymost popular video's. 😊 You can find the videoHERE and the coordinating blog post isHERE.
I was flipping through my Valentine themed 6 x 6" papers, and since someone had just left me a comment on that video it was still in my head. I decided to pull out SIX of the papers and make two sets of Valentine cards with them.
Above is the set with the first three patterned papers - you can see that all 3 of the patterns are on each of the cards but in a different order. Below is the second set. I will need five of them to send to the grandkids, and one for a friend for Happy Mail so I'm glad I made two sets. And I LOVED using up six full sheets of this patterned paper that has been hanging around for to many years.
These paper pads also had two identical sheets with small cutaparts. They got trimmed out and added to heart doilies and I also added heart shaped enamel dots and puffy stickers to some of them.
Inside I added white scalloped hearts and stamped the sentiment. This is an older wood mounted stamp from The Stamp In The Hand. Oh, how I loved their stamps - and I still have every single one of them. I wasn't even sure how the rubber would stamp but it did ok!
For reference, your card base is 7 x 6.25". Score at 1.25 and 3.5". I go over this more in the video.
Patterned paper - first cut is 1" (for the fold flap) and the second is 3.25" (for the inside). The leftover piece fits on the left front as shown in the video.
I have been asked how many cards I make but I didn't have a clear number. Since many of my posts include more than a single card or project, I thought it would be fun to keep track this year.
Card Tally for 2023
January - 53 cards February so far - 32 cards
Additional Supplies
White cardstock
Patterned paper & cut aparts - Be Mine, Pebbles (old, from my stash)
Heart Doily's - Recollections (old, from my stash)
Happy Valentine's Day - A Stamp In The Hand (old, from my stash)
Puffy heart stickers - Recollections (old, from my stash)
Heart enamel dots - Recollections (old, from my stash)
This blog uses affiliate links whenever possible. This means, if you make a purchase through one of my affiliate links that you pay the same amount but I may receive a small commission from your purchase. I only link products that I own, love and use for my card making and not every link below is an affiliate one! 😊
For the second instalment in my Monthly Series with Shaped Cards, I am sharing a cupcake shaped card duo today. One is a Birthday card that will be donated to my Mom's old nursing home.
I stepped up the second one and turned it into a Valentine card! I have had this Cupcake Fold-It's die set for many years and it creates a card that fits into an A2 envelope.
One more look ...
I have been asked how many cards I make but I didn't have a clear number. Since many of my posts include more than a single card or project, I thought it would be fun to keep track this year.
Card Tally for 2023 January - 53 cards February so far - 26 cards
Additional Supplies:
Cupcake Fold Its - the Stamps of Life
Birthday sentiment inside- Lots of Birthday2Stamp (the Stamps of Life)
White cardstock
Green alcohol marker
Sentiment - MFT Stamps
Nuvo Drops - Carnation pink
This blog uses affiliate links whenever possible. This means, if you make a purchase through one of my affiliate links that you pay the same amount but I may receive a small commission from your purchase. I only link products that I own, love and use for my card making and not every link below is an affiliate one! 😊
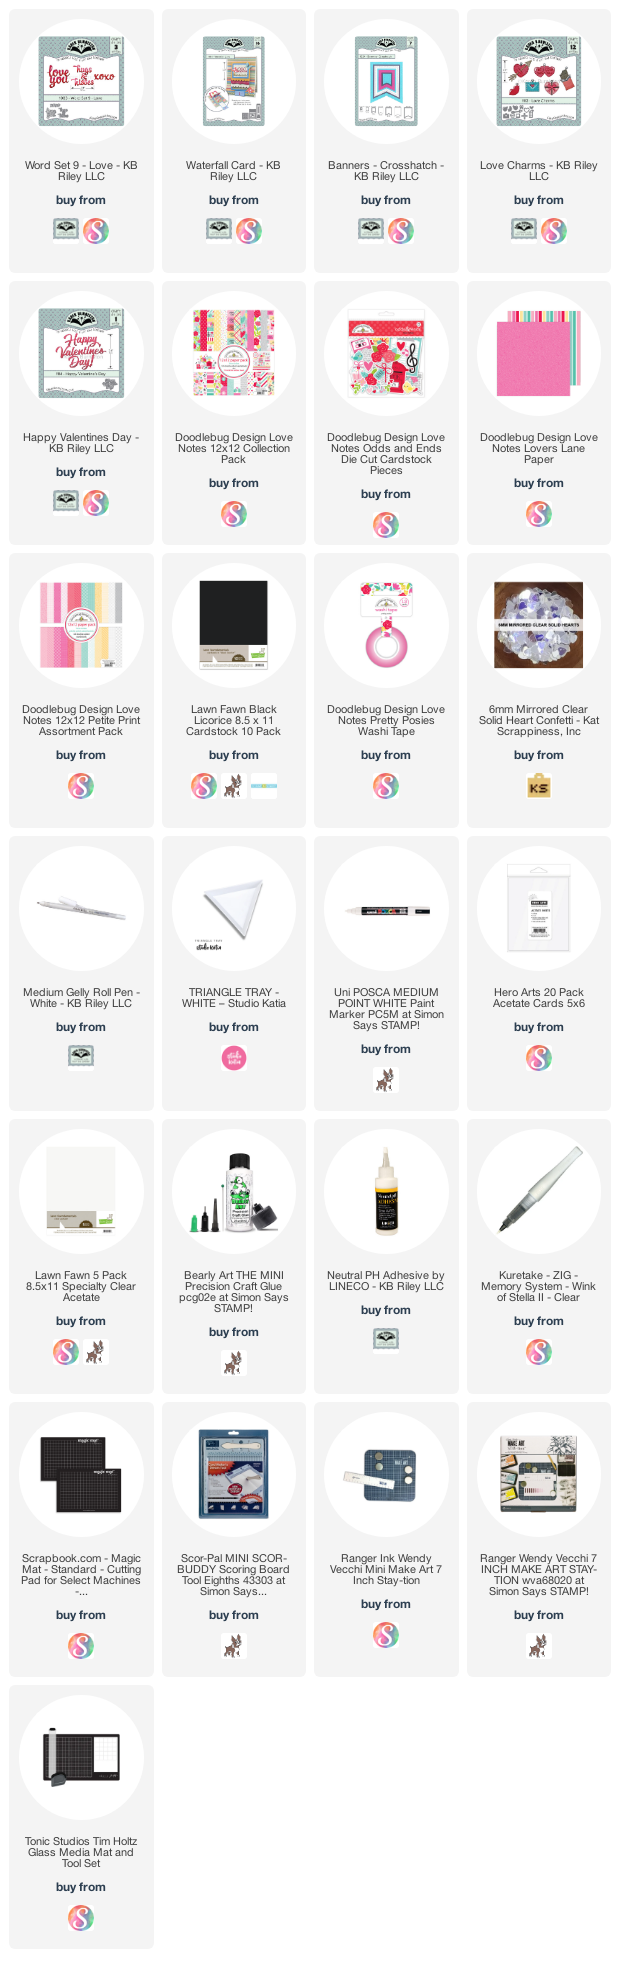
Welcome to Karen Burniston's February '23 Designer Challenge, where KB gave her Design Team this challenge: Theme: "WEDDING, ANNIVERSARY or VALENTINES" - Love is in the card!
I decided to create a waterfall card Valentine for my hubby, and below you can see what the card looks like as you slide the tab to the right.
Rather than use the included rectangles with the Waterfall Card die set, I added her Banners Crosshatch to the first three folds. Each of the four areas were decorated with patterned paper, cut aparts & stickers as well as die cut words (also from Karen Burniston)
When I was pretty much finished the card, I found that the pull tab was catching on that black card stock panel. To remedy that, I added strips of acetate to the front and back of the pull tab and it pulls smoothly with no more catching! The strips were long enough to tuck under the last waterfall panel by about 1/2" so there is no chance of it popping out when the pull tab is fully extended.
For the final panel, I use 5th included squares and one of the Love Charms.
When doing Waterfall Cards, I prefer to make them Post Card style, and for that reason I don't add foam tape or bulk to the back of the card. I added the Happy Valentine's Day and two more Love Charms onto the back and will write my personal message there as well.
The rest of the Design Team is linked on the right side of my blog and I hope you will check out what they came up with for the challenge. Karen Burniston will have her post tomorrow (Wednesday) on her BLOG.
Late last year I was asked how many cards I make but I didn't have a clear number. Since many of my posts include more than a single card or project, I thought it would be fun to keep track this year.
Card Tally for 2023
January - 53 cards
February so far - 23 cards
Additional Supplies:
White cardstock
Red cardstock
Black marker
This blog uses affiliate links whenever possible. This means, if you make a purchase through one of my affiliate links that you pay the same amount but I may receive a small commission from your purchase. I only link products that I own, love and use for my card making and not every link below is an affiliate one! 😊
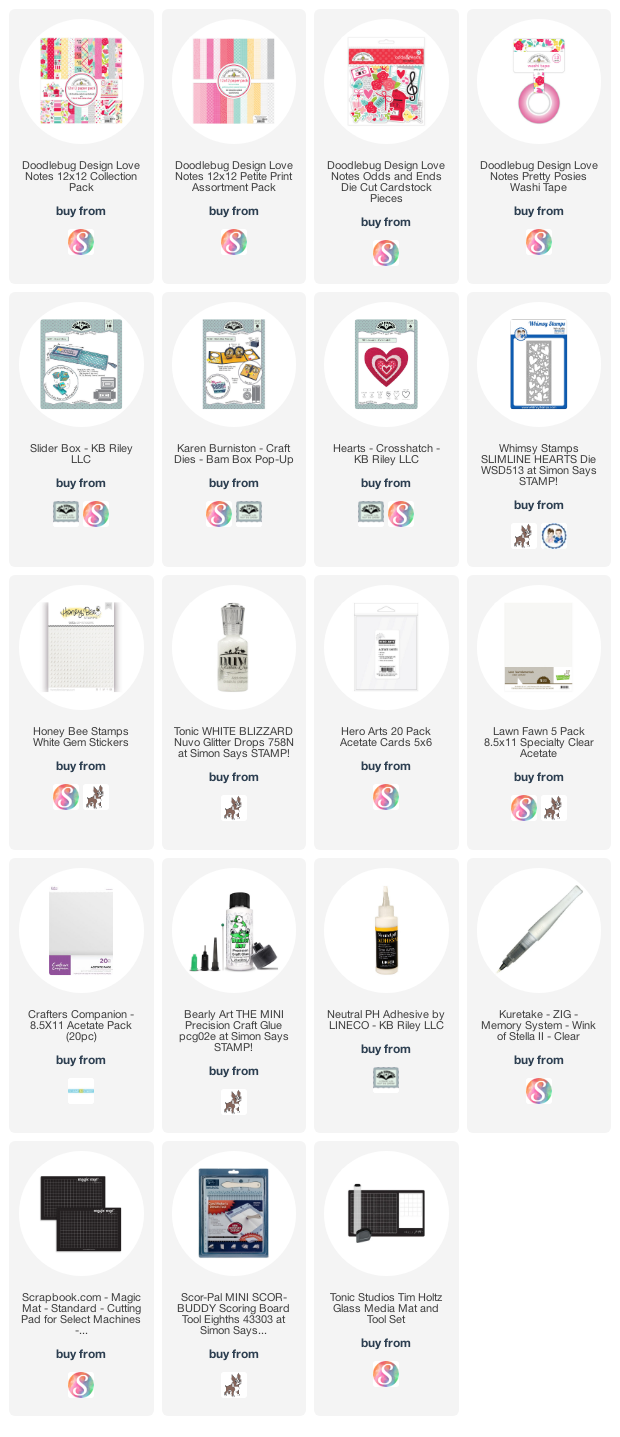
It's Fun Fold Friday here on my blog, and today I'm sharing another Slider Box. This one has a sentiment that pops up when you slide the drawer out of the sleeve - so fun! You can see this action in my YouTube video:
Using patterned paper and cut aparts, I decorated the outside ...
Below is what is inside the box. The You're Sweet panel pops up as the drawer/tray slides open & the Surprise Cube pops out as do the hearts.
One of the included rectangle dies has a nice edge decoration, so I cut it from acetate so I could add the speech bubble to it. That was then attached to a Bam Box that was also adhered inside the decorated drawer/tray.
A few of the single hearts are from Karen Burniston's Hearts Crosshatch, and the others are the fallaway pieces from Whimsy's Slimline Heart Background. I shared that card last week.
I have been asked how many cards I make but I didn't have a clear number. Since many of my posts include more than a single card or project, I thought it would be fun to keep track this year.
Card Tally for 2023 January - 53 cards February so far - 21 cards
Additional Supplies:
White cardstock
Pink cardstock - Stampin' up
Pink ribbon - Stampin' Up
This blog uses affiliate links whenever possible. This means, if you make a purchase through one of my affiliate links that you pay the same amount but I may receive a small commission from your purchase. I only link products that I own, love and use for my card making and not every link below is an affiliate one! 😊
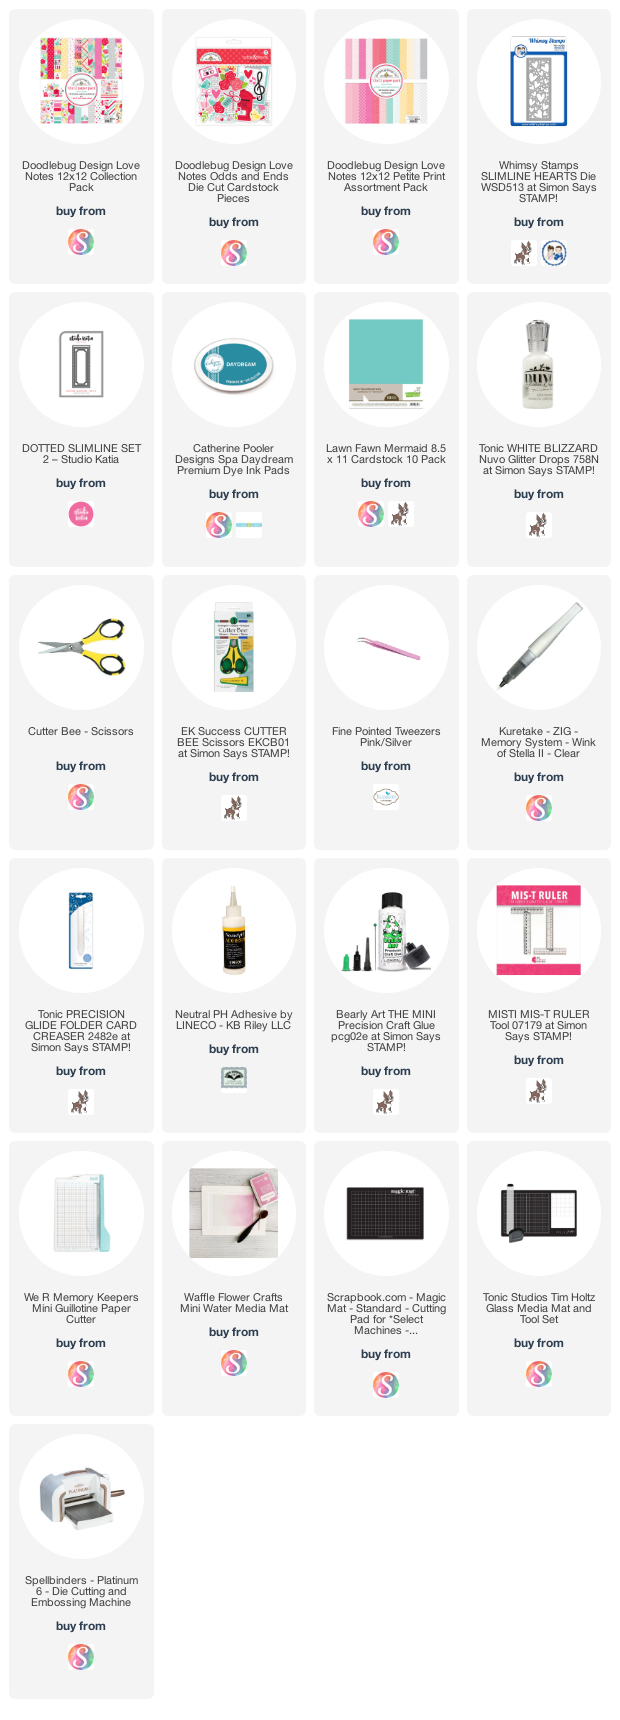
I still really enjoy making Slimline cards, and haven't made enough of them the past couple of months. Today I am sharing a Slimline card that I can send to a friend in February for Happy Mail.
I pulled out this heart background die from Whimsy Stamps, cutting it from Doodlebug patterned paper, I saved the fallaway hearts to add back into some of the openings with foam tape and saved the others for different projects. The tag is from the same package, and the bow is from a Stampin' Up stitched flower die set.
Inside, I used the Dotted Slimline Set 2 from Studio Katia for the layers and you can see I sprinkled a few more of the fallaway hearts. There is still room to write a personal message when I go to send the card.
A couple of times last year, I was asked how many cards I make but I didn't have a clear number. Since a lot of my posts include more than a single card or project, I thought it would be fun to keep track this year.
2023 Tally: 45 Cards
Additional Supplies:
White cardstock
Bow - from Stampin Up's Pierced Bloom Dies
Shimmer Spray
This blog uses affiliate links whenever possible. This means, if you make a purchase through one of my affiliate links that you pay the same amount but I may receive a small commission from your purchase. I only link products that I own, love and use for my card making and not every link below is an affiliate one! 😊