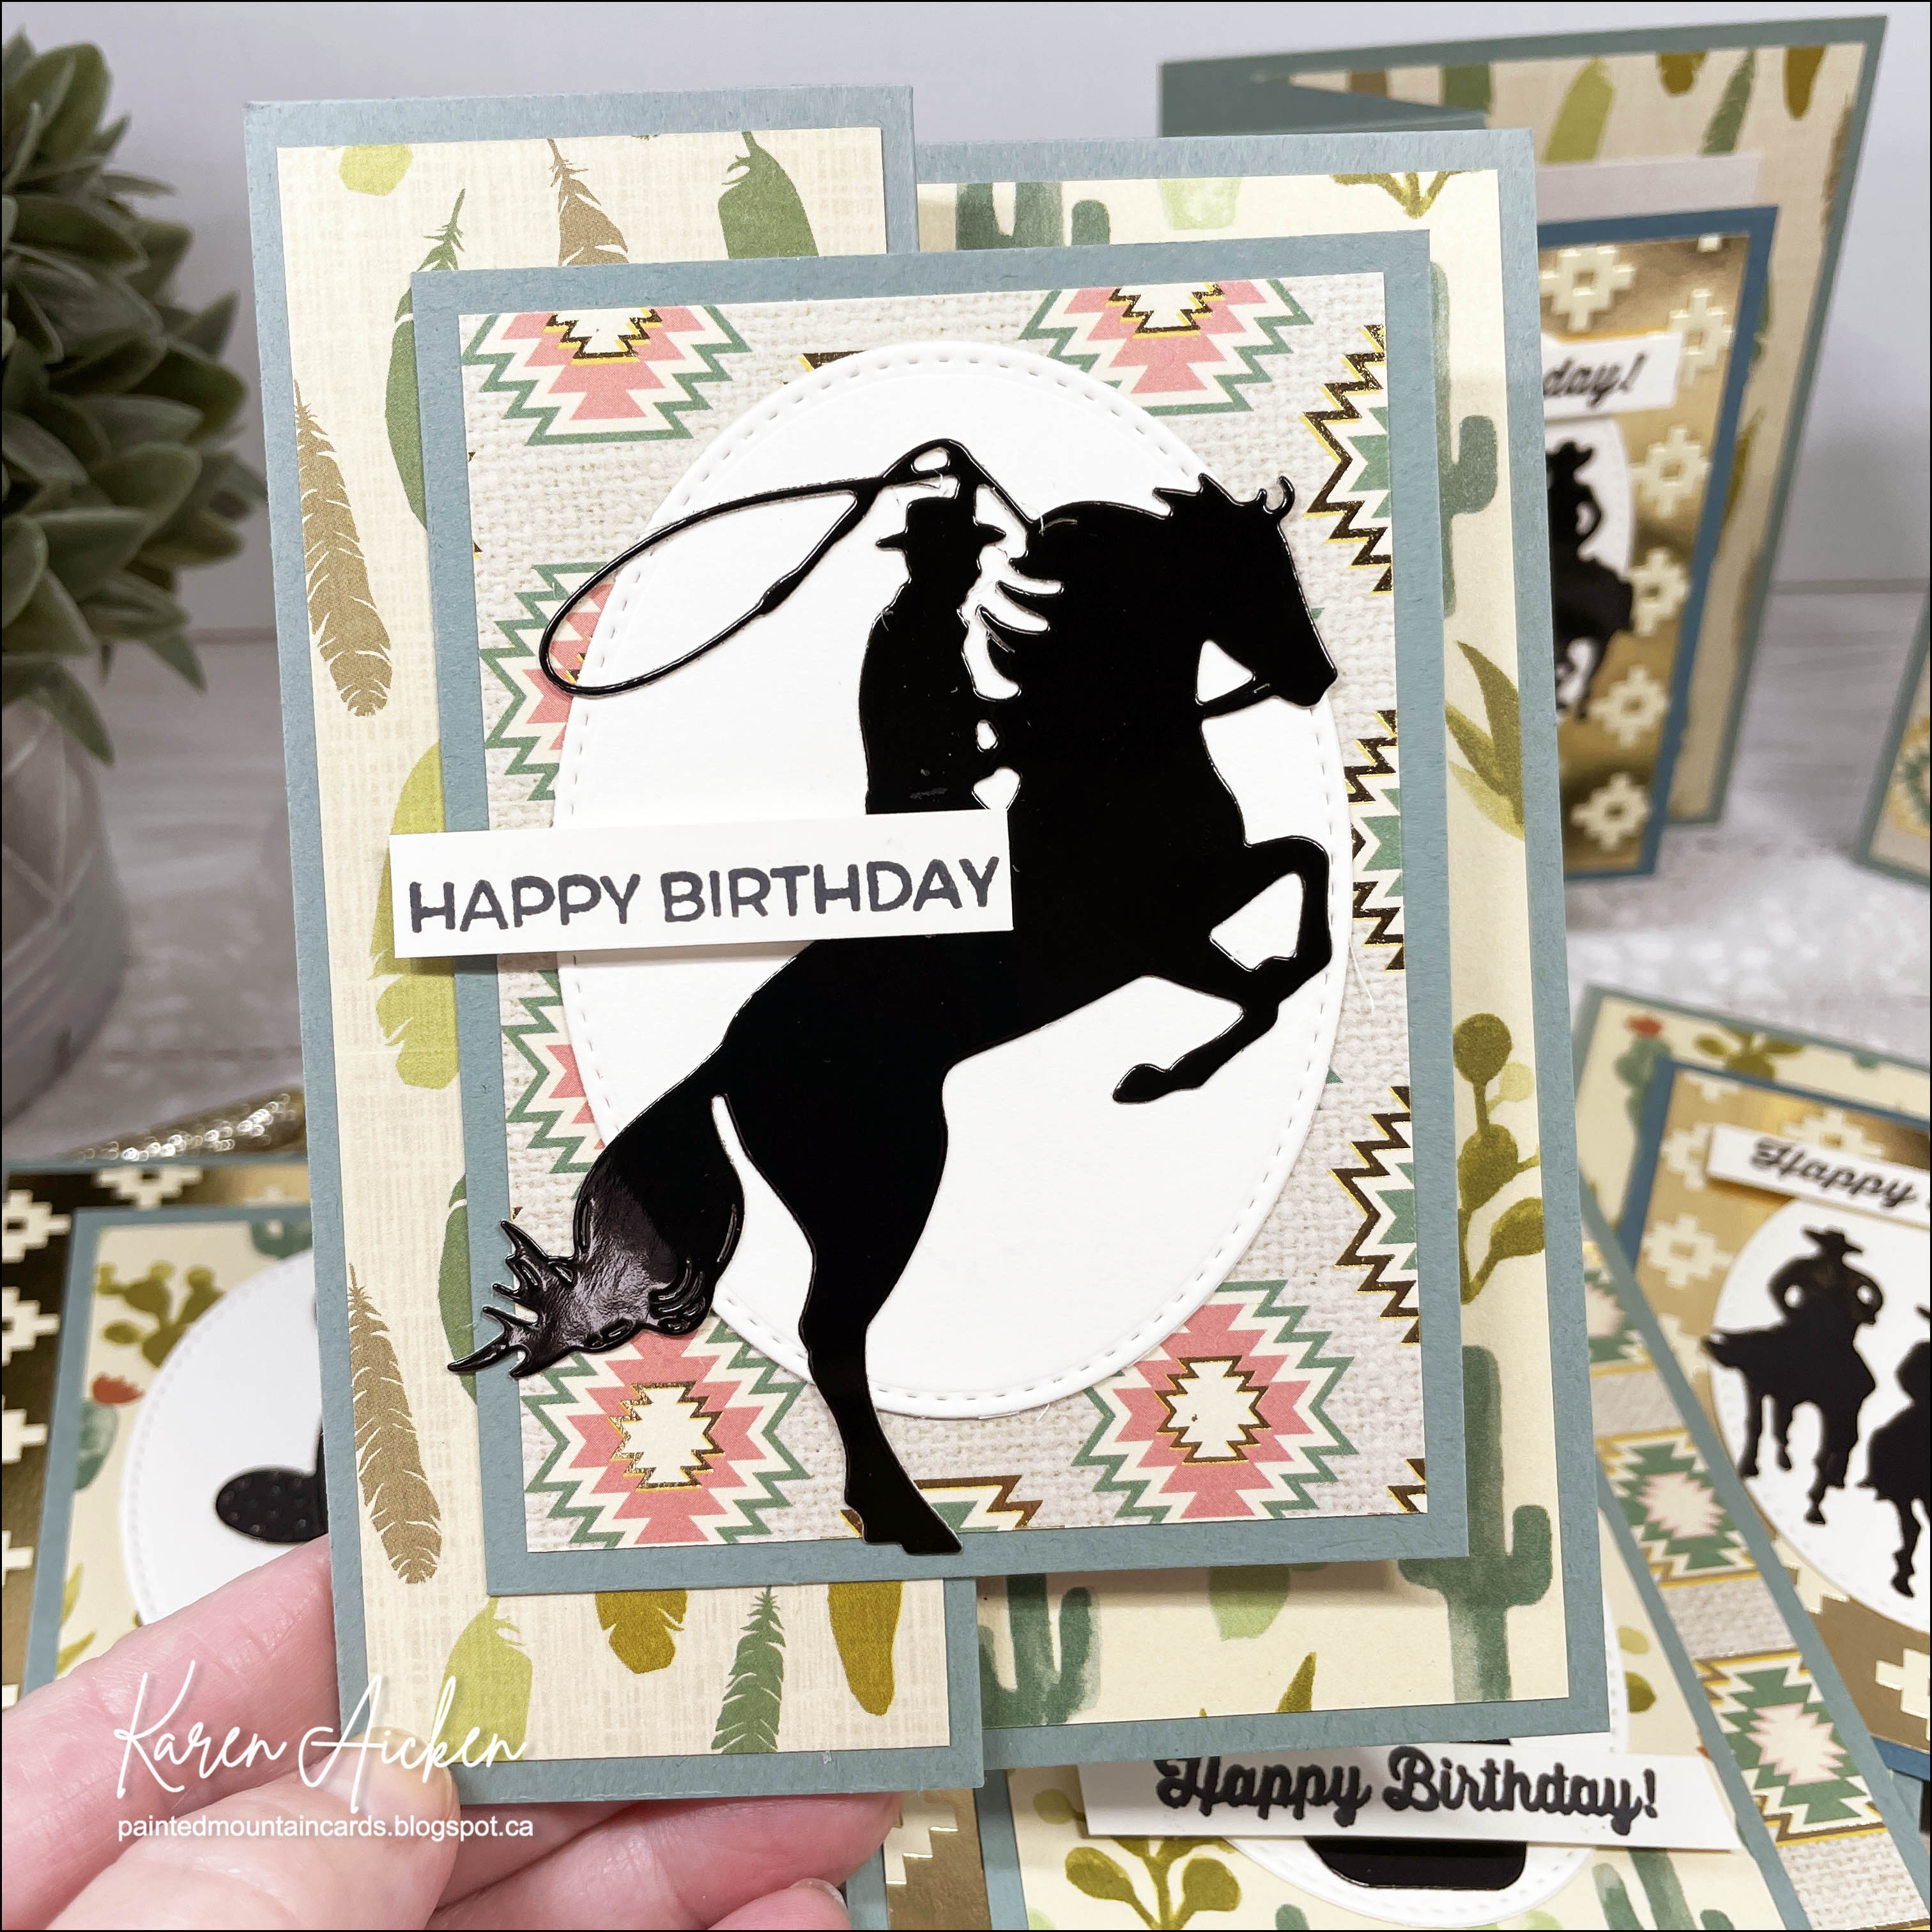
Today I'm sharing the 6th edition to my monthly series "12 Months of Christmas". Last month I created a 5 x 7" Faux Step Card and I liked it so much I wanted to try a Mini Slimline version. I really like this one too and hope to do a tutorial for it over the summer.
I pulled out the Magic of Winter package from Echo Park - I used it a LOT last year and still have many bits leftover for even more cards. Since I wanted to feature one of the cutaparts from the package, my measurements are a little different than they would be for a 'regular' Faux Step Mini Slimline card. I didn't even really take note of the measurements for this one - it was a 'let's see if this works' type of card.
Since I used double sided patterned paper for the accordion base, the penguins on the back were upside down. I cut a same sized piece as the back panel and added it so the penguins would be right side up on the back of the card. 😊
The sentiment is a Funnybones stamp from Riley & Company, and even though it's JUNE, I'm already tired of winter. HA - that should tell you how much I dislike winter and being cold.
Having been asked how many cards I make I thought it would be fun to keep track this year. Many of my posts include more than a single card or project and below is my tally.
Card Tally for 2023
January - 53 cards
February - 56 cards
March - 55 cards
April - 32 cards
May - 43 cards
June so far - 16 cards
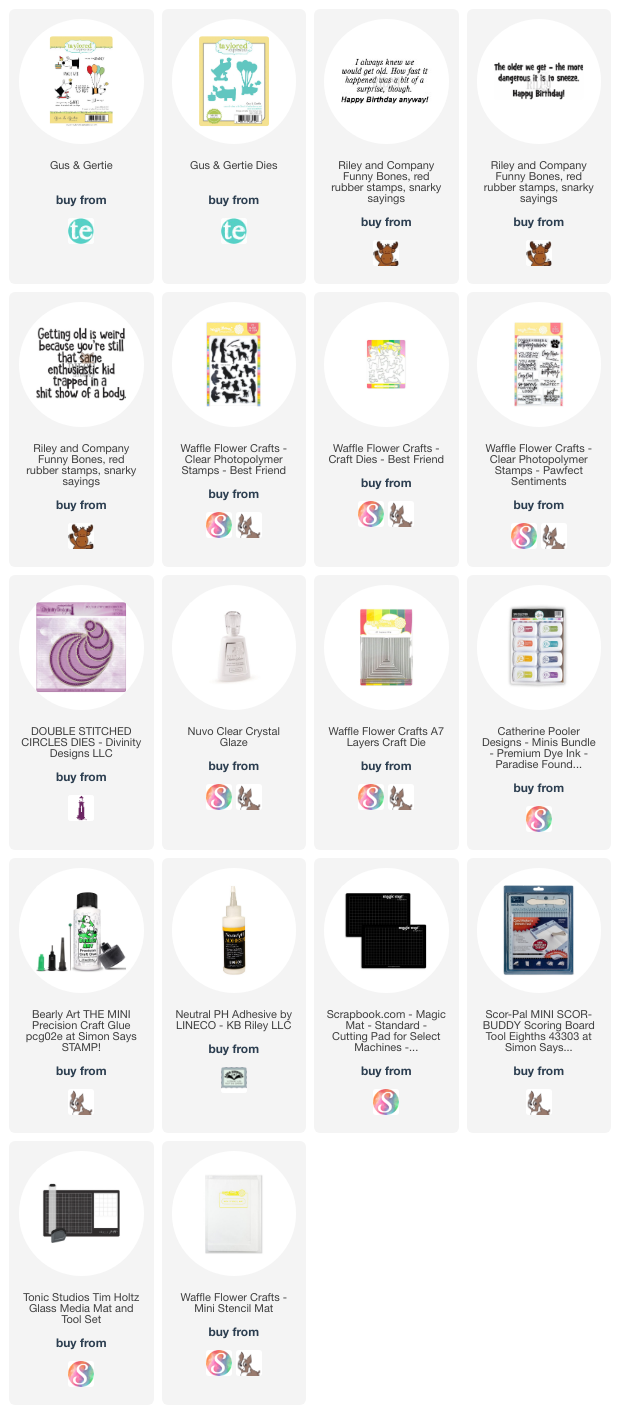
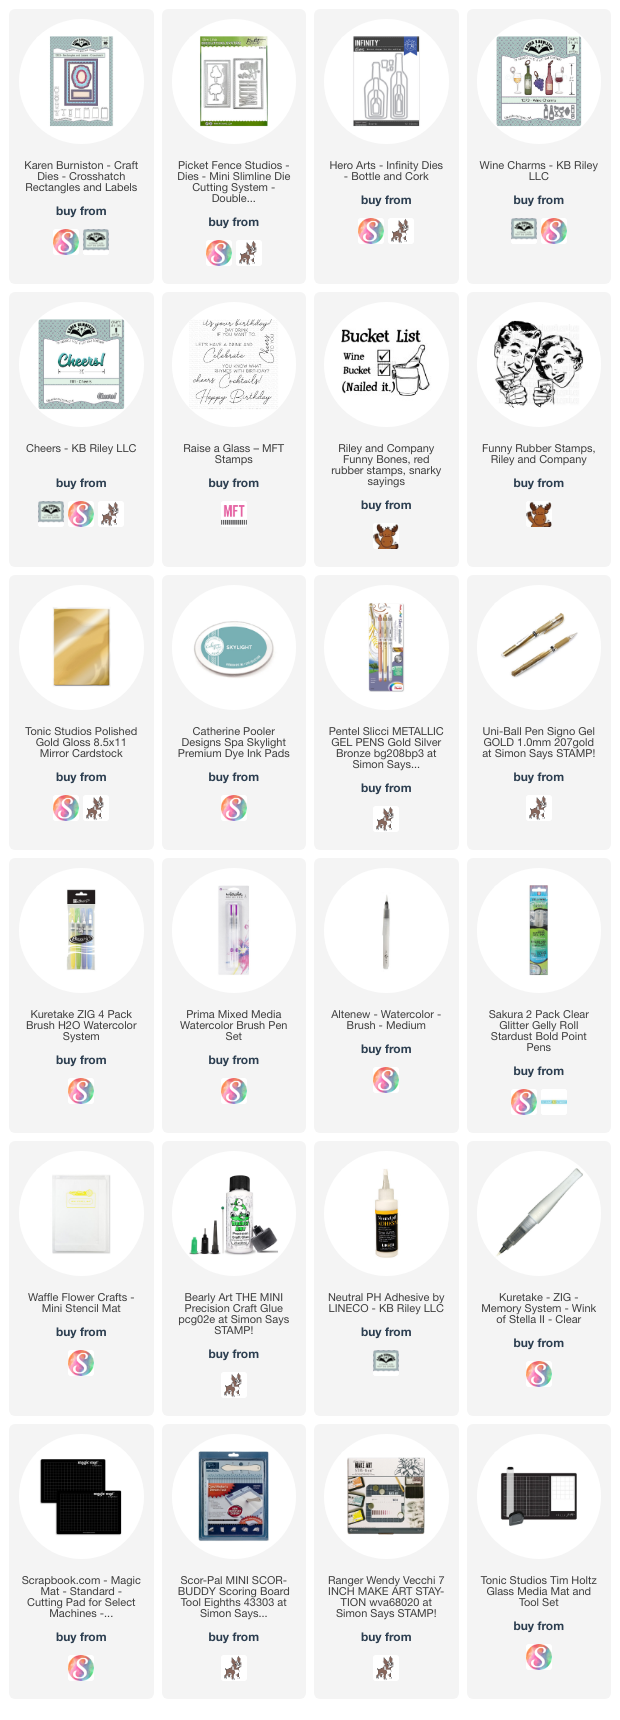
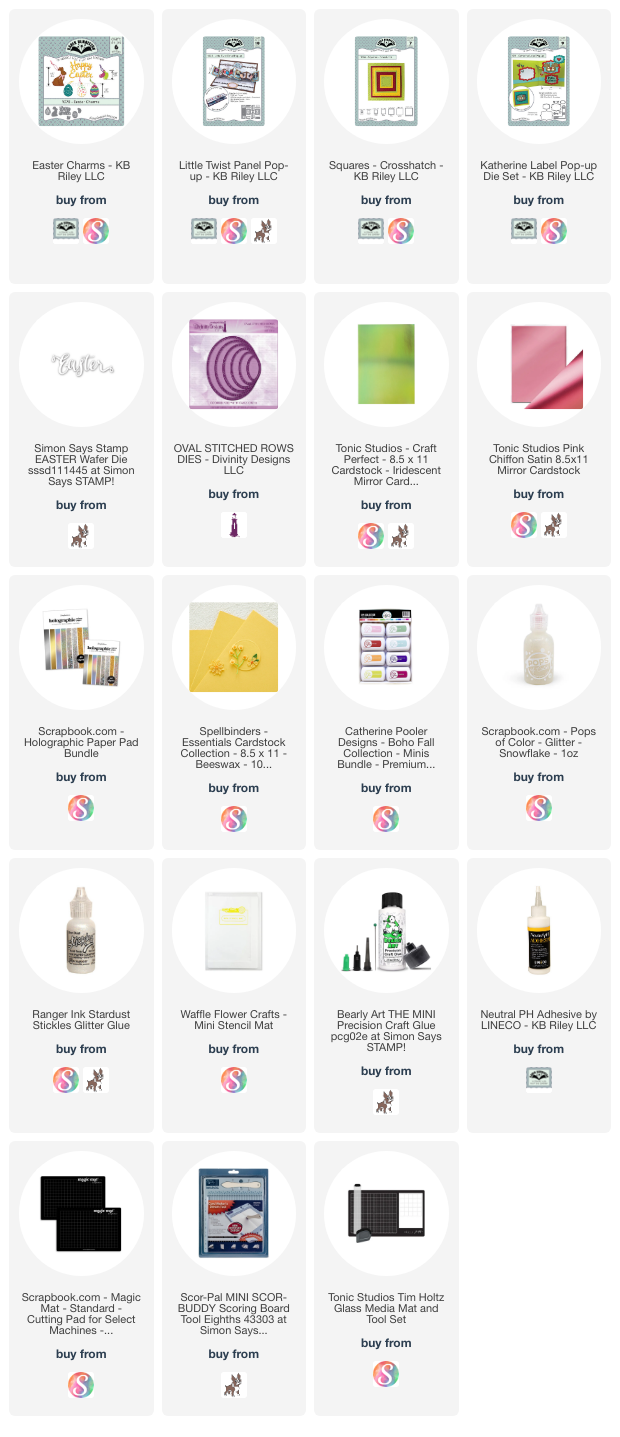
Additional Supplies:
White cardstock
Snowflake punches - Martha Stewart
This blog uses affiliate links whenever possible. This means, if you make a purchase through one of my affiliate links that you pay the same amount but I may receive a small commission from your purchase. I only link products that I own, love and use for my card making and not every link below is an affiliate one! 😊