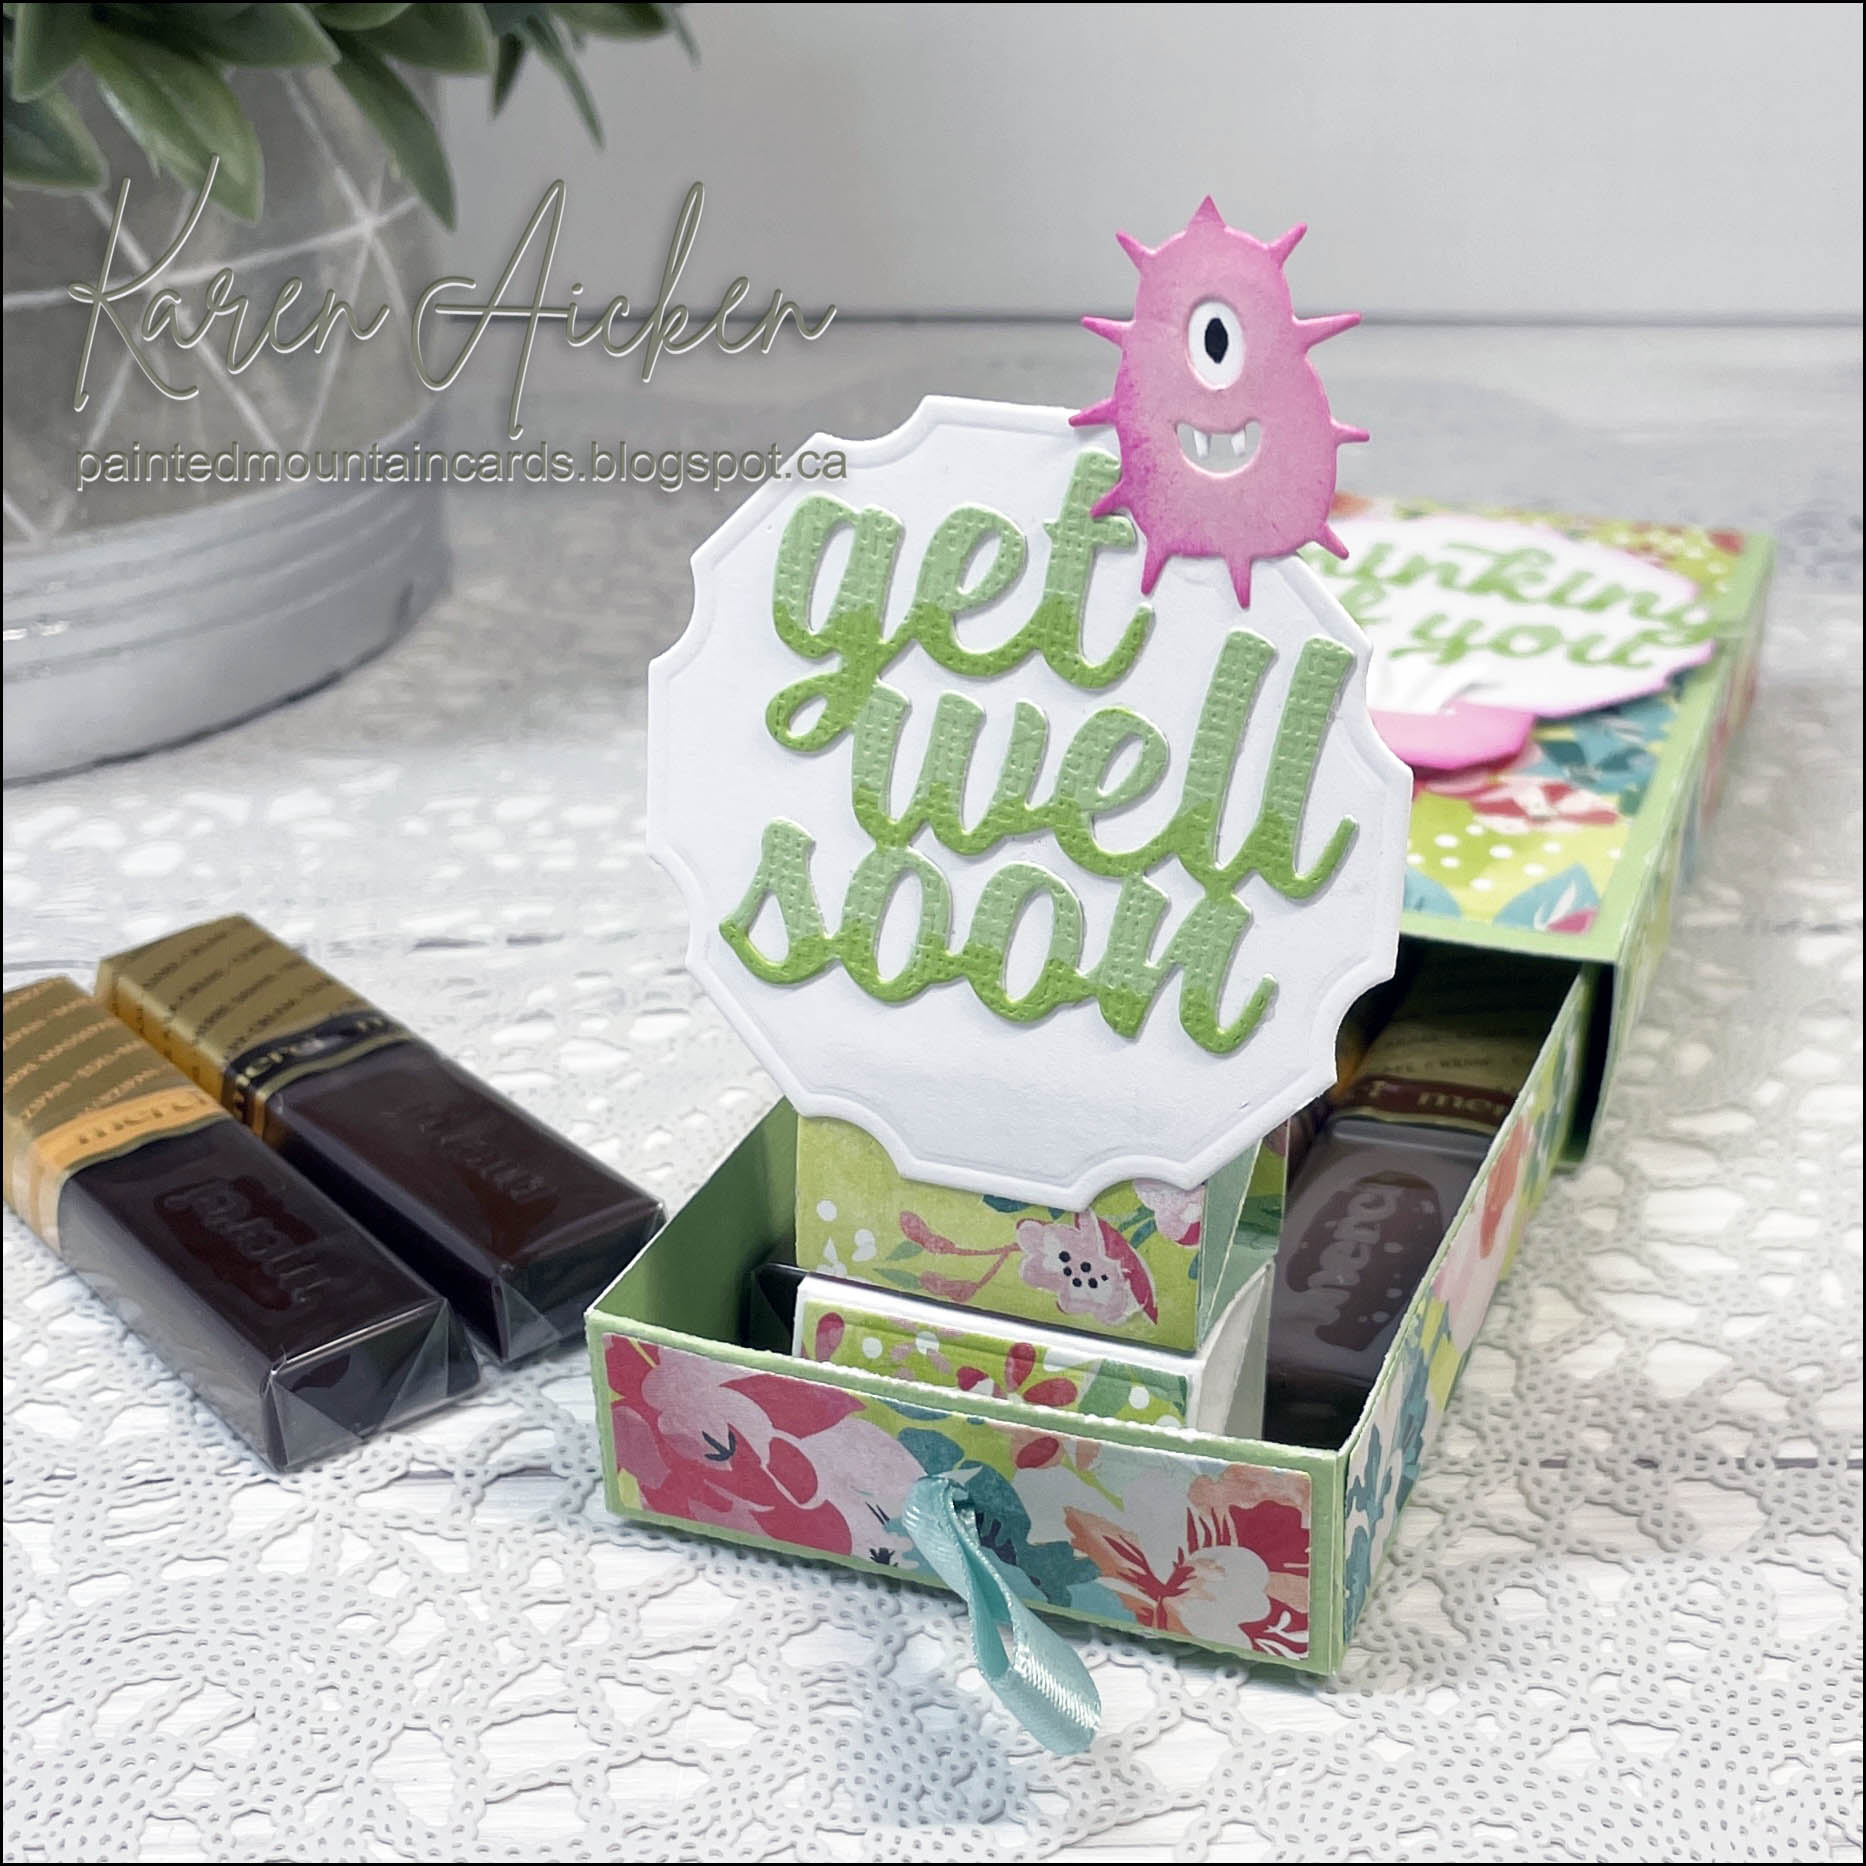
It's Fun Fold Friday here on my blog, and today I'm sharing another Slider Box. This one has a sentiment that pops up when you slide the drawer out of the sleeve - so fun! You can see this action in my YouTube video:
Using patterned paper and cut aparts, I decorated the outside ...

Below is what is inside the box. The You're Sweet panel pops up as the drawer/tray slides open & the Surprise Cube pops out as do the hearts.
One of the included rectangle dies has a nice edge decoration, so I cut it from acetate so I could add the speech bubble to it. That was then attached to a Bam Box that was also adhered inside the decorated drawer/tray.
A few of the single hearts are from Karen Burniston's Hearts Crosshatch, and the others are the fallaway pieces from Whimsy's Slimline Heart Background. I shared that card last week.

I have been asked how many cards I make but I didn't have a clear number. Since many of my posts include more than a single card or project, I thought it would be fun to keep track this year.
Card Tally for 2023
January - 53 cards
February so far - 21 cards
January - 53 cards
February so far - 21 cards
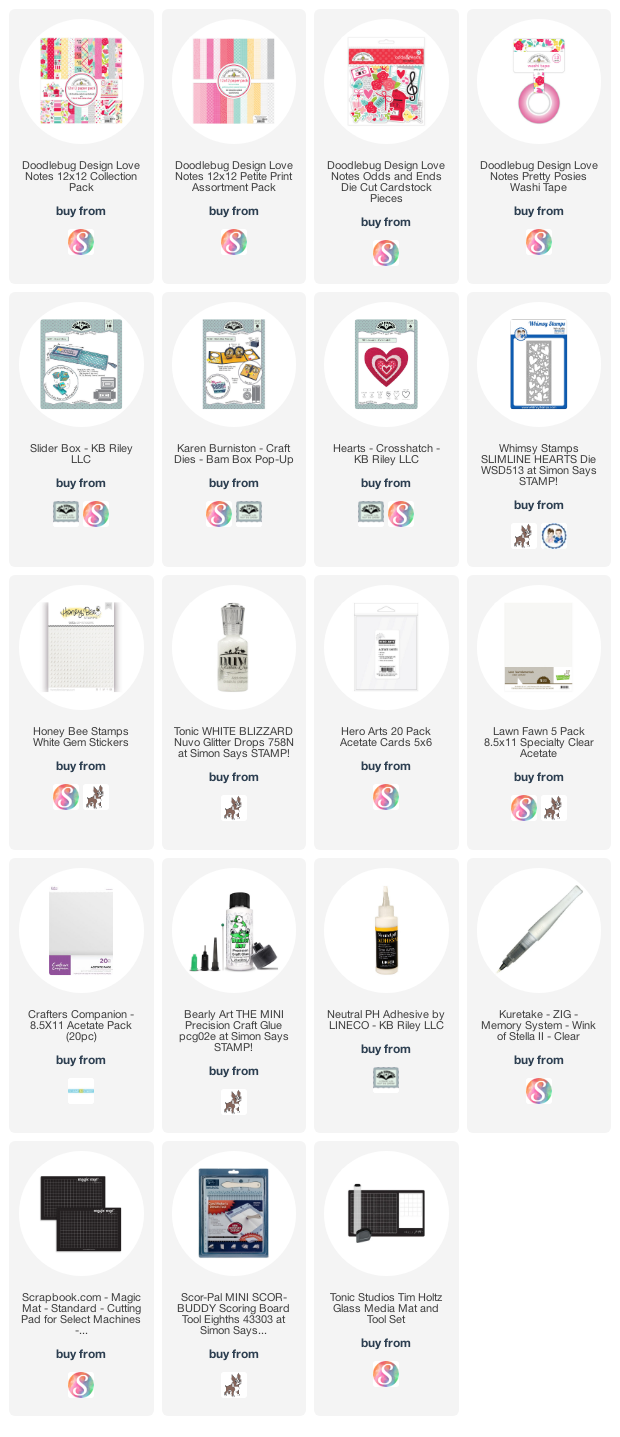
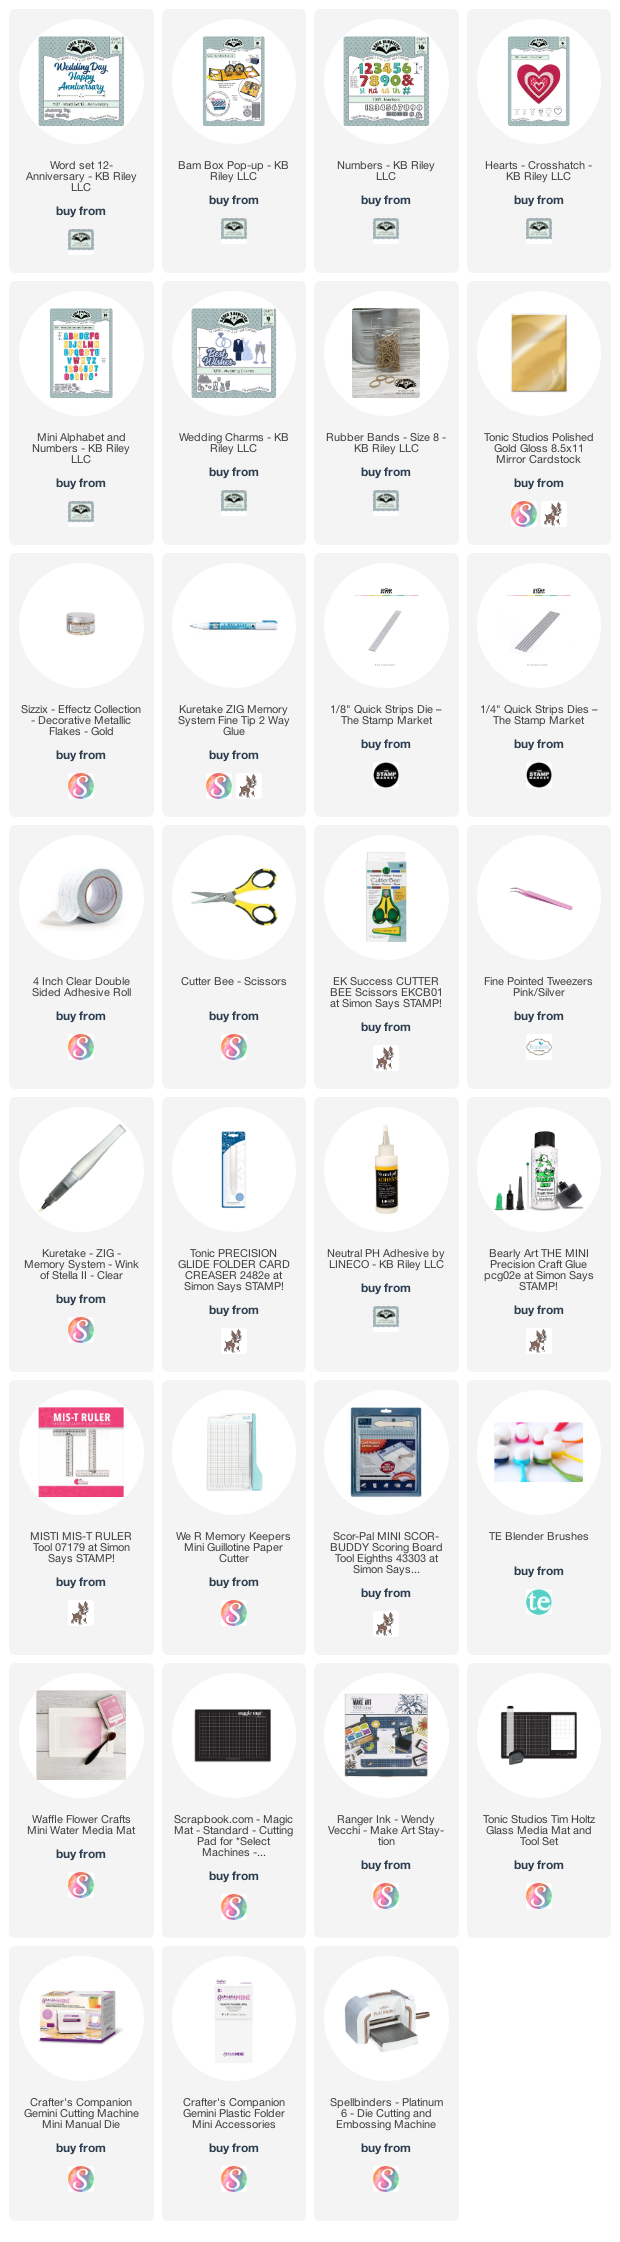
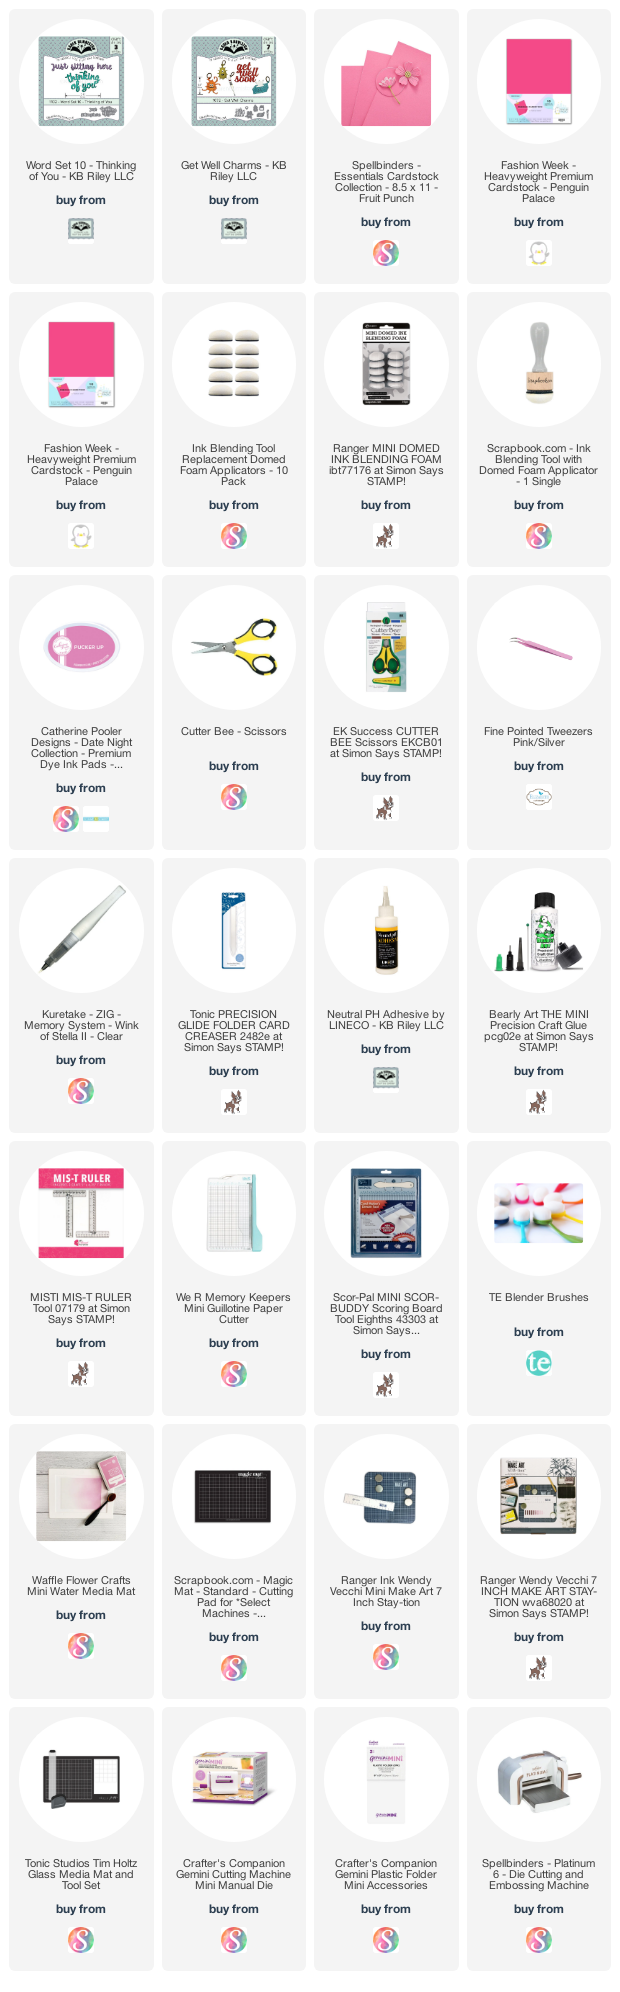
Additional Supplies:
White cardstock
Pink cardstock - Stampin' up
Pink ribbon - Stampin' Up
This blog uses affiliate links whenever possible. This means, if you make a purchase through one of my affiliate links that you pay the same amount but I may receive a small commission from your purchase. I only link products that I own, love and use for my card making and not every link below is an affiliate one! 😊