Showing posts with label KB Design Team. Show all posts

Tuesday, 4 April 2023

Easter Slider Box


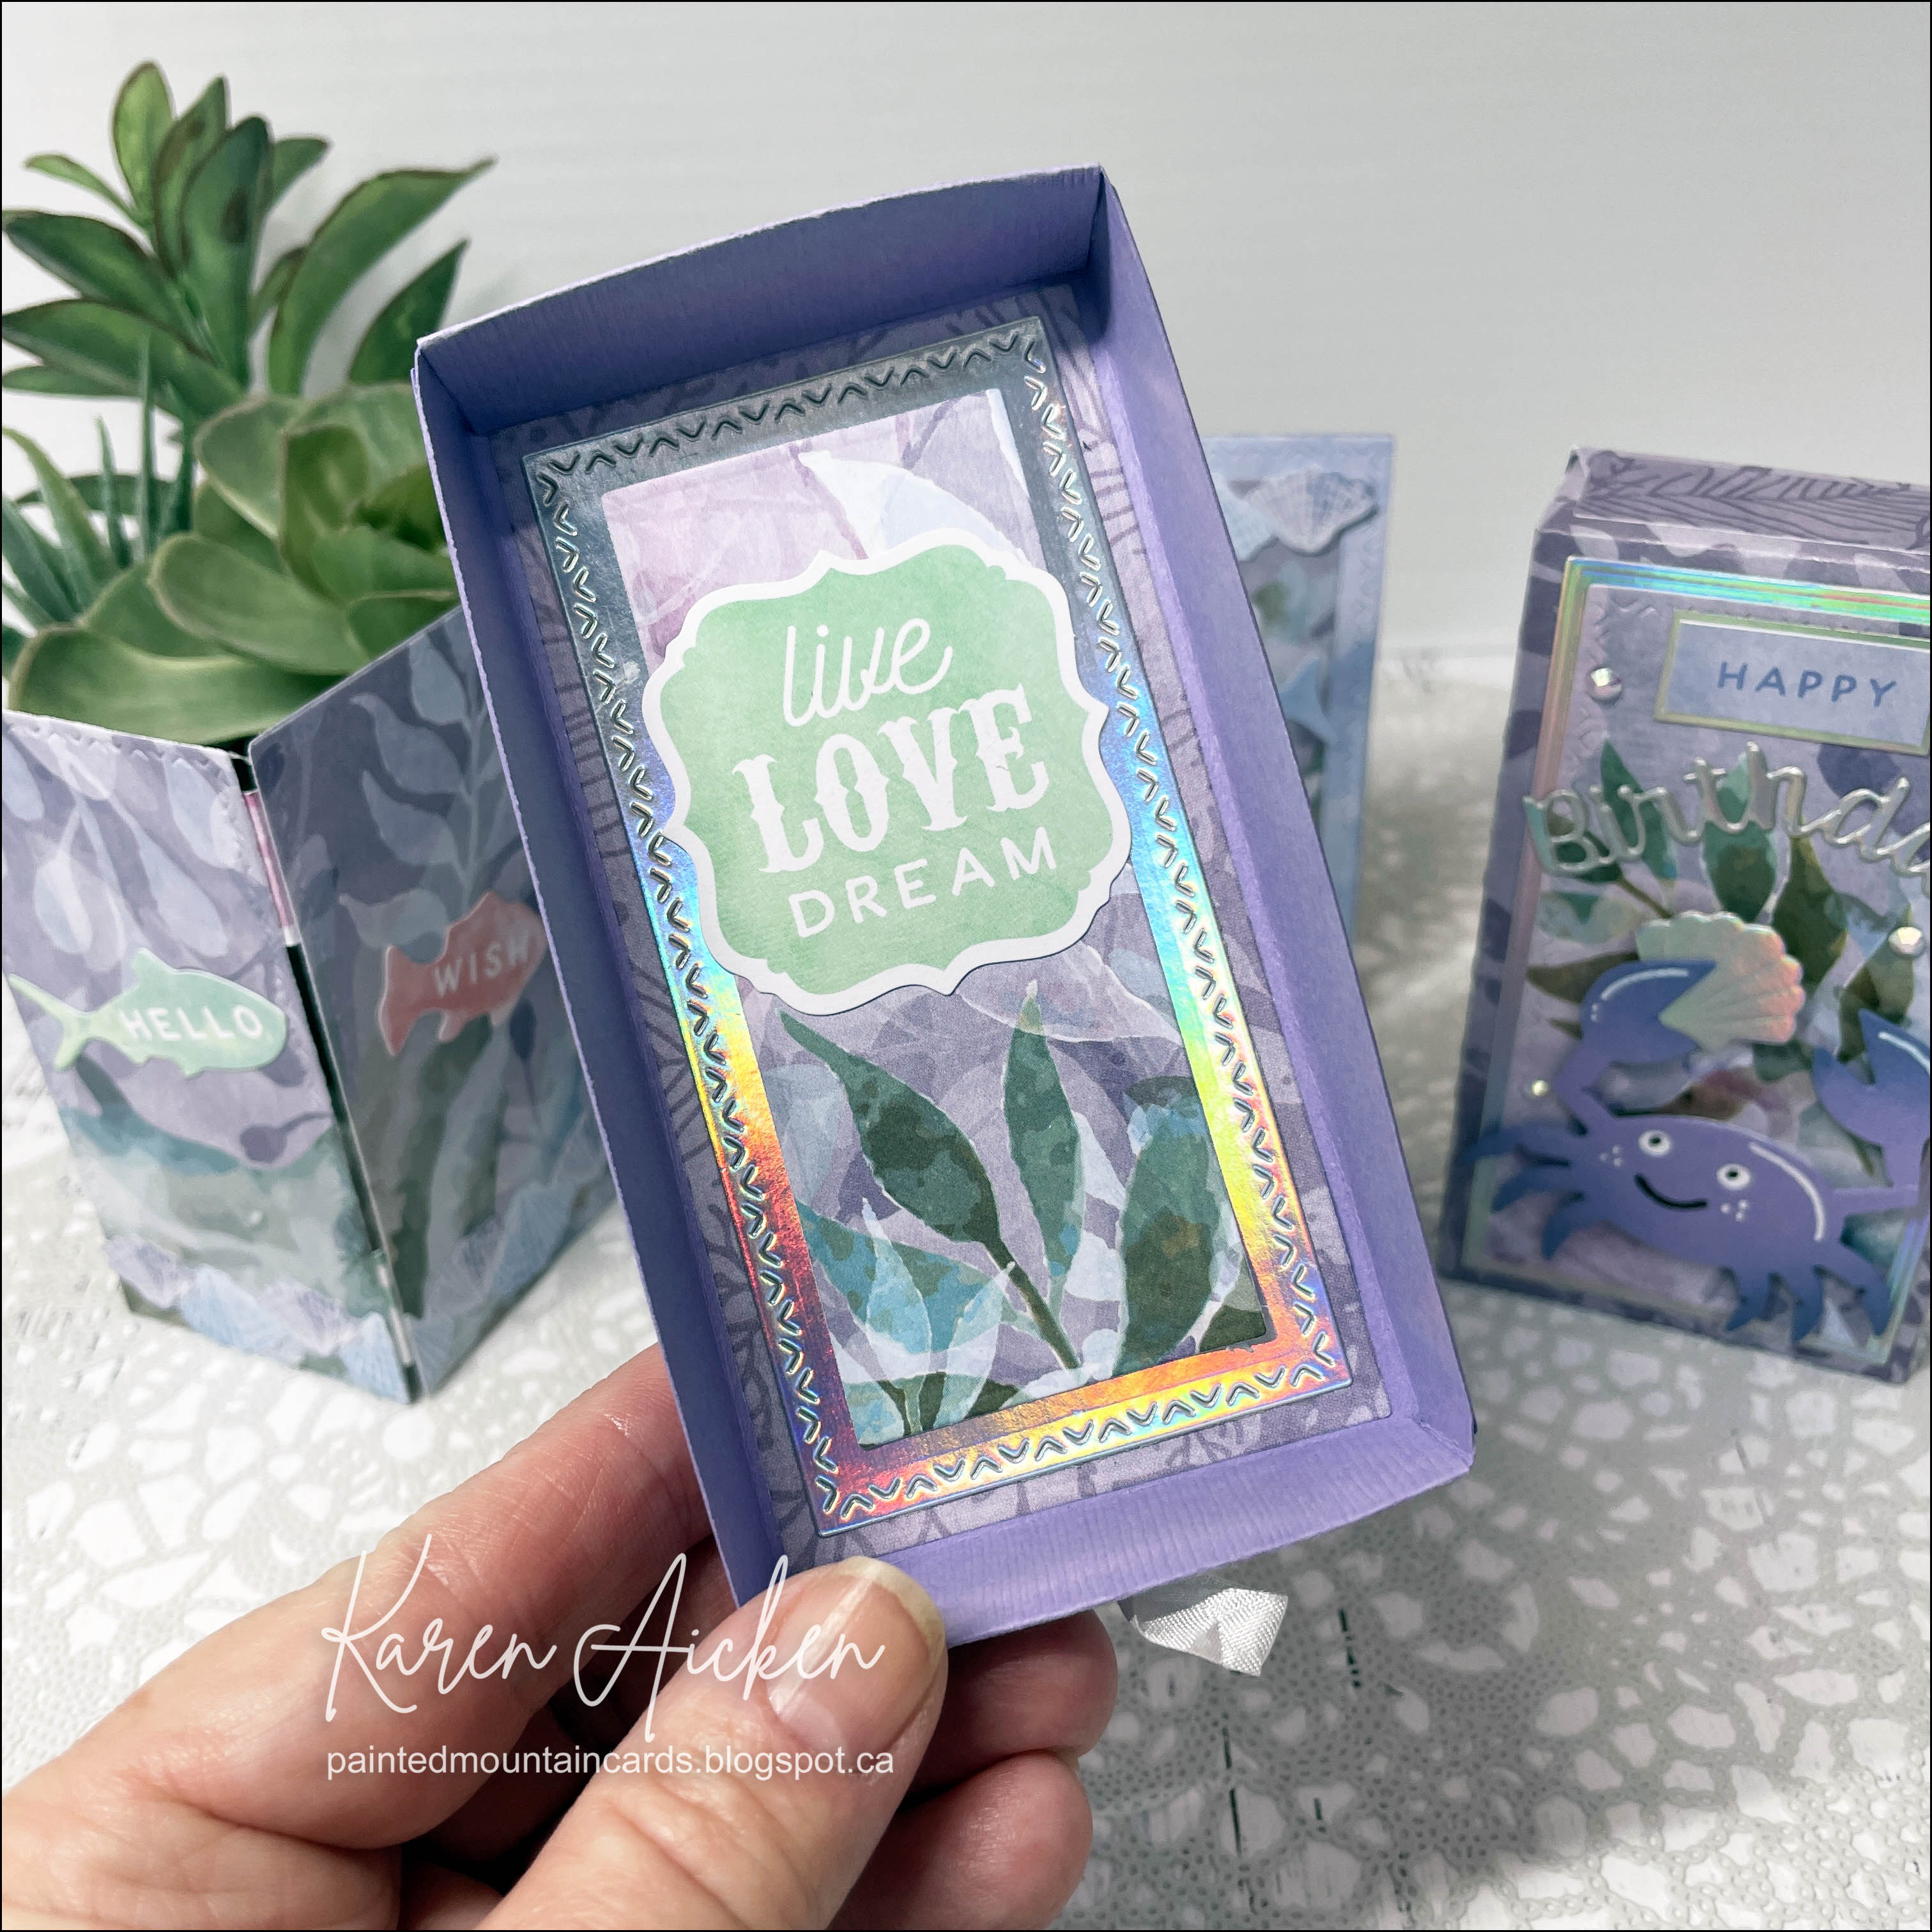
Welcome to Karen Burniston's April Designer Challenge, where the them is 'Bunnies!'. After the Accordion folded card/Slider Box I created for last months Designer Challenge, I knew I wanted to use the Slider Box again. One of the ideas I had as soon as I saw this die set, was to create a shadow box. This was the perfect opportunity!


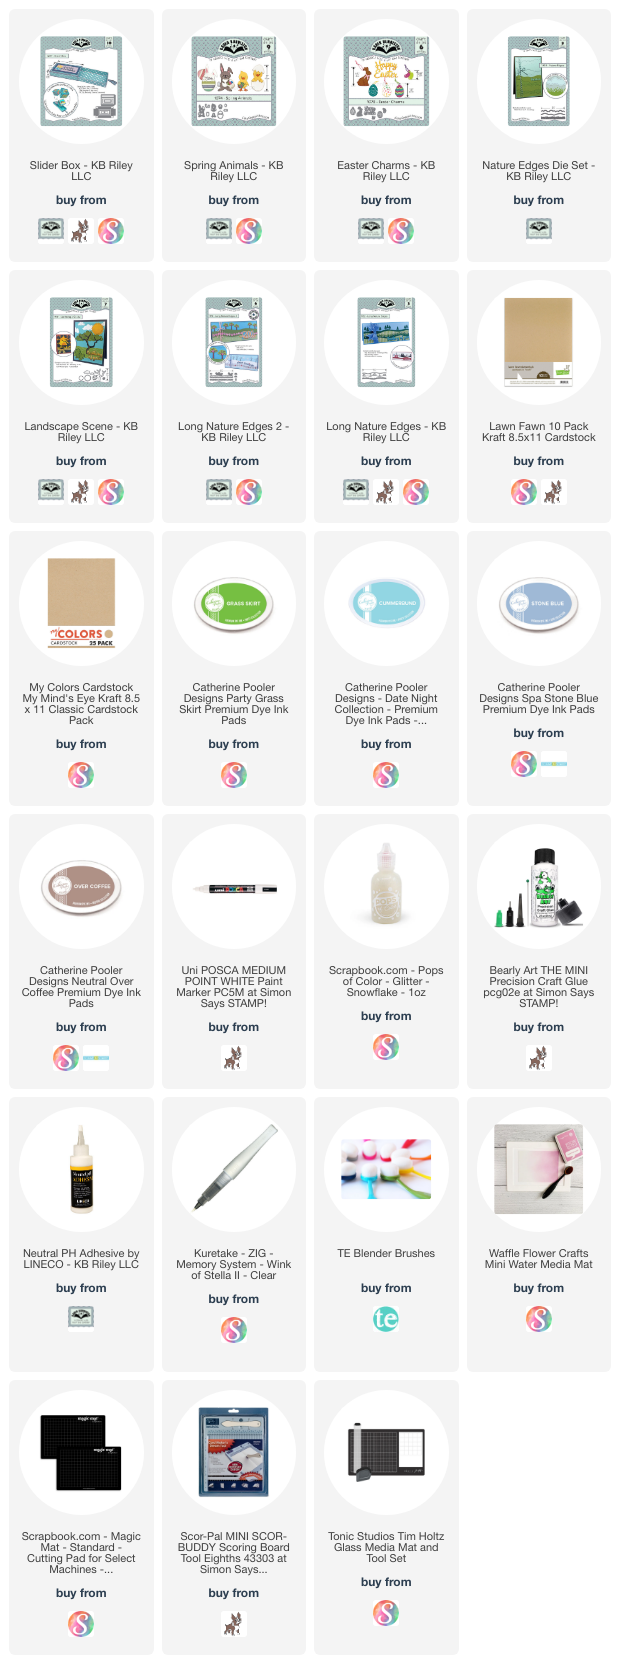
I used brightly coloured patterned paper and holographic card stock, them pulled out the Easter Charms, Spring Animals, both sets of Nature Edges and the Landscape Scene die sets.


When you pull the ribbon loop, the drawer slides open to reveal a dimensional Spring scene!


I was so happy with how it turned out!


Since I don't plan these things out, but instead create with a 'lets try ...' or 'what if ...' style. So I don't have a tutorial on this shadowbox. If I make another one I will at least photograph my steps, but I couldn't do that for this card as I wasn't sure if what I was doing was even going to work! If you are familiar with shadow boxes though, it should be easy to figure out how to create different layers & depths on the side tabs.


Since this is intended to be an Easter CARD, I added a space on the bottom of the drawer for our personal greeting. Everything was glued flat so as not to create any catch points as it slides in and out of the outer sleeve.


The rest of the Design Team is linked on the right side of my blog and I hope you will check out what they came up with for the challenge. Karen Burniston will have her post tomorrow (Wednesday) on her BLOG.


Having been asked how many cards I make I thought it would be fun to keep track this year. Many of my posts include more than a single card or project and below is my tally. 

Card Tally for 2023
January - 53 cards
February - 56 cards
March - 55 Cards
April so far - 8 Cards


Additional Supplies:
Patterned paper - Watercolours 6 x 12" pad, Sizzix (Discontinued)
White cardstock
Seam binding - Stampin' Up
Rainbow Holographic cardstock - Recollections
Black fine point marker

This blog uses affiliate links whenever possible. This means, if you make a purchase through one of my affiliate links that you pay the same amount but I may receive a small commission from your purchase. I only link products that I own, love and use for my card making and not every link below is an affiliate one! 😊


Tuesday, 7 March 2023

Birthday Accordion Card & Slider Box


It's time for Karen Burniston's Designer Challenge for March, with the theme:  "VACATION!" - where do you want to go? Beach? Mountain Cabin? Farm Livin'?" While I am not a beach girl - I chose to make an ocean themed project today. I started with the Slider Box and some pretty patterned paper from my stash. Then I chose a bunch of dies by Karen Burniston for my project, and they are all linked below.


The Rainbow Holographic cardstock adds a lot of shimmer and shine. I love a bright red crab, but went with soft purple for this one. Those little crabs from the Beach Borders are SO darn cute.


Using the decorator rectangles from the Slider Box with hinges from the Charm Accordion I  created an accordion card that folds up inside the box. It's a fun surprise when you slide the box open.


Using one of the frames from the Slim Frames I created a little shaker on the accordion card front, but I snipped two crabs from the border and adhered them down inside the shaker with the dream word sticker. So they don't move around when you shake the frame.


This is the bottom of the box, which is revealed when you remove the accordion card.


The back side of the card has some stickers from the same package as the patterned paper, but I had to use adhesive as they didn't stick well on their own.

I know just who this is going to for her birthday!

The rest of the Design Team is linked on the right side of my blog and I hope you will check out what they came up with for the challenge. Karen Burniston will have her post tomorrow (Wednesday) on her BLOG.

Late last year I was asked how many cards I make but I didn't have a clear number. Since many of my posts include more than a single card or project, I thought it would be fun to keep track this year. 

Card Tally for 2023
January - 53 cards
February - 56 cards
March so far - 15 Cards

Additional Supplies:
Purple textured cardstock - Bazzill
Crinkle seam binding - Stampin' Up
Rainbowow Hollographic cardstock - Recollections
White cardstock
Blending Brushes
Gems - Stampin' Up
Staedtler fine liner markers
Black sharpie
Alcohol markers

This blog uses affiliate links whenever possible. This means, if you make a purchase through one of my affiliate links that you pay the same amount but I may receive a small commission from your purchase. I only link products that I own, love and use for my card making and not every link below is an affiliate one! 😊


Monday, 20 February 2023

Karen Burniston New Release Blog Hop

Welcome to our Karen Burniston Products - KB Riley LLC February Release Blog Hop. The Design Team have come together with Karen today for a fun blog hop to celebrate the release of 6 new dies. Sneak peeks of the new release started last week, and the dies are available to order NOW!


GIVEAWAY:
To celebrate the release Karen Burniston and each of the Karen Burniston - KB Riley LLC Design Team members will be giving away a $25 Gift Certificate to some lucky person who comments on our blog posts, so make sure you join the hop and comment on everyone's blog post. Winners will be randomly chosen from ALL of the blog hop comments received on our blog posts by Monday, 27th February 2023. Lots of chances to win some goodies, so just leave a comment on this post or any other blog hop posts to enter! Don't forget to leave some way for us to contact you, in case you are a lucky winner!

For my card, I combined the new release with previously released items for an ocean themed card that is 5 x 7"***    All the dies used are linked below for you and later this morning I will post a quick video here so you can see the card in action.


I was excited to see that frame for the Label Charm Pop Up - it finishes off the front opening as well as gives you even more label sizes for layering.


I think my favourite of the new borders is the crab one ... they snip apart so easily that you can add little crabs wherever you want them. And that Jellyfish? ❤️


***NOTE:  I did use a larger die cutting machine but if your machine will only accept a 6" width you can always make your 5 x 7" card in two pieces. For that, the front would measure 5.5 x 7", scoring 1/2" down the left side. The back of your card would be 5 x 7". After die cutting, simply add adhesive down that 1/2" strip and adhere it to the back side of the back card panel!


Late last year I was asked how many cards I make but I didn't have a clear number. Since many of my posts include more than a single card or project, I thought it would be fun to keep track this year. 

Card Tally for 2023
January - 53 cards
February so far - 45 cards

Additional Supplies:
Patterned paper - Mermaid Tails, Kaisercraft
5 x 7" card blank and envelope
White cardstock
Black & green fine point markers
Grey alcohol marker

This blog uses affiliate links whenever possible. This means, if you make a purchase through one of my affiliate links that you pay the same amount but I may receive a small commission from your purchase. I only link products that I own, love and use for my card making and not every link below is an affiliate one! 😊

Tuesday, 7 February 2023

Waterfall Valentine Card


Welcome to Karen Burniston's February '23 Designer Challenge, where KB gave her Design Team this challenge:  Theme: "WEDDING, ANNIVERSARY or VALENTINES" - Love is in the card!

I decided to create a waterfall card Valentine for my hubby, and below you can see what the card looks like as you slide the tab to the right.


Rather than use the included rectangles with the Waterfall Card die set, I added her Banners Crosshatch to the first three folds. Each of the four areas were decorated with patterned paper, cut aparts & stickers as well as die cut words (also from Karen Burniston)


When I was pretty much finished the card, I found that the pull tab was catching on that black card stock panel. To remedy that, I added strips of acetate to the front and back of the pull tab and it pulls smoothly with no more catching! The strips were long enough to tuck under the last waterfall panel by about 1/2" so there is no chance of it popping out when the pull tab is fully extended.


For the final panel, I use 5th included squares and one of the Love Charms.


When doing Waterfall Cards, I prefer to make them Post Card style, and for that reason I don't add foam tape or bulk to the back of the card. I added the Happy Valentine's Day and two more Love Charms onto the back and will write my personal message there as well.


The rest of the Design Team is linked on the right side of my blog and I hope you will check out what they came up with for the challenge. Karen Burniston will have her post tomorrow (Wednesday) on her BLOG.

Late last year I was asked how many cards I make but I didn't have a clear number. Since many of my posts include more than a single card or project, I thought it would be fun to keep track this year. 

Card Tally for 2023
January - 53 cards
February so far - 23 cards

Additional Supplies:
White cardstock
Red cardstock
Black marker

This blog uses affiliate links whenever possible. This means, if you make a purchase through one of my affiliate links that you pay the same amount but I may receive a small commission from your purchase. I only link products that I own, love and use for my card making and not every link below is an affiliate one! 😊

Tuesday, 3 January 2023

Pop Up Wedding Card


Welcome to Karen Burniston's January 2023 Designer Challenge where she challenged her Design Team with the theme: "RUBBER BAND POP-UPS" - use any of the pop-up dies that require a rubber band for a card or project of any theme. (Ball dies, Surprise Cube, Bam Box)." I created a 'non traditional' wedding card for a couple who had a 'non traditional 'wedding last month!

Inside I used the Surprise Cube to animate the word CONGRATS, along with a pair of champagne glasses and hearts. My card is held closed with two magnets on the right flap, which is fun. I am going to have to order more of those magnets, as I know I will get a lot of use out of both the Surprise Cube and the new Bam Box in my card making.


My card started out as a 5 x 7" card, but I wanted to try this flap idea so the finished size is actually 4 x 7". I scored 1" from the inside right edge to form the flap, and trimmed 1-1/8" off the card front on the right edge.  I'm happy enough with the card, but next time I would just use one of Karen Burniston's flap dies. Now I know! 

You may notice my Surprise Cube looks a little different. I kept the sides folded to the OUTSIDE instead of tucking them in. Which of course meant they didn't fit inside without trimming a tiny bit off of those four outer corners. I thought I'd made a big mistake, but didn't realize it until after the card was in the mail. Karen B assured me it was fine, just another look for the Surprise Cube. Whew!


The cube folds down flat, then pops up when you open up the flap.

I am going to include a running tally on how many cards I make this year, not counting the ones I don't share here on my blog.  I donate 25 Birthday Cards each month to my Mom's old nursing home and don't often take photos or post the majority of those. A couple of times recently, I was asked how many cards I make but I didn't have a clear number. Since a lot of my posts include more than a single card or project, I thought it would be fun to keep track this year. 

2023 Tally: 15 Cards

Additional Supplies:
5 x 7" card and envelope
White cardstock
4 small magnets - K&J Magnetics
Gold Thread
Pink Copic marker

This blog uses affiliate links whenever possible. This means, if you make a purchase through one of my affiliate links that you pay the same amount but I may receive a small commission from your purchase. I only link products that I own, love and use for my card making and not every link below is an affiliate one! 😊

Monday, 12 December 2022

Karen Burniston New Release Blog Hop


Welcome to our Karen Burniston Products - KB Riley LLC December Release Blog Hop. The Design Team have come together with Karen today for a fun blog hop to celebrate the release of 11 new dies. Sneak peeks of the new release started last week, and the dies are available to order NOW! Be sure to scroll down to read about the giveaway.


This release includes:
  • 2 new charm die sets
  • 1 new stand alone die set
  • 2 new Tiny House Add-Ons sets
  • 2 new Pop-up die sets
  • 1 new Woven Box Basket die set
  • 2 new Crosshatch die sets
  • 1 new Box die set
Dies are available to order now on the website.


I created a starburst style of card in a Christmas Book theme and I have all the details on YouTube


There are five different hexagon panels that make up my card, and each one has a pop up added as well. All using dies by Karen Burniston, of course. 😊 I just adore that cute Bookworm.


The white ornament was added as a place to sign our names.


GIVEAWAY:
To celebrate the release Karen Burniston and each of the Karen Burniston - KB Riley LLC Design Team members will be giving away a $25 Gift Certificate to some lucky person who comments on our blog posts, so make sure you join the hop and comment on everyone's blog post. Winners will be randomly chosen from ALL of the blog hop comments received on our blog posts by Monday, 19th December 2022. Lots of chances to win some goodies, so just leave a comment on this post or any other blog hop posts to enter! Don't forget to leave some way for us to contact you, in case you are a lucky winner!

Hexagon Crosshatch - shipping now!

Bookworm - shipping now!

Additional Supplies:
White cardstock
Black fine point marker
Alcohol markers
Kraft cardstock scrap
Rainbow holographic mirror card stock - Hunky Dory

This blog uses affiliate links whenever possible. This means, if you make a purchase through one of my affiliate links that you pay the same amount but I may receive a small commission from your purchase. I only link products that I own, love and use for my card making and not every link below is an affiliate one! 😊

Tuesday, 6 December 2022

Winter Fireplace Pop Up Card


Hello my crafty friends and welcome to Karen Burniston's Designer Challenge for December. This was the theme she gave the Design Team: "FIREPLACE DIE THROUGH THE YEAR" - sign up for a month to represent with a card using the Fireplace Pop-up matching the theme of that month". I chose December and here is my wintery fireplace pop up card!

Chosing a limited colour palette, white, tan and silver foil gives the card an elegant feel, and while it could be sent as a holiday card - it would also work for any kind of winter card or to send to people who don't celebrate the holidays. Or change the sentiment dies to create a winter Birthday card.

I pulled out some older 6 x 6" papers for this one, a light woodgrain and the silver dotted one. The snowflake border is from the Long Nature Edges 2. It was cut from white pearl cardstock and curved around layered Ovals Crosshatch. Finally, the Brrr! and shadow were added along with some bling.


I don't make a lot of square cards as they cost more to mail. But once in awhile it's a card shape that works perfectly for the design I have in mind. This one is 5-1/2" square. Inside I used more of the patterned paper and the Fireplace Pop Up. Since I used so many of Karen Burniston's dies, I'm not going to name them all here - but they are all linked below for you.


The flagstone in front of the fireplace was created using the 'lumps of coal' die that's included in the Holiday Charms. It was fun flipping through all of my KB dies, checking out the decorator dies to see what would work on this card. I just kept adding and building until I was happy with how it looked.


The little starburst behind the candles is from the Christmas Trees Pop Stand and I thought it was a fun way to change the look of the candles. The fire in the fireplace was actually cut from a leftover piece of copper foiled cardstock. Often there are leftover scraps after hot foiling and die cutting a sentiment and I save those pieces for just this reason. 


The rest of the Design Team is linked on the right side of my blog and I hope you will check out what they came up with for the challenge. Karen Burniston will have her post tomorrow (Wednesday) on her BLOG.


Additional Supplies:

White card stock

Patterned paper - Silver & Gold 6 x 6” Specialty, Stampin' Up (retired)

Wood grain patterned paper - OLD, misc sheets from my stash

Scrap of copper foiled cardstock

Brown marker

White pearl cardstock

Silver mirror cardstock - Hunkydory

Scrap of brown cardstock


This blog uses affiliate links whenever possible. This means, that at no cost to you, if you make a purchase through one of my affiliate links that I may receive a small commission from your purchase. I only link products that I own, love and use for my card making and not every link below is an affiliate one! 😊