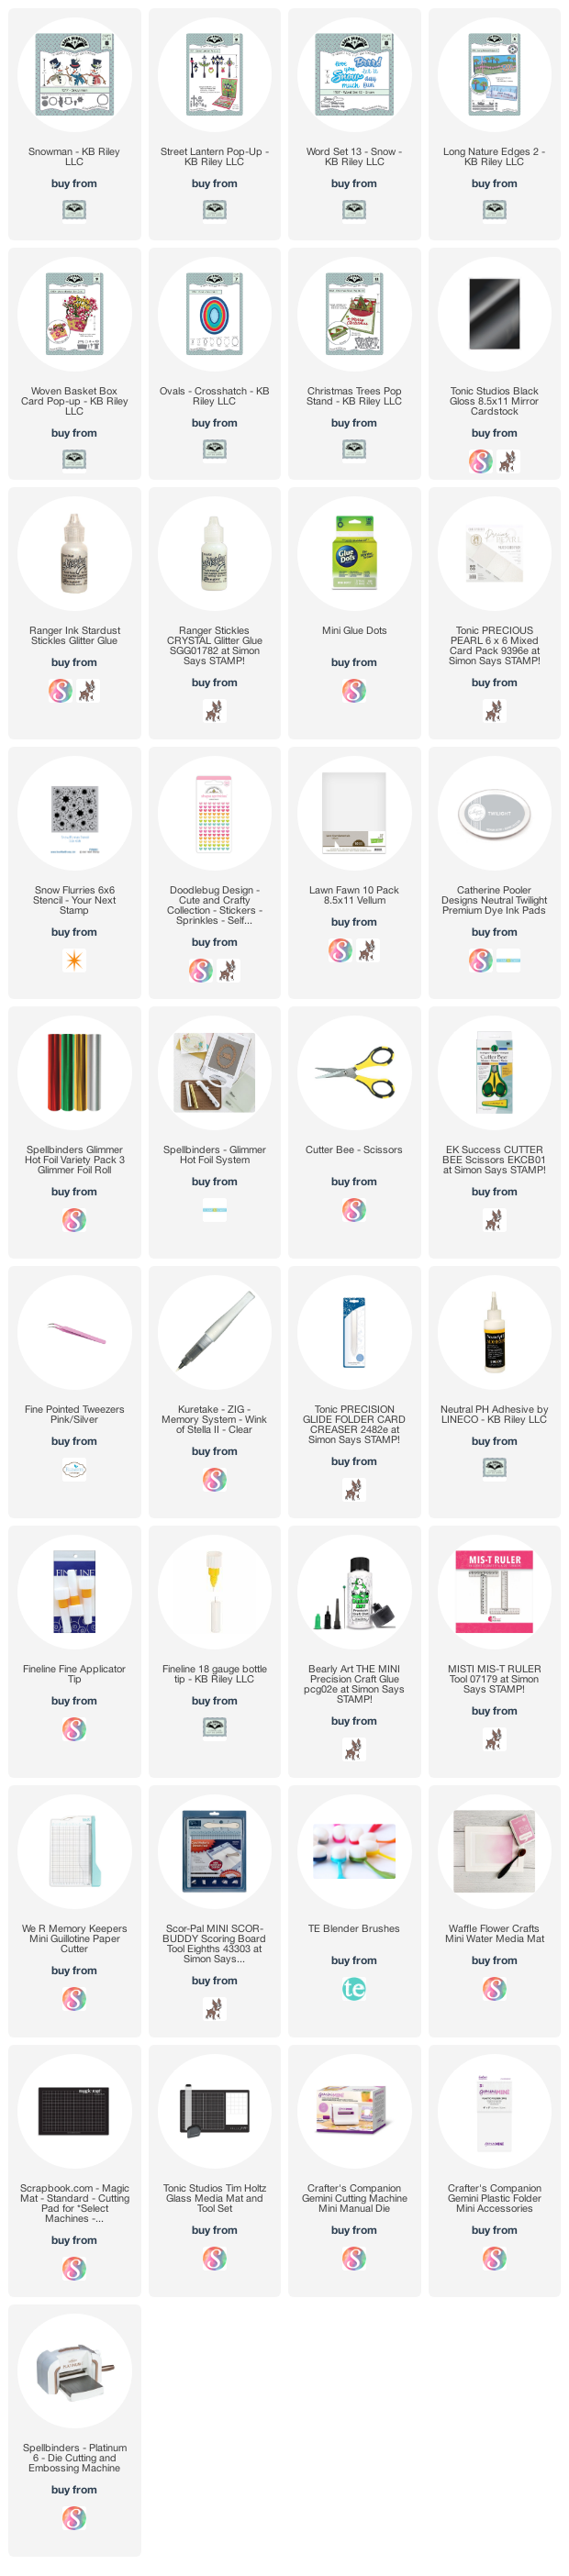
Hello my crafty friends and welcome to the November 2022 Designer Challenge. Karen Burniston challenged her Design Team with the theme: "SNOWMAN" - create a card with any of the Snowman. (Die ideas - 1012 Snowman Twist Circle, 1017 Snowman, 1213 Snowman Add-ons)
Since It had been awhile since I'd played with the Woven Basket Pop Up, I decided to use that one (and re-watched Karen B's assembly video), then I chose the Snowman die I wanted to use. I have all the details on YouTube!
I love how this card folds completely flat for mailing (photo above) but stands beautifully for display (photo below).
When I have finished glimmer foiling and die cutting, there are often useable pieces leftover around the edges and of course I save all of those. I used gold foiled scraps for the bows, hat band, star and candle flame.
On the back side, there is an oval to write our personal greeting and I went over adding a solid backing to the treee in my video. Those cute swirled snow mounds are actually the tree foliage dies from the Long Nature Edges 2. 😊
The rest of the Design Team is linked on the right side of my blog and I hope you will check out what they came up with for the challenge. Karen Burniston will have her post tomorrow (Wednesday) on her BLOG.
This blog uses affiliate links whenever possible. This means, that at no cost to you, if you make a purchase through one of my affiliate links that I may receive a small commission from your purchase. I only link products that I own, love and use for my card making and not every link below is an affiliate one! 😊
Any supplies I'm unable to link are listed at the very bottom of my post.
Additional Supplies: Gold cording White cardstock Copic markers
Hello my crafty friends and welcome to Karen Burniston's March Designer Challenge. The challenge is to " incorporate a shaker element into a card of any theme.". I chose to crate a Pop Up Mother's Day card with a shaker along the bottom edge. I have a walkthrough on YouTube:
As I explained in the video, this card was created in two pieces ... the card front was cut at 7 x 5.5" with a 1/2" scoreline along the top long edge. The back was cut 7 x 5" and my finished, folded card is 7 x 5" and fits in a standard A7 envelope.
Working on the front of the card, I cut in two pieces with the Long Nature Edges. I used one of the Long Rectangles Crosshatch to cut a long window from the smaller of the two pieces and that is what I created the shaker part on. The shaker was adhered directly to the bottom edge of the inside back panel, then I was able to adhere the remaining front piece to the back using that 1/2" flap. I also added the Happy Mother's Day with the included shadow, an expanding butterfly and heart - everything is linked below for you.
Inside I used the Street Lantern Pop Up for the little pop up platform which allowed me to add another heart as well as the Love You.
More butterflies were added to the scalloped heart with leftover strips of acetate from when I made the shaker. This allows the butterflies to expand when the card is open and displayed.❤️. That idea was inspired by teammate Sandy Diller!
The greenery is also from the Street Lantern Pop Up, cut from some of the aqua printed paper to decorate the edges of the shaker card and also the front bottom edge. Once again, I used one of the rectangles from the Slim Flaps and Frames to add a signing block and a place for our personal message.
One more look ...
I have the rest of the Design Team linked on the right side of my blog, and I hope you will check out what they came up with for the challenge. Karen Burniston will have her post tomorrow (Wednesday) on her BLOG.
This blog uses affiliate links whenever possible. This means, that at no cost to you, if you make a purchase through one of my affiliate links that I may receive a small commission from your purchase. I only link products that I own, love and use for my card making!
Any supplies I'm unable to link are listed at the very bottom of my post.
Additional Supplies: Patterned paper - Flower Market, Carta Bella (retired) Shaker filler - my stash
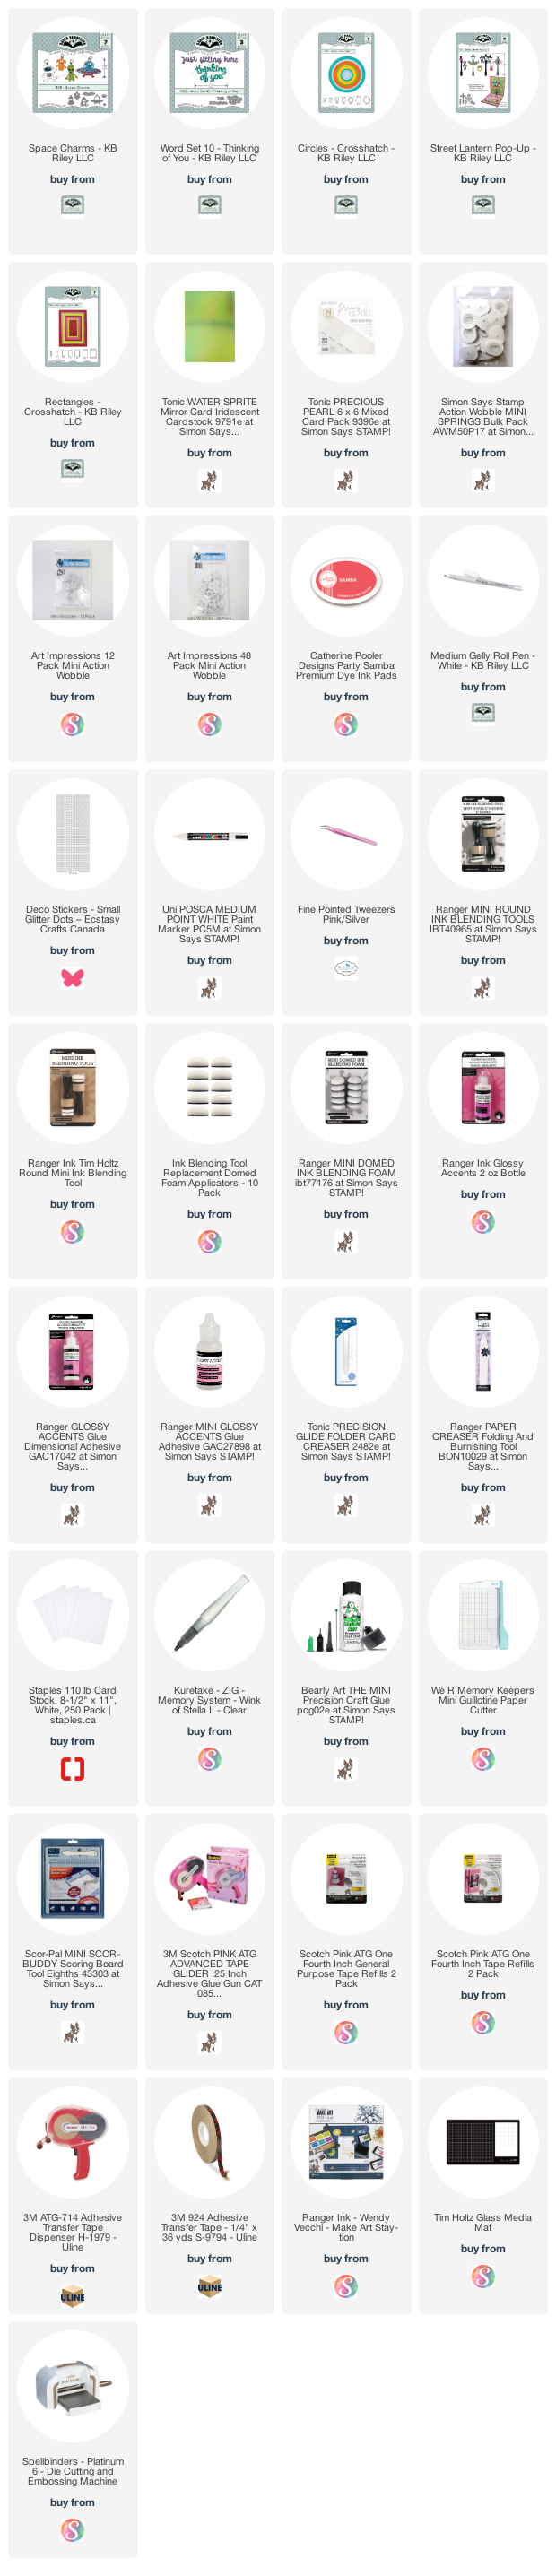
Hello! I had just received an order from R&R Scrapbooking out of Edmonton, and in it was this Galaxy metallic card stock pack. I had to dig in and make a card right away, so got out the Space Charms from Karen Burniston. I have a walkthrough of this Mini Slimline card on YouTube as well:
The lower space ship was attached to the card with a Mini Action Wobble so it bobs and wobbles around. So fun! The 'Thinking of You' is from Word Set 10 and I also added some gold glitter dot stickers to resemble stars.
Inside, I created a pop up with one of the dies in the Street Lantern Pop Up. It was a little short for this vertical orientation, so I added the off-cut piece from the panel on the left. I adhered that to the pop up arm and that extended it just enough for me to dd my space ship, alien and circle.
This blog uses affiliate links whenever possible. This means, that at no cost to you, if you make a purchase through one of my affiliate links that I may receive a small commission from your purchase. I only link products that I own, love and use for my card making!
Supplies: Mirri Card - Starry Galaxies, HunkyDory Coloured card stock scraps Fine point black pen Black sharpie