Hello! Today’s card is the Birthday card I made for our eldest daughter. It’s actually been done for awhile, but I rarely post things in the same order I make them. 😊. I pulled out the farm themed stamps & dies from Your Next Stamp, some older farm themed patterned paper and the Theatre Fold die set from Taylored Expressions. I have all the details on YouTube:
In the video, I made reference to my 'hack' or fix for the Theatre Fold as I was very disappointed in my first one. It was unstable and fell apart in my hands whenever I tried to pick it up. I will link that video below, as well as all the supplies that are still available!
Below is what the card looks like coming out of the envelope:
... and here is is when you pull on the sides to open it:
... the view from above:
... and finally, the back of the card. Since there isn't room to write a personal greeting on the front of the card, I added decorative panels to the back side. The stamps and dies are from Taylored Expressions.
Click HERE to see my video to my Theatre Fold hack.
This blog uses affiliate links whenever possible. This means, that at no cost to you, if you make a purchase through one of my affiliate links that I may receive a small commission from your purchase. I only link products that I own, love and use for my card making!
Additional Supplies: Patterned paper - Herbs & Honey, Basic Grey (old, from my stash) Copic markers Ohuhu alcohol markers
Hello! This was a tricky one. I had purchased the Theatre Fold Frame die from Taylored Expressions and couldn't wait to play with it. I made the card base and was SOOO disappointed in how wobbly it was, and that it didn't stay together in my hands. I go over all the details, including how I created a work-around in my YouTube video:
Adding those bumper strips made such a differece, and I look forward to making more of these now.
I used the Cool Cactus stamps and dies from Your Next stamp - these images are so fun! All the other details are in the video.
I forgot to share the back of the card in the video though ... since there isn't much room for signing or a personal message on the front I added a white panel on the back. A simple patterned paper strip and another stamp from the set finished it off.
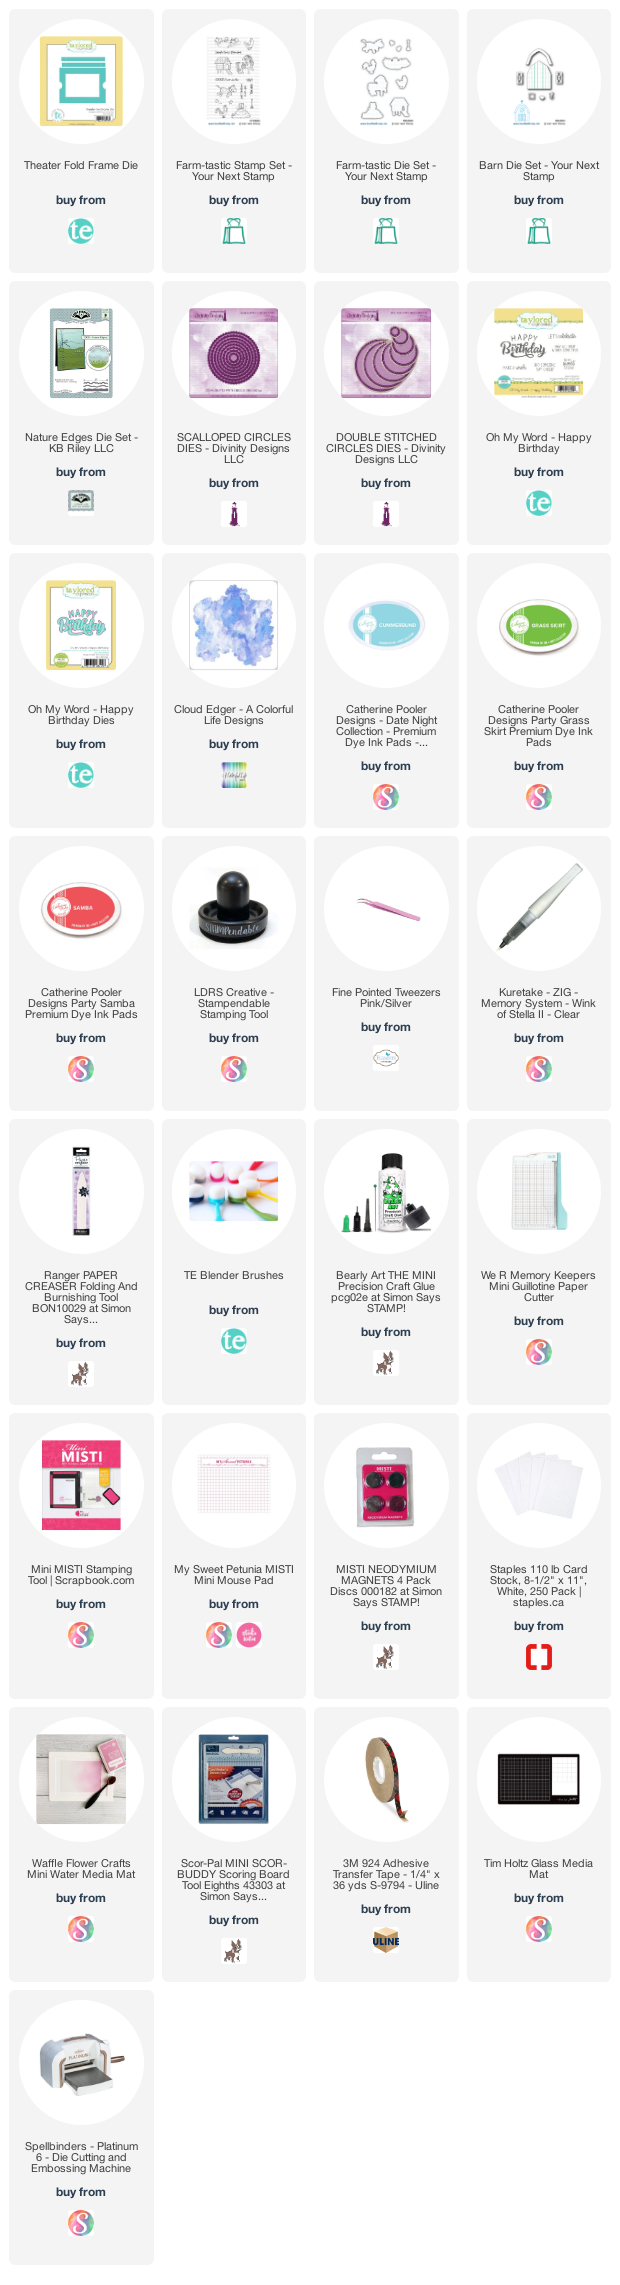
For your convenience I have linked many of the products used below. Some may be affiliate links which means if you use these links to purchase I may earn a small commission at NO extra cost to you.
Additional Supplies: Green card stock Patterned paper - Cute Cute Cacti, Recollections Copic markers
