Showing posts with label Concord & 9th. Show all posts

Friday, 12 January 2024

'Sending Happy Thoughts' Card


Welcome to Fun Fold Friday here on my blog!

Today I'm sharing the 6th card using Paper Roses' 'Bee Happy' cardmaking kit. This one is a 5 x 7" card and has a fun pop up inside. The gold foiled bee stickers were adhered to white cardstock and fussy cut so I could pop them up with foam tape. I knew I wanted a bold sentiment on the front, so this one by Concord & 9th worked perfectly. The patterned paper is from the kit and were actually leftover strips from previous cards. 


Here is a look at the inside, where I used Karen Burniston's Paper Frames Pop Up. 


I used the included layering dies to die cut portions of the patterned paper for the centre decorations, and added a foiled bee sticker that was attached to white card stock then fussy cut.


Here is a view looking at the card from the top.
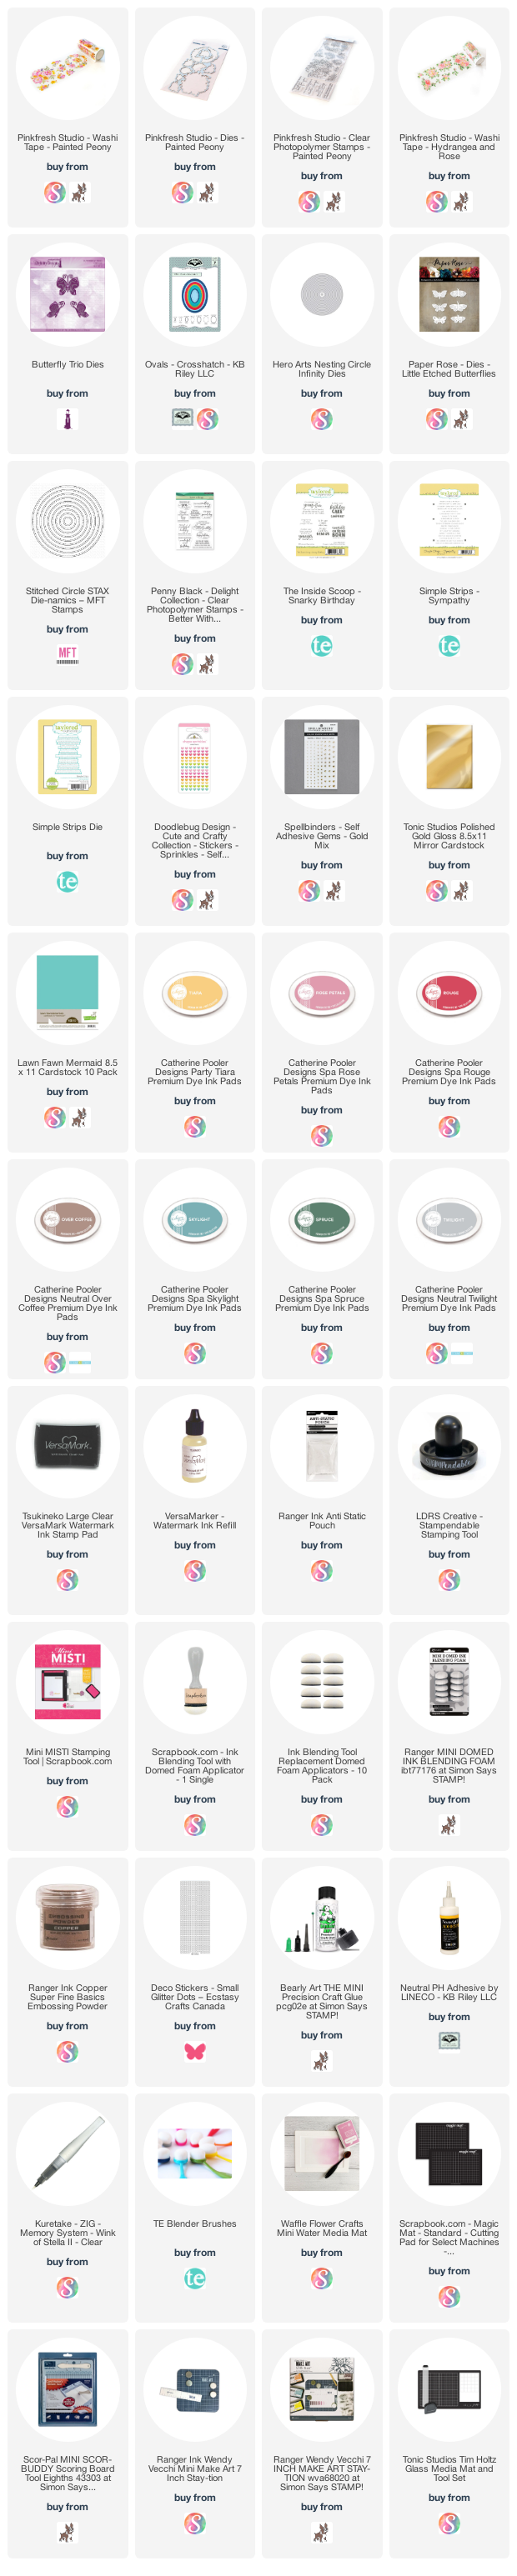
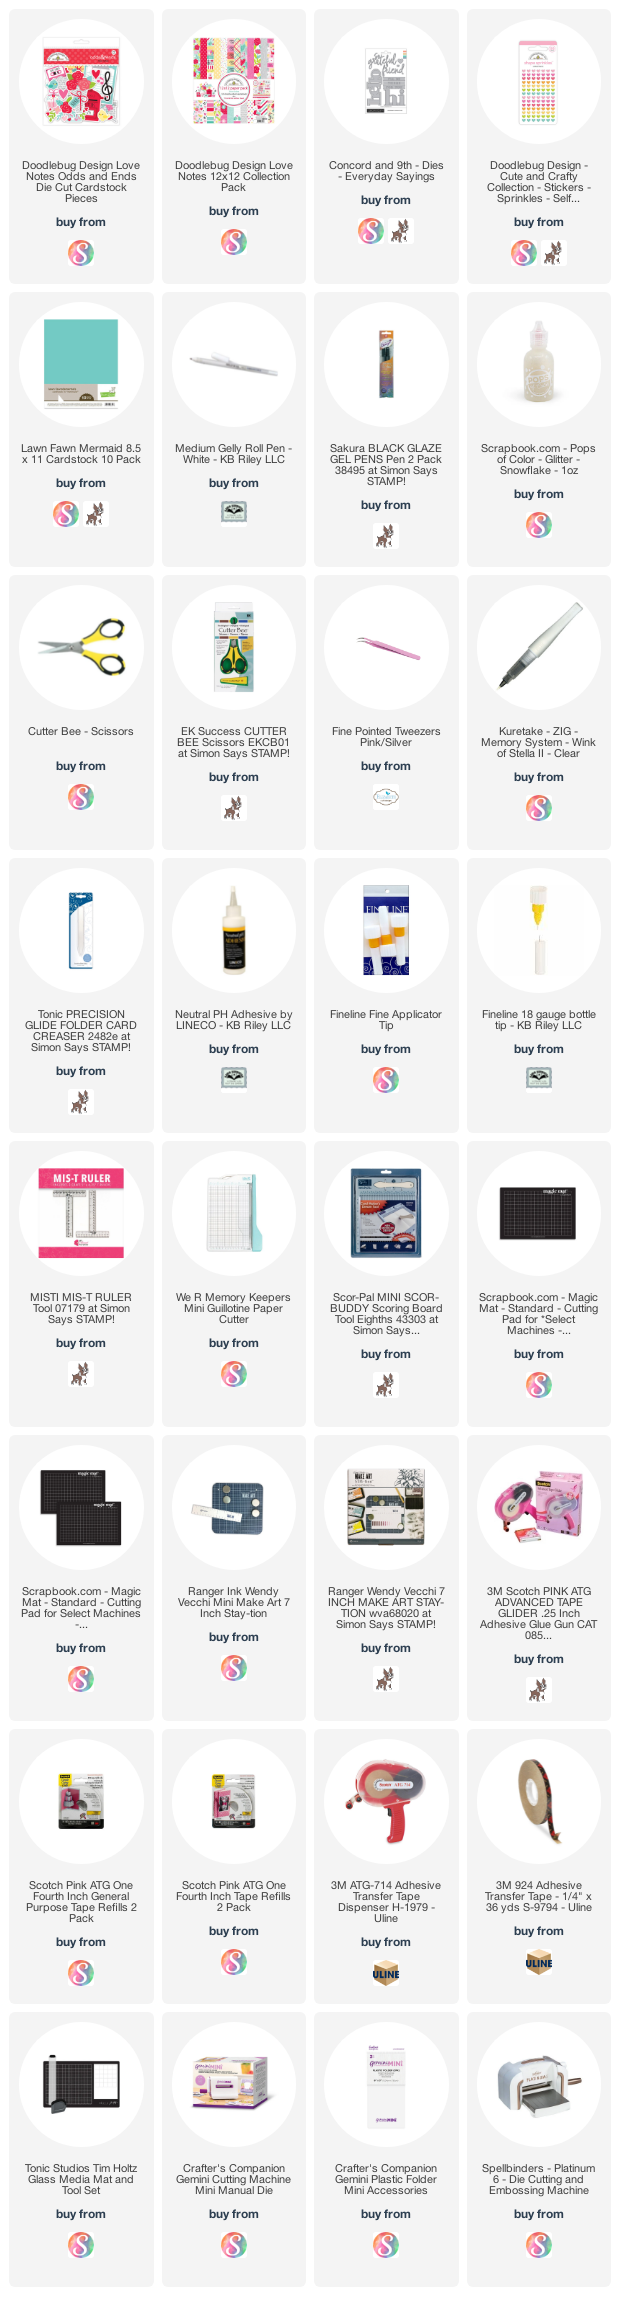
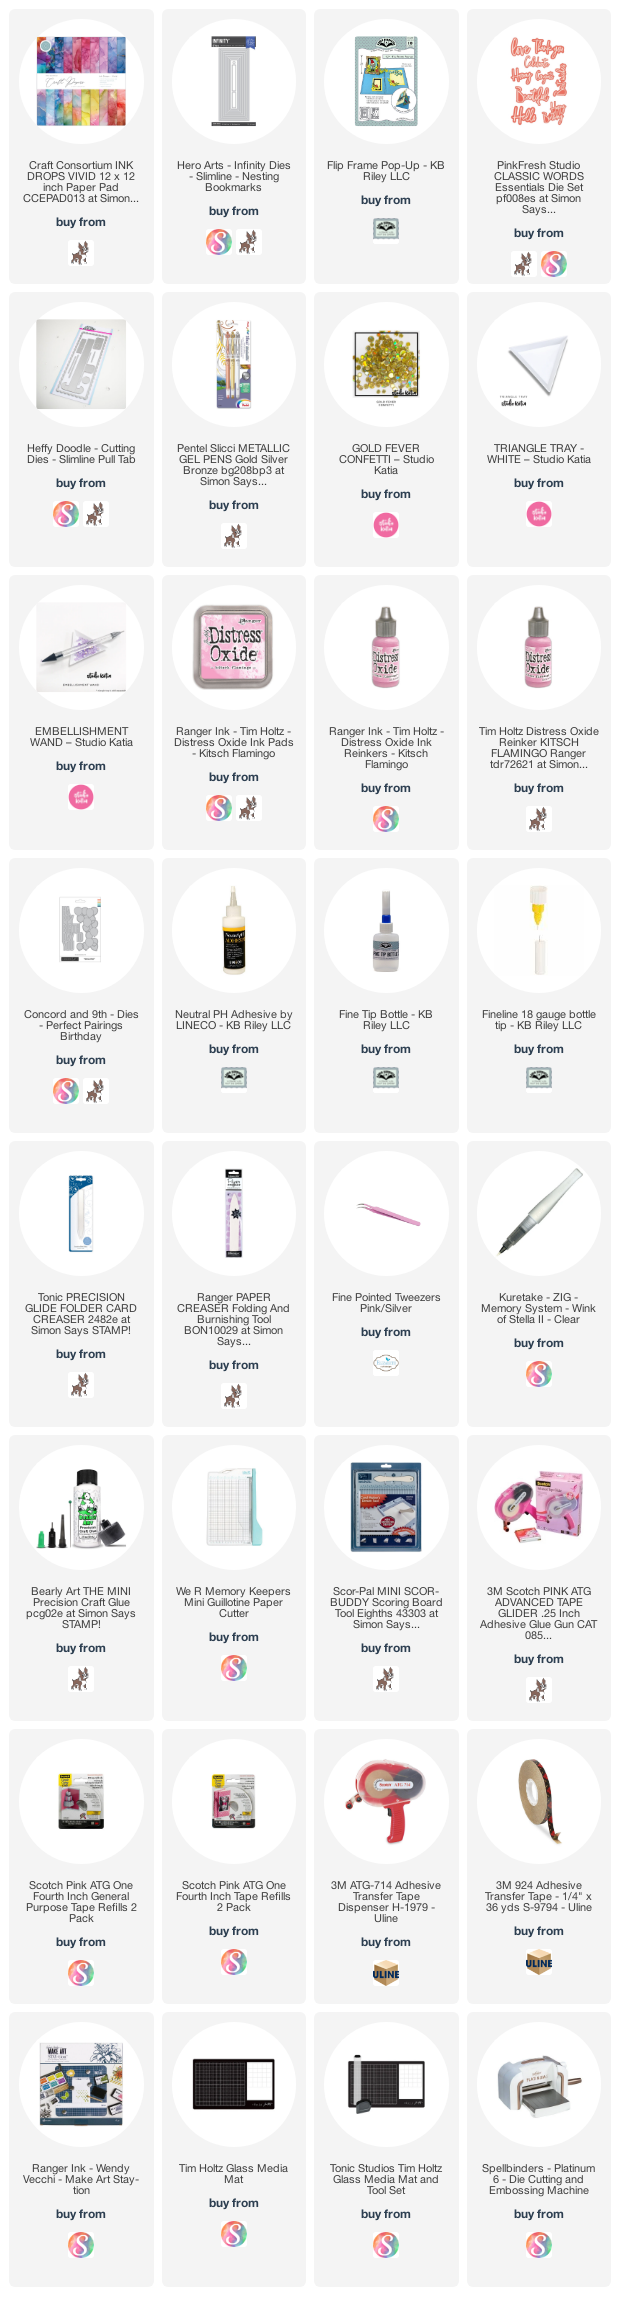


Supplies used:
Narrow gold foil tape - Amazon .ca
Stickles glitter glue
Large Hello dies - Everyday Sayings, Concord & 9th
Inside sentiment - Happy Thoughts, Stampin' Up
5 x 7" Card base and envelope

Thursday, 22 June 2023

Paper Pumpkin Alternate Pop Up Card


Even though I made all the cards from this kit back in March, I decided to spread out sharing them by doing one a week. Since the colours and papers are very similar in the cards I didn't want all my posts to start looking the same! This week I'm sharing another Paper Pumpkin Alternate card using the March 2020 'No Matter The Weather' kit ... this one is a larger than A2 card that features a pop up inside.


I added Nuvo Glaze onto the green rubber boots so they are raised and shiny. 😊


Inside I used Karen Burniston's Little Labels Pop Up, cut from another sheet of the rainbow patterned paper, and added a fussy cut boots/greenery image for the centre front image.


I just poked around in my stamps to find sayings that I thought went well with the card.


... one more look ...

I'll be back next week with another alternate project with this kit

Having been asked how many cards I make I thought it would be fun to keep track this year. Many of my posts include more than a single card or project and below is my tally. 

Card Tally for 2023
January - 53 cards
February - 56 cards
March - 55 cards
April - 32 cards
May - 43 cards
June so far - 24 cards

Additional Supplies:
No Matter The Weather Paper Pumpkin kit, March 2020
5 x 6.5" card blank and envelope - Michaels
Alcohol markers
Rainbow Holographic cardstock - Michaels

This blog uses affiliate links whenever possible. This means, if you make a purchase through one of my affiliate links that you pay the same amount but I may receive a small commission from your purchase. I only link products that I own, love and use for my card making and not every link below is an affiliate one! 😊

Thursday, 16 February 2023

'Easy Gated Fun Fold' Cards


Today is the second edition of my series New Fun Folds. I was SO excited about this one, I went a little (ok, more than a little) crazy and made SIX different cards to share and a full video tutorial.  You can find my tutorial HERE:   


Since I went into all of the details in my video, I'll keep my comments here nice and short. 

This was the first card I made and the one that got me all excited about the this technique I had seen on Pinterest. It was a lovely Christmas card by Frenchie and I will link her video below if you are curious. Of course, I added my own spin to it since I'm not a Stampin' Up demonstrator I'm free to use anything I want to play with!


Both of these cards used half sheets of 12 x 12" patterned paper that I had leftover from previous projects. I loved using them up completely! The cactus card went to my Brother in Law for his birthday last month.

Then I pulled out a full 12 x 12" sheet and made two cards with it. I think it was the only sheet of that particular print I had - usually I purchase two when I buy a 12 x 12" sheet but for some reason I only had one of these. Instead of hoarding it (since I only had the one) I USED it up! Now I have two lovely fun fold Birthday cards for my stash.


Finally here are the two cards I assembled in the video tutorial. I thought this patterned paper would make lovely sympathy cards, and brought one to a friend as a gift when we went over for dinner. Turns out she needed a special sympathy card right away so I'm glad I brought it for her. 


While I do go over all the measurements in the video and also listed them in the video description - here they are again for reference:

Cut your double sided patterned paper 12 x 5.5" or 6" Score at 2", 4", 8" and 10" Inside layers for 5.5" height Mat layer 3.75 x 5.25" White layer 3.5 x 5" Inside layers for 6" height Mat layer 3.75" x 5.75" White layer 3.5 x 5.5"

Late last year I was asked how many cards I make but I didn't have a clear number. Since many of my posts include more than a single card or project, I thought it would be fun to keep track this year. 

Card Tally for 2023
January - 53 cards
February so far - 43 cards

***** HERE is the link to Frenchie's Easy gated fun fold *****

Additional Supplies
White cardstock
Corner Rounder - Amazon.ca
Floral paper (Card #1) Fresh Cut - Basic Grey
Roses patterned paper (Card #2) - Sweet Fairy Collection, Romantique
More Essential Sentiments - MFT Stamps
Cactus patterned paper - Charming Adventures (Wanderlust) American Crafts
Green, red, teal yellow cs scraps
Cactus dies - To The Point, Turnabout - Concord & 9th
Sympathy4You - the Stamps of Life
Doily - Stampin' Up
Roses patterned paper - last cards, K & Company 
3-D floral stickers - K & Company
Cactus Washi Tape - Doodlebug

This blog uses affiliate links whenever possible. This means, if you make a purchase through one of my affiliate links that you pay the same amount but I may receive a small commission from your purchase. I only link products that I own, love and use for my card making and not every link below is an affiliate one! 😊


Friday, 2 September 2022

September 2022 Sheetload of Cards


Hello my crafty friends. It's the 2nd of the month and that means it's time for another Sheetload of Cards! This month Alicia has a special edition - we are creating a different style of Mini Slimline cards. Since I'm on the YouTube Collaboration Team, I have a walkthrough with all the details on YouTube:   


As I explained in the video, I ended up with three sets of four cards and will share the group card photos with a detail shot of a single card from each group below those. This first set has the most darling dog images. They were printed on the 6 x 6" paper pad, four to a sheet so the oval shape from the Sheetload sketch didn't work. I used circle dies instead. 


These next four use some fussy cut images. both the back and the front covers of the paper pad have images available for fussy cutting - what a great little bonus! Oh, and the patterned paper has a lovely pearlized sheen.


The final four cards have the oval shown in the Sheetload sketch and I was able to use some of these pretty Chipboard embellishments that have been hanging around in my craft room for several years.


All of the toppers got lots of Stickles for some shimmer and shine, and I used foam tape as the cards will be hand delivered to the residents.


Be sure to check out my video to see how you can download your own Sheetload of cards!

This blog uses affiliate links whenever possible. This means, that at no cost to you, if you make a purchase through one of my affiliate links that I may receive a small commission from your purchase. I only link products that I own, love and use for my card making and not every link below is an affiliate one! 😊

Any supplies I'm unable to link are listed at the very bottom of my post.


Additional Supplies:
White cardstock
Pink patterned paper -old, Stampin' Up
Yellow printed patterned paper - Gift of Giving, Craft Consortium
Chipboard elements - Stamperia
Stitched ovals - MFT Stamps (retired)
Scalloped ovals - MFT Stamps (retired)
Pink cardstock - stash

Thursday, 24 March 2022

'Hi There' Mini Slimline Card


Hello my crafty friends! Today I'm sharing a Mini Slimline card that I made for Happy Mail. I was looking through the bag of elements from Doodlebug's Love Notes Odds & Ends package and saw this cute bicycle. Seeing as it would fit perfectly on a Mini Slimline card, that is what I went with. 


I added a strip of coordinating patterned paper along the inside bottom, then die cut the HI and THERE. The letters for THERE fallaway, so I backed the opening with white card stock and added an enamel heart on either end.

One more look ...


This blog uses affiliate links whenever possible. This means, that at no cost to you, if you make a purchase through one of my affiliate links that I may receive a small commission from your purchase. I only link products that I own, love and use for my card making!

Any supplies I'm unable to link are listed at the very bottom of my post.


Additional Supplies:
White card stock - Accent Opaque Digital Super Smooth (Amazon .ca)

Saturday, 14 August 2021

Slimline Birthday Card with Paper Pumpkin Sprigs


Today I'm sharing the Slimline Birthday Card I sent to a friend. I used more of that alcohol inked patterned paper as well as the last of the sprigs from the June Paper Pumpkin kit.  The Celebrate was adhered to a gold foil shadow, and I added some sparkly sequins and gold gel pen highlights as well. Everything that is available is linked below.


Here is a peek at the inside ... 


I've been watching for larger, tall sentiments to use for my Slimline cards so picked this set up in late June. This card has been done since then, but I didn't want to post it until my friend received it. The flowers and leaves are from Karen Burniston's Flip Frame Pop Up and I cut them from scraps of the same patterned paper as on the card front and inner panel. I had been adding several floral clusters on a lot of my Guest Designer posts for Divinity Designs, and now I really like the look!

This blog uses affiliate links whenever possible. This means, that at no cost to you, if you make a purchase through one of my affiliate links that I receive a small commission from your purchase. I only link products that I own, love and use for my card making!

Additional Supplies:
June Paper Pumpkin Kit, Expressions in Colour - Stampin' Up
Purple card stock - stash
Gold foil card stock - Stampin' Up

Thanks for stopping by

Monday, 5 August 2019

Grid Birthday Card with Cactus

Hello my crafty friends

It's Masculine Card Monday on my blog and I have a SW themed birthday card to share today. With all the squares, this card qualifies for the Fun Friday Challenge #119 at Your Next Stamp, where they want to see SQUARES! You can see all the details for the challenge HERE.

I'm so happy with this card! I have wanted a grid die for almost two years, and because of a good crafty sale in February I was finally able to add this one to my collection. I'm having a lot of fun with it, too! While this one isn't by YNS, they do have one in their store.

For my card today I used up some Southwest themed paper scraps and kraft card stock to make my background panel. The die cut cactus & pot, rectangle and Washi Tape Greeting were added with foam tape and I added some clear bling for interest.


Here is a peek at the inside, with a stamped greeting on a stitched panel with a little die cut cactus added to carry the theme through.


I'm sure eventually this one will make it into my Nursing Home donation bag but I have to enjoy it myself for awhile first.

Supplies:
Washi Tape Sentiments and Washi Tape Die  - Your Next Stamp
Large stitched rectangle - Your Next Stamp
Kraft, green and white card stocks
Grid die - Stephanie Barnard, the Stamps of Life
Patterned paper - Recollections
Large cactus die - Concord & 9th
Small cactus die - Stephanie Barnard, the Stamps of Life
Small stitched rectangle - Honey Bee Stamps
Bling - stash
Hooray stamp inside - MFT Stamps

Thanks for stopping by today

Monday, 22 July 2019

Cactus Birthday Peek A Boo Card

Hello my crafty friends

Today is Masculine Card Monday here on my blog and I'm sharing the one and only 'Peek-A-Boo' card I'll ever make. While I was very happy with how the card turned out, when I showed hubby and he couldn't open it properly TWICE I started having doubts about it. Apparently you have to hold these cards 'just so' or they don't slide properly. I don't want to have to send directions with a card - people should be able to open a card on their own, without instruction. I would be hand delivering this one, so I could walk our SIL through the process, but I found that very frustrating.

While this is not a new idea, nor is it Jennifer McGuire's - she did post a video late last year with a great tutorial and very concise measurements and directions. I used her video to create the card. Then when it all sorta came apart when hubby tried to open it I went back to YouTube and used Glenda Cairns** idea of adding a sliding belly band. Works much slicker, but our son-in-law wasn't able to open it without my input so this style of card is definitely a fail in my book. 

This is the front of the card, and you can see the cactus and 'happy birthday' through the window.


When you open the card, a panel slides over the first image in the window and reveals a second image. For this card, it was a different potted cactus with the words 'looking' sharp!'.


Below you can see the second panel sliding over the first. This card works really well IF YOU HOLD IT PROPERLY, but otherwise the layers separate easily and the recipient could be left with something he/she has no idea how to reassemble.


Below you can see Glenda's belly band idea and if nothing else, it holds all the layers together so it doesn't all come apart. It was a great fix for that.


** You can see Glenda's 2016 YouTube Video HERE

Supplies:
Grey, white card stock
Cactus stamps - Newton's Nook
Dashing rectangle dies - Elizabeth Craft Designs
Happy Birthday - MFT Stamps
Patterned paper - Scrapbook.com
Celebrate 3D Drop-ins, Stephanie Barnard - Sizzix & The Stamps of Life
Label punch - Stampin' Up
Cactus and Pot dies - Concord & 9th
Enamel dots - Echo Park
Copics

Thanks for stopping by today

Monday, 13 May 2019

Cactus Birthday Duo

Hello my crafty friends

It's Masculine Card Monday here on my blog! I quite like Concord & 9th Turn About background stamps, and when they came out with a cactus/succulent one of course I added it to my collection. I stamped two background panels using shades of blue, teal and green for my cards today.


I used nesting circle dies to create the green frame, backed it with white card stock and added a stamped and die cut cactus from Taylored Expressions. The words are from the same TE set and they are stamped on a stitched fishtail banner.


Here is a peek at the inside:


I feel like a card with a stamped background is more special than one with patterned paper, which doesn't really make any sense. But I will need to hold onto these two for awhile before I can part with them for my Mom's nursing home.

Supplies:
Teal and white card stocks
'To the Point' Turnabout Stamp - Concord & 9th
Stitched Rectangle Die set - Your Next Stamp
Circle dies - Hero Arts
Cactus stamps and dies, Can't Touch This - Taylored Expressions
Words inside, The Inside Scoop - Taylored Expressions
Stickers inside - Paper House
Stitched Fishtail Banner die set - Your Next Stamp

Thanks for stopping by today

Tuesday, 23 April 2019

Sending Love and Hugs, Cactus Trifold Card

Hello my crafty friends

A few weeks ago, Jennifer McGuire posted a video showing tri-fold window cards. This card was inspired by that video and I am inspired to make more of this type of card too.

The Cactus window card is one I've had in my stash for many years. I added a stamped banner and silhouette die cuts, then stamped the rest of the greeting right on the card. This is what the card looks like when it comes out of the envelope. You can see a couple of cactus peeking through the window.


When you open the card, you get the full view of those cactus, and see that they are in a pot.


Open the cactus panel to reveal where I can write my note. I used pretty patterned paper by Lynda Kanase and added another die cut cactus in the bottom right corner of the centre panel.


This one went into my stash, but as I said I look forward to make some more of these.

Supplies:
Cactus die cut window card - VERY old, from my stash
Patterned paper - Succulent Serenity, Lynda Kanase
Stitched Rectangle dies - Elizabeth Craft Designs
Black and white car stocks
Silhouette die and small cactus die - Craftin' Desert Diva's
Cactus & pot dies - Concord & 9th
Fishtail banner die - MFT Stamps
'Sending and Wishing' - Simon Says Stamps
Chameleon Fineliners

Thanks for stopping by today