Thursday, 4 July 2024

July 2024 Sheetload of Cards - Camping Themed

Today I'm sharing my first card batch made with the July 2024 Sheetload of Cards. I can always tell when it's going to be one of my favourite Sheetloads, when I'm ready to start another right away. For this month, I spied a butterfly print 12x12" sheet and immediately cut it down to make 'half' a Sheetload, or 4 cards. I didn't even get started assembling those ones when my head thought how great this one would be for masculine cards. 

I pulled out this older paper package by Echo Park and cut the pieces. I am going to keep a couple in my stash and the others will be donated to my Mom's old nursing home. On the first four cards I used the reverse of the arrow print for the strips, since the paper is double sided. 

The tree is an old punch from my stash and I added some ink blending with a water brush then an alcohol marker.

Below is a peek at the inside where I added a strip of patterned paper from a scrap in the package, and a stamped sentiment. I also punched a tree from a scrap of white cardstock and used it as a stencil with blending brushes & ink to add a tree inside.


When I was finished these, I went through some older paper pads and pulled out another two sheets which I have now started on. 😊  When I'm done with those eight cards, I'll finally assemble the four butterfly paper cards! I plan on using gold foil paper with those to dress them up ... and possibly a pop up inside one or two of them. 

I usually have a video walkthrough of my Sheetload cards, but since I don't have anything else to share for the next couple of days, I wanted to get the photographs taken and watermarked instead of waiting for a quiet time to take a video. I'll try to do one when I do the butterfly cards! 


Supplies used:
Patterned paper - Happy Camper, Echo Park
Happy Birthday words - Happy Birthday Many Ways, Catherine Pooler
Stitched circle dies - MFT Stamps
Tree punch - EK Success (old!)
Catherine Pooler coloured inks
Water Brush
Inside - Essential Birthday Sentiments, LDRS
Blending brushes
Alcohol markers

Wednesday, 3 July 2024

Honey Pot Mini Slimline


Last week I shared a Mini Slimline card with leftover strips of patterned paper that came in Paper Roses' cardmaking kit "Bee Happy". Today I'm sharing another Mini Slimline and it's my final card with the kit!! There is only one small piece of black printed paper left and the sentiments but I'm calling it done and tossing all the tiny bits and pieces. I save all but the smallest pieces when working with a kit, because sometimes they are perfect to punch or die cut a little somethin' something' to add to a card from the kit. When I'm done with the kit though, I'm done with all the small pieces too. The sentiment strips I added to my clear envelope of stamped ones to use on future cards.

There are touches of gold on the card, with the narrow gold foil tape, the gold foil bee stickers and I rubbed the honey pot lid with gold Lunar paste. I was happy with how well that die cut worked on this card!


Below is a peek at the inside ...

Note:  I did colour the foil bee stickers with a yellow alcohol marker to make them stand out a little more.

I didn't count how many cards I made with the kit, but it was well over a dozen and I really enjoyed using it.


Supplies used:
Bee Happy Cardmaking Kit - Paper Rose
Gold foil narrow tape - Amazon .ca
Honey Pot dies - Honey Bee Stamps
Gold Lunar Paste
Blending sponge
Catherine Pooler coloured inks
Hello die - MFT Stamps
Shimmer Spray
White gel pen
Alcohol markers
Gold bee stickers - Amazon .ca
Petite Scalop Mini Slimline die - Taylored Expressions
Bee Sentiments - Elizabeth Craft Designs (old)


Tuesday, 2 July 2024

Butterflies & Daisy's Birthday Card


My first card share for July is a 5x7" Birthday card. I checked out the July '24 Sheetload of cards last night and it's for 5x7" cards as well and I can't wait to get started on it. I gave lots of my hand made cards to family & friends in the fall, so now I can start to build up my stash again which is where this card is headed. 

The patterned paper pad is one I got back in February - which is the last time I bought anything new for my craft room - and I specifically chose the papers because of the daisy prints. I have those daisy punches from Stampin' Up and I thought the two would work well together. Ha - then I didn't use the punches on this card!

I was surprised to find several pages of printed panels in the package as well - such as the front panel on the card. I trimmed it down and matted it with yellow, and then fussy cut the two fishtail banners that were also on the sheet. Those got mounted inside the card and there is one more piece leftover for another card another day.

The 'love & best wishes' was already printed in the centre, so I added the 'on your special day' with foam tape. That is on a sheet leftover from Paper Roses' Bee Happy cardmaking kit and the colours worked well. The flower centres on the floral circle are raised, shiny with a little sparkle but of course that doesn't show up in the photos. I used Pops of Color for that. 


Supplies used:
Patterned paper & Coordinating solids - Dancing Daisies, the Paper Boutique
Little Etched Butterflies - Paper Rose
Gold foil card stock
Pops of Color - Scrapbook .com
Narrow gold foil tape - Amazon .ca
Inside - the Inside Scoop Birthday, Taylored Expressions
5x7" Card base & envelope


Friday, 28 June 2024

Holiday Slimline Wiper Card Duo


Welcome to Fun Fold Friday here on my blog!  I have two more holiday cards to add to my bin for Christmas 2024 - these ones are Slimline sized Wiper Cards and I have a walkthrough of these on YouTube


I used Slimline sized patterned paper along with a Wiper Card die set made for a 5x7" card - I love getting more uses out of my dies.  I also used the 'Above It All' stamp/die bundle that I got from Stampin' Up last year. Since we live in the foothills of the Rocky Mountains, I knew I could use this die set year round. You can take the gondola up to the top of Tunnel Mountain in Banff in the Spring & Summer for some spectacular views. Also in summer you can also take a gondola up Sunshine Mountain to hike around on top of the ski hill to see all the beautiful wildflowers.

In the photo above, you can see the card fronts and the piece that comes out when you pull on the sides. In the photo below you can see the back sides of both cards when they are closed. Yes, even though the papers are exactly the same the position of the prints are slightly different - I explain that in my video. Hint - I have a REALLY hard time making Wiper Cards - they just don't make sense in my brain. Ha.


Finally, the lower photo shows the back of the card in the open position.


Note - I lined up the die onto the right side of the papers and held it in place with removable tape before die cutting (I showed this in the video). Also, I trimmed about 1/4" from the top of the wiper piece and rounded the corners so it fit inside the card a little better. Since the card size is smaller than the 5x7" that the die was designed for I needed to make that adjustment. That part was easy peasy! 


Supplies used: 
Patterned paper - Slimline paper pack, Frozen - Whimsy Stamps
5x7" Rectangle Wiper Card die set - Sam Calcott, Made To Surprise/Mixed Up Crafts
Corner rounder
Push here - Lawn Fawn
Labels Crosshatch - Karen Burniston
Catherine Pooler coloured inks
Above it All stamps & dies - Stampin' Up
Silver Snowflake peel off stickers


Thursday, 27 June 2024

'Bees & Balloons' Birthday Cards


I was flipping through the paper pad "Little Book of Bees', and near the back was this print. In between the honeycombs was a phrase - which I knew I would likely never use on a card. There are SIX of each design in the pad, so I pulled out all 6 and decided to use the panels by adding a strip of cardstock down the center to completely hide that sentiment. (Sorry, I can't remember what it even said!).

The pad is UK sizing, but I usually trim the panels down to work on a 4x6" card. These ones though, I wanted to trim to 4x5.25" and use on an A2 card base. Once I had them trimmed down and had added the white cardstock strip I was ready to decorate. This long stamp with the balloons & Happy Birthday seemed perfect! I stamped and die cut six of the images then coloured with alcohol markers. It's been AGES since I've done any colouring.


Before popping the balloon images up with foam tape, I lightly inked the centre with blue ink so it wasn't quite as stark. I added three gold foil bee stickers to tie in with the honeycomb, and coloured their bodies with an alcohol marker. Then I added some Wink of Stella glitter to the balloons - I do love shimmer & shine on a birthday card. 

I stamped the sentiment inside and my cards were finished. I'll be saving one for my stash and the remaining 5 will be donated to my Mom's old nursing home. I was happy to be able to use up 6 of those panels in one go - especially since my initial reaction was that they would have to go into recycling. 


Supplies used:
Little Book of Bees, Hunkydory
Birthday Balloons (stamp and die) - Rubbernecker Stamps
Alcohol markers
Blending Brushes - Taylored Expressions
Blending Sponge - Sizzix
Catherine Pooler coloured inks
Wink of Stella
Gold foil bee stickers - Amazon .ca
Inside - Happy Birthday Sentiments, Pinkfresh Studio
Mini MISTI


Tuesday, 25 June 2024

Mini Slimline 'BUZZING BY TO SAY...' Card


I was moving things around in my craft room and found the Bee Happy pouch with a few leftover pieces inside it. This is a cardmaking kit by Paper Rose that I worked on a lot several months ago. I decided to see what was in the pouch and ended up with enough pieces to make two Mini Slimline cards. This is the first one and I'll share the second one another day.

There were no more ephemera pieces left so I stamped and die cut a bee to add onto a die cut hexagon. The bee was coloured with alcohol markers with some glitter glue added as well. The outside sentiment is in the same stamp set as the bee (Studio Katia).


Here is a peek at the inside, with a very old stamp and a few scraps of the patterned paper. Since there is narrow gold tape on the front I added a strip inside as well.


Supplies used:
Bee Happy Cardmaking Kit - Paper Rose
Gold foil narrow tape - Amazon .ca
Hexagon Crosshatch dies - Karen Burniston
Honey Bees - Studio Katia
Alcohol Markers
Wink of Stella
Blending brushes - Taylored Expressions
Catherine Pooler Coloured Inks
Bees Sentiments - Elizabeth Craft Designs (old)


Monday, 24 June 2024

Canada Day Card Duo


Every year I send out Canada Day cards to family & a few friends, but this year these are the only two cards I managed to make! 😩  I may have to make a couple in the coming weeks to have on hand for next year. Sheesh.  

At any rate, I was flipping through the Moose Crossing patterned paper pad by Catherine Pooler and saw the buffalo plaid maple leaf print. Bingo! I grabbed the coordinating stamp set and decided to use the August 2023 Sheetload sketch for these cards.


After punched out the stamped beaver with a label punch, I aded some dots with a marker to 'ground' him and lightly inked the edges. Inside, I added a few more stamps from the set and a Celebrate stamp. 


Now to decide which family members will get a card, ha ha. I'm thinking that we will be getting together with my brother and our eldest daughter & family, so the ones that won't be joining us will get Happy Mail to celebrate Canada's 157th Birthday!


Supplies used:
Patterned paper - Moose Crossing, Catherine Pooler (6x6")
                                            August 2023 Sheetload of Cards
Catherine Pooler coloured inks
Oh Canada stamp set - Catherine Pooler
Blending Sponges
Happy Canada Day - Happy Celebrations, Studio Katia
Celebrate - Birthday Cheer, Papertrey Ink

Friday, 21 June 2024

Ice Cream Z-Fold Card Trio


Welcome to Fun Fold Friday here on my blog! I had found these older ice cream ephemera pieces in a ziplock bag in my craft room so decided to pull them out and use them on my ice cream cards this year. I haven't made a Z-Fold card in awhile so that is what I did as well - they are my very favourite fun fold card to make.


When my Mom was a little girl, there was always a July parade in their town. Afterwards her dad, my Grampa, would take her to the drugstore for an ice cream soda. She continued the tradition with my brother and I, taking us for ice cream on that special day in July.  I did that with our kids too - bringing my Mom along. We always made sure she had ice cream on that day. 

Now that she has passed, we continue the tradition - raising an ice cream cone or sundae to her in a toast,  and our grandkids think it's a great tradition! I also send my family ice cream themed cards to celebrate. 


I love the Lacy Layer dies from Waffle Flower and have managed to collect most of the shapes. There are alternating scalloped & stitched/straight edge dies in each set, which is what I used for these cards.


I added Pops of Colour (glitter glaze) on each of the ice cream pieces for some shimmer and shine, and added the elements using thin foam tape. The Celebrate was stamped in grey ink onto narrow cardstock scraps then I fishtailed the ends.


Here is a look at the inside of the above card, but they were all done the same.


Supplies used:
Patterned paper - Heart Throb, Queen & Co (6x6")
Petite Prints - Doodlebug (Love Notes)
Lacy Circles - Waffle Flower
Pops of Color, Icicle - Scrapbook .com
Ice cream ephemera - unknown, from my stash
Happy stamp - Biggest Wish, Stampin' Up
Coloured pens & markers
Share a Milkshake - Stampin' Up
Catherine Pooler coloured inks


Thursday, 20 June 2024

Four More June Sheetload Cards


Earlier this week I shared my June Sheetload of Cards, and as I said in the video I wanted to try ones with a more masculine feel. I looked through one of my 6x6" paper pads and these two prints seemed to work well together. 


Since I had just finished off that Paper Pumpkin kit from 2016 (see yesterday's post) the stamp set and star enamel elements were still sitting on my stamping table. I used them to finish off the card fronts, then added a stamped sentiment using a different stamp set for the inside.


  Supplies used:
Patterned paper - Picture Perfect 6x6", Queen & Co
Lots of Birthday 2 Stamp - the Stamps of Life
Happy Birthday & Star enamel embellishments - May 2016 Paper Pumpkin kit, Many Manly Occasions (Stampin' Up)
Mini MISTI


Wednesday, 19 June 2024

Bright Birthday Card Trio


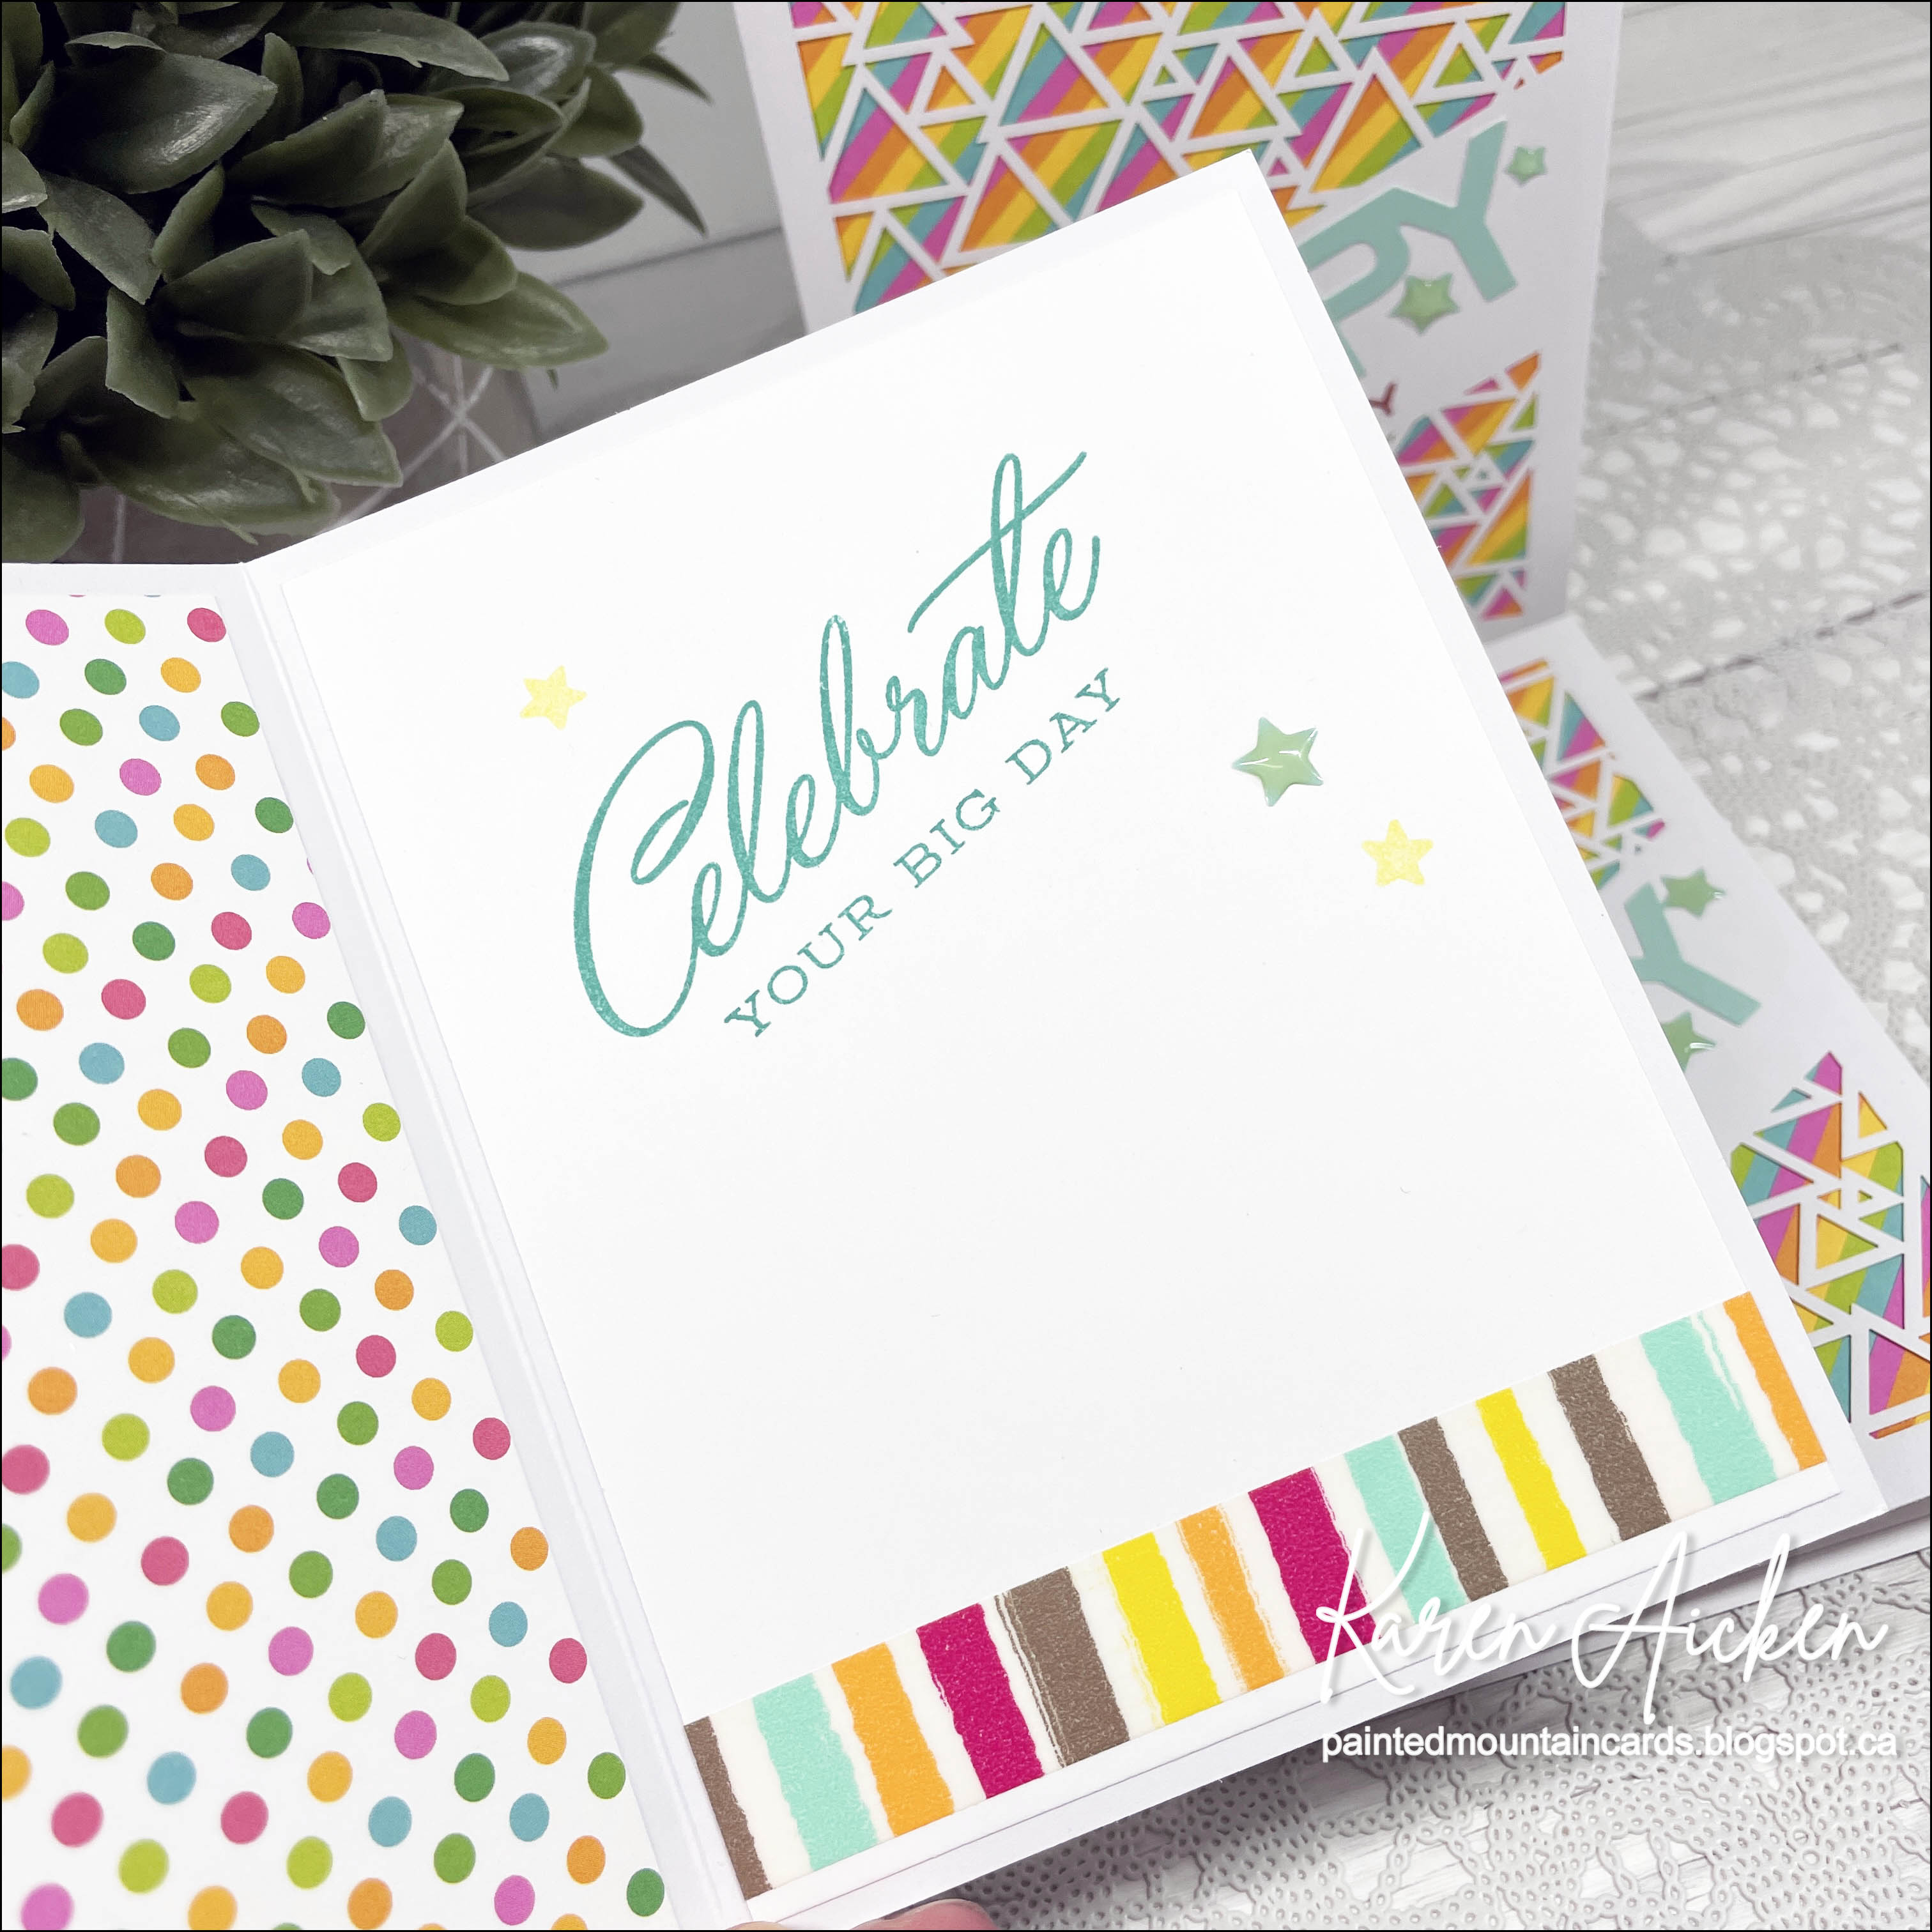
I have several older Paper Pumpkin kits sitting near my stamping table, so I pulled out this one (May 2016 Paper Pumpkin 'Many Manly Occasions') to see what was left in there to use up. There were three of these laser cut card bases, a number of the 'Happy' stickers and enamel accents and all of the orange corrugated panels. While I love orange, I was never a fan of it for these cards where the orange corrugated showed through the laser cut card fronts. 

I went looking through my papers and pulled out a 12x12" sheet by Doodlebug. I liked the cheerful rainbow stripes for the front, and when you open the card up you see the polka dot printed on the reverse of the paper. 


The large HAPPY stickers were in the kit - and I do have a couple of those leftover which I will have to remember to use up. But other than that - this Paper Pumpkin kit is now finished!

Inside the card I added  stamped sentiments and stars, as well as adding another enamel star element from the kit. The washi tape is from my stash. I added the orange corrugated panels into my orange scrap file, and hope I find a good use for it when making fall cards. 


Supplies used:
Laser cut card bases, 'Happy' stickers and star embellishments - May 2016 Paper Pumpkin 'Many Manly Occasions', Stampin' Up
Patterned paper - Doodlebug Designs
Birthday Builder - Altenew
Catherine Pooler coloured inks
Mini MISTI
Birthday Cheer - Papertrey Ink