Wednesday, 13 September 2023

Slimline Pop Up Thanksgiving Card (& Tutorial)


I had started on this Slimline card, and decided to stop & film a tutorial for creating a simple box pop up. You can find the tutorial on YouTube:  


The lovely Quilted Leaf die is from Divinity Designs and the paper is an older 6x6" pad from Lawn Fawn. I actually managed to use it up with my Thanksgiving cards this year - yay! 


Below is the popped up element and there is still lots of room for a personal greeting. 


Having been asked how many cards I make I thought it would be fun to keep track this year. Many of my posts include more than a single card or project and below is my tally. 

Card Tally for 2023
January - 53 cards
February - 56 cards
March - 55 cards
April - 32 cards
May - 43 cards
June - 34 cards
July - 56 cards
August - 106 cards
September so far - 20 cards

I decided to cancel the subscription that provided linked thumbnails to what products I used on my cards. It was costing me out of pocket each month, so I’m back to listing what I used with a few affiliate links included.

Supplies:
Patterned paper - Fall Fling 6x6", Lawn Fawn
Gold Peel Off Border Stickers - unknown
Gold mirror cardstock - Stampin' Up
Infinity Ovals - Hero Arts
Mini Strips Harvest (stamp and die) - Taylored Expressions
Inside stamp - Autumn Greetings, Simon Says Stamp
Blending Brushes - Taylored Expressions
Gold Sequins - Studio Katia

Tuesday, 12 September 2023

Nine Sheetload Birthday Cards


Whew - I made a record number of cards last month but my nursing home stash is nice and full again. The Sheetloads help make it quick and efficient to create multiple cards while making the best use of patterned paper. I used a bunch of older items for these cards and pretty much everything is retired by now.

As usual, I create the Sheetloads as per the instructions and get the panels adhered to my card bases. Then I decide what I'm going to use to decorate them. For these cards I went through my embellishment binder and pulled out a bunch of stamped and die cut/fussy cut images that had been done many years ago at our cabin.

I was able to use up all the Birthday Farm Animals I had coloured & die cut, but didn't have enough for all nine cards. Going through the binder again I found another party dog then two butterflies. Done and done!


Below is the stamp I used inside all the cards.


Having been asked how many cards I make I thought it would be fun to keep track this year. Many of my posts include more than a single card or project and below is my tally. 

Card Tally for 2023
January - 53 cards
February - 56 cards
March - 55 cards
April - 32 cards
May - 43 cards
June - 34 cards
July - 56 cards
September so far - 19 cards

I decided to cancel the subscription that provided linked thumbnails to what products I used on my cards. It was costing me out of pocket each month, so I’m back to listing what I used with a few affiliate links included.

Supplies:
Patterned paper - Studio K (old, from my stash)
Birthday Buddies stamps - Paper Smooches (retired)
Birthday Farm Animals - Simon Says Stamp (retired)
Butterfly - from my stash, likely cut with my old Cricut
Happy Birthday - Happy Cat, Your Next Stamp
Stickles
Happiest of Birthday's - Stampin' Up
Stickers - from my stash

Monday, 11 September 2023

Happy Fall Sunflower Card


I bought this sunflower background die last year, since it fits perfectly on the front of a 5 x 7" card.  I'm really glad I didn't just add it to my Wish List though, as it is already next to impossible to find. I sure wish companies didn't retire things so quickly although I know it's all about marketing. 

This one was cut from some subtle patterned paper and added right to the white card base. I added Nuvo Glaze into the centre of the blooms then sprinkled them with chunky glitter. I love the sparkle!


The Happy Fall was cut from gold mirror cardstock and the shadow from a rust scrap. Inside, I added some washi tape, a gold foiled bee sticker and a sentiment that I have been using for many Thanksgivings. After making this card I realized how long it's been since I had purchased any new Thanksgiving stamps and that was the catalyst for the orders I placed recently. 😊


Here are some detail shots ...


Having been asked how many cards I make I thought it would be fun to keep track this year. Many of my posts include more than a single card or project and below is my tally. 

Card Tally for 2023
January - 53 cards
February - 56 cards
March - 55 cards
April - 32 cards
May - 43 cards
June - 34 cards
July - 56 cards
August - 106 cards
September so far - 10 cards

I decided to cancel the subscription that provided linked thumbnails to what products I used on my cards. It was costing me out of pocket each month, so I’m back to listing what I used with a few affiliate links included.

Supplies:
Sunflower Splendour die - Crafters Companion
Patterned paper - Vivid Ink Drops, Craft Consortium
Blending Brushes - Taylored Expressions
Nuvo Glaze
Chunky Glitter - stash
A7 Double Stitched Frames - Honey Bee Stamps
Happy Fall die - Pink & Main
Gold foil cardstock - Stampin' Up
Gold Peel Off border sticker - unknown
Gold bee stickers - stash
Washi Tape
Inside stamp - Be Full, Neat & Tangled
5 x 7" card blank and envelope


Friday, 8 September 2023

Grandparents Day Diorama Card


It's Fun Fold Friday here on my blog and today's card is the 9th edition to my monthly series "Throwback Fun Fold Dies".  I don't even remember how long I have had this die set (Sizzix) but at least 7 years. When I ordered it (from where? Have no idea) I remember thinking it was pretty versatile. It not only creates this Diorama (or Tunnel) card, it also creates gatefold cards and has different drop in dies to create patterns on the gatefold flaps. For today's card I used the Diorama pieces and made a card for my Mother In Law.


I was able to use up the partial 12 x 12" sunflower sheet of patterned paper and also some older sunflower stickers from my stash. The butterfly sticker is also many years old and was the last one on the sheet. Perfect!


The Love You die is from Karen Burniston's Word Set 9 Love. 


I wrote the sentiment with a black marker and added the remaining sunflower stickers. I love the shine from those mirrored hearts too!


Having been asked how many cards I make I thought it would be fun to keep track this year. Many of my posts include more than a single card or project and below is my tally. 

Card Tally for 2023
January - 53 cards
February - 56 cards
March - 55 cards
April - 32 cards
May - 43 cards
June - 34 cards
July - 56 cards
August - 106 cards
September so far - 9 cards

I decided to cancel the subscription that provided linked thumbnails to what products I used on my cards. It was costing me out of pocket each month, so I’m back to listing what I used with a few affiliate links included.

Supplies:
Diorama Gatefold - Sizzix (old, from my stash)
Patterned paper - Spiced Cider, DCWV (old)
Stitched square dies - Your Next Stamp
Love You - Word Set 9 Love, Karen Burniston
Sentiment - Petal Palette, Stampin' Up
Mirrored Hearts - Kat Scrappiness
Sunflower stickers - old, from my stash
Brown fine point marker


Thursday, 7 September 2023

Second Rosh Hashanah Card


I didn't need another Rosh Hashana card as I made one for our daughter and family already. But after MONTHS of not purchasing any new paper crafting supplies I placed a couple of orders. One of my new goodies is the 'Little Book of Bees' - a thick pad of ~4x6" printed panels with different bee scenes. I think there are four of each design - it's the same as the 'Little Book of Muddy Paws' that I use all the time to make dog themed cards. I thought this panel would make a cute Rosh Hashanah (Jewish New Year) card and this is what I came up with. I've decided to give this one to our daughter and hang onto the previous one for next year. 😊

I trimmed the bee panel slightly then matted it with brown cardstock so the panel measured 4 x 6". Then I cut a 5 x 7" piece of transparency and scored approx 1/2" from each edge. I mitred the corners then added strong double sided adhesive to each of the transparency edges. Those edges were wrapped around to the back side of the bee panel and three sides adhered down securely.  I added some sequins to the front, turned it over and stuck down that remaining side. Ta Da ... an infinity shaker (also called edge to edge shaker). 


Using a hexagon stencil and distress oxide inks, I added some colour to the top left and bottom right corners of a Kraft card base before adhering down the shaker. I have these gold foiled bee stickers so added them to the envelope and also onto the front of the shaker. They almost disappear but catch the light when you turn the card. 


Below is a peek at the inside, using an older stamp set from Papertrey Ink.


Having been asked how many cards I make I thought it would be fun to keep track this year. Many of my posts include more than a single card or project and below is my tally. 

Card Tally for 2023
January - 53 cards
February - 56 cards
March - 55 cards
April - 32 cards
May - 43 cards
June - 34 cards
July - 56 cards
August - 106 cards
September so far - 8 cards

I decided to cancel the subscription that provided linked thumbnails to what products I used on my cards. It was costing me out of pocket each month, so I’m back to listing what I used with a few affiliate links included.

Supplies:
Little Book of Bees - Hunkydory 
(purchased online at R&R Scrapbooking in Edmonton Alberta)
Transparency 
Sequins - stash
5 x 7" card blank and envelope
Gold foiled bee stickers - stash
Stencil - Clear Scraps
Blending Brushes - Taylored Expressions
Spiced Marmalade Distress Oxide Ink
Mazel Tov - Papertrey Ink
5 x 7" Lacy Layers - Waffle Flower


Wednesday, 6 September 2023

Leaf Shaped Card


Today I'm sharing the 9th edition to my monthly series "Shaped Cards". I pulled out a very old kit - it's from 2018 - because a couple of the leaf dies in it are quite large and work well for a shaped card. The patterned paper is also old and has been in my stash for years. I pull it out every fall and use a little bit of it so it's taking forever to finish off the pad.

The stickers and sentiment were in my Fall bin, and who knows how long they have been in there. I believe I used my Scan 'N Cut to cut them out back when I first got the machine.


Here is a peek at the inside ...

I cut a second large leaf and scored it about 1/2" down from the top of the leaf and added adhesive above that score line. Then I lined up the front with the back and held them down together until the adhesive set. I also trimmed off a little bit from the bottom edge so it would be straight and that way the card stands for display.


I had thought this would fit in a 5 x 7" envelope, but it was a little too big. However, I have some envelopes from Hallmark cards as they used to sell packages of their leftover envelopes. It fit perfectly in one of those or I would have just made an envelope for the card.

Having been asked how many cards I make I thought it would be fun to keep track this year. Many of my posts include more than a single card or project and below is my tally. 

Card Tally for 2023
January - 53 cards
February - 56 cards
March - 55 cards
April - 32 cards
May - 43 cards
June - 34 cards
July - 56 cards
August - 106 cards
September so far - 7 cards

I decided to cancel the subscription that provided linked thumbnails to what products I used on my cards. It was costing me out of pocket each month, so I’m back to listing what I used with a few affiliate links included.

Supplies:
Patterned paper - Spiced Cider Stack, DCWV (old)
Leaf dies - Tonic Studio's Kit #12, 2018
Autumn stamp - unknown, cut with Scan & Cut
Stickers - stash
May the Bounty stamp - possibly Hero Arts (old)
Gold Mix Gems - Spellbinders


Tuesday, 5 September 2023

Rosh Hashanah Card


I don't know what it is about embossing folders, but I love them. I love the look of them yet - even though I purchase a few - I rarely use them. I vow to use them more, then that fizzles out and I can go months and months without even thinking about using an embossing folder. Sheesh. This one I purchased last year since it was so different. It is for a 5x7" card and cuts that centre section away as well as embosses the panel. 

While I have used it in the past on a panel that was attached to my card front, this time I wanted to use the embossing folder right on the card front itself. NOTE:  I do have a Big Shot Plus I can use when I need to cut something larger than 6". Otherwise I would have cut a 5.5 x 7" white panel and scored it down the left side at 1/2". That way it would fit through my regular machine, and afterwards I would use that 1/2" as a hinge to attach it to the back of a 5 x 7" panel.


I stamped on a scalloped panel and added that inside the card so it shows through the window opening. I had made this to send to our middle daughter and family to celebrate the Jewish New Year but I actually made a second card that I'll be sharing later in the week and I'll be holding onto this one until next year.  ðŸ˜Š


Having been asked how many cards I make I thought it would be fun to keep track this year. Many of my posts include more than a single card or project and below is my tally. 

Card Tally for 2023
January - 53 cards
February - 56 cards
March - 55 cards
April - 32 cards
May - 43 cards
June - 34 cards
July - 56 cards
August - 106 cards
September so far - 6 cards

I decided to cancel the subscription that provided linked thumbnails to what products I used on my cards. It was costing me out of pocket each month, so I’m back to listing what I used with a few affiliate links included.

Supplies:
Bees in Nature Embossing Folder - Nature's Garden Collection (Crafters Companion)
5 x 7" White card base and envelope
5 x 7" Lacy Layers dies - Waffle Flower
Slice of Happiness - Stampin' Up
Wink of Stella
Momento Ink
Blending Brushes - Taylored Expressions
Coloured pencils - Prismacolor

Monday, 4 September 2023

Four Simple Ice Cream Birthday Cards


These cards were quick and easy to make using patterned paper. If we are camping or visiting Arizona I will bring some things to work on. Often I will create just the card fronts, as it saves space for packing and then I can mount the panels to card blanks when we get home. That is what happened with these cards but they never did get mounted. I pulled the panels out of my 'in progress' bin and adhered them to the card bases this month.

At the time I must have thought I would add an ice cream element or other decoration to the front, but when I got them mounted I thought they looked nice and cheerful on their own. I'm sure the nursing home residents will enjoy them as most people like ice cream. Plus, there is some sparkle from the sticker gems.


 The card interiors are all the same.

Having been asked how many cards I make I thought it would be fun to keep track this year. Many of my posts include more than a single card or project and below is my tally. 

Card Tally for 2023
January - 53 cards
February - 56 cards
March - 55 cards
April - 32 cards
May - 43 cards
June - 34 cards
July - 56 cards
August - 106 cards
September so far - 5 cards

I decided to cancel the subscription that provided linked thumbnails to what products I used on my cards. It was costing me out of pocket each month, so I’m back to listing what I used with a few affiliate links included.

Supplies:
Patterned paper - Deal Lizzy, Neapolitan  
Happy Birthday (large) - Taylored Expressions
             (small) - Your Next Stamp
Glitter circle stickers - Dazzles
Inside stamp - Birthday Blowout - Poppy Stamps
Mini MISTI
Stickles
Wink of Stella 

Friday, 1 September 2023

Floral Mini Slim Tri Shutter Card


Welcome to Fun Fold Friday here on my blog. I wanted to have another play with Divinity Designs' Mini Slimline Tri Shutter die set, so also pulled out some of their patterned paper and floral images for my card today.


The oval on the inside is there for a personal message, and I added layered ovals to the front. One of those was cut from holographic mirrored cardstock for lovely shine. 😊.  The florals are printed on nice heavy card stock and come with the die to cut them out. Easy Peasy and SOOOO pretty!


One more look ...


Having been asked how many cards I make I thought it would be fun to keep track this year. Many of my posts include more than a single card or project and below is my tally. 

Card Tally for 2023
January - 53 cards
February - 56 cards
March - 55 cards
April - 32 cards
May - 43 cards
June - 34 cards
July - 56 cards
August - 106 cards
September so far - 1 card

I decided to cancel the subscription that provided linked thumbnails to what products I used on my cards. It was costing me out of pocket each month, so I’m back to listing what I used with a few affiliate links included.


Thursday, 31 August 2023

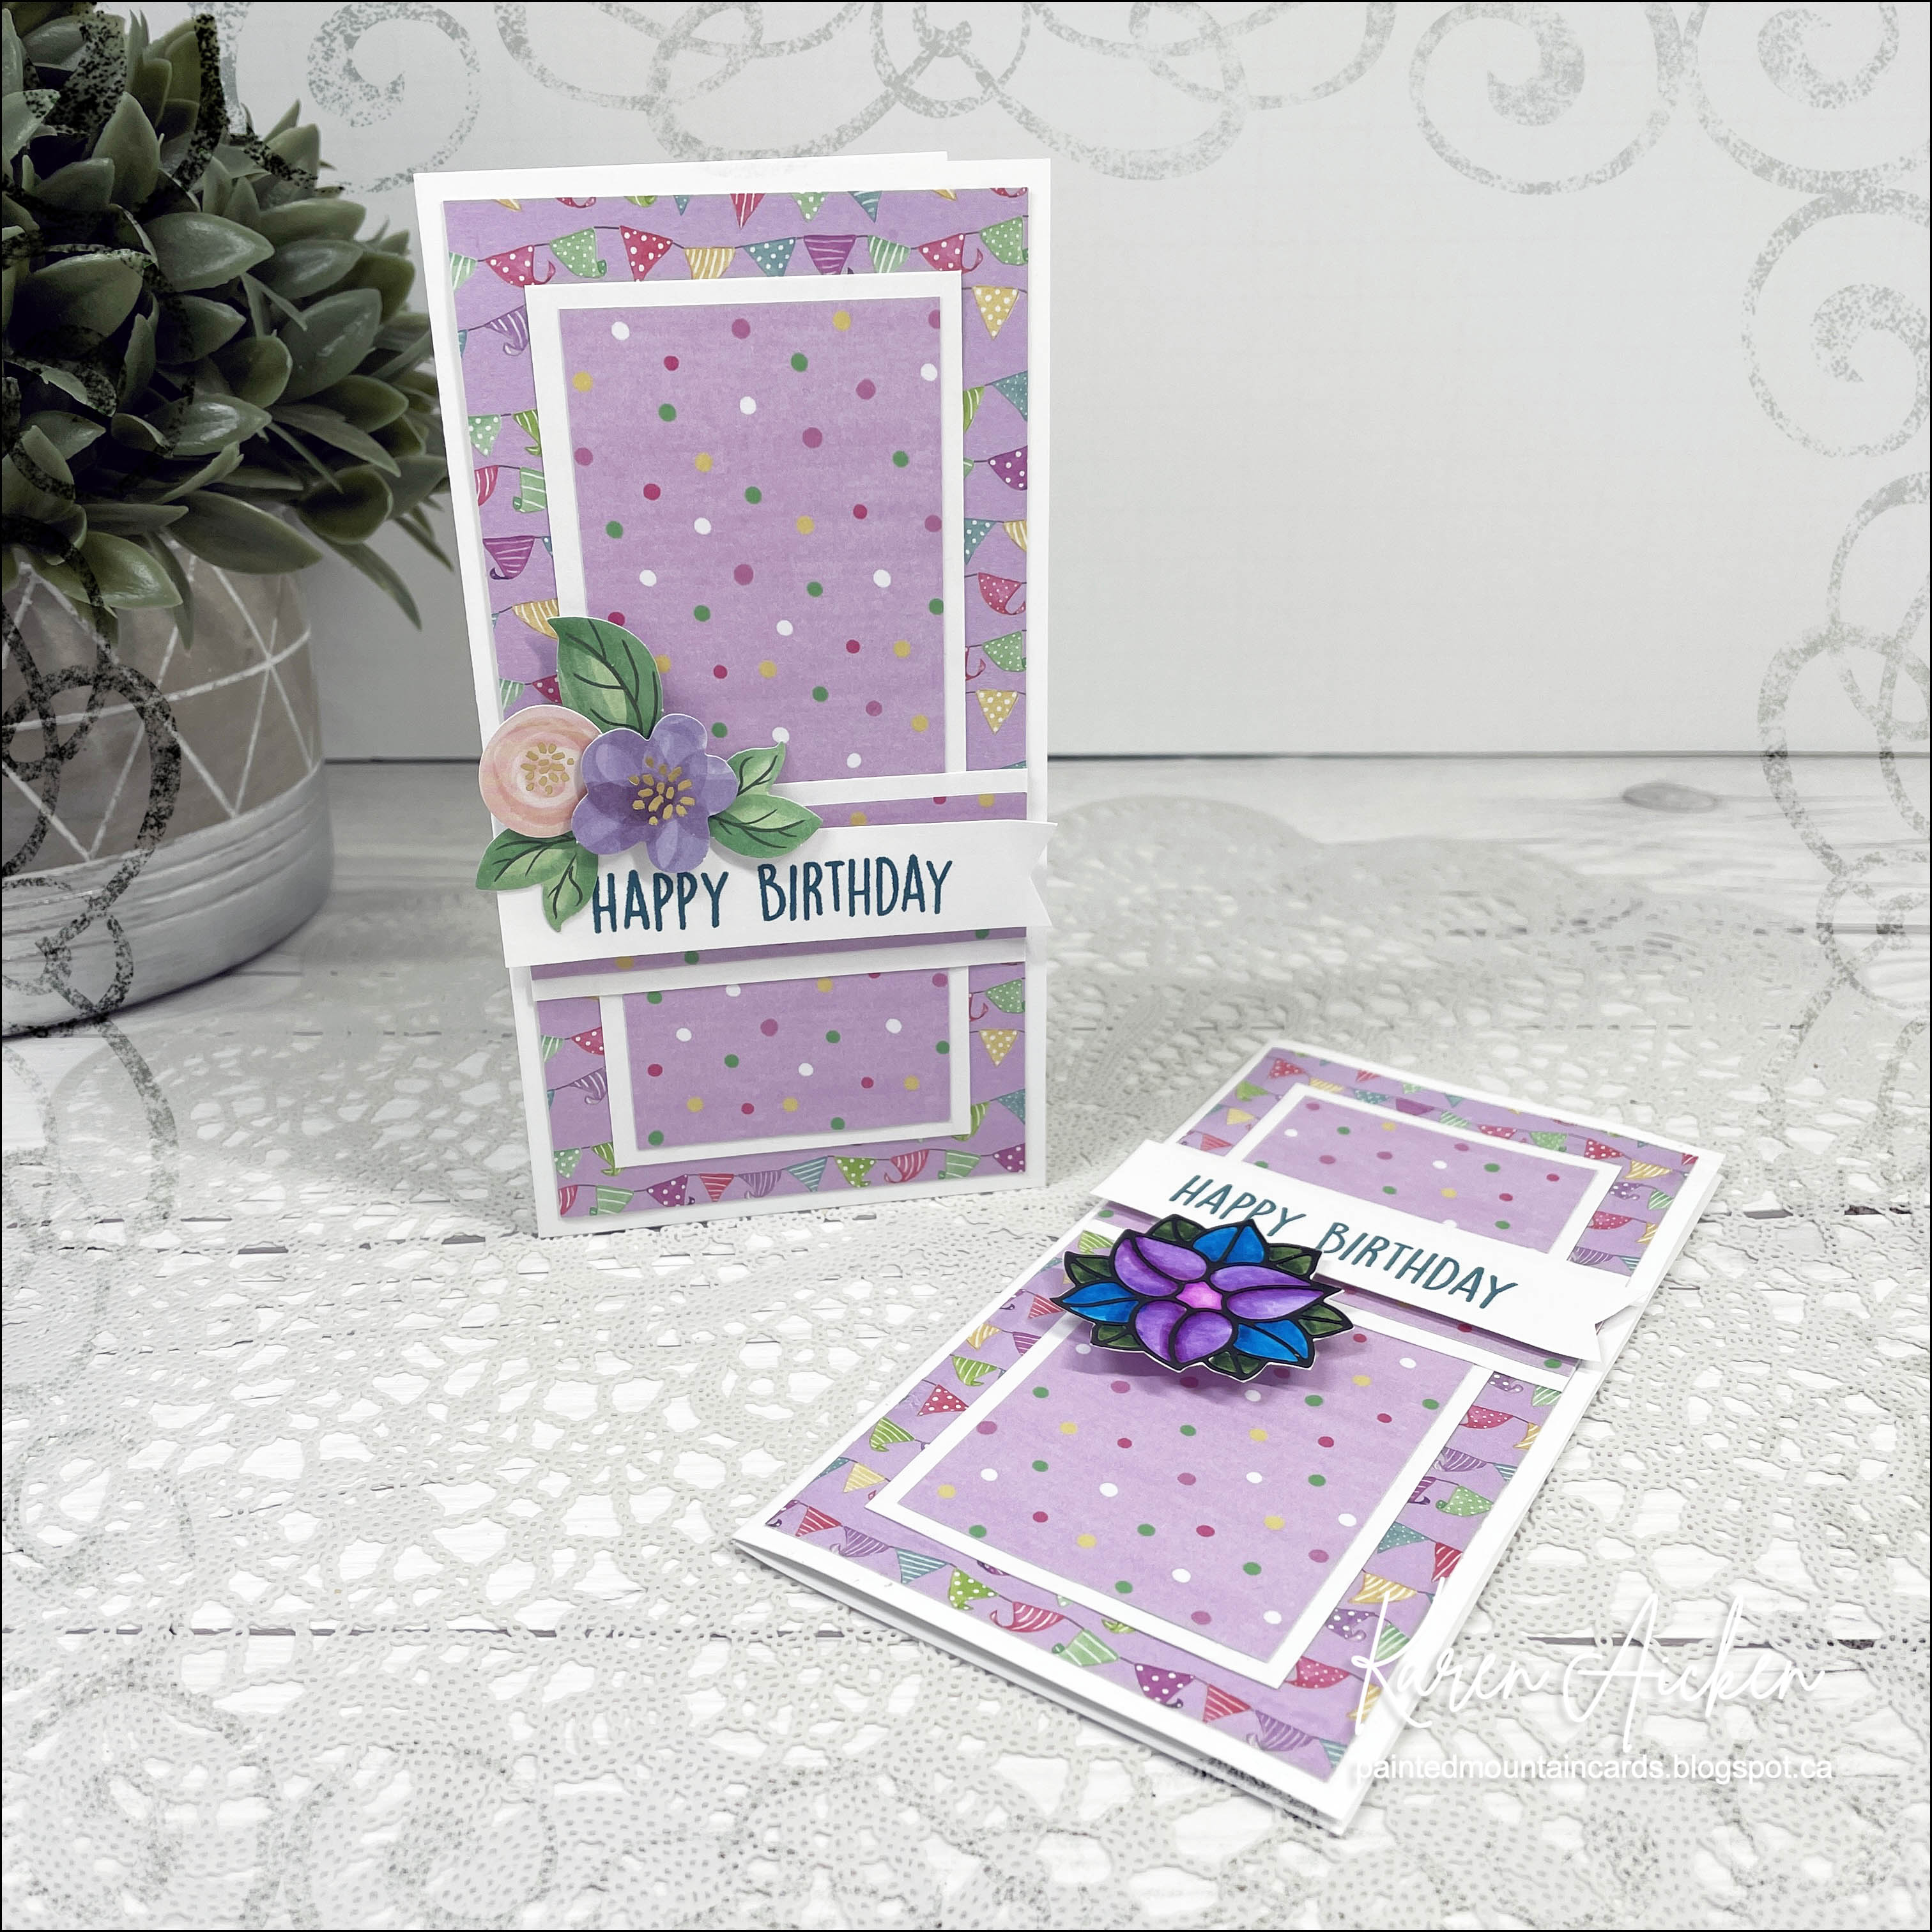
Two Mini Slimline Stash-buster Birthday Cards


Usually when I make my Sheetload cards, I do all the cutting and assembly and get the panels all mounted to my card base. THEN I choose what elements/sentiments to use. But for these ones, I pulled out the elements when I was looking through my embellishment binder for a different card. I knew I would have patterned paper that would coordinate and sure enough I did - so made two Mini Slimline cards for my Mom's old nursing home.


The pale flowers above were leftover from a completed Paper Pumpkin card kit, and the Peel Off sticker was water coloured & fussy cut years ago. I used the January 2023 Sheetload for the sketch & cutting guide. 😊


Here is a peek at the inside ... both cards were done with the same sentiment.

Looks like I didn't do a supply list for these cards. I don't always post my birthday donation cards, so maybe I thought I wouldn't be photographing these ones. But HERE is the link for the January '23 Sheetload of Cards.

Having been asked how many cards I make I thought it would be fun to keep track this year. Many of my posts include more than a single card or project and below is my tally. 

Card Tally for 2023
January - 53 cards
February - 56 cards
March - 55 cards
April - 32 cards
May - 43 cards
June - 34 cards
July - 56 cards
August so far - 106 cards!! Definitely a record number of cards for me, but I'm caught up on refilling the birthday donation card bin now. Whew!