Tuesday, 16 May 2023

Curvy Gatefold Birthday Card


This Curvy Gatefold die set was one that I got for my Birthday, and I had to play with it right away. However, I'm just now sharing the card! I made it for our middle daughter's birthday so couldn't post it on social media until we had given it to her.  For this one, I added a pretty belly band that slides off to open and reveal the sentiment inside. 


The belly band was decorated with a flower and leafy sprigs and I cut some of the layers from pink mirrored card stock. 


I love a die set that comes with layering dies - especially for tricky curves like this one. I only used one layering die on the front, but used both of them inside. The bottom layer was cut from pink mirrored cardstock so there is lots of shimmer and shine.


Having been asked how many cards I make I thought it would be fun to keep track this year. Many of my posts include more than a single card or project and below is my tally. 

Card Tally for 2023
January - 53 cards
February - 56 cards
March - 55 Cards
April - 32 Cards
May so far - 28 Cards

Additional Supplies:
Curvy Gatefold Die Set - Creative Craft
White cardstock
Blue & green cardstock scraps
Shimmer spray
Patterned paper - Park Lane, Hobby Lobby

This blog uses affiliate links whenever possible. This means, if you make a purchase through one of my affiliate links that you pay the same amount but I may receive a small commission from your purchase. I only link products that I own, love and use for my card making and not every link below is an affiliate one! 😊
Monday, 15 May 2023

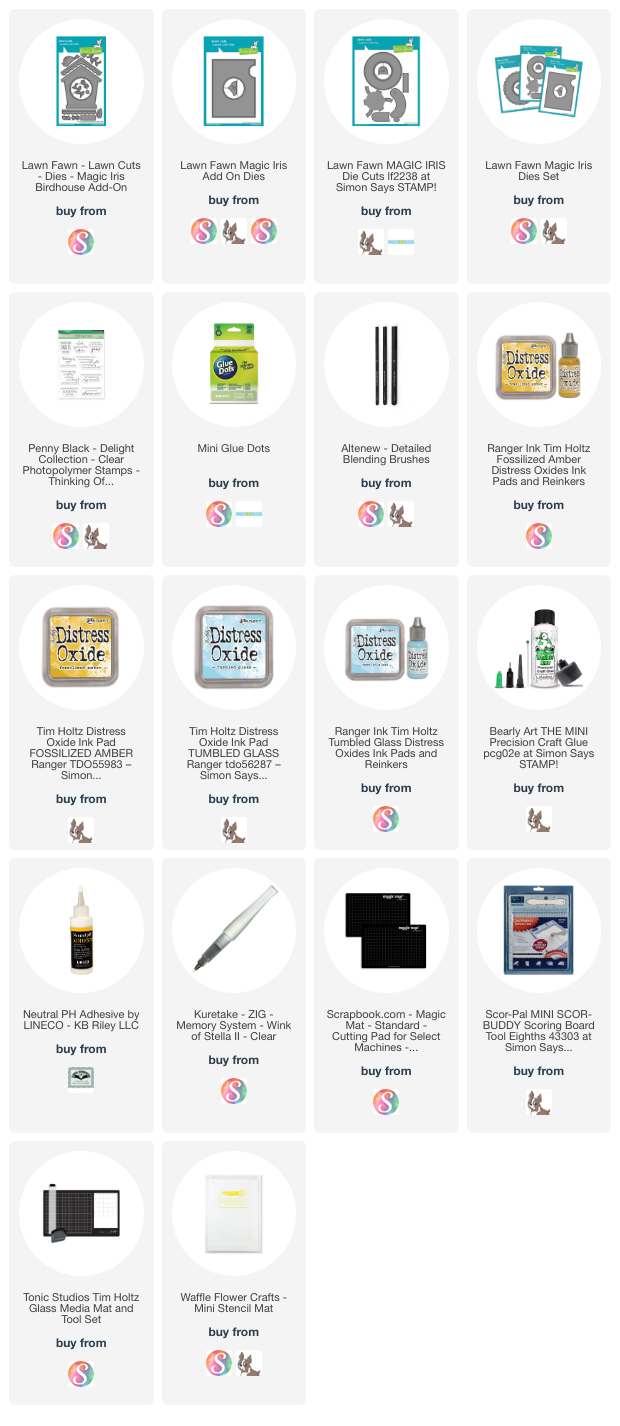
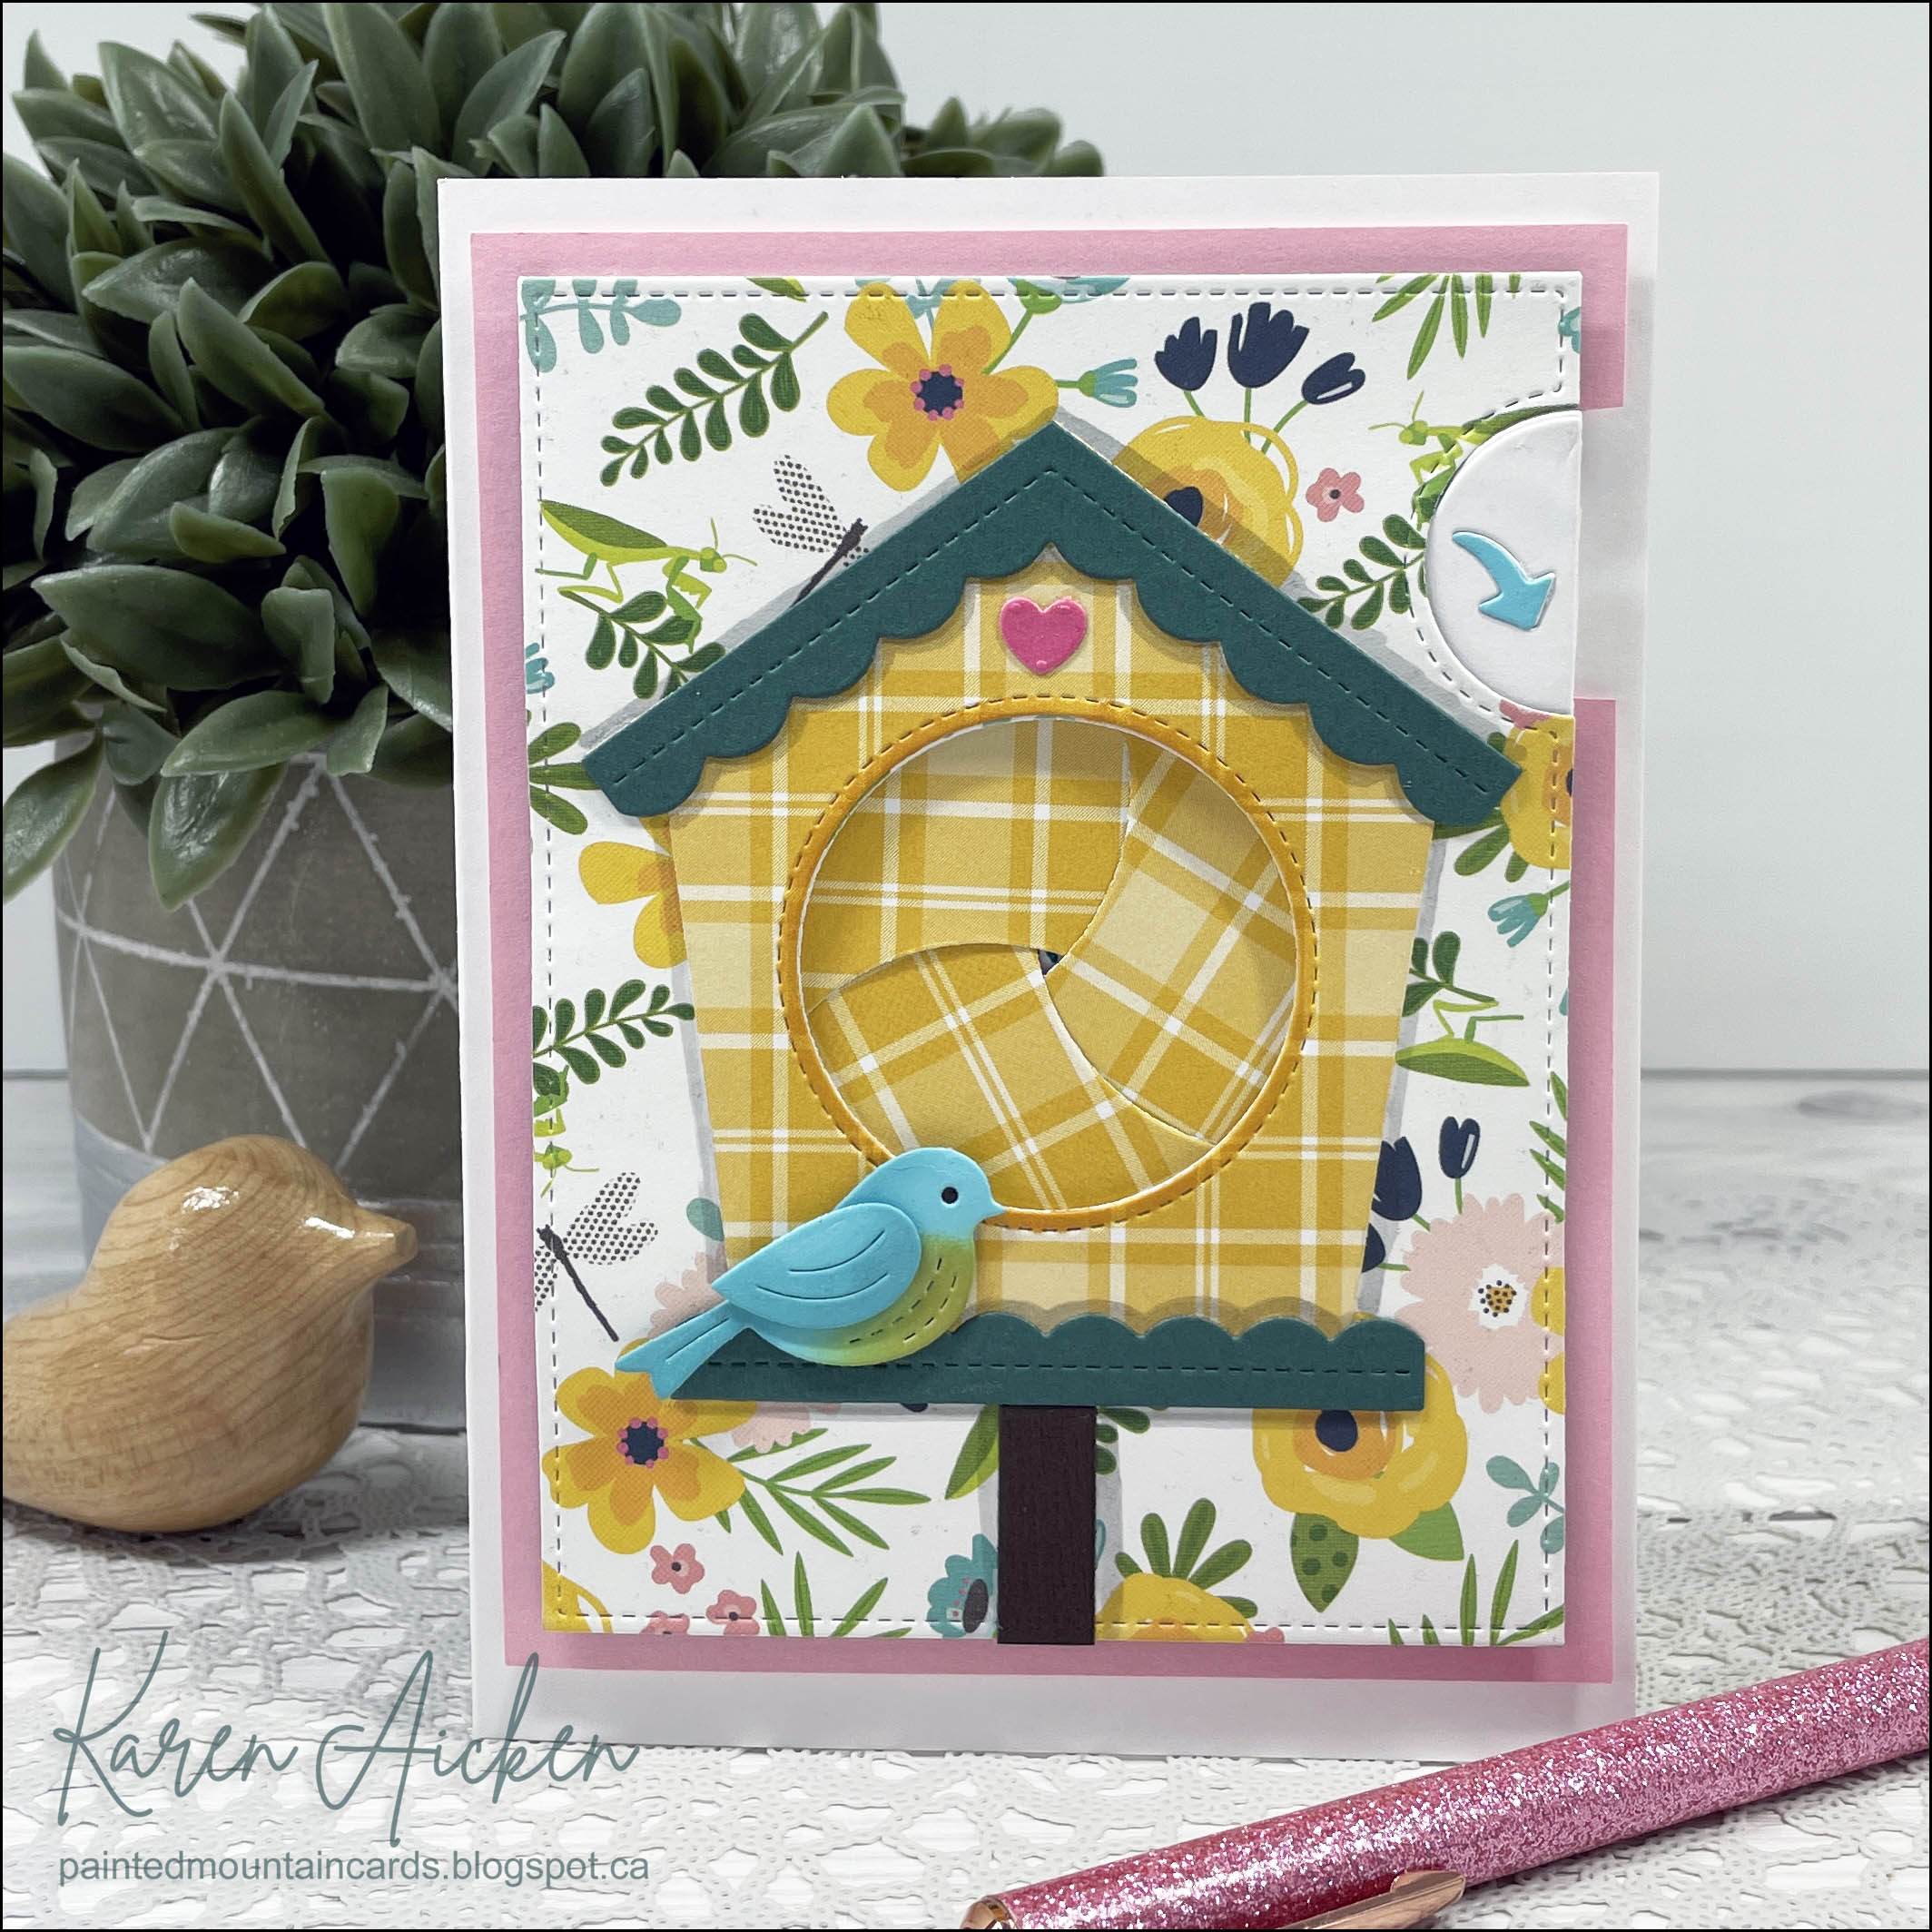
Birdhouse Magic Iris Card


Back in February I purchased this Birdhouse Add On for the Magic Iris die set, since it can also be used on it's own (and also makes a cute dog house!). For today's card, I used it with the Magic Iris though ... it was fun and I look forward to playing with it some more. This card is the 5th edition to my monthly series "Magic Iris cards" here on my blog. I had it in my head that I wanted to make a plaid birdhouse so that is what started the card!

When you slide the lever down in the direction of the arrow, the shutters open to reveal a stamped sentiment. 


Looks like I neglected to take a photo of the card inside, which was decorated with a leftover strip of the patterned paper. I did not add a sentiment inside, so there is room to add a note inside when I go to send the card.


Having been asked how many cards I make I thought it would be fun to keep track this year. Many of my posts include more than a single card or project and below is my tally. 

Card Tally for 2023
January - 53 cards
February - 56 cards
March - 55 Cards
April - 32 Cards
May so far - 27 Cards

Additional Supplies:
Plaid patterned paper - 6 x 6" - Stampin' Up (retired)
Floral patterned paper -  Patio Party, American Crafts
Pink cardstock
White cardstock
Scraps of coloured cardstocks
Alcohol markers

This blog uses affiliate links whenever possible. This means, if you make a purchase through one of my affiliate links that you pay the same amount but I may receive a small commission from your purchase. I only link products that I own, love and use for my card making and not every link below is an affiliate one! 😊


Friday, 12 May 2023

Tulip Pop Up Birthday Card


Today I'm sharing the birthday card I made for a friend. I wanted something bright and cheerful and what is more cheerful than a bunch of tulips?  I added a shaker to the front, then the tulip bouquet that also has some glitter added. I forgot to make a note as to who makes the solid Happy Birthday stamp - oops!


Inside I added Lawn Fawn's Happy Birthday Pop Up. I cut it twice, once from white card stock and once from the tulip patterned paper. Then I snipped away the white letters, adhering them over the tulip printed ones so they would show up better.

It's hard to see in the photo below, but above the top scalloped border is some white polka dot Washi tape.


Having been asked how many cards I make I thought it would be fun to keep track this year. Many of my posts include more than a single card or project and below is my tally. 

Card Tally for 2023
January - 53 cards
February - 56 cards
March - 55 Cards
April - 32 Cards
May so far - 27 Cards

Additional Supplies:
5 x 7" card blank and envelope
Shimmer spray
Green, yellow, pink and orange card stock scraps
Patterned paper - Flowering Fields, Stampin' Up
Narrow seam binding - Stampin' Up
Various shaker filler - my stash
White cardstock
Purple pearl cardstock - Simon Says Stamp

This blog uses affiliate links whenever possible. This means, if you make a purchase through one of my affiliate links that you pay the same amount but I may receive a small commission from your purchase. I only link products that I own, love and use for my card making and not every link below is an affiliate one! 😊

Thursday, 11 May 2023

Laser Cut Butterfly Card Trio


Today I'm sharing the final three cards made with a card kit from Stampin' Up called "Notes of Cheer".  I have a walkthrough of my cards on YouTube


As I said in the video, I used two of the 'rainbow' card bases here but I had used the third one one one of the first three cards I made. You can see my other Notes of Cheer cards HERE & HERE).  Since I was running low on sympathy cards, I made two of them into cards for my stash.


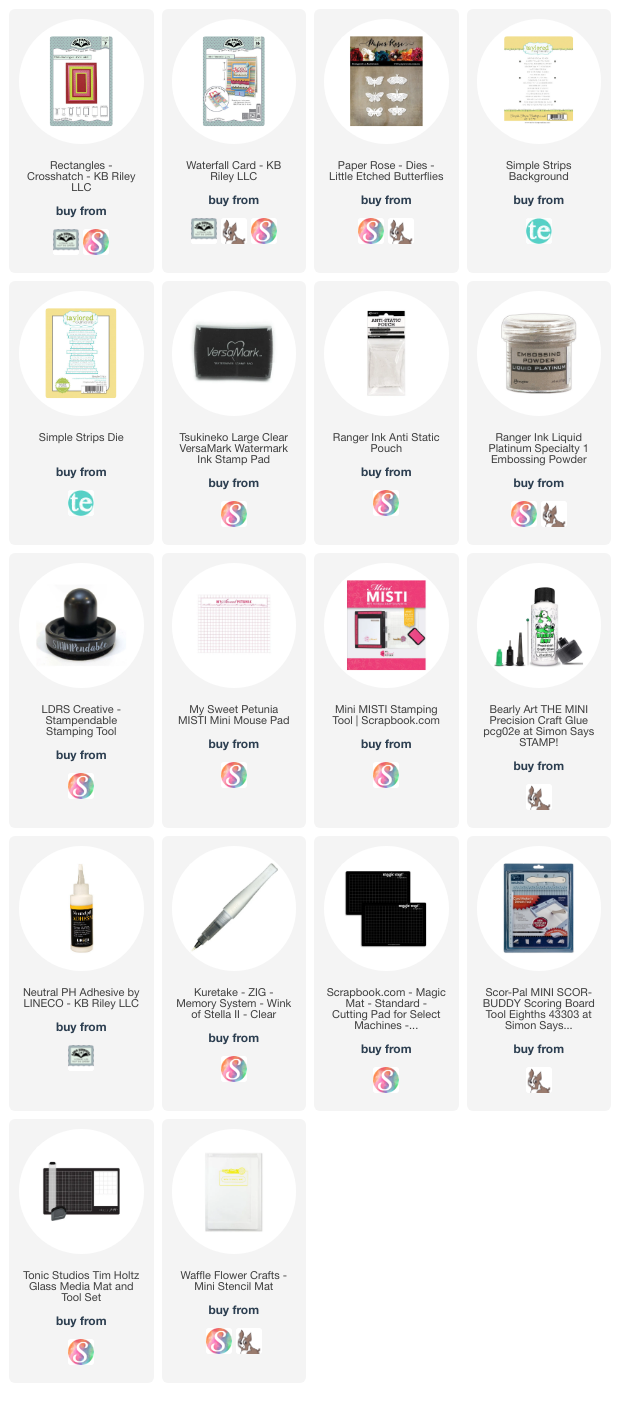
I thought the laser cut panel would be nice added over a mirrored cardstock panel, so pulled out this Rainbow Holographic cardstock and die cut it with Karen Burniston's Crosshatch Rectangles. I added the die cut hello, which is from her Waterfall Die set and this card was ready to send to a friend for Happy Mail!


Having been asked how many cards I make I thought it would be fun to keep track this year. Many of my posts include more than a single card or project and below is my tally. 

Card Tally for 2023
January - 53 cards
February - 56 cards
March - 55 Cards
April - 32 Cards
May so far - 26 Cards

Additional Supplies:
Notes of Cheer card kit - Stampin' Up
Rainbow Holographic cardstock - Recollections
Sympathy verse - Stampendous (old, probably retired)

This blog uses affiliate links whenever possible. This means, if you make a purchase through one of my affiliate links that you pay the same amount but I may receive a small commission from your purchase. I only link products that I own, love and use for my card making and not every link below is an affiliate one! 😊

Wednesday, 10 May 2023

Faux Step Mother's Day Card


I have wanted to try one of these faux step cards for AGES, so I created a 5 x 7" version. This one was sent to my Mother In Law for Mother's Day and is the 5th edition to my monthly series "New Fun Folds". 


One of the reasons I was intrigued by this faux version ... and the reason I never invested in a step card die set (or side step as they are sometimes called), is that the cards usually collapse and don't display nicely for very long. This faux version seemed to be a good way to ensure that didn't happen, and it does work a lot better. 

Since I was happy with how sturdy they are I decided to make another one (to be shared another day) but I added the sentiment panel to the back side and added an accordion strip inside that holds the card upright. That, to me, was the perfect solution - and now I will be making more of this type of card.


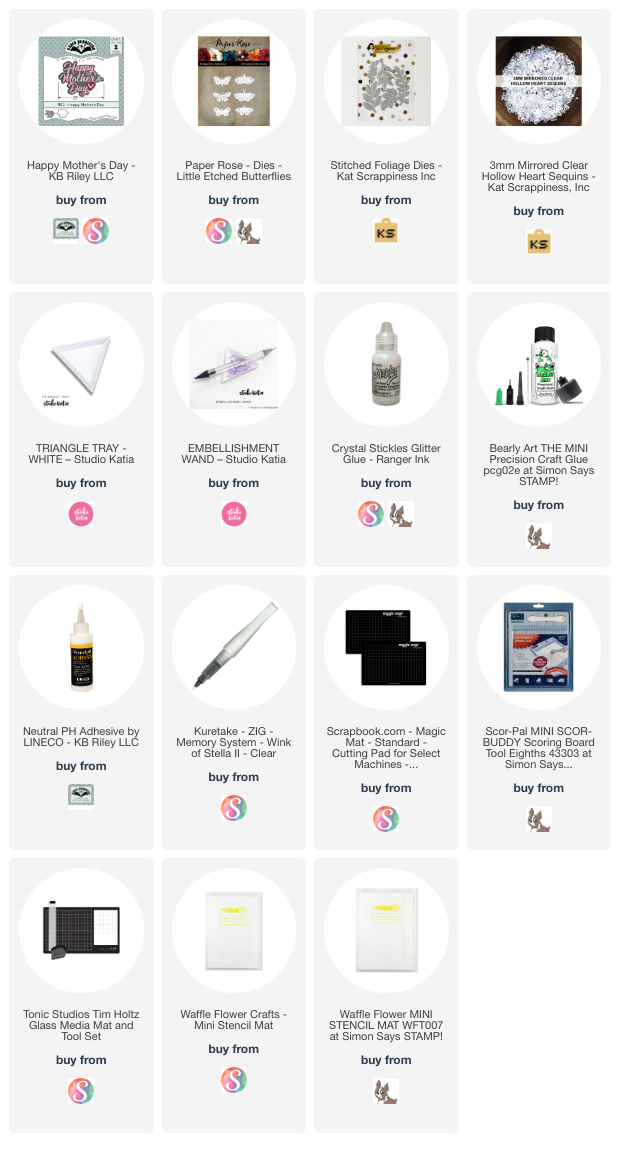
I have had this patterned paper pad for many years - it has embossed shiny bits on it and is so pretty! Adding Karen Burniston's Happy Mother's Day, some stitched foliage and butterflies cut with rainbow holographic cardstock gives the card even more shine.


Inside I added a matted sentiment panel with a stamped sentiment and another little butterfly.


I didn't have a chance to do a tutorial, but below are my measurements.

Card base - 9 x 7", scored down the 9" side at  1.5", 3" and 6"

Patterned paper - 6.75 x 2.75"

Top folded piece - 10 x 4", scored at 5"

Refer to the photos for what the folding & placement looks like. If you are unsure use some older paper or cardstock to make a prototype! I will try to do a tutorial but it won't be until summertime.

Having been asked how many cards I make I thought it would be fun to keep track this year. Many of my posts include more than a single card or project and below is my tally. 

Card Tally for 2023
January - 53 cards
February - 56 cards
March - 55 Cards
April - 32 Cards
May so far - 23  Cards

Additional Supplies:
White cardstock
Blue cardstock
Patterned paper - Water Colour Bouquet, K & Co (old from my stash)
Happy Thoughts stamp set - Stampin' Up
Rainbow Holographic cardstock - Recollections
Heart - leftover from a different project and sitting on table

This blog uses affiliate links whenever possible. This means, if you make a purchase through one of my affiliate links that you pay the same amount but I may receive a small commission from your purchase. I only link products that I own, love and use for my card making and not every link below is an affiliate one! 😊


Tuesday, 9 May 2023

Gold Snowflakes Pop Up Card

Today I'm sharing the 5th edition to my monthly series "12 Months of Christmas". I pulled out this paper pad, which I have have for a number of years and cut down one of the sheets that had the 4 x 6" gift panel on it. That is what started the card and the rest just fell into place!

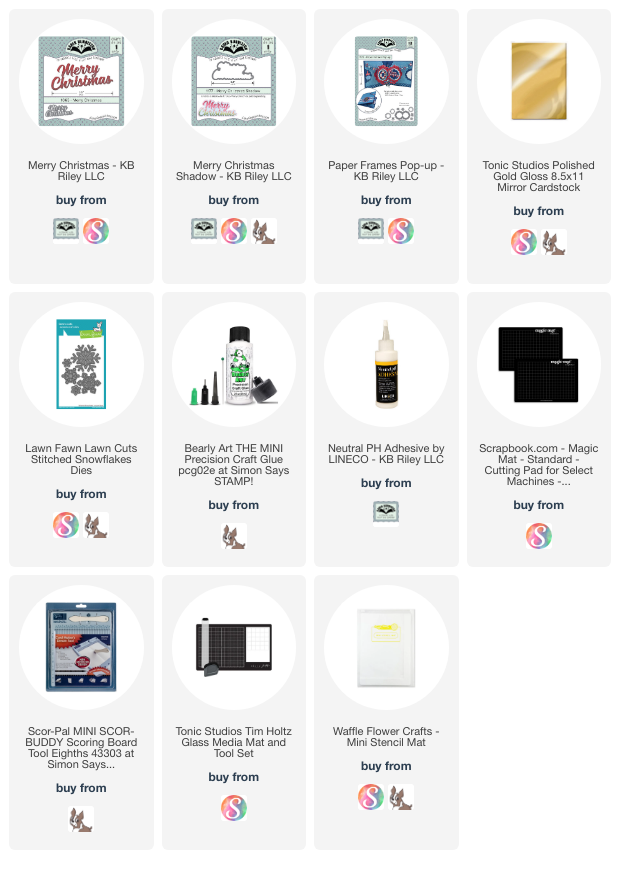
Inside I used the Paper Frames Pop Up by Karen Burniston, and decided not to add another sentiment inside the card but there is room for a short message on the signing block. Since the paper has some gold foiling on it I added snowflakes cut from a gold mirrored cardstock. I love sparkle and shine on a holiday card!

... one more look ...

Having been asked how many cards I make I thought it would be fun to keep track this year. Many of my posts include more than a single card or project and below is my tally. 

Card Tally for 2023
January - 53 cards
February - 56 cards
March - 55 Cards
April - 32 Cards
May so far - 22 Cards

Additional Supplies:
Patterned paper - Christmas Made, DCWV (old, from my stash)
5 x 7" Card blank and envelope
White cardstock
Peel Off Gem stickers - Dazzles

This blog uses affiliate links whenever possible. This means, if you make a purchase through one of my affiliate links that you pay the same amount but I may receive a small commission from your purchase. I only link products that I own, love and use for my card making and not every link below is an affiliate one! 😊

Monday, 8 May 2023

Floral Thank You Mini Slimline Card


I used this patterned paper package a LOT for my Mother's Day and May birthday cards, which means there are scraps and partial sheets leftover. When I saw this bordered print piece would fit on a Mini Slimline card, I knew what I wanted to do.

Cutting the panel with a Mini Slimline die gave it a nice embossed edge, then I adhered it to a card blank. Since I'm low on thank you cards, I pulled out this die set from Lawn Fawn and scraps of pink mirrored card stock. I also added a couple of butterflies - isn't that lacy one pretty?


Inside, I added a matted layer and one more butterfly. Lots of room to write a note when I go to use the card.


Having been asked how many cards I make I thought it would be fun to keep track this year. Many of my posts include more than a single card or project and below is my tally. 

Card Tally for 2023
January - 53 cards
February - 56 cards
March - 55 Cards
April - 32 Cards
May so far - 21 Cards

Additional Supplies:
White cardstock
Pink cardstock

This blog uses affiliate links whenever possible. This means, if you make a purchase through one of my affiliate links that you pay the same amount but I may receive a small commission from your purchase. I only link products that I own, love and use for my card making and not every link below is an affiliate one! 😊

Friday, 5 May 2023

Underwater Platform Pop Up Card


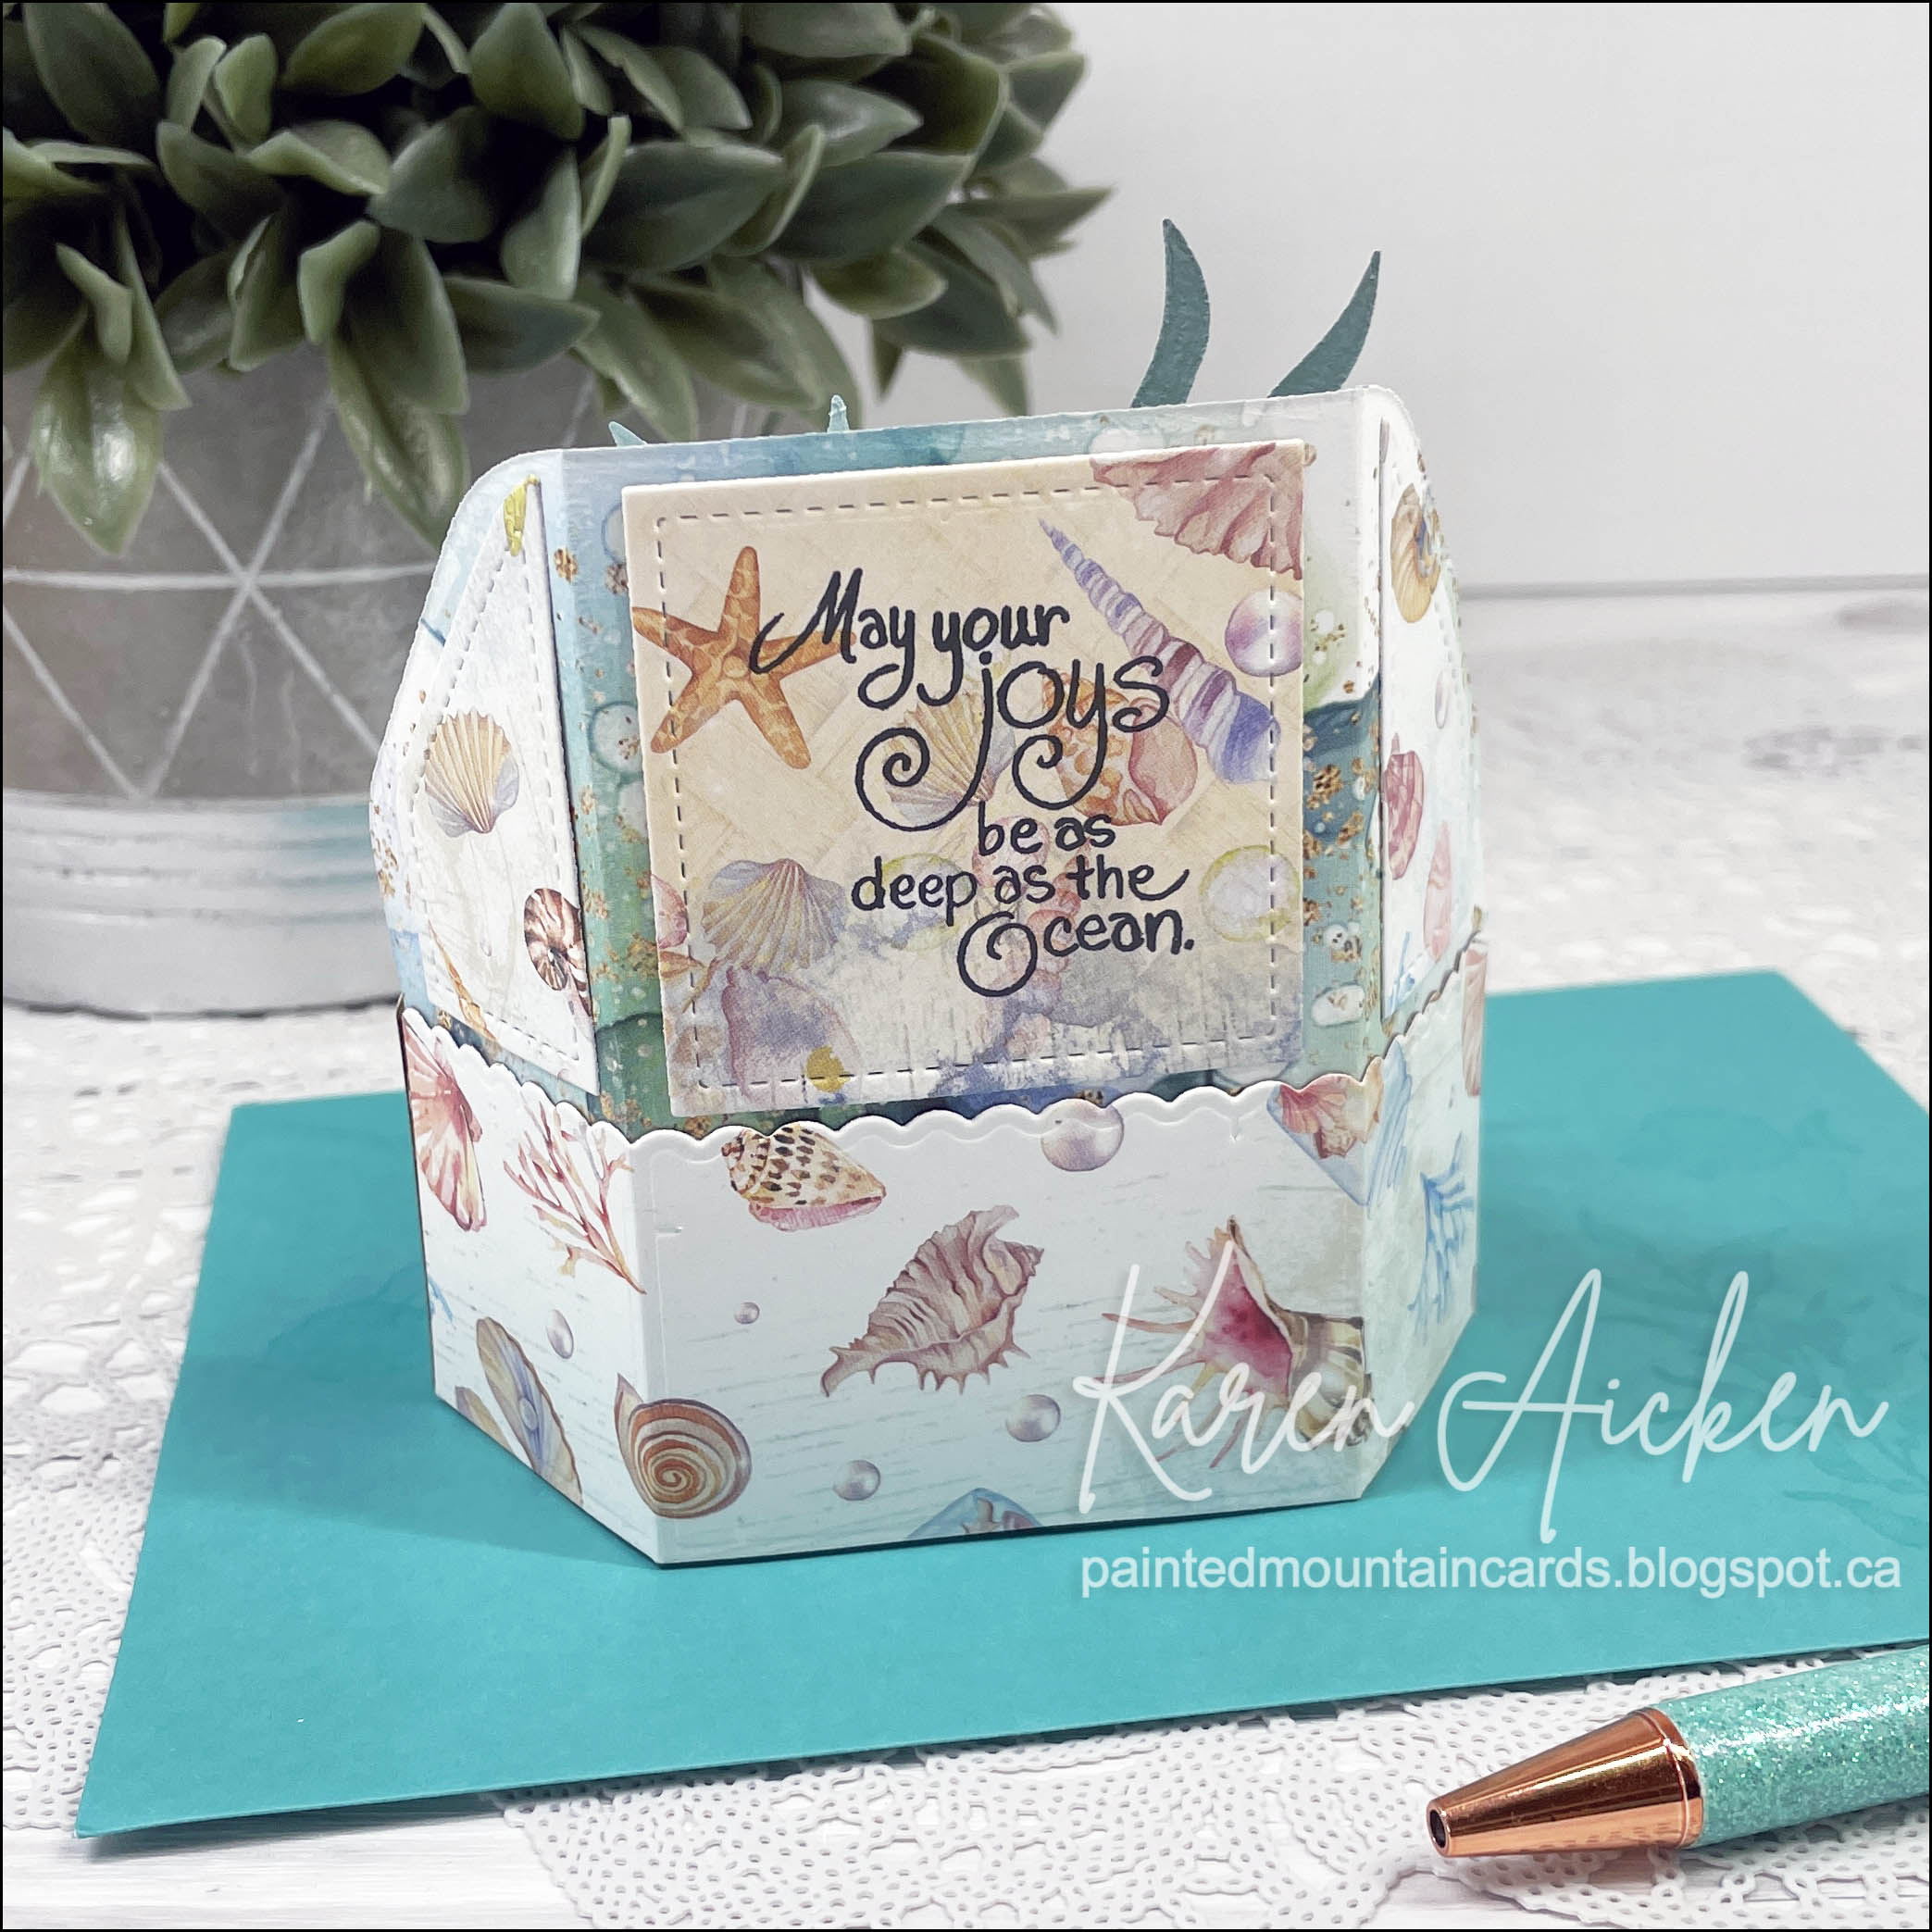
Today is Fun Fold Friday on my blog & I'm sharing the 5th edition to my monthly series 'Platform Pop Up' cards. Back in early March I finally broke down and purchased the Add On for the Platform Pop Up. This was my first play with it and I think it's going to be fun! 


As usual, my card started with the patterned paper which is Slimline sized and nice and heavy weight. Then I pulled out Karen Burniston's Sea Animals to decorate the platform tabs. Building as I went, I added a couple of sand dollars then some seaweed and iridescent bubble gems.


I stamped a sentiment on the back from an older stamp set by Stampendous.


This card folds down flat and will mail in a 5 x 7" envelope!


Having been asked how many cards I make I thought it would be fun to keep track this year. Many of my posts include more than a single card or project and below is my tally. 

Card Tally for 2023
January - 53 cards
February - 56 cards
March - 55 Cards
April - 32 Cards
May so far - 20 Cards

Additional Supplies:
Blue cardstock
Black marker
Sand Dollar - Sea of Textures, Stampin' Up (retired)
Envelope stamping - Seas the Day, Stampin' Up
Words - Stampendous (retired?)
Seaweed - Elizabeth Craft Designs (retired)
White pearl cardstock
Blue pearl cardstock scraps
5 x 7 teal envelope

This blog uses affiliate links whenever possible. This means, if you make a purchase through one of my affiliate links that you pay the same amount but I may receive a small commission from your purchase. I only link products that I own, love and use for my card making and not every link below is an affiliate one! 😊


Thursday, 4 May 2023

Ice Cream Birthday Card Duo


I had been working on using up a HUGE 6 x 6" paper sampler package that was gifted to me years ago by my then Stampin' Up demonstrator. I thought this ice cream print would make really cute birthday cards for the nursing home, so I paired it with the ice cream punch and stamp set.

The ice cream part was punched from rainbow holographic card stock for lots of shimmer & shine. I can't find the Happy Birthday stamp to link for you, but you could add any number of birthday sentiments into that space if you wanted to recreate the cards.


Inside I stamped an ice cream cone and birthday sentiment.


Having been asked how many cards I make I thought it would be fun to keep track this year. Many of my posts include more than a single card or project and below is my tally. 

Card Tally for 2023
January - 53 cards
February - 56 cards
March - 55 Cards
April - 32 Cards
May so far - 19 Cards

Additional Supplies:
Rainbow Holographic mirrored cardstock - Recollections
Patterned paper - 6 x 6" paper share from Stampin' Up (old, stash)
ice cream stamps and punch - Stampin' Up
White paint pen

This blog uses affiliate links whenever possible. This means, if you make a purchase through one of my affiliate links that you pay the same amount but I may receive a small commission from your purchase. I only link products that I own, love and use for my card making and not every link below is an affiliate one! 😊

Wednesday, 3 May 2023

Notes of Cheer Butterfly Card Trio


Today I'm sharing another trio of cards created with a card kit from Stampin' Up. I added some holographic card stock and Pinkfresh Studio butterflies to finish off the cards. The sentiment strip, gems and laser cut piece were included in the kit.


I just love the scalloped and lined envelopes that came with the kit. One of these went to a friend for Happy Mail and the others went into my stash. I also added layers of rainbow holographic cardstock for extra shine.


I have a bin filled with these die cut butterflies. Some are just stencilled (in several different colour schemes), some are stencilled and stamped, and others are heat embossed and stencilled. It does nine at a time, so it's easy to build up a whole bunch to have on hand.

Having been asked how many cards I make I thought it would be fun to keep track this year. Many of my posts include more than a single card or project and below is my tally. 

Card Tally for 2023
January - 53 cards
February - 56 cards
March - 55 Cards
April - 32 Cards
May so far - 17 Cards

Additional Supplies
Notes of Cheer card kit - Stampin' Up
Shimmer Spray
Rainbow Holographic cardstock - Recollections
Gray fine point marker

This blog uses affiliate links whenever possible. This means, if you make a purchase through one of my affiliate links that you pay the same amount but I may receive a small commission from your purchase. I only link products that I own, love and use for my card making and not every link below is an affiliate one! 😊