Thursday, 13 April 2023

Hummingbird Shaped Card


Hummingbirds remind me of my Mom. So do lambs and pansies, but I have managed not to purchase any of the lovely pansy stamps & dies that have been released the past year or so. But when I saw this 5 x 7" shaped hummingbird die from Spellbinders? I might have actually gasped before I grabbed it. In fact, the designer has several dies in this line including a smaller hummer with lily's and that ended up in my cart too. What can I say - sometimes I'm weak. 😂

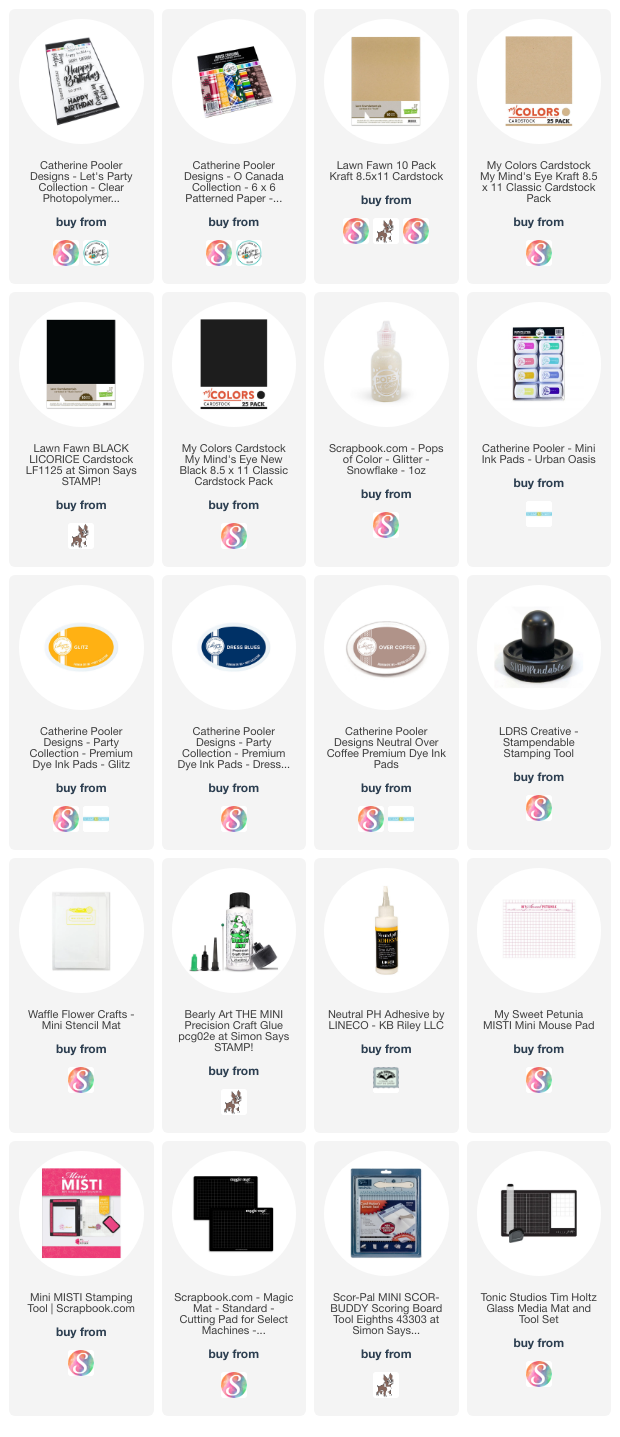
I wanted to play with it right away to make a birthday card for a friend, so I grabbed some of my Mirri cardstock (Hunkydory) and this is what I came up with. This card is also the 4th edition to my monthly series Shaped Cards

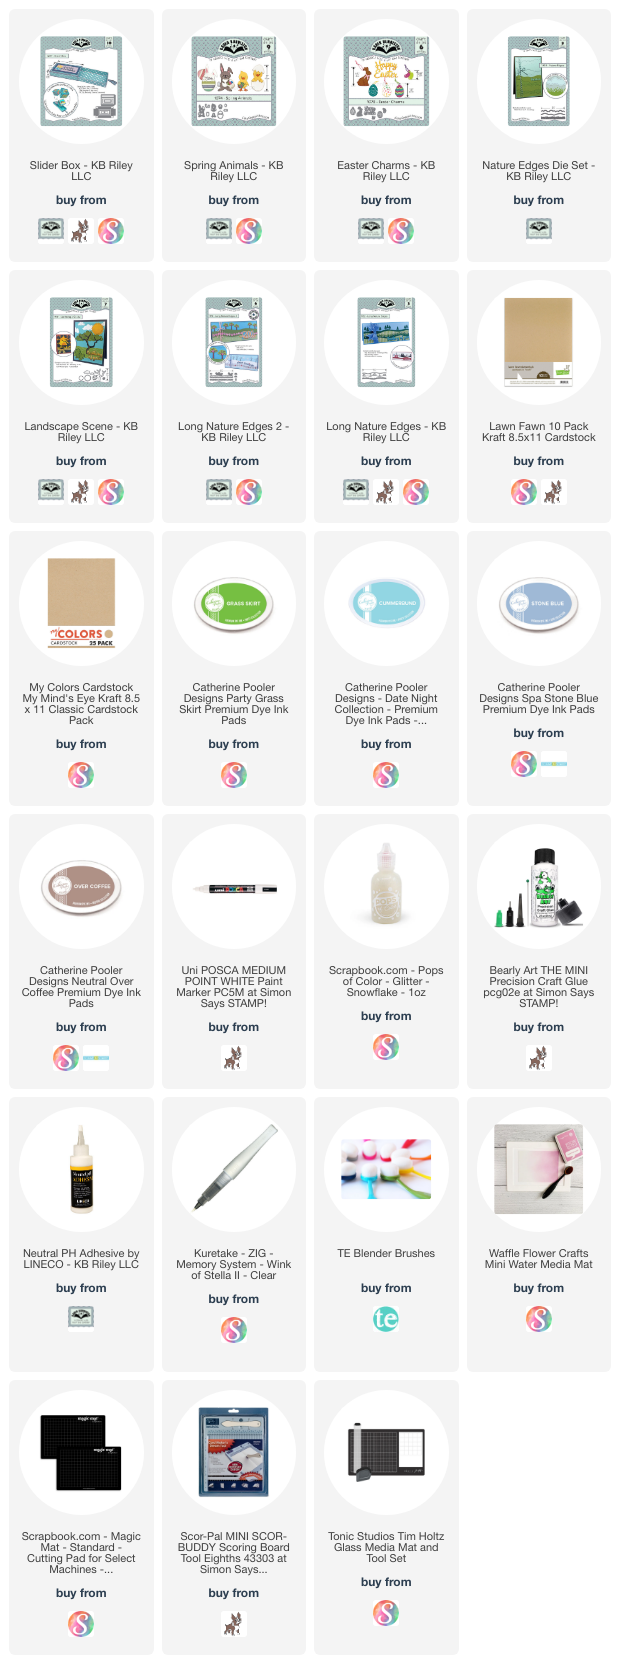
I just love how it looks with the mirrored and metallic card stocks! 


Inside I added an oval to stamp the sentiment on, since the die also embosses the details and it's too bumpy to stamp directly onto.

NOTE:  I cut the large outline shape three times. Once from the green/blue mirrored card stock and twice from white. The green/blue layer was adhered to one of the white ones then I proceeded to decorate it with the rest of the pieces in the set, fitting them like a jigsaw puzzle. The die embossed the lines so it's easy to see where they all fit. That second white hummer was used as the card back.


To make the hinge to attach the back of the card, I scored a line straight across as shown below, then added glue ABOVE the score line. Then I attached the back hummingbird shape to the front. When it was dry, I had a shaped card that will stand on it's own for display. Oh, and I also trimmed off some of the bottom feathers on the inside back (shown below) to help it stand.


Below is the card opened slightly and standing, and it just makes me HAPPY!!!  I am going to have to make a few more as I know several people who also love hummingbirds. This die will also fit on the front of a 5 x 7" card if I choose not to make it a shaped card. ❤️


Having been asked how many cards I make I thought it would be fun to keep track this year. Many of my posts include more than a single card or project and below is my tally. 

Card Tally for 2023
January - 53 cards
February - 56 cards
March - 55 Cards
April so far - 16 Cards

Additional Supplies:
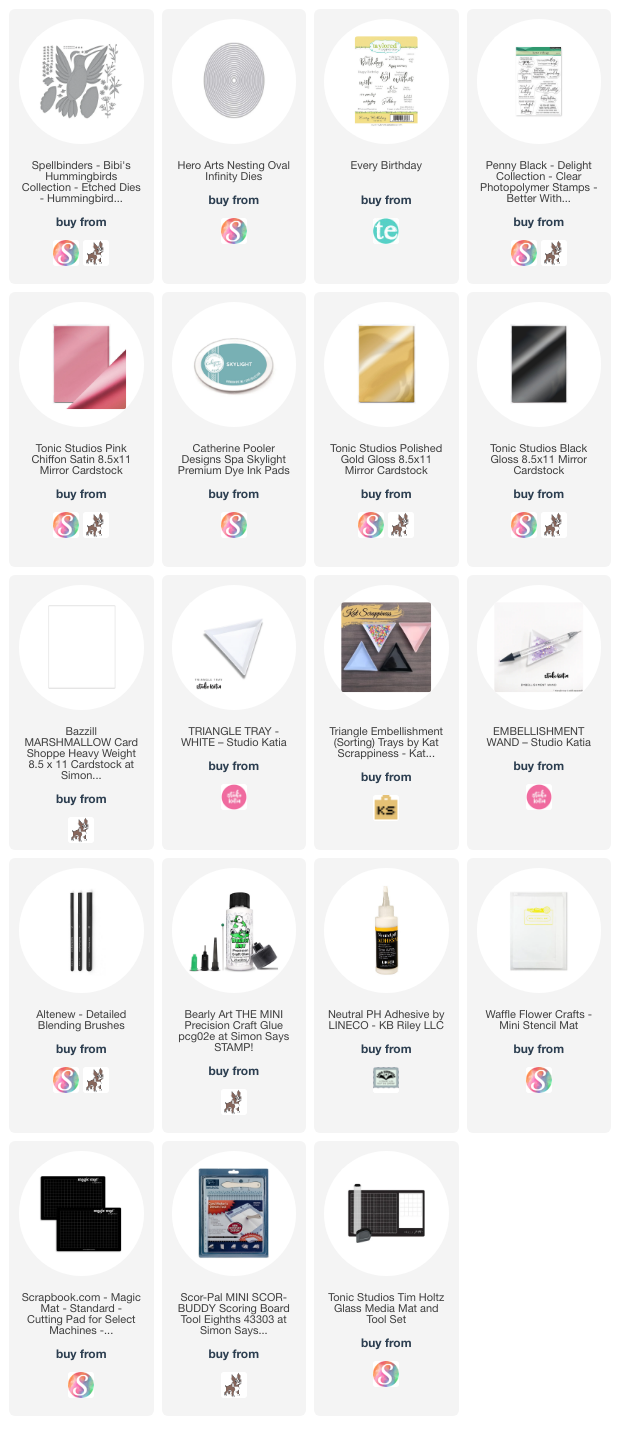
Mirri Damask cardstock - Hunky Dory 
White cardstock

This blog uses affiliate links whenever possible. This means, if you make a purchase through one of my affiliate links that you pay the same amount but I may receive a small commission from your purchase. I only link products that I own, love and use for my card making and not every link below is an affiliate one! 😊

Wednesday, 12 April 2023

Slimline Wiper Birthday Card


Today I'm sharing the 4th card in my monthly series: Throwback Fun Folds using a Wiper die set by Lynda Kanase at iCrafter. When they first started out I was on their Design Team and I loved their Wiper dies - this one is the Hello Sunshine Wiper Insert. It is still available, which is great as a lot of my older fun fold dies are long retired. Back then I was also tickled that they can work in a Slimline card so that is what I did today. 


This birthday card was made for a grandson who loves Pop Up cards. He was disappointed that his St. Patrick's Day card didn't have a pop up inside, so I made sure his birthday card did. 😊 I added the Gus & Gertie stamps (Taylored Expressions) because I just love them and haven't used them nearly enough.

Below is a peek at the inside and the dog/balloons slide up from the left with the clouds sliding up from the right as the card is opened.


I added Karen Burniston's Celebrate to the front of the insert piece and stamped the sentiment off to the left. The balloons and dog noses are nice and shiny with a Nuvo Glaze coating.


Having been asked how many cards I make I thought it would be fun to keep track this year. Many of my posts include more than a single card or project and below is my tally. 

Card Tally for 2023
January - 53 cards
February - 56 cards
March - 55 Cards
April so far - 15 Cards

Additional Supplies:
Alcohol markers
White cardstock
Dark teal cardstock
Cloud patterned paper - Flea Market, Doodlebug Designs (from my stash)

This blog uses affiliate links whenever possible. This means, if you make a purchase through one of my affiliate links that you pay the same amount but I may receive a small commission from your purchase. I only link products that I own, love and use for my card making and not every link below is an affiliate one! 😊

Tuesday, 11 April 2023

Birthday Plant Mini Slimline Card


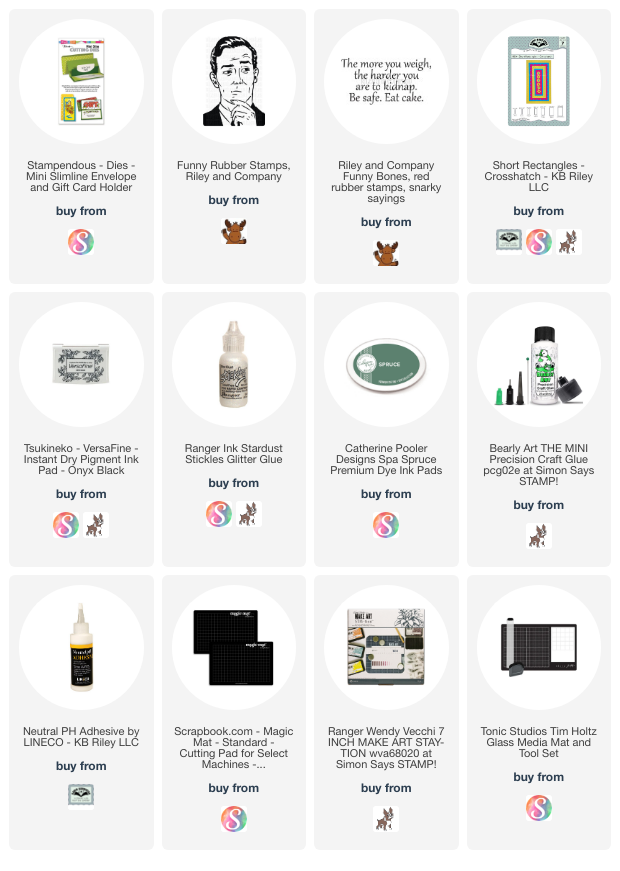
This card just makes me happy! Last year I purchased a Slimline paper pad from Whimsy (several of them, actually) and I used a few pages of this one right away. I pulled it out again,   cut one of the papers with a Mini Slimline die (linked below) then I was off and running. I added a white panel to the large front area of the lattice piece which gave me a perfect spot to add a stamped/die cut hanging plant.

This one is from Catherine Pooler and inked with their inks. I love their inks, and I love that this stamp set is solid, so no colouring required. The plant hanger was cut from a scrap of pink mirrored card stock for some Birthday sparkle and shine, and I added Wink of Stella to the plant leaves as well.


Here is a peek at the inside ...


Having been asked how many cards I make I thought it would be fun to keep track this year. Many of my posts include more than a single card or project and below is my tally. 

Card Tally for 2023
January - 53 cards
February - 56 cards
March - 55 Cards
April so far - 14 Cards
Additional Supplies:
White cardstock
Puffy Dots - Pebbles (I added Pops of Colour on top to make them shiny & sparkly)

This blog uses affiliate links whenever possible. This means, if you make a purchase through one of my affiliate links that you pay the same amount but I may receive a small commission from your purchase. I only link products that I own, love and use for my card making and not every link below is an affiliate one! 😊

Monday, 10 April 2023

Masculine Birthday Gated Fun Fold Card Duo


What can I say? I see 12 x 12" patterned paper with a new eye now, and I'm HOOKED on these Gated Fun Fold cards. If you missed my video tutorial, I have it linked near the end of my post***. 


This scenic patterned paper was free when Stampin' Up had their Sale A Bration and I was in love with it when it arrived. And yep - I immediately created these two cards from a single sheet of the paper. I love having extra masculine birthday cards in my stash.


Karen Burniston's Crosshatch Squares were perfect for adding the front sentiment, and I used stamps from both Catherine Pooler (words) and Stampin' Up (wolf).


For some reason I felt that these ones needed a little reinforcing on the outer side flaps - if you follow me you know I am not a fan of 'wussy' cards. So I added strips of cardstock on the back side of each of the side panels and was much happier with them. The strips measured ~ 1.75 x 5.75" and I also rounded the coordinating outer corner before adhering the cardstock to the back side flaps.

Not wanting to hide too much of the mountain scene inside, I added a vellum panel behind each of the stamped panels. I stamped the wolf onto the envelope, then - without re-inking - at the bottom of the sentiment panel. That gave me a lighter impression that can be written over, also known as 2nd generation stamping.

***Earlier this year I shared a tutorial for creating these Easy Gated Fun Fold Cards and said that I was having SO much fun with the idea and had made several more of them since filming the video. Here are two more of them and I still have another couple to share in the coming weeks.  You can find my YouTube tutorial HERE.


Additional Supplies:
Card size - 4 x 6"
Patterned paper - Enjoy the Journey - Stampin' Up
Corner rounder - Creative Memories
White cardstock
Scraps of Navy and Teal cardstock
Wolf - Wildlife Wonder, Stampin' Up

Having been asked how many cards I make I thought it would be fun to keep track this year. Many of my posts include more than a single card or project and below is my tally. 

Card Tally for 2023
January - 53 cards
February - 56 cards
March - 55 Cards
April so far - 13 Cards

This blog uses affiliate links whenever possible. This means, if you make a purchase through one of my affiliate links that you pay the same amount but I may receive a small commission from your purchase. I only link products that I own, love and use for my card making and not every link below is an affiliate one! 😊

Friday, 7 April 2023

Fabulous Flip Birthday Card


This is my first play with a new to me die set, and it's also the 4th edition to my monthly series New Fun Folds! I received some fun dies for my birthday - this one is the 5 x 7" Flip Mechanism by Sam Calcott at Mixed Up Crafts. We were in Arizona at the time, so I was able to order from CraftStash US which worked out well.  I didn't purchase any craft supplies during the November Black Friday sales or at Christmas, so I was pretty happy to get some new goodies for my late February Birthday!


When you pull the frame panel to the right, a trio of sentiments is revealed. I kept things simple for this first card, but I am really looking forward to playing with this set a lot more. I have so many ideas!  I used some Mirri cardstock from Hunky Dory, so the frame panel is bright and shiny. Then I cut some of Karen Burniston's Big Birthday Charms from leftover pieces of the mirrored cardstock and loved how they turned out,.


Inside is a stitched frame, a stamped sentiment and a balloon from the same charm set.


One more look ...  The card stands nicely for display but it is a little front-heavy. My KB teammate Frances has had this die set for awhile and she made one with an accordion fold inside the card so it stands up more like a tent. I think I will try that idea next!


If you would like to see Sam's assembly video, click HERE.

Having been asked how many cards I make I thought it would be fun to keep track this year. Many of my posts include more than a single card or project and below is my tally. 

Card Tally for 2023
January - 53 cards
February - 56 cards
March - 55 Cards
April so far - 11 Cards


Additional Supplies:
Patterned paper - Mirri Card - Time to Celebrate, Hunky Dory
5x7” Flip Mechanism - Made to Surprise (Sam Calcott)
5 x 7” Card and Envelope
Wish Big, Taylored Expressions
Single Gem - leftover from Stampin' Up
Pull Stamp, Many Happy Birthdays (Stampin' Up Paper Pumpkin Kit)

This blog uses affiliate links whenever possible. This means, if you make a purchase through one of my affiliate links that you pay the same amount but I may receive a small commission from your purchase. I only link products that I own, love and use for my card making and not every link below is an affiliate one! 😊

Thursday, 6 April 2023

Spring Cascade Card


One of the dies I received for my late February birthday was this Cascade Card die set. It's by Creative Crafts but they refer to it as a Zig Zag Stepper Card, ha ha. I had looked at it previously but when I saw it was on sale for a great price, I decided to buy it. I love a die set that comes with all the layering pieces! There were no directions or card samples on the Craft Stash US website, so I just sort of crossed my fingers.

It arrived with no instructions or guidance but I figured it would be fairly self explanatory - which it was.  I was mindful of the direction of both the dies and the papers so I wouldn't end up with upside down tulips on one side. But when I went to assemble it, it appears that the left panel should have been cut from the underside of the paper to get the tulip print to show.

Initially disappointed, I realized that it probably would have been too busy and using the softer print on the reverse side of the tulips made for a more pleasing card. I added the Giant Happy Spring (cut a couple of times from white cardstock so it would be sturdy) and some Pink Fresh Studio butterflies, then had to figure out what to put on the front.

Finally I opted for one of the layering dies and tulip paper for the left side, then I added one of Lawn Fawns layered butterflies. I adhered adhesive only along the outer butterfly sides so the card would still have movement. The other butterflies are stencilled and die cut (Pinkfresh Studios).


On the back side I added a stamped white panel (3 x 4") across both sides and another butterfly. While it's hard to see in the photo, I also added a strip of the tulip paper across the bottom of that white panel and one on the envelope flap. 


I know that most people would have made this from cardstock and used the included layers to add the patterned paper, but I wanted to try it this way with my first play. I'm quite happy with how it turned out and it stands nicely for display. It's also nice and lightweight and will mail for a single stamp!

We had been in Arizona and I was able to order from Craft Stash US ... but I don't know if they ship to Canada. I'm guessing that Canadians would order from their UK site? I'm set with new fun fold dies for several months now, so I won't be needing to find out! 😂

Card Tally for 2023
January - 53 cards
February - 56 cards
March - 55 Cards
April so far - 10 Cards

Additional Supplies:
Zig Zag Stepper Card die set (I call it a Cascade Card) - Creative Crafts (Craft Stash US)
Sentiment - Verses (wood mount)
Patterned paper - Flowering Fields, Stampin' Up
Shimmer Spray
Fine Point Brown Marker
5 x 7" envelope

This blog uses affiliate links whenever possible. This means, if you make a purchase through one of my affiliate links that you pay the same amount but I may receive a small commission from your purchase. I only link products that I own, love and use for my card making and not every link below is an affiliate one! 😊


Wednesday, 5 April 2023

'Clouds & Butterflies" Platform Pop up


I know there are lots of papercrafters who love, say florals. Whenever a company has a new floral release, they are happy to add them to their collection. Me? Apparently its sky related things. Clouds, sun, rainbows, sunbursts (stencils and dies) ... that is my weakness. Ha. So when Lawn Fawn's release included cloud inserts for the Platform Pop Up I didn't hesitate to hit 'add to cart'. I didn't purchase their cloudy wrap around for the base, but it IS on my Wish List. 😊  

Also included in that release was a cloud hot foil plate and I practically jumped for joy. Since I couldn't wait to play with the cloud insert I paired it with butterflies from Pinkfresh Studios. Since I know I also love butterflies - this card just makes me happy! 


This is the 4th edition to my series using the Platform Pop Up and I'll be back next month with another one. By the end of the year I hope to have made twelve different cards with this die set.


The card folds flat for mailing, and this one fits in a 5 x 7" envelope. I was mindful of how high I placed that top butterfly so it would fit inside the envelope.


Having been asked how many cards I make I thought it would be fun to keep track this year. Many of my posts include more than a single card or project and below is my tally. 

Card Tally for 2023
January - 53 cards
February - 56 cards
March - 55 cards
April so far - 9 cards

Additional Supplies:
White cardstock
Brown pen

This blog uses affiliate links whenever possible. This means, if you make a purchase through one of my affiliate links that you pay the same amount but I may receive a small commission from your purchase. I only link products that I own, love and use for my card making and not every link below is an affiliate one! 😊

Tuesday, 4 April 2023

Easter Slider Box


Welcome to Karen Burniston's April Designer Challenge, where the them is 'Bunnies!'. After the Accordion folded card/Slider Box I created for last months Designer Challenge, I knew I wanted to use the Slider Box again. One of the ideas I had as soon as I saw this die set, was to create a shadow box. This was the perfect opportunity!


I used brightly coloured patterned paper and holographic card stock, them pulled out the Easter Charms, Spring Animals, both sets of Nature Edges and the Landscape Scene die sets.


When you pull the ribbon loop, the drawer slides open to reveal a dimensional Spring scene!


I was so happy with how it turned out!


Since I don't plan these things out, but instead create with a 'lets try ...' or 'what if ...' style. So I don't have a tutorial on this shadowbox. If I make another one I will at least photograph my steps, but I couldn't do that for this card as I wasn't sure if what I was doing was even going to work! If you are familiar with shadow boxes though, it should be easy to figure out how to create different layers & depths on the side tabs.


Since this is intended to be an Easter CARD, I added a space on the bottom of the drawer for our personal greeting. Everything was glued flat so as not to create any catch points as it slides in and out of the outer sleeve.


The rest of the Design Team is linked on the right side of my blog and I hope you will check out what they came up with for the challenge. Karen Burniston will have her post tomorrow (Wednesday) on her BLOG.


Having been asked how many cards I make I thought it would be fun to keep track this year. Many of my posts include more than a single card or project and below is my tally. 

Card Tally for 2023
January - 53 cards
February - 56 cards
March - 55 Cards
April so far - 8 Cards


Additional Supplies:
Patterned paper - Watercolours 6 x 12" pad, Sizzix (Discontinued)
White cardstock
Seam binding - Stampin' Up
Rainbow Holographic cardstock - Recollections
Black fine point marker

This blog uses affiliate links whenever possible. This means, if you make a purchase through one of my affiliate links that you pay the same amount but I may receive a small commission from your purchase. I only link products that I own, love and use for my card making and not every link below is an affiliate one! 😊


Monday, 3 April 2023

Masculine Gift Card Holder


I made this humorous Gift Card holder for our son-in-law using stamps from Riley & Company. I get such a kick out of their Funny Bones stamps 😊.  I've had the pop up gift card holder die set for awhile, and for this one I paired it with succulent printed patterned paper from my stash. Oh, how I love this paper, and if I'd known how quickly it would be retired I would have purchased several more pads. 

Below is the pop up inside, and the white rectangle is where we wrote our personal message to him.


The die set also allows you to create a matching envelope, which I did.


Having been asked how many cards I make I thought it would be fun to keep track this year. Many of my posts include more than a single card or project and below is my tally. 

Card Tally for 2023
January - 53 cards
February - 56 cards
March - 55 Cards
April so far - 7 Cards

Additional Supplies:
Patterned Paper - Succulent Serenity (Lynda Kanase)
Corner Rounder - Creative Memories
White cardstock

This blog uses affiliate links whenever possible. This means, if you make a purchase through one of my affiliate links that you pay the same amount but I may receive a small commission from your purchase. I only link products that I own, love and use for my card making and not every link below is an affiliate one! 😊
Sunday, 2 April 2023

April 2023 Sheetload of Cards


It's the second of the month and that means it's time for the collaborators to share the latest Sheetload of cards!  Since I'm on the YouTube Collaboration Team, I have all the details in my video:  


Last week I took part in a Video Hop by Catherine Pooler, and this patterned paper was included in the package they sent me. I love the papers (called Moose Crossing) and I actually made myself USE these two prints instead of hoarding them. I love how bright and cheerful they are!


Here is the inside - they are all done the same, with stamps from the same ice cream stamp set.


Having been asked how many cards I make I thought it would be fun to keep track this year. Many of my posts include more than a single card or project and below is my tally. 

Card Tally for 2023
January - 53 cards
February - 56 cards
March - 55 cards
April so far - 6 cards

Additional Supplies:
White cardstock
Ice Cream punch - Stampin' Up
Sweet ice cream - Stampin' Up

This blog uses affiliate links whenever possible. This means, if you make a purchase through one of my affiliate links that you pay the same amount but I may receive a small commission from your purchase. I only link products that I own, love and use for my card making and not every link below is an affiliate one! 😊