Friday, 17 March 2023

Magic Iris Card for Easter


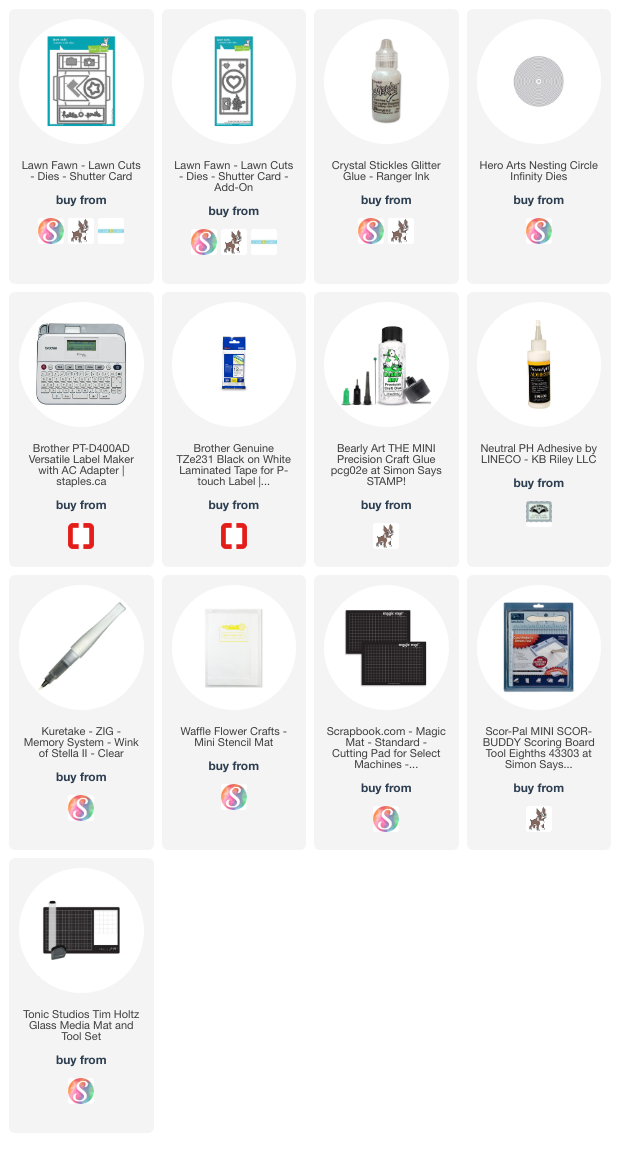
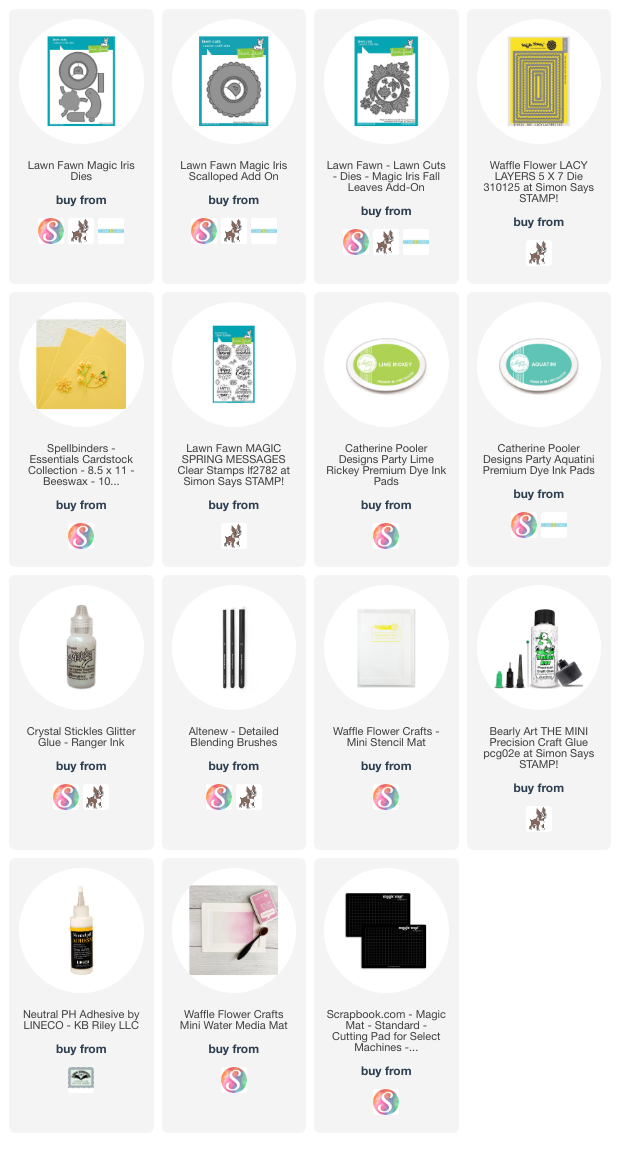
It's Fun Fold Friday here on my blog and today I'm sharing the third edition to my series "Magic Iris". By the end of the year I should have made & shared twelve different cards using this die set!  This 5 x 7" card has an extra layer on top ... the Fall Leaves Add On! Cutting it from green lightly patterned paper and adding green inking, it looks like a Spring wreath rather than Fall. I love getting more use from my dies! I have all the details in my YouTube video:  


When you open the shutter, the sentiment is revealed. 😊.  Below you can see it partially open ...


... and finally, fully open.


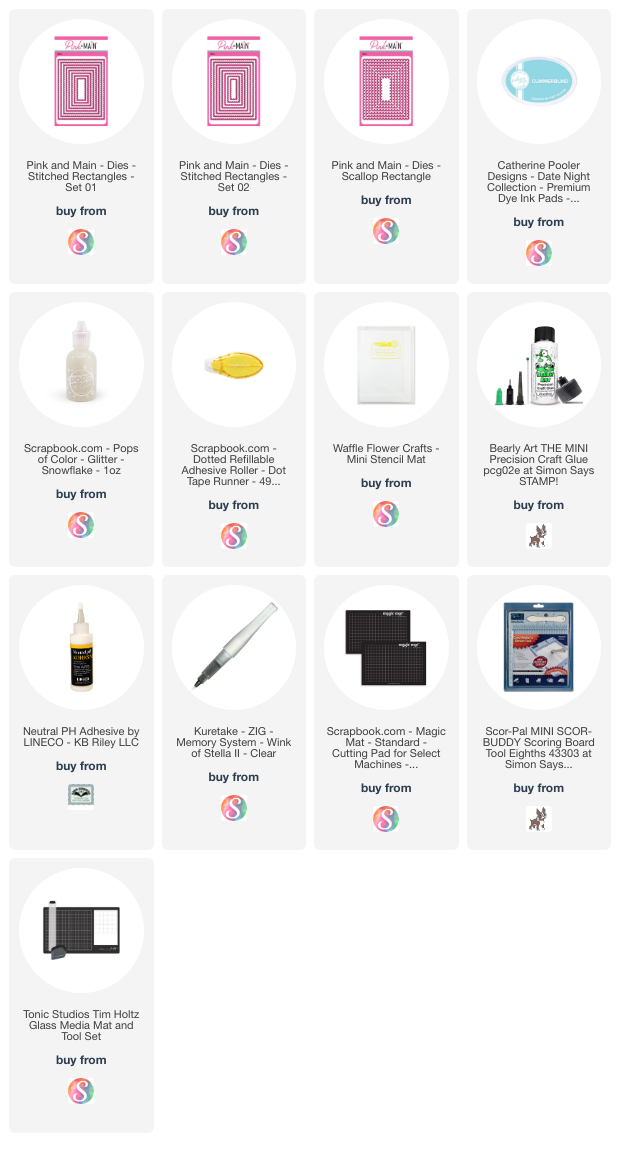
I didn't want to add any extra weight to the card by layering two additional panels inside, so instead I cut a scalloped yellow frame by nesting two dies together. I saved the fallaway yellow piece for another card, then used the same smaller rectangle die to cut white card stock. I stamped that with a sentiment by Verses (retired) and nestled that into the frame.


Having been asked how many cards I make I thought it would be fun to keep track this year. Many of my posts include more than a single card or project and below is my tally. 

Card Tally for 2023
January - 53 cards
February - 56 cards
March so far - 25 Cards

Additional Supplies:
Patterned paper - 6 x 6" Echo Park, Spring
5 x 7" Card blank and envelope
White cardstock
Inside verse - Verses Rubber Stamp (Woodblock! Retired)
Fine point markers
Easter Ephemera - Echo Park

This blog uses affiliate links whenever possible. This means, if you make a purchase through one of my affiliate links that you pay the same amount but I may receive a small commission from your purchase. I only link products that I own, love and use for my card making and not every link below is an affiliate one! 😊
Thursday, 16 March 2023

St. Patrick's Day Mini Slimline Card


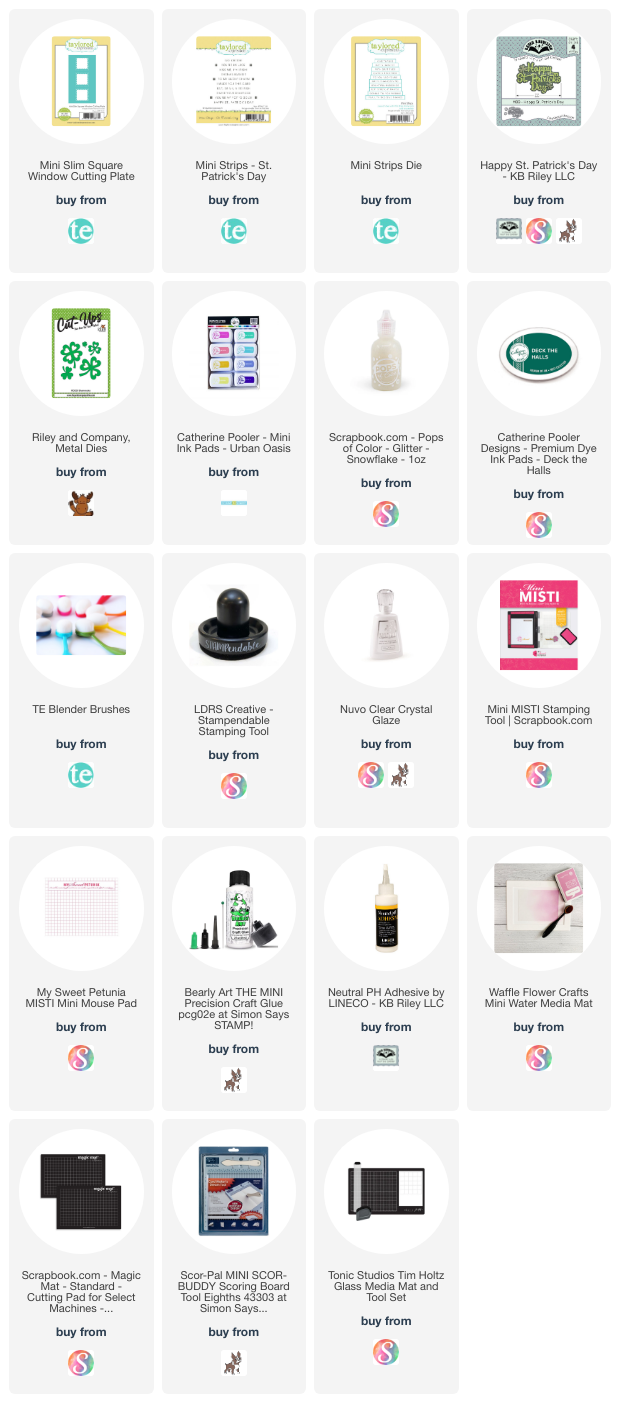
I knew I wanted to try using 'THAT paper**' to create a St. Patricks Day card and I'm happy I did! Starting with a green card base, I die cut the patterned paper** with a die from Taylored Expressions then backed the windows with a strip of white cardstock. 

The Shamrock (Riley & Company) was cut from a scrap of a glossy green cardstock and I filled the openings with Nuvo Glaze topped with chunky glitter. The sentiments are also from Taylored Expressions.


Inside I added Karen Burniston's Happy St. Patrick's Day and added some shadowing to the lower part of the words with a marker. Before adhering it to a white panel, I added some blue ink with a blending brush. I like the way it lt looks behind a word die.


** THAT paper is from Hobby Lobby, and was used so frequently by a card designer called Bette Manning that the Facebook Group called Stamp Junkies just started referring to it as 'THAT paper'. We don't have Hobby Lobby in Canada, but a lovely lady sent me some as a Random Act of Kindness so I could join in and play as well. I absolutely love this paper and she sent me enough sheets that I don't even have to hoard it! (Thanks again Marilyn!!)

Having been asked how many cards I make I thought it would be fun to keep track this year. Many of my posts include more than a single card or project and below is my tally. 

Card Tally for 2023
January - 53 cards
February - 56 cards
March so far - 24 Cards

Additional Supplies:
White cardstock
Green glossy cardstock - recycled packaging 
Scrap of pale green cardstock
Alcohol markers
Green cardstocks
Eucalyptus paper - the Paper Studio
Chunky glitter - stash

This blog uses affiliate links whenever possible. This means, if you make a purchase through one of my affiliate links that you pay the same amount but I may receive a small commission from your purchase. I only link products that I own, love and use for my card making and not every link below is an affiliate one! 😊


Wednesday, 15 March 2023

Your Creative Studio *UNBOXING*


The lovely people at Your Creative Studio reached out and asked if I would like to try one of their subscription boxes. I loved the vintage look of what they offer, and since I like to support Canadian companies I said sure! I did an unboxing video on YouTube, which you can find HERE


As you can see I created a Mini Slimline card using several of the items in the kit. The pretty patterned paper was stamped with one of the vintage stamps included and I inked the edges with a blending brush. Attaching a bit of the coordinating Washi Tape to a strip of white card stock made a border strip that has a little lift from foam tape. I stamped a stitched circle with a hello stamp from my stash and tucked it under that border strip. 

Then I added a die cut butterfly, also added with foam tape and a few sequins.


Inside the card, I used two of the vintage Sticky Notes, one right side up and one upside down, overlapping them in the centre. A stamped, stitched die cut circle covers most of the seam and I added another one of the die cut butterflies (Divinity Designs).

Subscription boxes are a lot of fun - you don't know what you will receive, but everything is curated to work together and give you SO many options for creating! I can't wait to play some more with the lovely products that were included in this box, which is their November 2022 Subscription box. As I'm writing this post, it is still available on the Your Creative Studio website. There are also some lovely vintage stamps, stickers and other items available for sale!


Thank you again to Your Creative Studio for sending along this lovely box of planner, journal, card making and paper crafting supplies! Be sure to check them out at Your Creative Studio


Having been asked how many cards I make I thought it would be fun to keep track this year. Many of my posts include more than a single card or project and below is my tally. 

Card Tally for 2023
January - 53 cards
February - 56 cards
March so far - 23 Cards

Additional Supplies:
Your Creative Studio - November 2022 Subscription Box
Happy Thoughts - Stampin' Up
Biggest Wish - Stampin' Up
Purple fine point marker
White cardstock

This blog uses affiliate links whenever possible. This means, if you make a purchase through one of my affiliate links that you pay the same amount but I may receive a small commission from your purchase. I only link products that I own, love and use for my card making and not every link below is an affiliate one! 😊

Tuesday, 14 March 2023

Spring Shutter Card


Today I'm sharing another Shutter Card that uses a bunch of older items from my stash. I am really getting through that Easter stash this year! 


The belly band is decorated with a butterfly that had been cut and assembled years ago. I store them in a binder in baseball card sleeves, and when I flipped through the binder I found both the embossed flower and the butterfly and decided to use them up.  The embossed flower is an old Sizzlet die that both embosses and cuts the flower. I have used that one a lot over the years!


When you open the card the shutters also open to reveal the sentiment and the cute fuzzy chick stickers. Those stickers are by Jolee's Boutique and I've had them for about 5 years. Managed to hoard them for the first couple, because they were just too cute to use. But I finished off the sheet this year!


I did add a scrap of acetate behind the circle opening so it looks more like a camera shutter.

Since there wasn't room inside to sign our names, I added a white panel on the back side that was decorated with stickers. I'm not thrilled with how those look but once they were attached there was no going back. 


Having been asked how many cards I make I thought it would be fun to keep track this year. Many of my posts include more than a single card or project and below is my tally. 

Card Tally for 2023
January - 53 cards
February - 56 cards
March so far - 22 Cards

Additional Supplies:
White cardstock
Embossed flower & butterfly - old, from my stash
Stickers - old, Me & My Big Ideas
Jolees Boutique - Fuzzy Chick stickers

This blog uses affiliate links whenever possible. This means, if you make a purchase through one of my affiliate links that you pay the same amount but I may receive a small commission from your purchase. I only link products that I own, love and use for my card making and not every link below is an affiliate one! 😊

Monday, 13 March 2023

Easy Gated Fun Fold Cards for Easter


I pulled out this 12 x 12" paper package by Authentique that has been in my stash for years. I think I pull it out every year, flip through it then sigh and wonder why I bought it. This year though - I decided I really liked some of the patterns and created three Gated Fun Fold cards to send out at Easter. 

As with a lot of paper pads, there are two sheets of each design so there are two sheets with these victorian cut-aparts. I have used several of them over the years but there are lots remaining. I cut down three more and matted them with a mirrored cardstock for lots of shine. I also added Pops of Color (like a glittery glossy accent) onto each of the cut aparts but decided to leave the sentiment off the front. It's obvious they are Easter cards, ha ha.


Last month I shared a tutorial for creating these Easy Gated Fun Fold Cards and said that I was having SO much fun with the idea and had made several more of them since filming the video. They are so quick and easy and you can get two of them from a single 12 x 12" sheet. This patterned paper was especially sturdy, which was perfect. You can find my YouTube tutorial HERE.


I also added some self adhesive gems that were leftover from a Stampin' Up card kit.


Inside I added a scalloped panel cut from the same mirrored cardstock and a stamped sentiment onto a stitched white panel. That sentiment is from Impression Obsession and if it's still available I will link it for you. I've had it for a long time though, so it won't surprise me if it's been retired.

NOTE:  Since the majority of the mirrored scalloped panel would be hidden by the white one, I actually cut the stitched rectangles for the card fronts from the centre of those inside panels. You can't tell there is a big rectangular hole in the centre of the mirrored card stock once you adhere the white one on top!


Having been asked how many cards I make I thought it would be fun to keep track this year. Many of my posts include more than a single card or project and below is my tally. 

Card Tally for 2023
January - 53 cards
February - 56 cards
March so far - 21 Cards

Additional Supplies:
Patterned paper - Springtime, Authentique (old - from my stash)
Corner rounder - Creative Memories
Rainbow holographic cardstock - Recollections
Joyful Easter - Impression Obsession
Gems - leftover from a Stampin' Up card kit

This blog uses affiliate links whenever possible. This means, if you make a purchase through one of my affiliate links that you pay the same amount but I may receive a small commission from your purchase. I only link products that I own, love and use for my card making and not every link below is an affiliate one! 😊
Friday, 10 March 2023

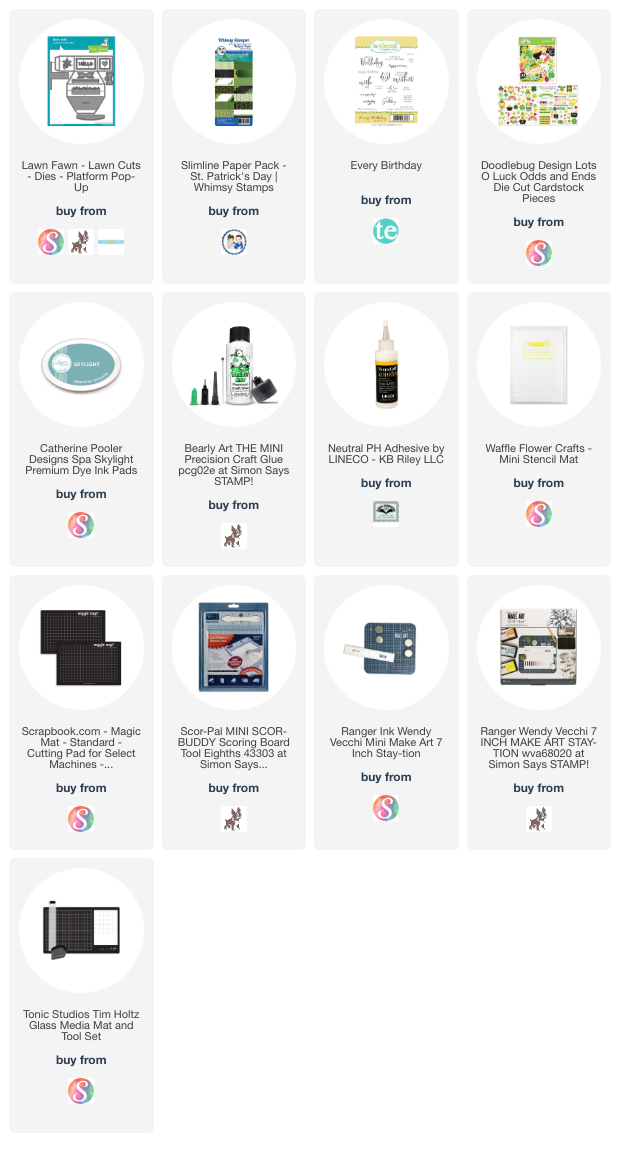
Platform Pop Up Card for a St. Patrick's Day Birthday


It's Fun Fold Friday here on my blog, and I'm sharing the third edition to my series "Platform Pop Up". Every year I make my friend Kelly a St. Patrick's Day birthday card so this one went to her.

I used a Slimline Paper pad by Whimsy Stamps and elements from Doodlebug for the card. I love the happy colours and touches of gold foiling on the elements.


Adding that stitched rectangle to the back helps stabilize the elements as well as giving me a place to write a personal message.


The whole thing folded flat to pop into a envelope for mailing. 


Having been asked how many cards I make I thought it would be fun to keep track this year. Many of my posts include more than a single card or project and below is my tally. 

Card Tally for 2023
January - 53 cards
February - 56 cards
March so far - 18 Cards

Additional Supplies:
Green cardstock
Rainbow Holographic cardstock - Recollections

This blog uses affiliate links whenever possible. This means, if you make a purchase through one of my affiliate links that you pay the same amount but I may receive a small commission from your purchase. I only link products that I own, love and use for my card making and not every link below is an affiliate one! 😊

Thursday, 9 March 2023

Woven Basket Sympathy Card


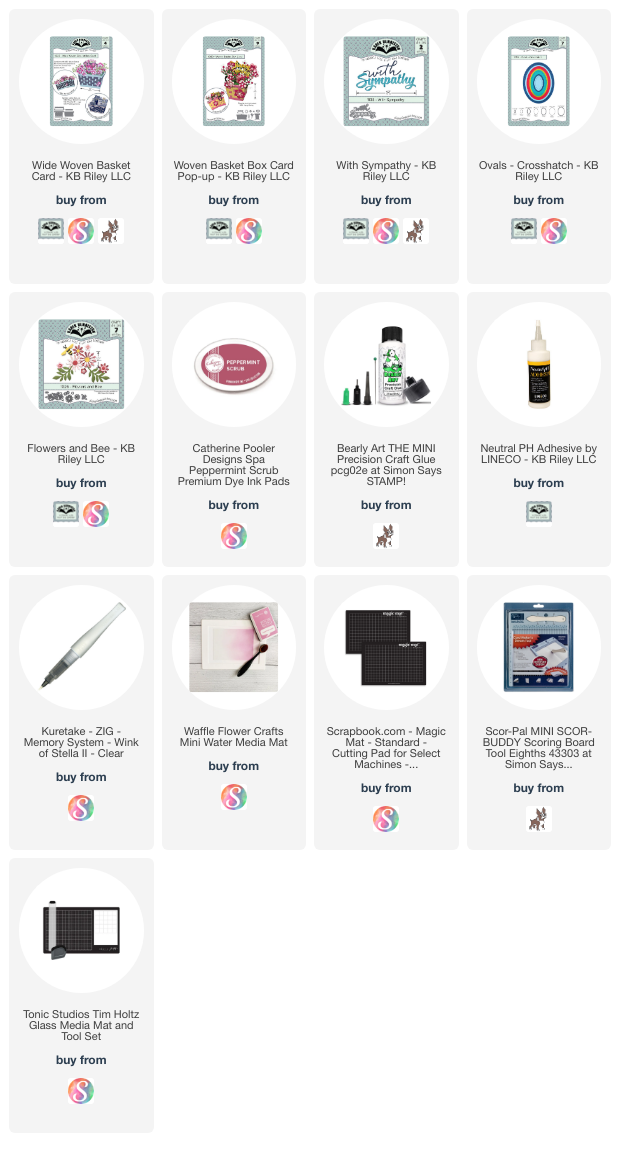
I needed to make a sympathy card for friends, so I pulled out Karen Burniston's Wide Woven Box and the Woven Box die sets and got to work. The 3-d elements are many years old, by K & Company. I still have a nice stash of their elements as I loved them and of course hoarded them for a long time before I could bring myself to use them. 😉

I also used KB's With Sympathy Dies and the Ovals Crosshatch, and wrote our message on the back where I added another oval.


It folds down flat for mailing, which is SO cool.


Having been asked how many cards I make I thought it would be fun to keep track this year. Many of my posts include more than a single card or project and below is my tally. 

Card Tally for 2023
January - 53 cards
February - 56 cards
March so far - 17 Cards

Additional Supplies:
Patterned paper - Blank Canvas, 1st Edition (old, from my stash)
3d flower & bird stickers, K & Co (old, from my stash)
White cardstock
Rainbow Holographic Cardstock - Recollections
Pooler - Peppermint Scrub

This blog uses affiliate links whenever possible. This means, if you make a purchase through one of my affiliate links that you pay the same amount but I may receive a small commission from your purchase. I only link products that I own, love and use for my card making and not every link below is an affiliate one! 😊

Wednesday, 8 March 2023

Disney Themed Step/Block Card


Today I'm sharing the March edition to my series "Throwback Fun Fold dies". This is a birthday card for a 5 year old who celebrated her twin sisters birthday in Disneyland. I pulled out this old step/block card die from Spellbinders and the same patterned paper I used for the twins cards shared earlier this month.


Using a Lawn Fawn alphabet die set, I added her name to the blocks inside the card.


I added a panel to the back with a stamped sentiment and room to sign our names. I also added a number of mirrored heart sequins for lots of shimmer and shine.


Having been asked how many cards I make I thought it would be fun to keep track this year. Many of my posts include more than a single card or project and below is my tally. 

Card Tally for 2023
January - 53 cards
February - 56 cards
March so far - 16 Cards

Additional Supplies:
White cardstock
Sentiment - Lots of BD2Stamp, the Stamps of Life
Spellbinders Happy Days Step Card die set (retired)
Shimmer Spray
Patterned paper - Disney Specialty Paper (stash)

This blog uses affiliate links whenever possible. This means, if you make a purchase through one of my affiliate links that you pay the same amount but I may receive a small commission from your purchase. I only link products that I own, love and use for my card making and not every link below is an affiliate one! 😊

Tuesday, 7 March 2023

Birthday Accordion Card & Slider Box


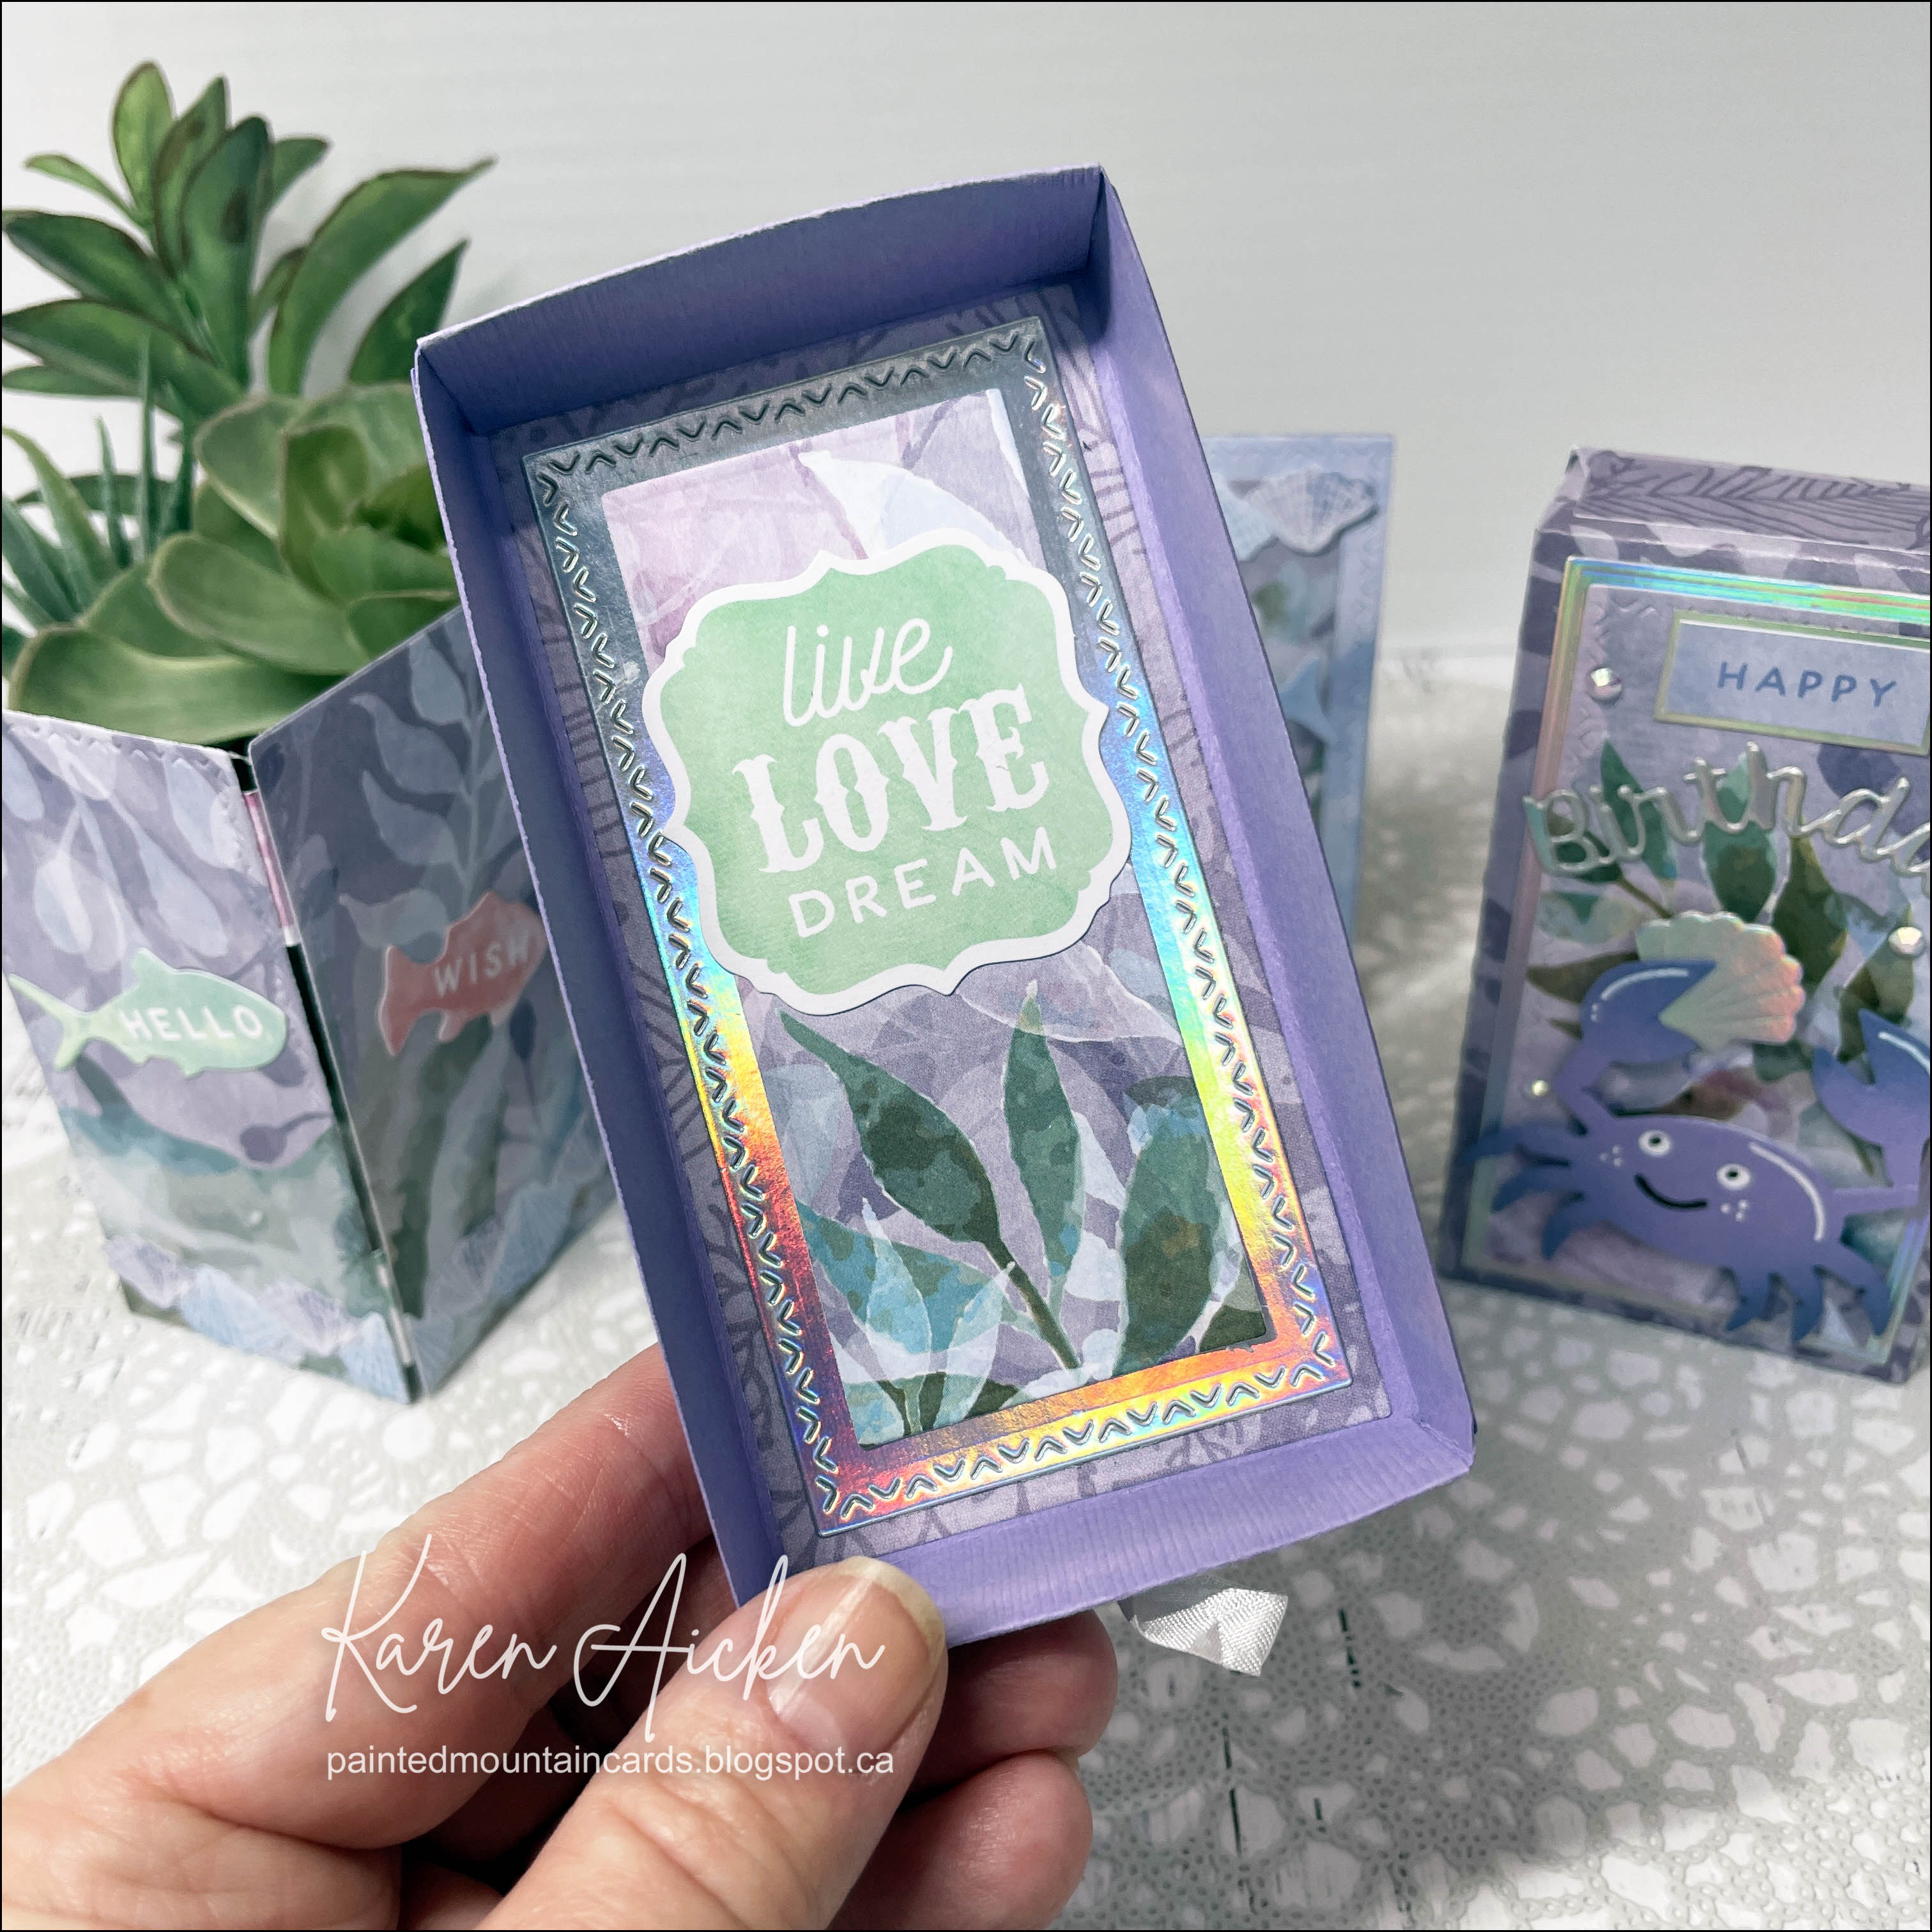
It's time for Karen Burniston's Designer Challenge for March, with the theme:  "VACATION!" - where do you want to go? Beach? Mountain Cabin? Farm Livin'?" While I am not a beach girl - I chose to make an ocean themed project today. I started with the Slider Box and some pretty patterned paper from my stash. Then I chose a bunch of dies by Karen Burniston for my project, and they are all linked below.


The Rainbow Holographic cardstock adds a lot of shimmer and shine. I love a bright red crab, but went with soft purple for this one. Those little crabs from the Beach Borders are SO darn cute.


Using the decorator rectangles from the Slider Box with hinges from the Charm Accordion I  created an accordion card that folds up inside the box. It's a fun surprise when you slide the box open.


Using one of the frames from the Slim Frames I created a little shaker on the accordion card front, but I snipped two crabs from the border and adhered them down inside the shaker with the dream word sticker. So they don't move around when you shake the frame.


This is the bottom of the box, which is revealed when you remove the accordion card.


The back side of the card has some stickers from the same package as the patterned paper, but I had to use adhesive as they didn't stick well on their own.

I know just who this is going to for her birthday!

The rest of the Design Team is linked on the right side of my blog and I hope you will check out what they came up with for the challenge. Karen Burniston will have her post tomorrow (Wednesday) on her BLOG.

Late last year I was asked how many cards I make but I didn't have a clear number. Since many of my posts include more than a single card or project, I thought it would be fun to keep track this year. 

Card Tally for 2023
January - 53 cards
February - 56 cards
March so far - 15 Cards

Additional Supplies:
Purple textured cardstock - Bazzill
Crinkle seam binding - Stampin' Up
Rainbowow Hollographic cardstock - Recollections
White cardstock
Blending Brushes
Gems - Stampin' Up
Staedtler fine liner markers
Black sharpie
Alcohol markers

This blog uses affiliate links whenever possible. This means, if you make a purchase through one of my affiliate links that you pay the same amount but I may receive a small commission from your purchase. I only link products that I own, love and use for my card making and not every link below is an affiliate one! 😊


Monday, 6 March 2023

Forest Scene Birthday Card


Its Masculine Card Monday here on my blog and today I'm sharing a funny card I made for our Son In Law's birthday. Last month I shared a tutorial for creating these Easy Gated Fun Fold Cards and said that I was having SO much fun with the idea and had made several more of them since filming the video. This is one of them and I have even more coming up. They are so quick and easy and you can get two of them from a single 12 x 12" sheet. You can find my YouTube tutorial HERE, and below is a quick one showing how the card opens.


I started with some scenic patterned paper and a Funny Bones sentiment.


I love that this paper is double sided! I pulled out some other stamps from my stash to finish off the card but felt it still needed something. So ... the (retired) pine tree die from Elizabeth Craft Designs was the finishing touch.


I have been asked how many cards I make but I didn't have a clear number. Since many of my posts include more than a single card or project, I thought it would be fun to keep track this year. 

Card Tally for 2023
January - 53 cards
February - 56 cards
March so far - 14 Cards

Additional supplies:
5 Part Pine - Elizabeth Craft Designs (retired)
Green cardstock
White cardstock
Stitched banner - MFT (retired)
Birthday Wishes - Your Next Stamp
Corner Rounder
Alcohol markers

This blog uses affiliate links whenever possible. This means, if you make a purchase through one of my affiliate links that you pay the same amount but I may receive a small commission from your purchase. I only link products that I own, love and use for my card making and not every link below is an affiliate one! 😊